Most home and project studios are run by songwriters, musicians, and composers who fall under the “Me, myself, and I” category of producer. Recording is not easy for people who are doing it solo. Not only are they writing the material, and performing it, but they are also recording and mixing it.
From the setup of the session to the microphone selection and placement choices to the playing, and to the actual recording process – there’s just one person wearing all of the hats.
One of the major challenges for people working alone in a studio, up until recently, was just in the specific area of actually performing the recorded material, while also triggering the recording, playback, and stop buttons. You might have started to work on your take, and then had to lift your hand up, to either click the mouse or hotkey to start and stop the recording. This could affect the flow of the performance itself, and the ability to lock into a vibe. It also forced the performer to be right near the computer, which may not be the best spot for considerations related to acoustics.
iPad does all the jobs
Now, enter the Apple iPad. It’s been several years now since the iPad started being integrated into the studio environment. Third-party companies were coming up with apps that allowed a user to connect to some of the main DAWs. But now, the DAW (Digital Audio Workstation) manufacturers have fully embraced the iPad as a controller. As a result, there is full integration with every single feature available. Almost as if you were using a mouse and keyboard to control the DAW, but even faster.
Of particular note, the Avid Protools DAW and the Apple Logic Pro X DAW both have their own apps for control of all of the features, or at least most of them. And even if there isn’t a direct control for a nuanced tool, when the iPad is used simultaneously with the mouse and keyboard (more in the mixing/editing stage), several processes are more convenient within the workflow.
Your best friend when recording
Let’s address a specific set of recording steps in one case study that proves an iPad is well worth its weight in gold for anyone intending to record without an assistant.
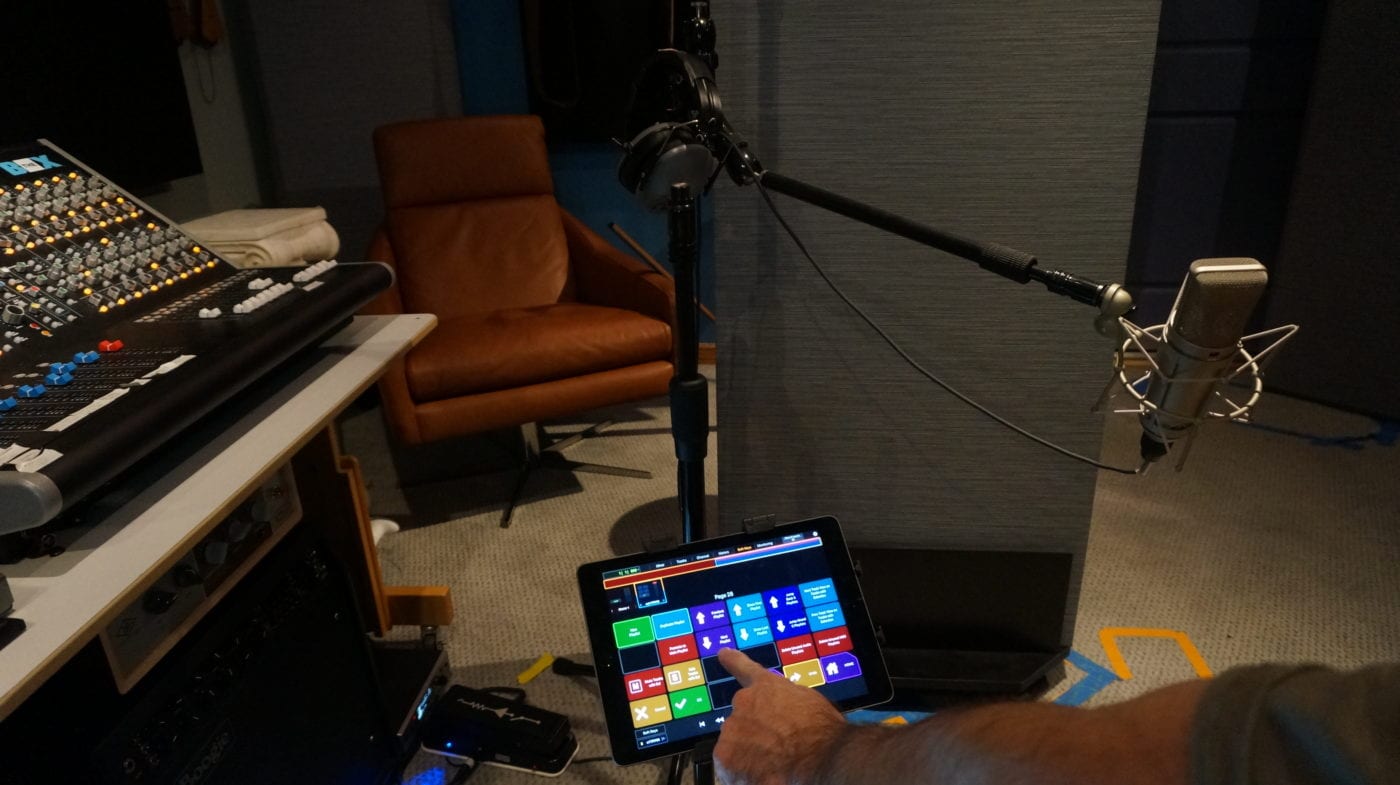
For the purpose of demonstrating, we’ll use Protools Ultimate software, on a 2019 Mac Pro with EUCON installed, and an iPad loaded with the Avid Control app, which connects to the Protools over Wi-Fi via Eucon. And we’ll address it in the context of recording acoustic guitar with a single condenser microphone.
First step:
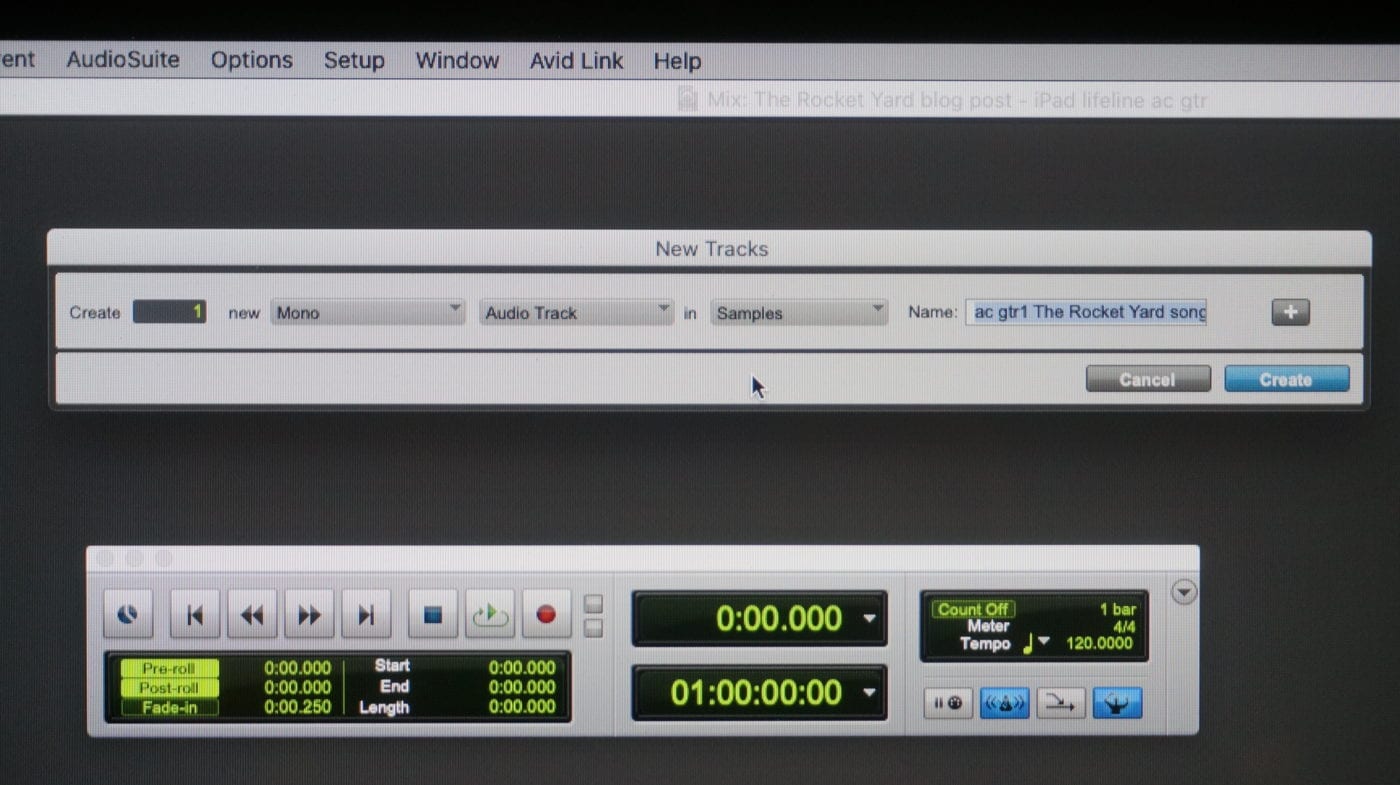
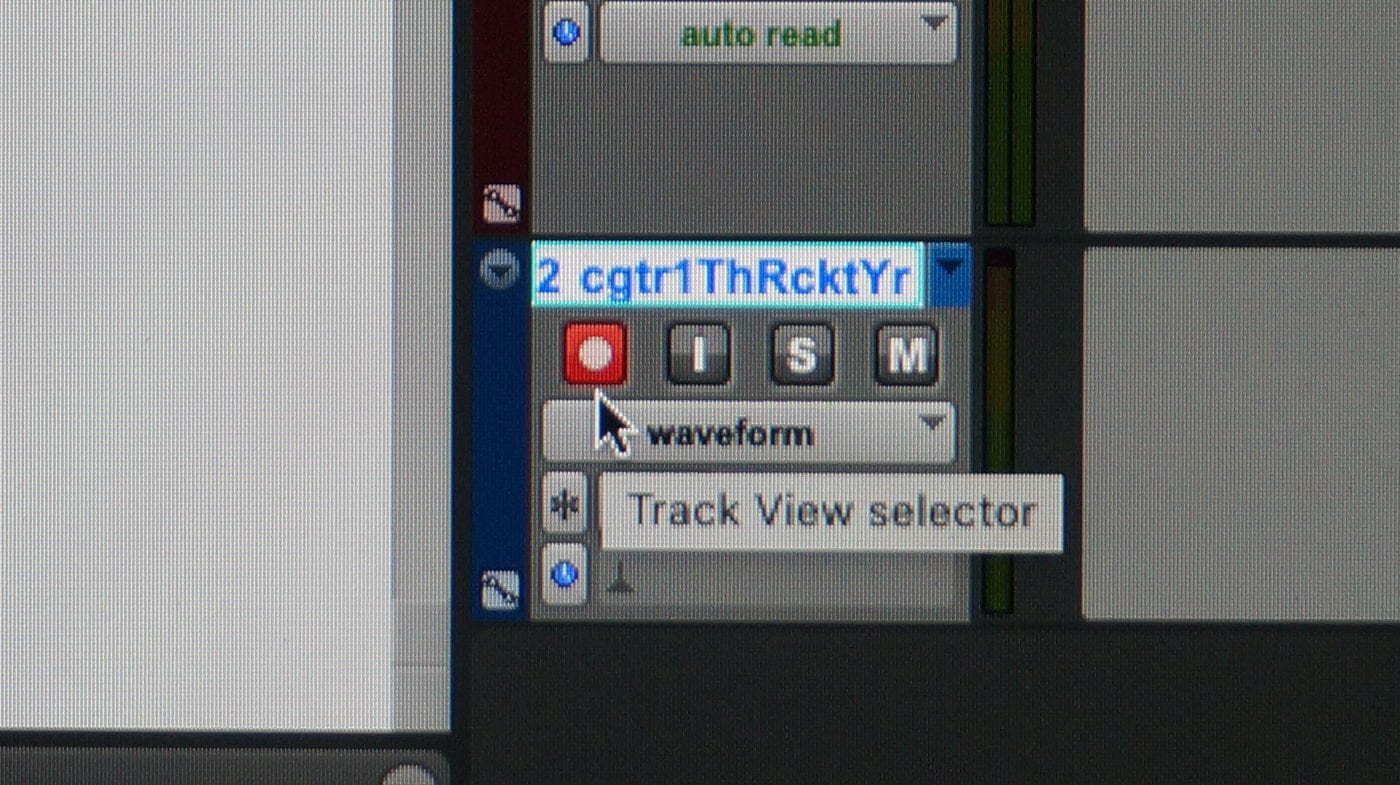
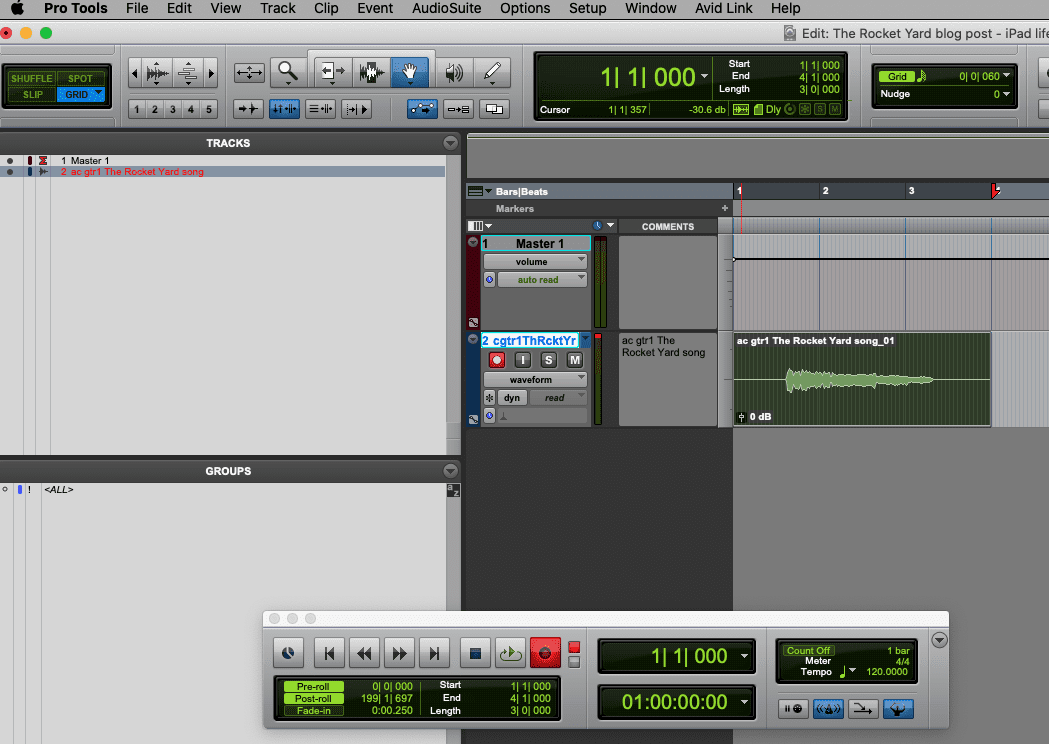
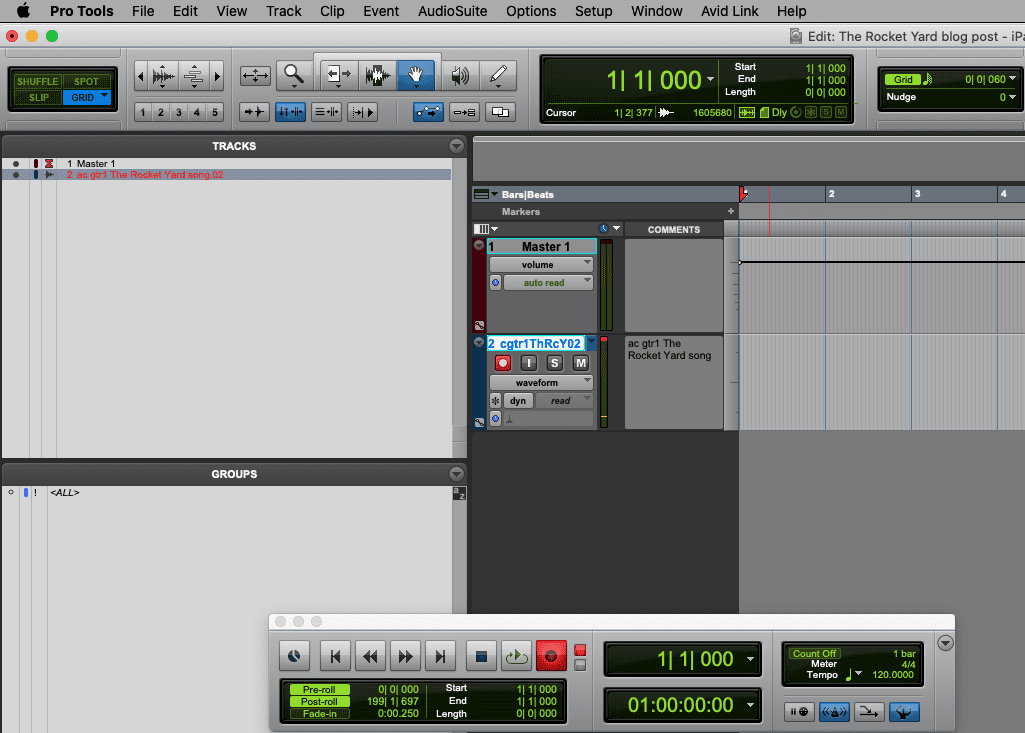
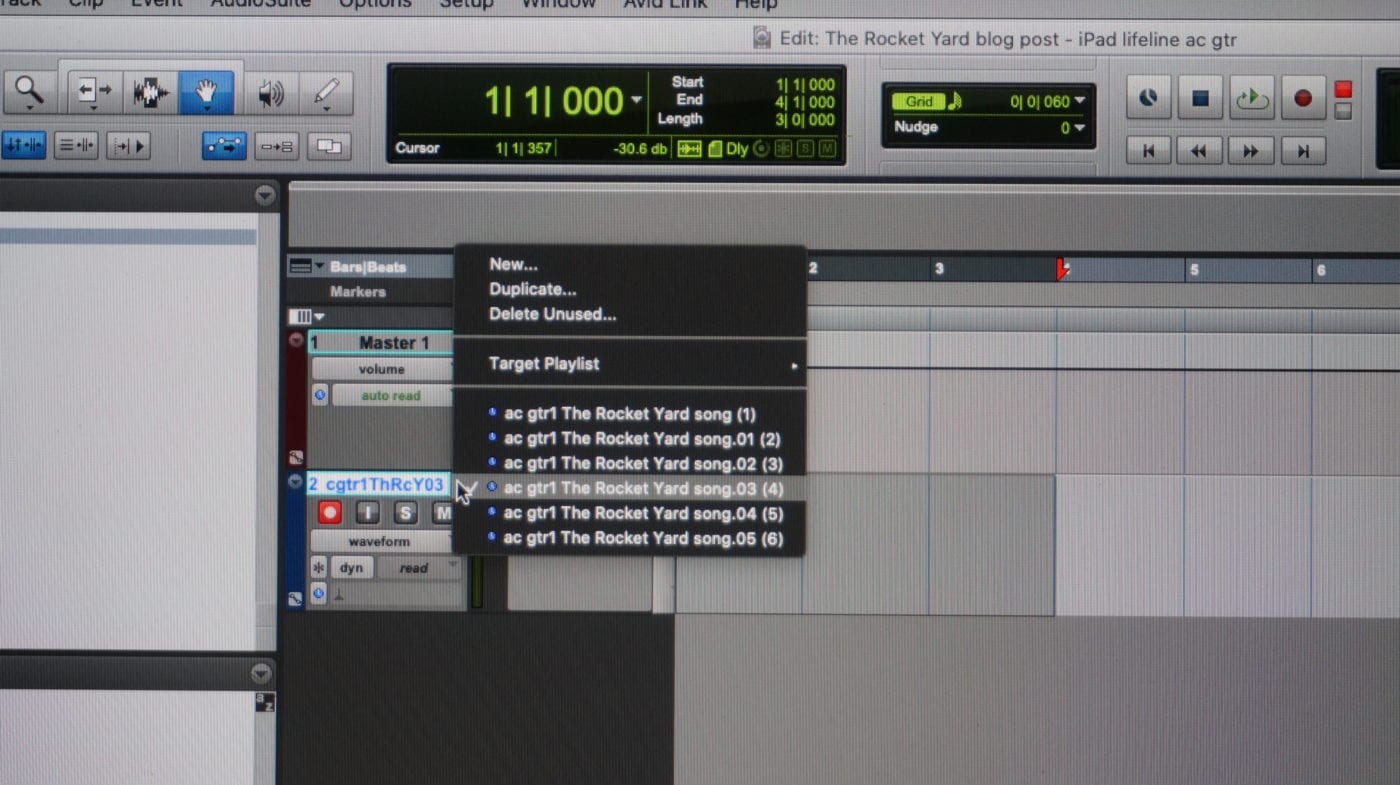
Yes, you’re about to embark on the most fun adventure – to create a new session in Protools and then create at least one track. Make sure you name the track something like “ac gtr 1,” and it’s a good practice to include the name of the song as well. So, for example, the new track could be named “ac gtr 1 The Rocket Yard song.”
This naming convention is needed for a variety of reasons. For example…
- If you have a lot of songs in your catalog and you ever need to find a specific audio file from it because it disappeared from the session, or…
- If somehow it got moved from one of the hard drives in an OWC ThunderBay 4 to another when you were moving or backing up sessions, and you need to search for it.
Without some identifying information in the track name, a search will turn up a significant number of ‘ac gtr 1’ tracks. You probably wouldn’t want to spend a week trying to find the one you’re looking for. Another example might be if a music supervisor contacts you, and asks for a specific audio stem for a film. Maybe they loved some guitar part from one of your songs, and you’ll know exactly where it is.
Next step:
Arm the new track to ‘record’. The button will be lit in red.
After that, take the iPad (in your hand, mounted, or on your desk), make sure it’s linked to Protools, and that you can see the faders in the ‘Mixer’ section of the app. Also, make sure that you can see the signal and meters going up and down when you strum.
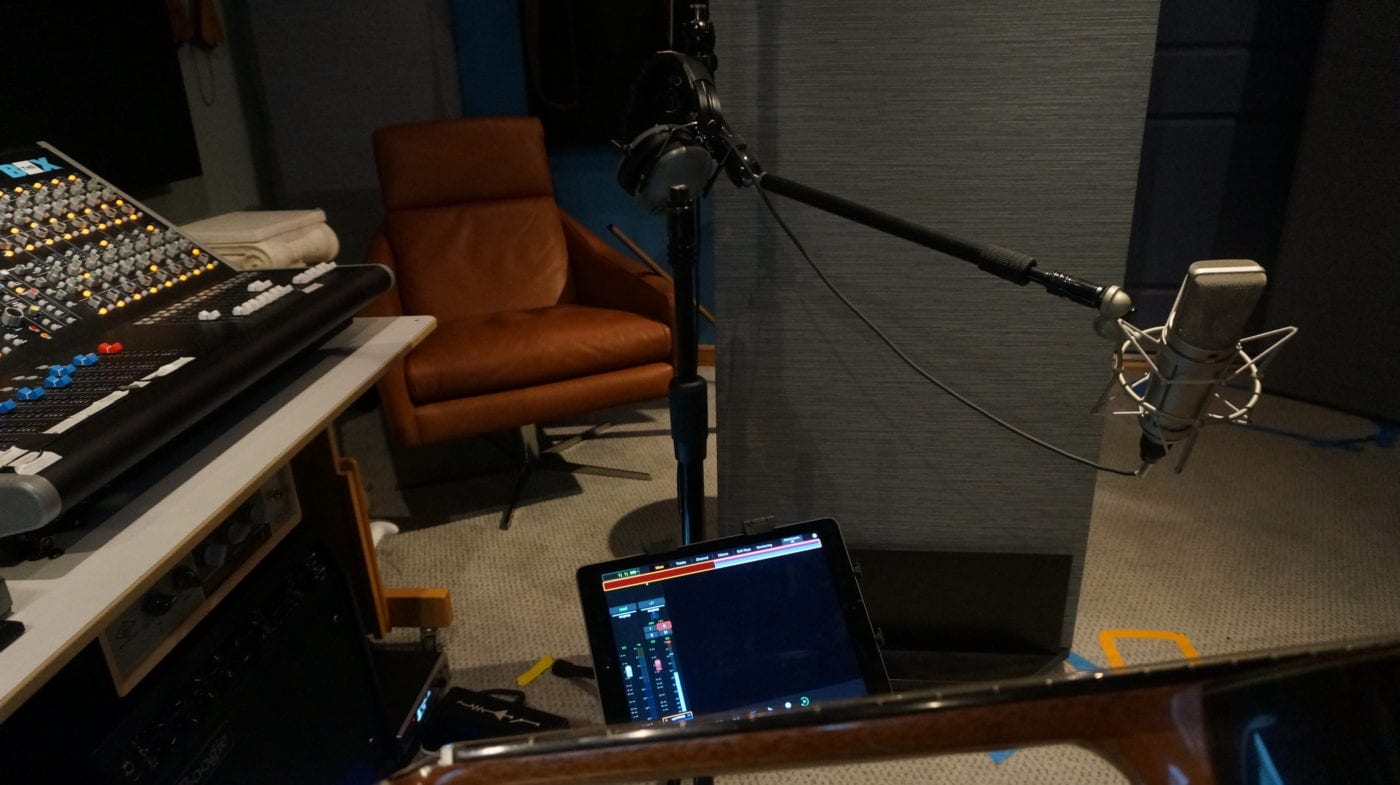
You can also check the track in the DAW, to make sure you have a signal coming into the track that’s armed.
Staying on the shortlist
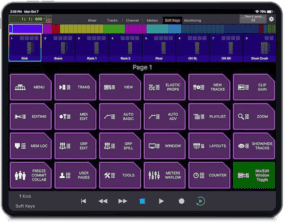
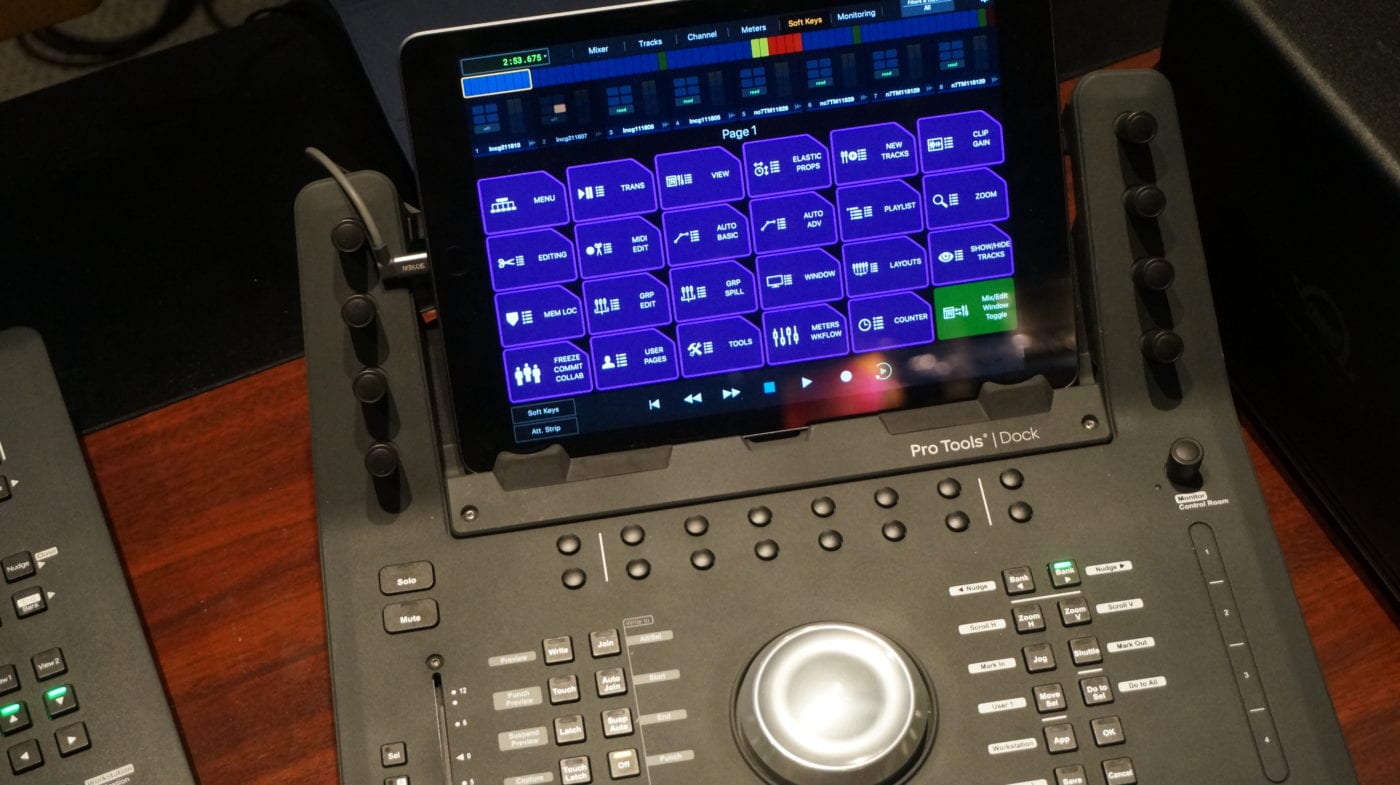
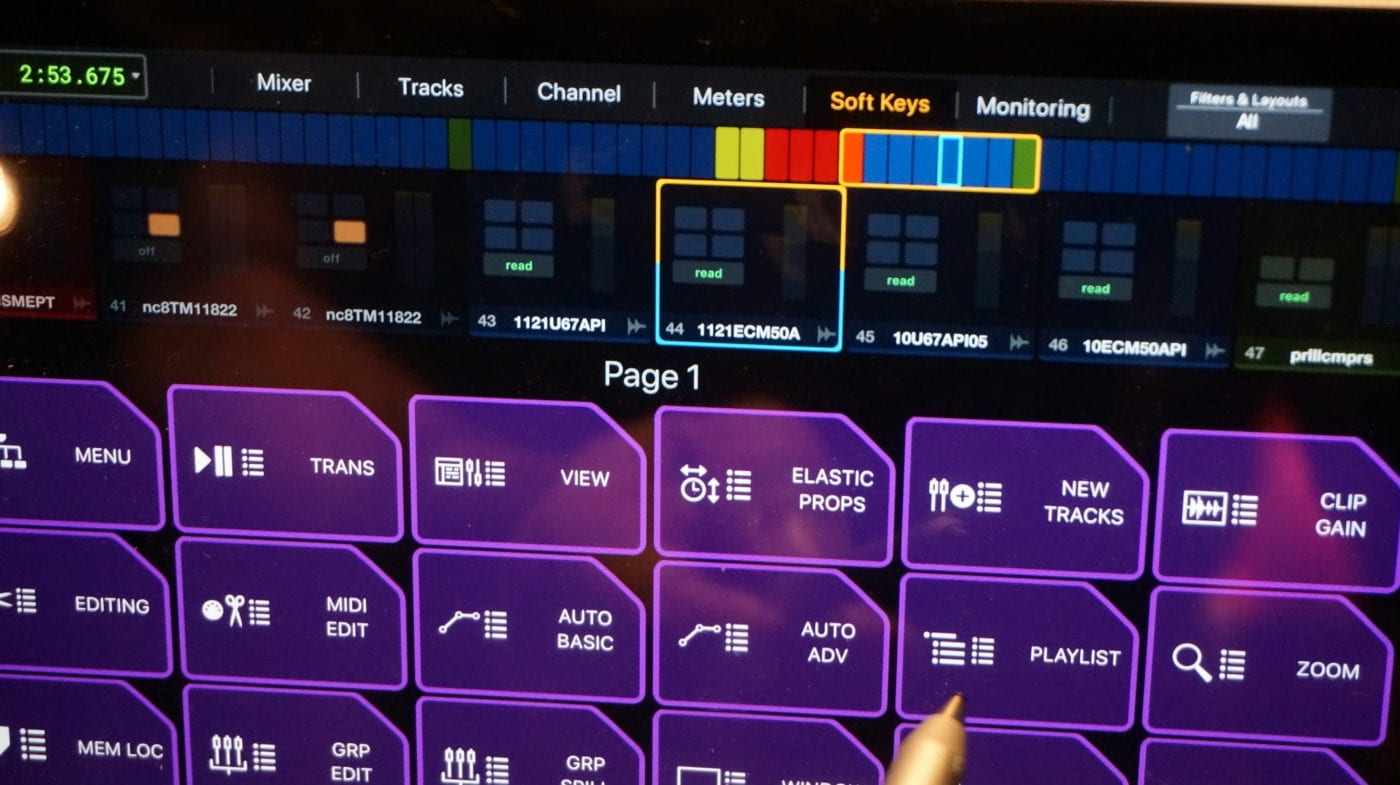
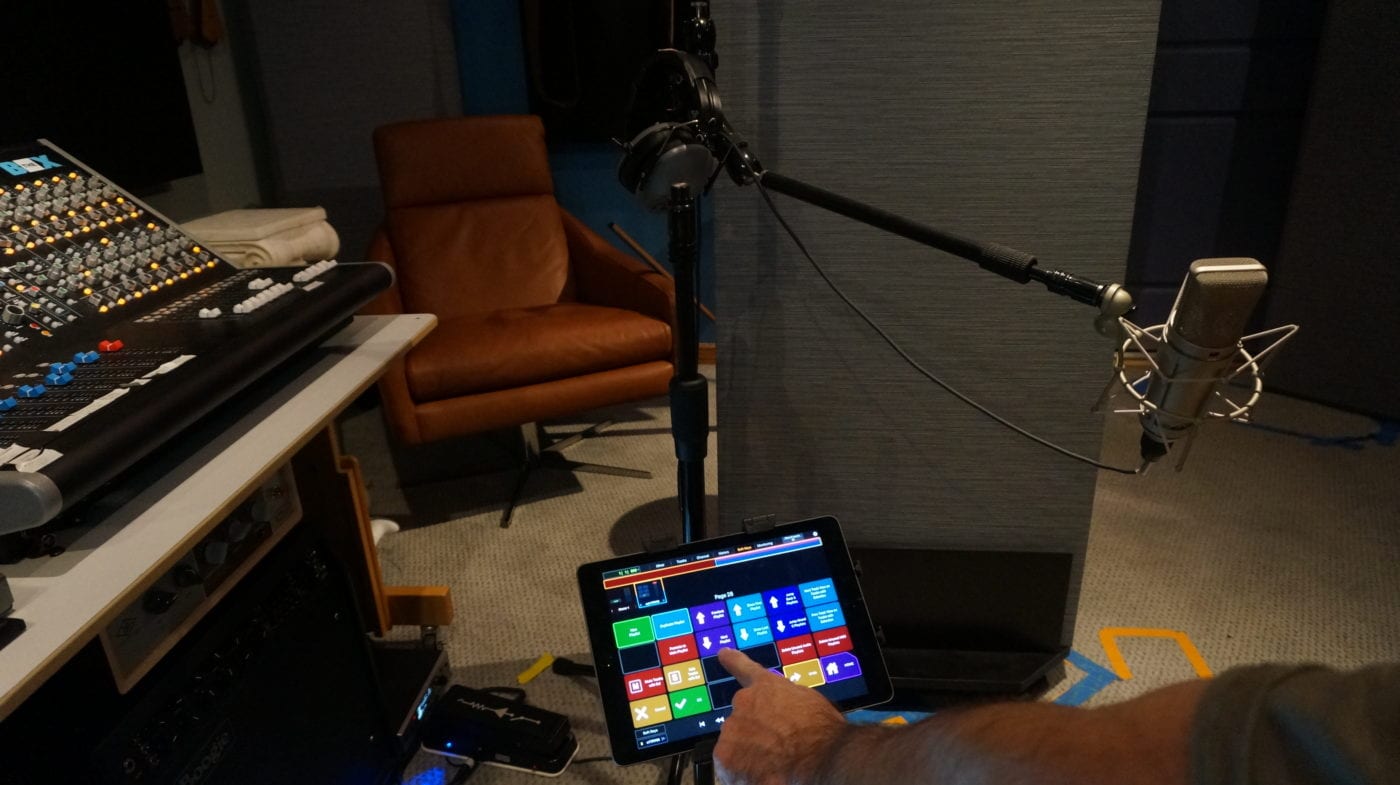
Here is the key part of where we start to discover the hidden treasures of the Avid Control app – when you toggle to the ‘Soft Keys’ window within the app on the iPad.
Within the Soft Keys page, you will see pages and pages of soft keys that were pre-programmed. You can access file menus, edit menus, specific types of edit windows. You name the function, and it’s already there. If it isn’t, then you can create custom soft keys.
Double-check that the new track you created a few steps back is selected in the DAW. When looking at the edit window of the DAW, you’ll know the track is selected because the track name is highlighted in white.
Creating Playlists
Now, the detail we to focus on at this point is the soft key that’s named ‘Playlist’. Press that key, and you enter into a more detailed window for soft keys related to playlists.
As long as the track you armed for recording is selected, then you can start pressing the ‘New Playlist’ soft key.
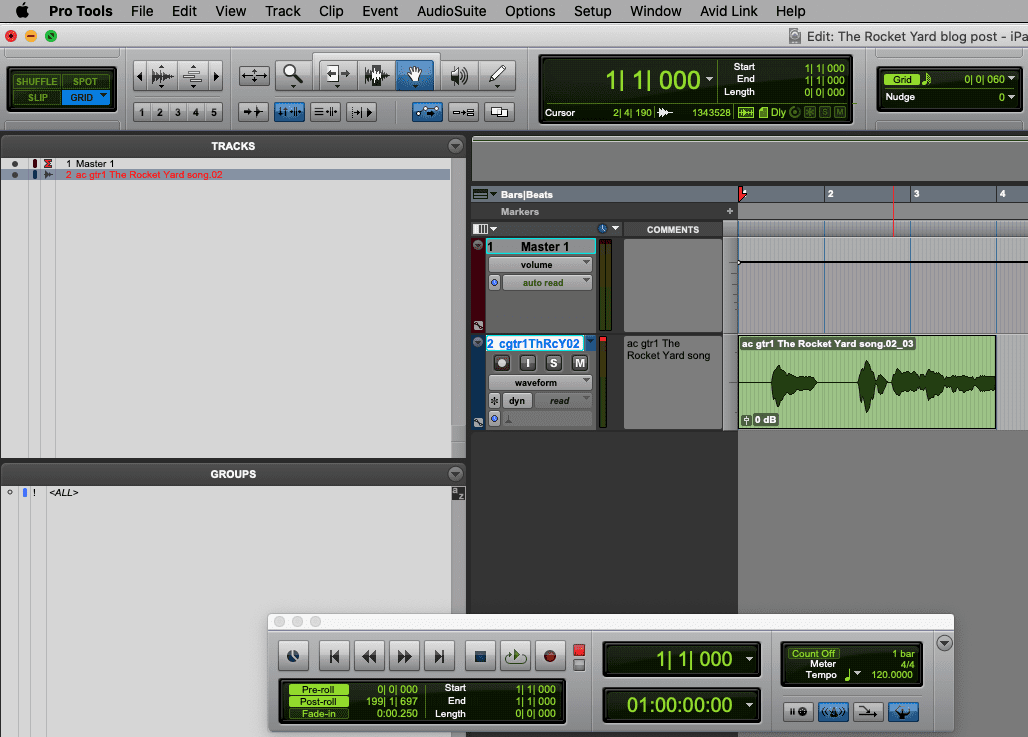
If you’re watching the selected track on the DAW edit screen, you should note that the track name adds a sequential number at the end every time you press ‘New Playlist.’ You can press it three times, five times, 10 times, or significantly more times in rapid succession. Now that you’ve created many playlists, you can do multiple takes without making a whole new track each time. At the end of your tracking session, you may have anywhere from five to 30 takes (or more). You would then sift through the playlists and build a track using a common practice dubbed “comping.” Comping is a mixing technique for another discussion.
For example…
Now that you’ve created plenty of playlists to have enough takes to compile a solid audio recording for the track, press the ‘Show First Playlist’ soft key. You are now ready to go with the next step.
Always keep it close
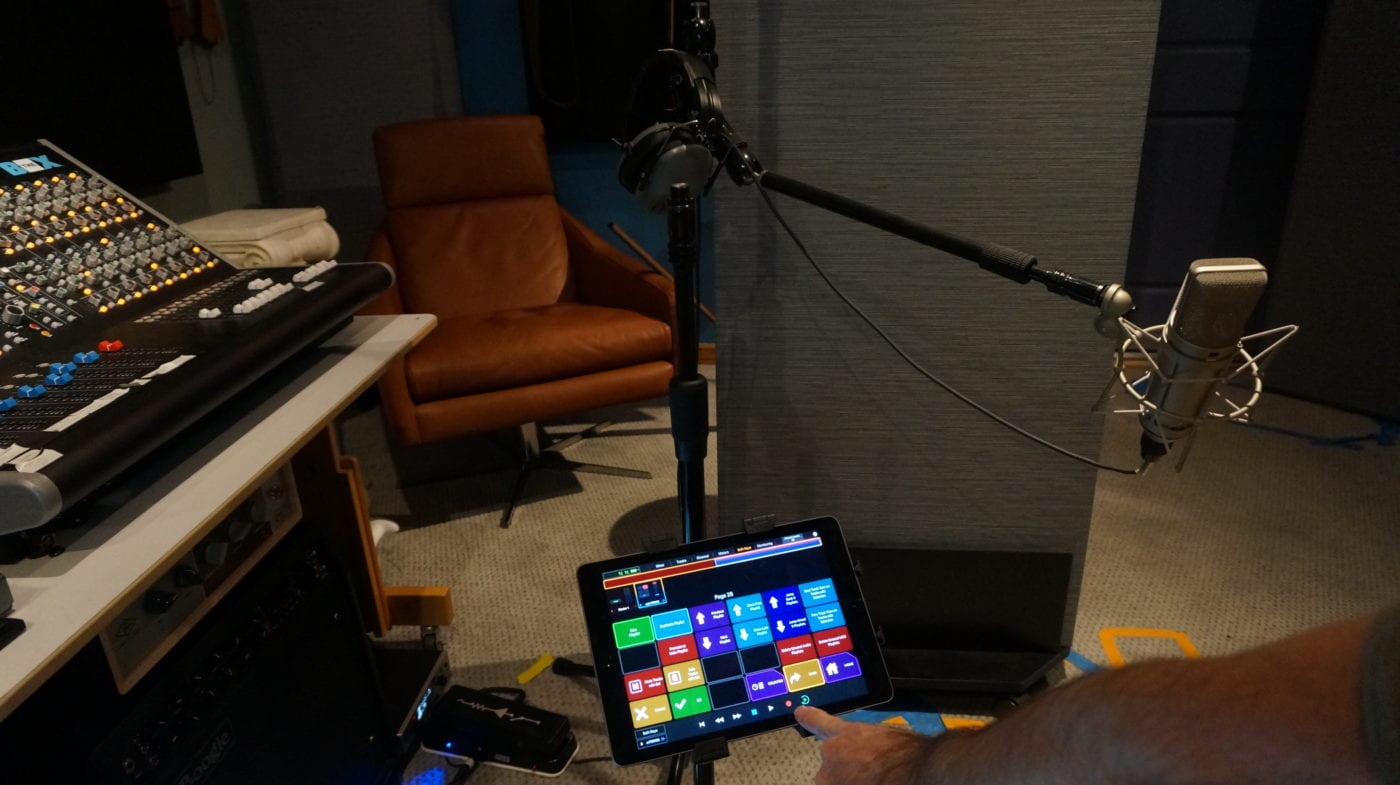
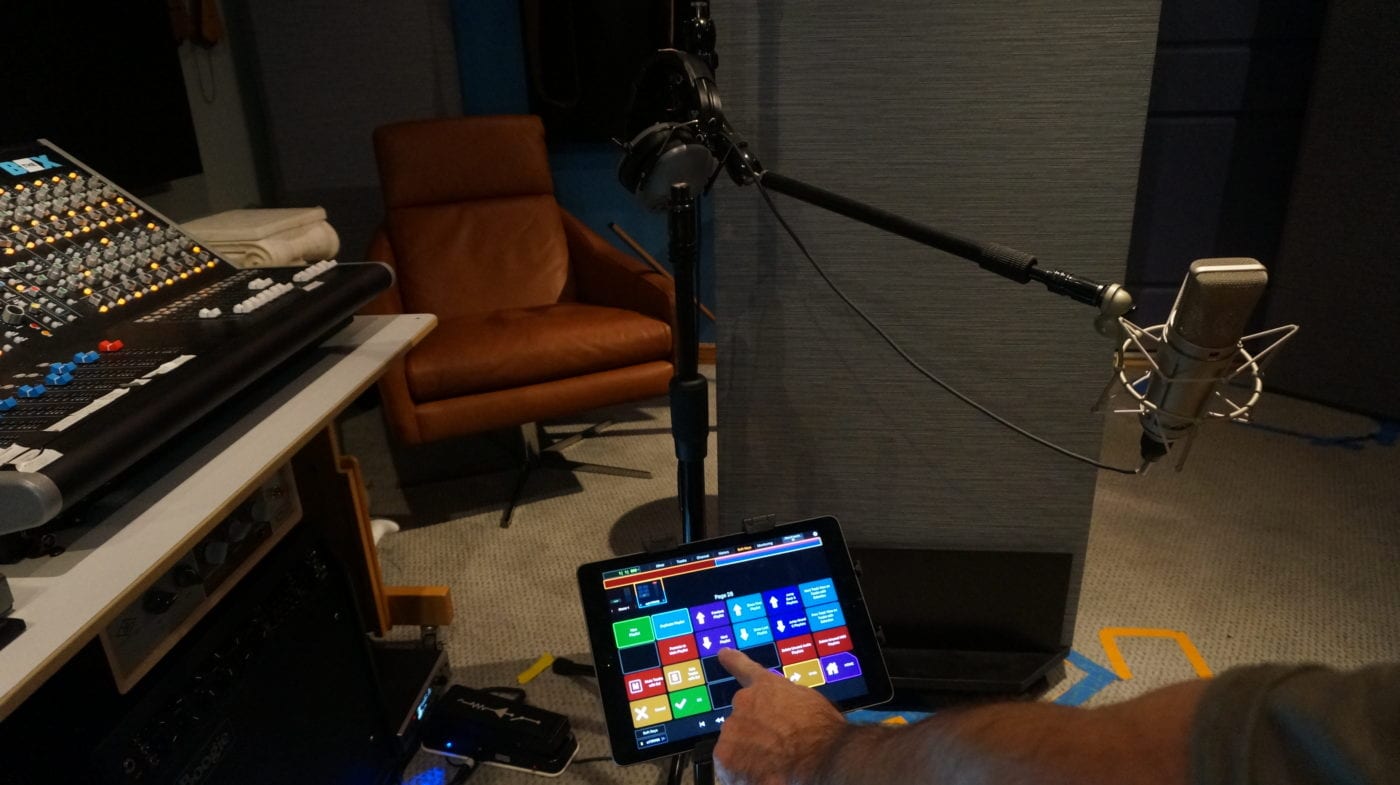
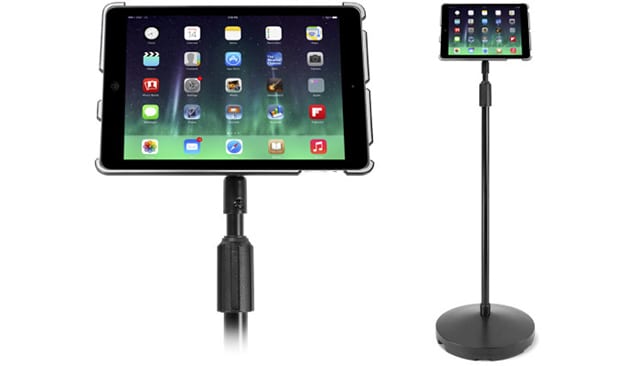
- Mount the iPad to a microphone stand, or something that you can easily and quickly reach, that’s near where you’ll be sitting when you’re recording.
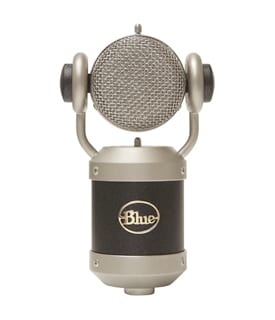
- Move the condenser microphone into close proximity to where you’re set up, and have a chair there.
- Put headphones on, and sit down with your acoustic guitar. Start strumming and move the microphone around, trying out different positions about 10-16 inches away from the guitar. Direct the top portion of the microphone near the 12th fret.
You can also move around in the chair with the acoustic guitar in hand, and tilt it around at different angles. These are not fixed rules – you’re just trying to hear the guitar sounding natural through your headphones. This should result in a pretty good recording. Sometimes you have to move the microphone around quite a bit, to find the sweet spot.
Once you’ve found the sweet spot, we come to the part where the iPad is invaluable.
Now that you’ve set yourself up and are happy with the guitar sound, settle in that position. The reason is that if you move around between takes too far from your original position, the tone of the takes will sound noticeably different when you do your comping.
Let’s say you had the greatest take in the world on one of the playlists, but you had a string buzz, a note that was really off, or you made a nonverbal noise while playing. You’d probably want to repair it and use a substitute from another take in the playlist. But if you’ve shifted position in relation to the microphone, it won’t match the same tonality or volume.
Here is where the magic happens.
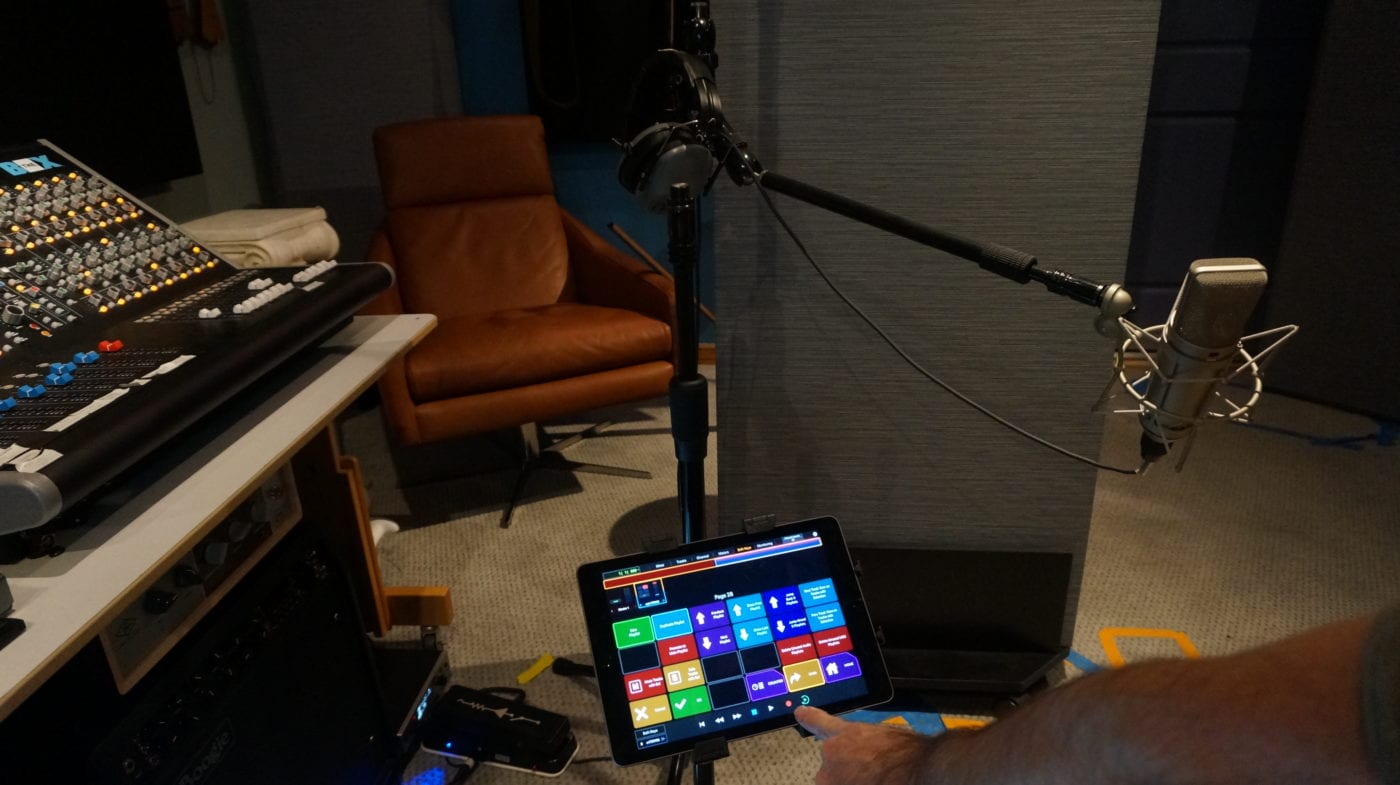
- You sit in the same position, with your acoustic guitar in the sweet spot, then you get ready to do the first take. You reach over to the iPad (which is right near your left or right arm), press record, and perform the part.
- When you are done, press stop. The playhead goes back to the beginning. You’ll see the audio waveform in the edit window of the DAW.
- Try to remain at or near the same position with the acoustic guitar. Then press the soft key that says ‘Next Playlist’.
- You will see the audio waveform of your previous take disappear, but it is still there, on the first playlist (and also on your hard drive). Now you are ready to repeat the process.
- Press record again. Then press stop after the second performance.
- Press the soft key that says ‘Next Playlist’. And so on, and so forth, each time, re-performing the same part – preferably to a click track.
- Wash, rinse, and repeat.
Review your playlists
Once you are satisfied that you have enough takes, then you can start the following process. This includes reviewing all of the playlists and auditioning the recorded takes.
If you had recorded 20 takes and felt like you were on a roll, just use the ‘New Playlist’ soft key again. And one-by-one, add another 5-10 in rapid succession.
Although it may seem excessive, some people could end up with a very high number of takes. But all the while, you tried to maintain that position you were in, and the acoustic guitar tone varied only slightly. And you got through the session a lot faster with the iPad right in front of you.
If you want to record a second guitar or any other instrument, you will start the process over. Create a new track, and then repeat the steps above.
It’ll never be late for work
Incidentally, this process can be applied to any recording session, including (and especially) vocals, unless you are a professional opera singer. Sometimes singers can be slightly off on specific lyrics in a sentence. Or throughout vocal performances, there may be some captivating moments that are better than others. It’s become common practice in music production to have three or four playlists for the lead vocal track. The iPad is also helpful for producers managing the creative vibe of the talent during a session.
The advent of the iPad has been a significant advancement for music creators and producers working in a home or project studio. The iPad has enabled a fluid recording process – as if you had an assistant. Plus, the iPad will never be late for work.
Upon further review
There are many different techniques and methods for recording and mixing. From all computer-based “In the box” recording and mixing, to fully analog with vintage tape and tube microphones. From early recording methods to a hybrid version between analog and digital domains.
And skill levels may vary. Some players may be able to do performances in one or two takes and operate with a “one-take” philosophy. While others may delve into crafting music based upon multiple takes and using the best parts of each take. It’s generally the same performance, but pulling the best versions is the goal for many who record music.
This tracking method described is one method, but may not meet the needs of every musician or producer. It is just one tool, out of a myriad of tools that are available for today’s music creators, producers, and engineers.





Great article!! This is the perfect workflow for the DIY musician/engineer/producer (which is a lot of us these days)! I’ve even been seeing the iPad integration being used in some major commercial recording studios. Very informative. Thx Ian!
Great article! This opened up some new ideas for how we could speed up workflow in sessions!
Hi- Interesting article. I’d seen something similar in another publication about integrating the iPad for ProTools. Is that available with Logic or any other DAW? I’ve had an iPad for a year and it augments work already. So I was also wondering about using multi track capabilities on iPad (any mods). Biggest issue is I/O availability for mics and such. Any thoughts on that? Looking forward to further features (especially about hardware configs).
Thanks!
grb
Hi Gary, Thanks for the comment! Yes, Apple’s Logic Pro X has its own companion app, called Logic Remote, and it can be used in a similar manner, to control Logic Pro X. I use the Logic Remote app as well, although haven’t tested it with the specific recording workflow I discussed in the story. But it’s certainly possible that it could be performed in a similar manner, however the individual steps would have some variation, partially due to differences in the user interfaces, and the way certain features are activated.
Each of the DAWs have nuances that make them attractive for different reasons. And, although I haven’t used it in a long time, Steinberg’s Cubase also has a companion app, called iC Pro. It also appears to have a slightly similar graphical interface as the AVID Control app, with what looks like soft keys. I haven’t looked at it closely or tested it. If someone is personally using Cubase, they could download the iC Pro app, and see if it can be used in a similar manner as I outlined in the story.
And Motu’s Digital Performer also has a companion app, called DP Control.
It appears that most of the primary DAW’s now offer a companion app.
If you’re using any other DAW’s and apps, for a similar workflow as I described using Protools, I’d be interested to hear how it works for you.
As far as using the iPad as a stand-alone multi track recorder, I’ve used it with Apple’s Garage Band, and Steinberg’s Cubasis. And I think both offer solid features, although I feel that Cubasis was surprisingly powerful for what it is. However, as you suggest, you are limited in the number of tracks you can record simultaneously. But if you’re recording one track at a time, in my opinion it’s sufficient for sketching. You might have some latency, depending on the interface you’re using to plug into the iPad. If you’re tracking using the built-in iPad mic, it also seems adequate, although maybe more for sketching rather than formal tracking. There may be people who would have a different opinion about this particular approach, that they can get everything done, using an iPad completely stand-alone, without any further work on the audio outside the iPad. But I’d prefer to be using better quality interfaces, with better quality microphone preamps, more IO availability, more computer processing power, when writing, recording, and mixing. For instance, if I was recording a live drum kit, I’d be using at least 8 to 10 microphones to record, simultaneously. I’m sure there’s some incredible new technology for recording to directly to the iPad, but I’m not sure it could handle that kind of processing on eight tracks being recorded simultaneously, in a high-resolution format ie. 24-bit WAV.
I personally found that using Cubasis on an iPad was a really good tool for mobile creativity – for instance while on a plane or at the park, to sketch songs using virtual instruments, maybe add some rough guitar tracks and a vocal, and to load drum loops from its library. And I can also see that it could be used for mixing, if someone is on the road and needs to draft mixes. The audio files can be loaded onto it. And the audio files can also be downloaded once the work is completed.
These days, there are many apps that offer similar types of opportunities to craft songs, without having to carry around a laptop and interface. From my perspective, there’s definitely a lot of value for an iPad as a detached tool for music creation – at least for sketching, initial recording, and some mixing.
Thanks again for chiming in on the story!
What in hell is a DAW?
What “writer” neglects to define acronyms,
Good catch Bango! A DAW is a “Digital Audio Workstation.” A Digital Audio Workstation is a software program that allows musicians, music composers, film composers, music producers, audio engineers, artists, bands, podcasters, broadcasters, and many other categories of content creators the ability to perform a recording technique referred to as “multi-tracking.”
Multi-tracking is the process of recording tracks of many instruments, sounds, and/or voices.
For example 1) record a guitar on a track, 2) record a bass on a track, 3) record a vocal on a track, 4) record drums on tracks, etc. These instruments and vocals can be recorded simultaneously (live), or one at a time. And then the tracks can be controlled individually ie volume and equalization, and then mixed down to a stereo mix. If you listen to music, most of the music you may have listened to since the 1950’s was recorded using the method of multi-tracking. It started with the disc-lathe technique, then tape, and then when DAW’s were introduced, they made many of the processes, such as editing, much easier. In addition, DAWs can also be used in live situations, such as with DJ’s.
DAW’s can also be used to create music, program music using midi and virtual instruments, produce music scores, create loops and beats, to process audio, to process dialogue, for audio restoration, and to generally mix audio content and spoken word for broadcast (streaming, radio, film/tv, youtube, etc.).
In a nutshell, that’s what a DAW is used for.
Interesting fun fact – Les Paul developed the concept of multi-tracking. Look that up if you have time – it’s a cool story! Les Paul was also a pioneer of the electric guitar, both as an inventor (including the “Log”), and as a musician.