macOS Sierra introduced a Tags feature, which offered a way to organize your files. macOS Mojave introduced the new Finder Quick Actions that let you perform quick edits to files without having to open the apps associated with them. Both handy features are still around in macOS Big Sur. Let’s look at how to use them.
How to use Finder Quick Actions
To see which Quick Actions are available, open a Finder window.
Note: Don’t confuse the Finder with the Desktop. The Finder is the first thing that you see when your Mac finishes starting up. It opens automatically and stays open as you use other apps. It includes the Finder menu bar at the top of the screen and the Desktop below that. The Desktop is the space where you see file, folder, and application windows.
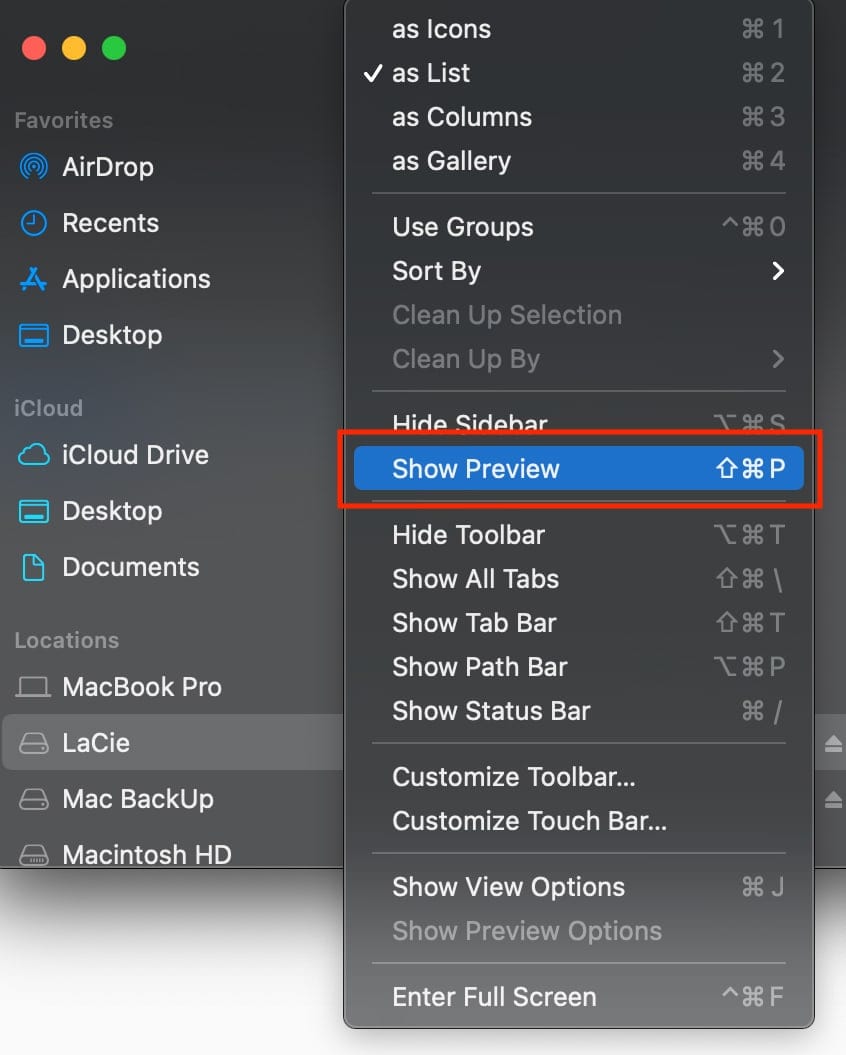
- Under the File menu at the top left side of the menu bar, choose View > Show Preview. Or you can press Shift-Command-P.
- Select a file and you’ll see available Quick Actions at the bottom right of the Finder window. Available actions depend on what type of file you’ve selected.
- For images, clicking Rotate Left turns the image counterclockwise, while clicking Markup summons a Quick Look window with a set of markup tools.

- Select two or more images in the Finder, and the Markup button will change to Create PDF. This lets you turn the images into a single portable document.
- Select a QuickTime compatible video or audio file, and Markup changes to Trim. This editing tool allows you to trim the video or audio file.
- There’s a More button beside the default Quick Actions. Choose it, pick Customize, and you’ll see the Extensions pane in System Preferences. Here you can select other actions to add to the Finder’s Preview pane.
How to use Finder Tags in macOS
Whether your files are on your Mac or in iCloud, you can find them with a click with Finder Tags.
To create a Finder Tag:
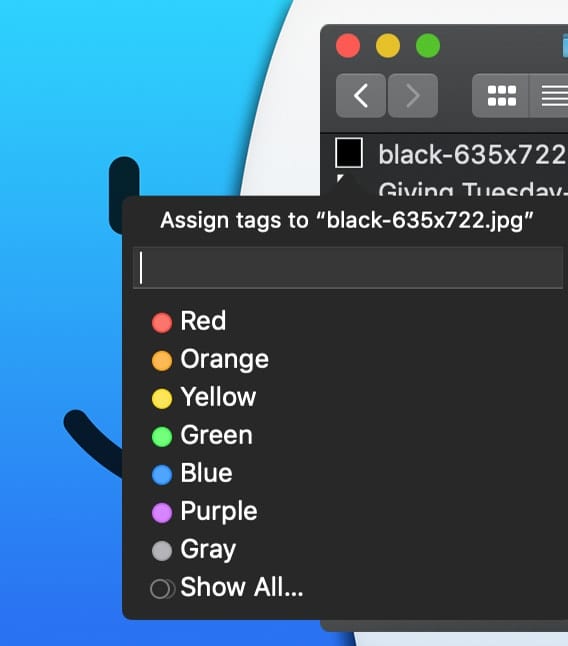
- Right-click (Control-click) on a file or document in a Finder window that you want to tag.
- Click on Tags.
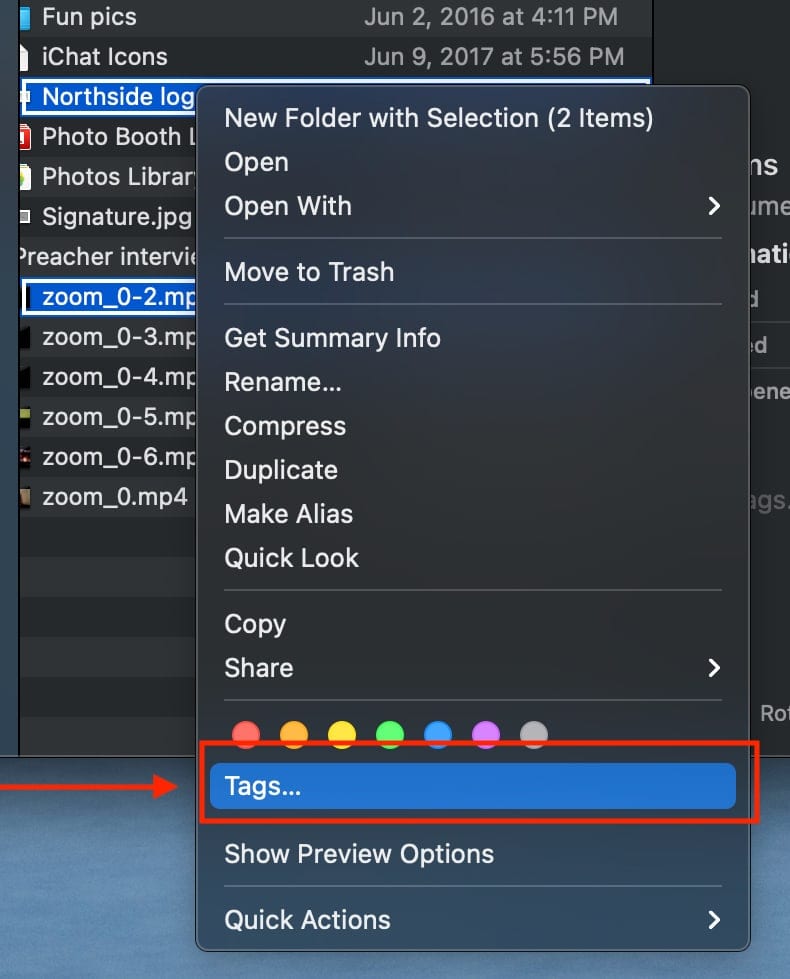
- Type in the name of the new Finder Tag.
- Hit Enter.
The new Finder Tag is added to the navigation under Tags in Finder.
You can also edit, delete, rename or apply a different color to a Tag:
- Open a new Finder window. Under the Tags section in the left navigation panel, right-click on the Tag name you want to edit. You’ll see an option to perform the aforementioned tasks.