Want to add some pizazz to your videos with some cool animated movie titles? There are third-party apps like IntroMate (Mac and iPad) with customizable title templates, or you can use a free tool from Apple—Keynote. In this short tutorial, we’ll show you the basics of creating animated movie titles with Keynote.
Why not use the basic iMovie titles?
iMovie has some built-in titles that are animated, but they’re not that great! With Keynote’s built-in animation tools, you’ll enjoy a lot more flexibility in how your titles look.
Where can I use these titles?
You can use Keynote titles in any tool that supports MPEG-4 movie files as input. Whether it’s iMovie, Final Cut Pro X, or a streaming app like eCamm Live, you have the option of creating a professional-looking animated title with Keynote, exporting it to a movie file, then importing it into your editing app.
It’s easy to do and only limited by your imagination, so let’s give it a try.
Let’s get creative
Ready to start? Follow along as I create a short animated movie title for a video I’m making. I always start by envisioning the type of animated title I want for my project. For example, in this case I want something that:
- Starts with a black screen, then dissolves into a photo
- Features animated lettering that appears over the photo with the name of the movie
- Dissolves into another photo, with an animated list of locations appearing on screen
- Fades to black, shows photography credits, then fades to black again.
Create the first scene
The first step in creating your new title is to choose a theme in Keynote and create a background.
To begin, launch Keynote on your Mac. You can use the iPad version as well, but I prefer the control and screen size of a Mac for this type of work.
Keynote greets you with the standard macOS dialog for selecting a file. Locate the New Document button and click it.
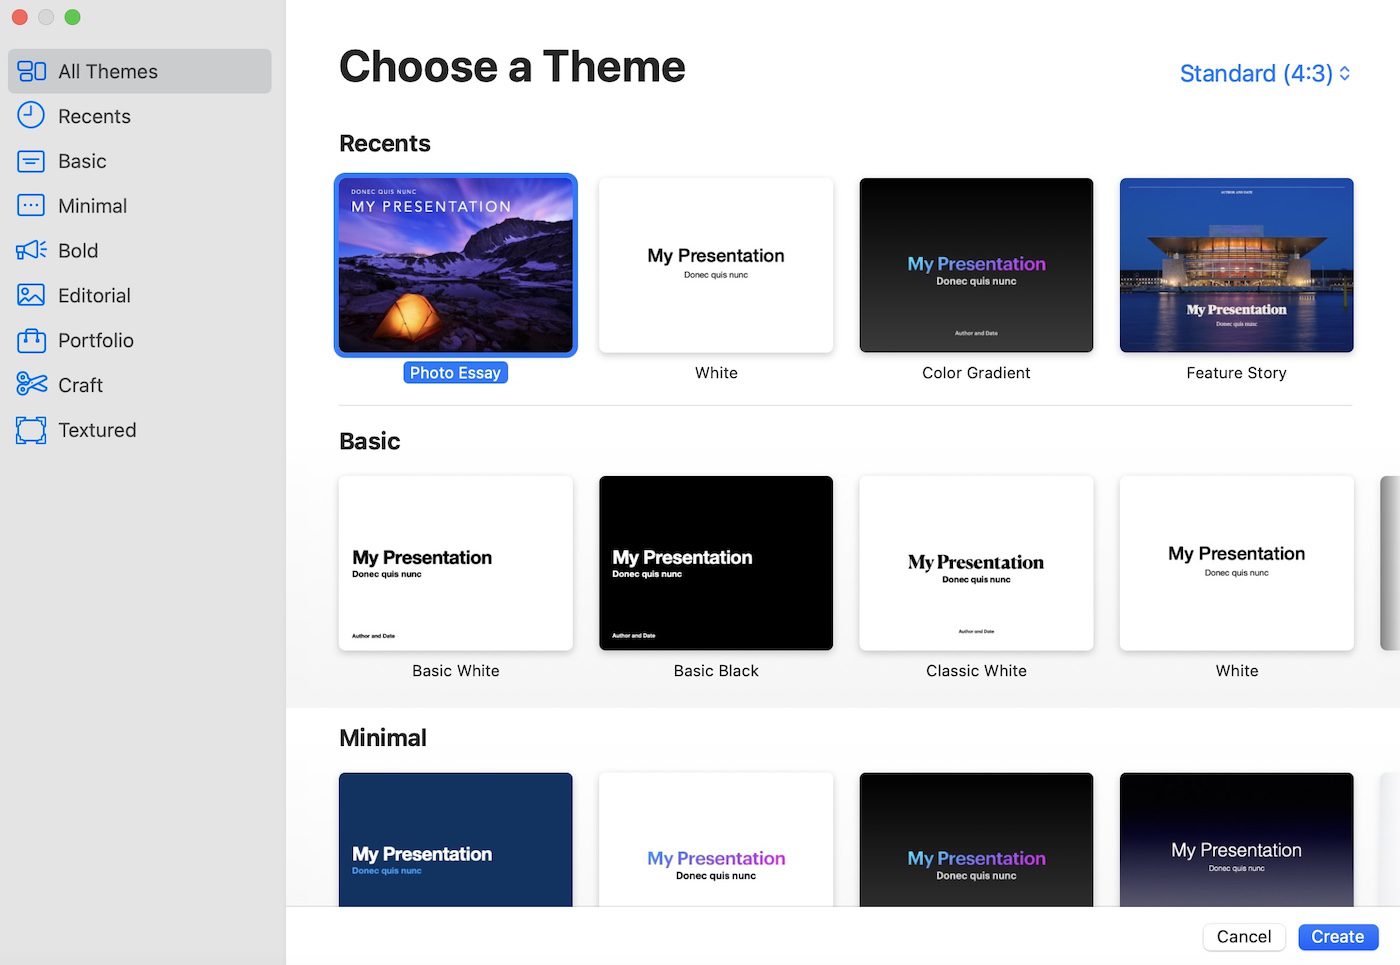
Keynote asks you to choose a theme to use. For animated titles using photos as a backdrop, I recommend the Photo Essay theme as a good choice to begin with.
You’ll also need to determine what aspect ratio you wish to use for your titles. If your video was shot in standard 4:3 format, select that in the upper-right corner. If you’re working with HD (1080p or 720p) or 4K video, choose Wide (16:9).
Once you’ve chosen the theme and aspect ratio, click Create. A blank slide appears.
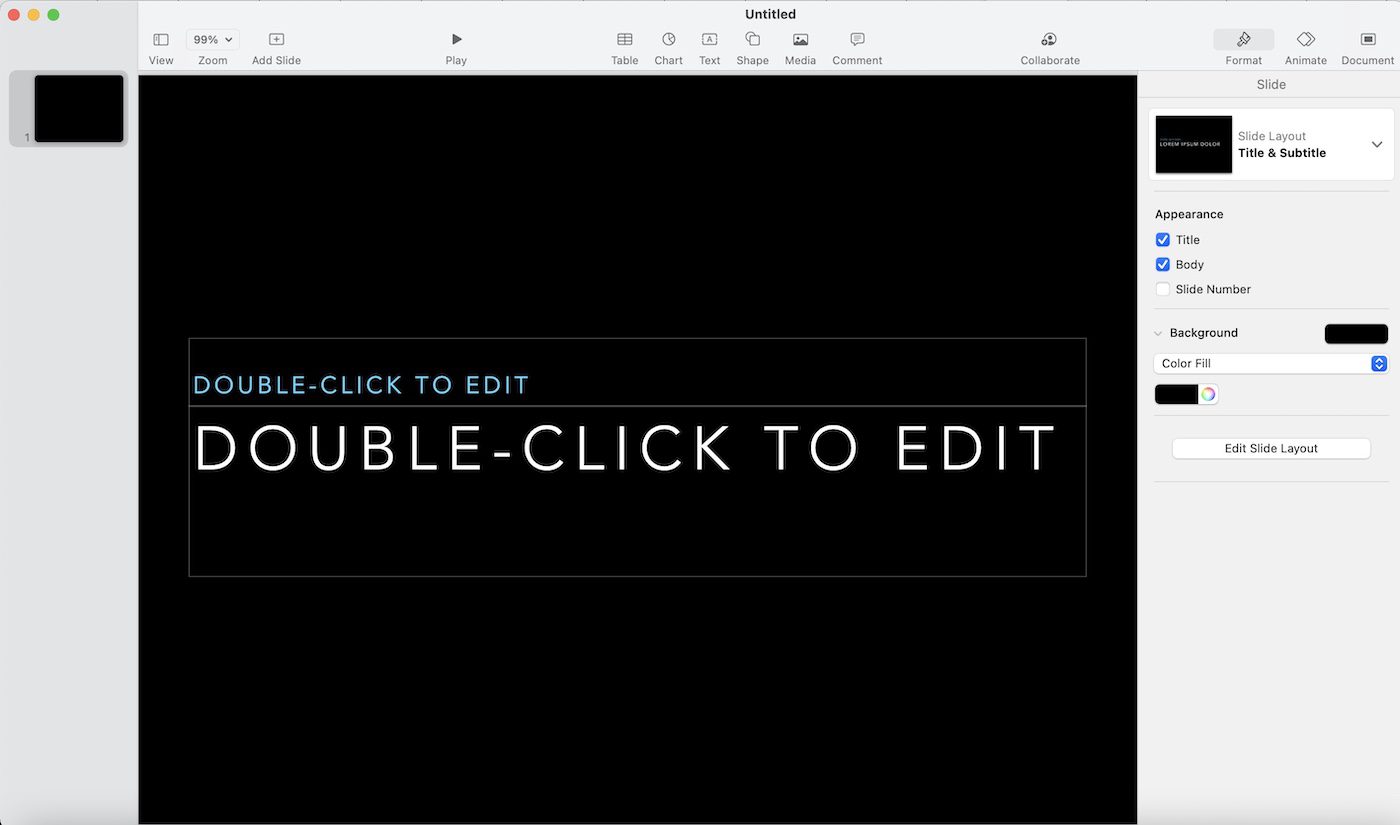
This is actually perfect for our first slide! We want to start with a black background.
Click on each of the text box placeholders shown above. When the “handles” (small square boxes on the perimeter of the text box) appear, press Delete on the keyboard. Do this for both text boxes, and you should have a black background.
Next, add a new slide. Click the “Add Slide” button in the tool bar above the slide. A palette of possible slide types appears. I chose Photo, since I’ve decided my second scene in the title will have a photo background.
Select a photo
The Photo slide has a placeholder picture, but it’s not what we want. We want to bring in an image from our own library.
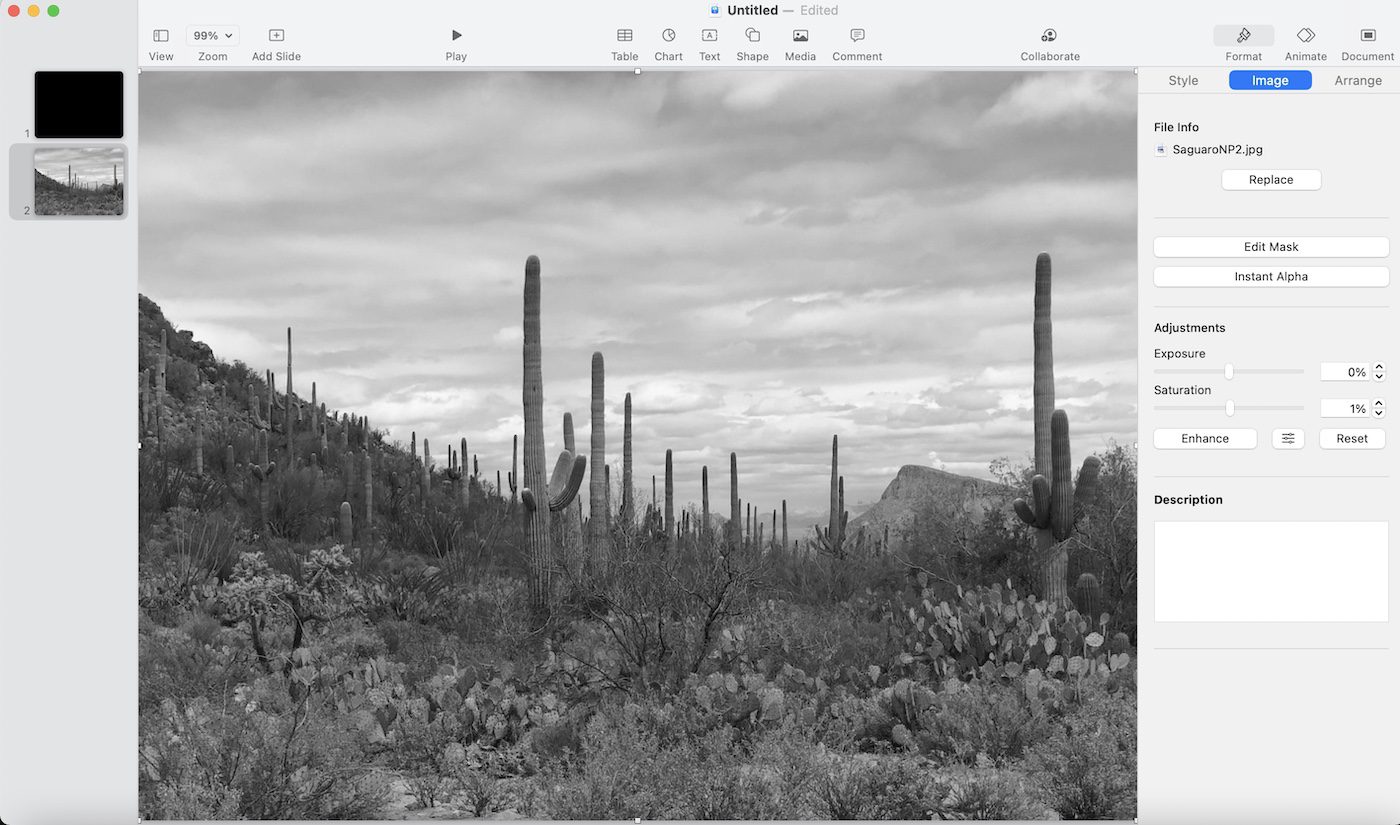
Click the background photo on the slide, then click the Image tab in the sidebar at right.
A Replace button appears. Click it, then use the standard file picker to choose your photo.
Adjust Exposure and Saturation as needed. When the image I chose appeared in Keynote, I used the Exposure slider to lighten the image a bit. This is what my second scene looks like at this point:
Add text boxes
At this point, we want to add a few text boxes for my initial titles. To begin, click the Text button in the top toolbar, and a text box appears on the screen.
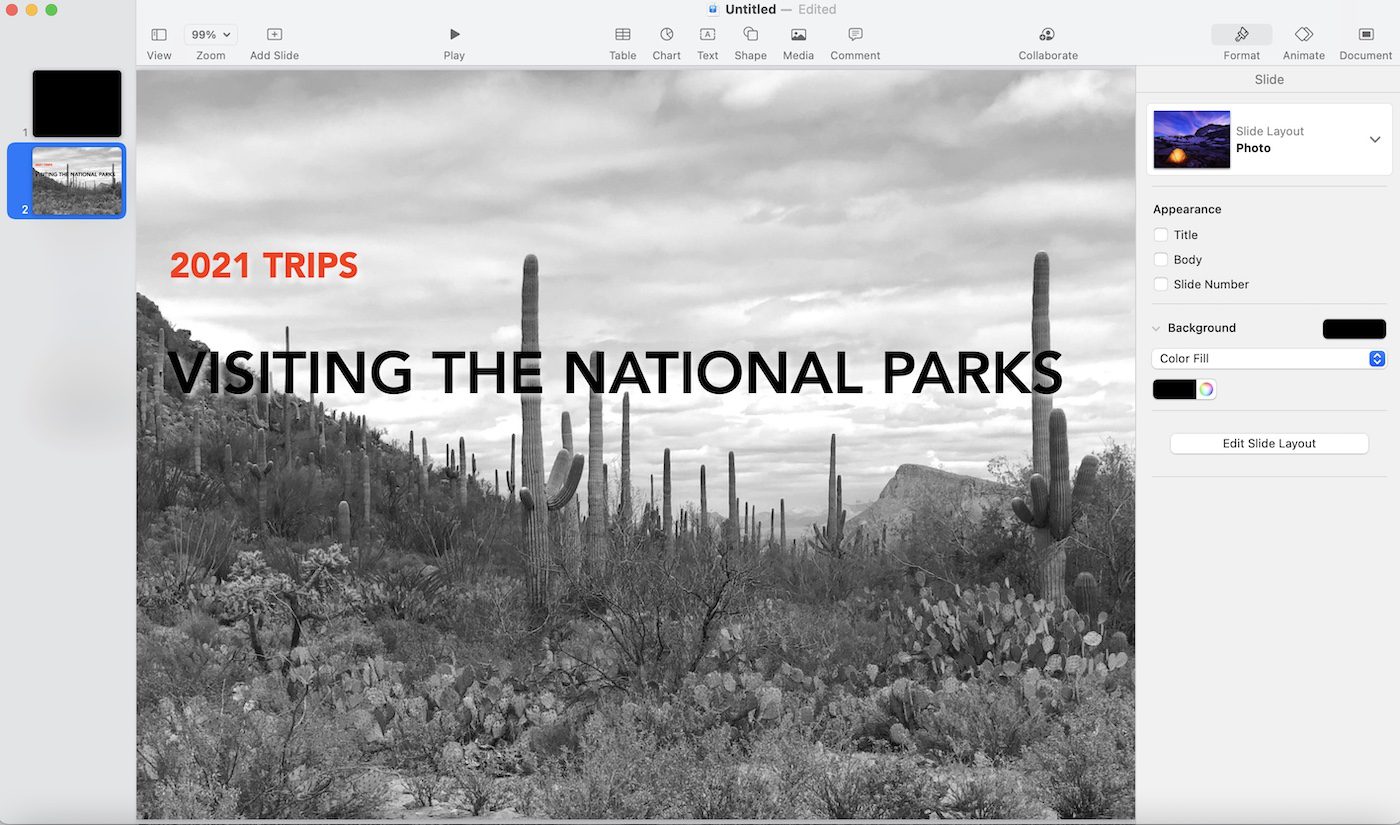
Using the Text tab of the sidebar, select a font family, typeface, color and size. For the top line of text, I selected Avenir Black 36 point in red, while for the main title I used Avenir Black 60 point in black.
My title image is black and white, so to make the text stand out a bit, I clicked each text box to select it and then added a Drop Shadow (in white) to the text. Playing with the blur, offset, angle, and opacity of the shadow produced a suitable effect:
That’s it for this slide; we’ll add the animation shortly.
Add another photo slide
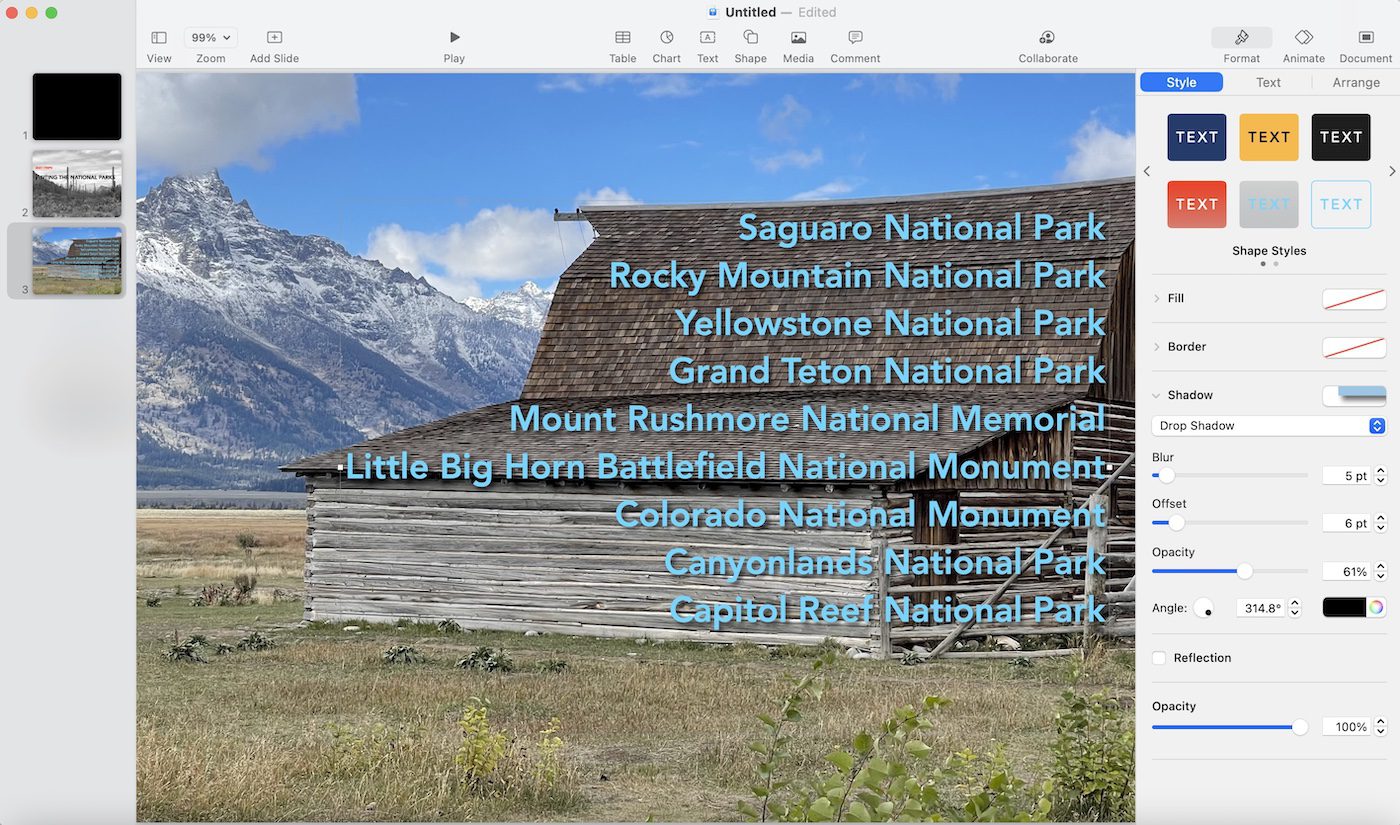
At this point I’ll add another photo slide using the process described earlier. In this case, I want to add a list of national parks to the slide. I add one text box, select my font family, typeface, size and color as before, but here I create a non-bulleted list by pressing Return after each park name.
As before, adding a shadow to the text (this time in black) makes it more readable against the picture background:
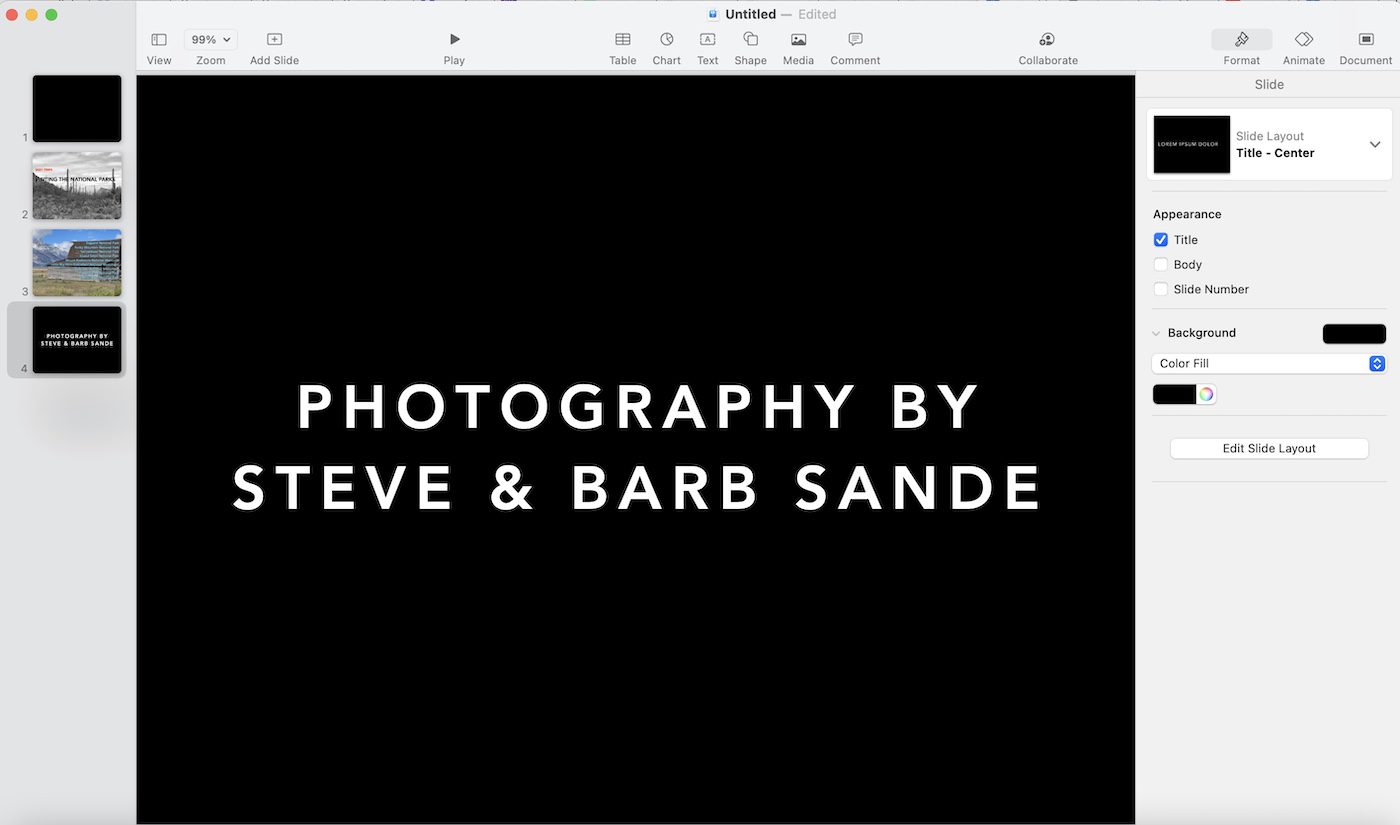
Going back to my original vision for the animated titles, I want to add a black screen and some photographer credits to it. That means adding another slide. This time I chose Title – Center from the choices available and added plain white lettering on the black background.
Adding animation: transitions
At this point we have a pretty boring slideshow, but we’ll bring it to life by adding animated transitions and builds. A transition is what happens between two slides, while a build happens on a slide. For example, I could dissolve from one slide to the next (transition) and then have text appear at different times with special animations (build).
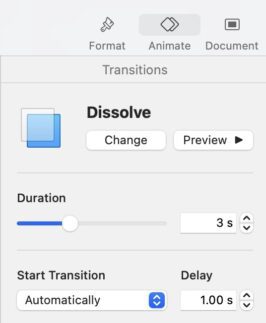
We made our first slide black to add some drama. We want it to stay on the screen for a bit, then dissolve into the first titles. To do that, click the first slide, then click the Animate button on the toolbar.
Next click the Add an Effect button. Keynote gives you several options for transition effects. I chose Dissolve. In practice, you may wish to try different transitions by selecting them and previewing the effect.
It’s also a good idea to play with the Duration and the Delay. The Duration is how long it takes for the transition to complete, while Delay is how long the transition “holds” before starting. Also make sure to select Automatically under Start Transition. This makes our slide show run without prompting by a click when we try it out.
Adding animation: builds
Now we’re on our second slide. With this title, I envision the subtitle (“2021 Trips”) appearing first, followed by the main title (“Visiting The National Parks”).
I start the build by clicking on the subtitle, then selecting an effect from the Build In tab. I really like the Trace effect, which looks like someone using drafting tools to do lettering on the screen. As before, selecting a direction and duration for the effect is important.
I also selected a Dissolve effect from the Build Out tab. This means that the titles appear on the screen, sit for a moment, then dissolve to nothing.
After previewing what the build effects looked like, I adjusted the durations a bit more to my liking. As I recommended earlier, use Automatically under Start Transition in all cases.
Finally—and to keep things moving along I won’t demonstrate—I added a fancy Lens Flare Build In effect on the last slide.
Make a movie
Now, by this point I’m sure you get the picture on how to add and preview various effects for builds and transitions. When you feel like your titles are complete, click the Play button on the toolbar to preview your titles. Note that you will need to click to progress through the builds, although the transitions happen automatically.
When everything looks good, we’ll export our titles as a movie. Select File > Export to > Movie… from the Keynote menu.
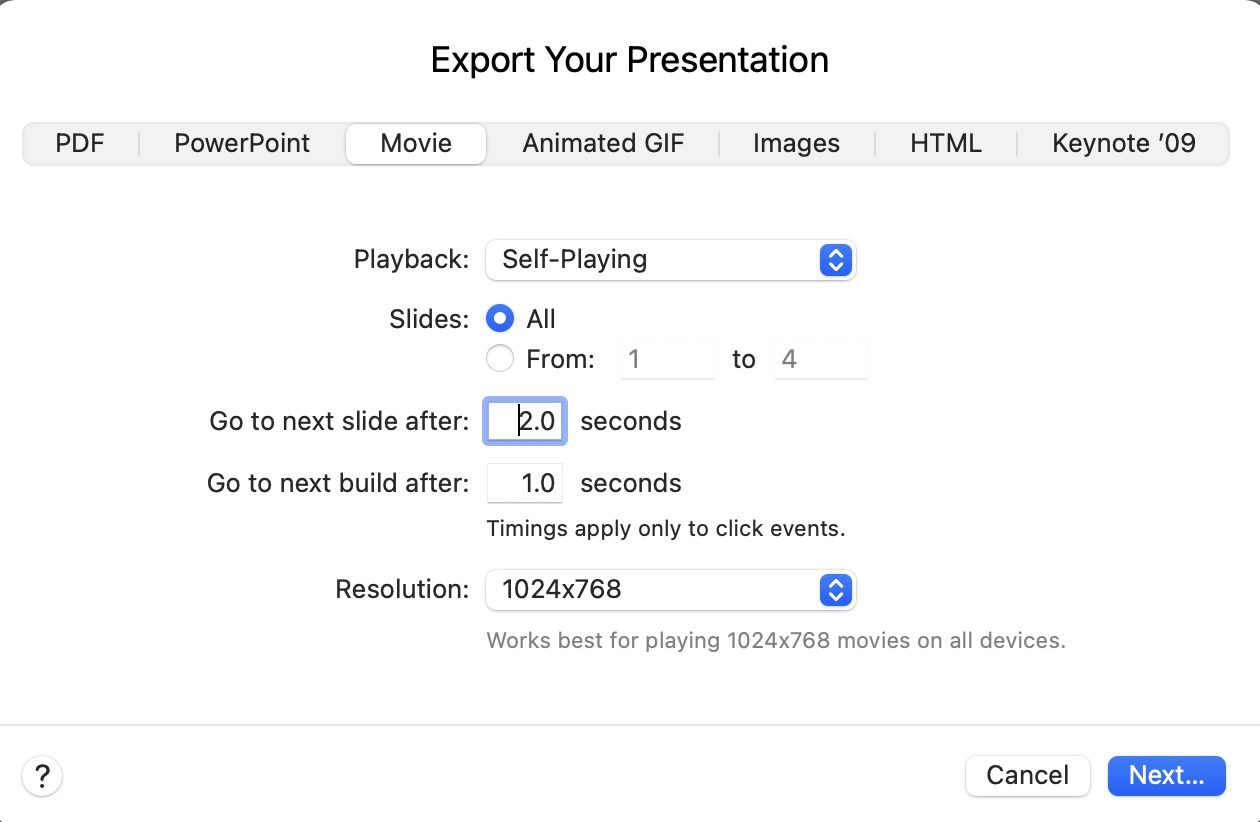
Self-Playing is selected by default for exporting as movie. Be sure to select all slides, choose a time for Keynote to move to the next slide or build, and choose a resolution. Here 1024×768 was selected, but you can change resolution to match the video you’re adding the titles to.
Click Next…, choose a location and name for the file, and let ‘er rip! My complete animated movie title is a minute long and 27.2 MB in size. The final product is embedded below:
Extra credit!
For extra credit in this class, you can figure out how to add music or a narration to the background of the titles. Hint: cCick the media button on the toolbar.
Related Topics
Really want to get fancy with your Keynote animations? Bradley Vinson has an amazing YouTube channel that demonstrates the use of Keynote not only to do animations like this, but to create animated overlays for livestreaming. Check out his channel Bradley Teaches for a look at what you can achieve in Keynote.
The Rocket Yard is filled with thousands of articles to answer your questions or stimulate creativity. You may find these articles to be helpful:





This is great!
Any reason I could not make an entry “movie” for the hero block of my website?
Rich