


In this post, we’re going to talk about choosing the right video codec. We’ll explore what codecs are, how they affect video editing workflows, and which one is right for you and your team or project.
What is a codec?
Codec is a combination of the words compression and decompression. We need codecs to compress and unpack our video files because uncompressed video files are just gigantic. For example, one minute of 6K uncompressed 12-bit RGB video would be over 100 gigabytes per minute. That’s way too much data to manage in post. It’s just too large and too complex.
One quick note here: .MP4 or .MOV are not codecs. Those are simply file extensions that you see after capture or during delivery. These types of files are called containers. They’re what your video codec is going to be packed up and shipped in.
Does compressing video mean losing quality?
Codecs reduce the size of your footage, allowing for more efficient work through the entire post-production pipeline. This may make you wonder, if the codec is making my file size smaller, will my image look worse?
Luckily, compression doesn’t necessarily reduce video quality in an appreciable way. There are many high-end codecs you can choose from that still deliver excellent image quality. You might not even be able to distinguish the compressed video from the original.
That said, choosing the wrong codec for post makes it very difficult for your computer to process the footage. That can make your editing sessions enormously frustrating. Putting too much emphasis on preserving the quality of your uncompressed video can cause problems too.
Compression, mezzanine, and RAW
Here we’ll focus on the three codec types that you’ll see most often in post-production:
- Compression codecs are designed to pack a lot of data into a small file size while still maintaining respectable quality.
- A RAW codec captures the data that your camera’s image sensor sees without changing the format. It enables your post-production team to change settings such as white balance ISO, highlight rolloff, contrast, and the like.
- Mezzanine codecs—also referred to as editing codecs or intermediate codecs—have larger file sizes, but can allow your computer to work much more easily.
The problem with H.264
Most of us are familiar with H.264 because that’s what so many cameras record. If you’re using an iPhone, a drone, a modern DSLR, or a mirrorless camera, you’re likely capturing in H.264 or its emerging successor, H.265. While these codecs produce small file sizes, they’re incredibly difficult to use during the editing process. Compressed codecs lead to choppy playback, which causes editors endless frustration.
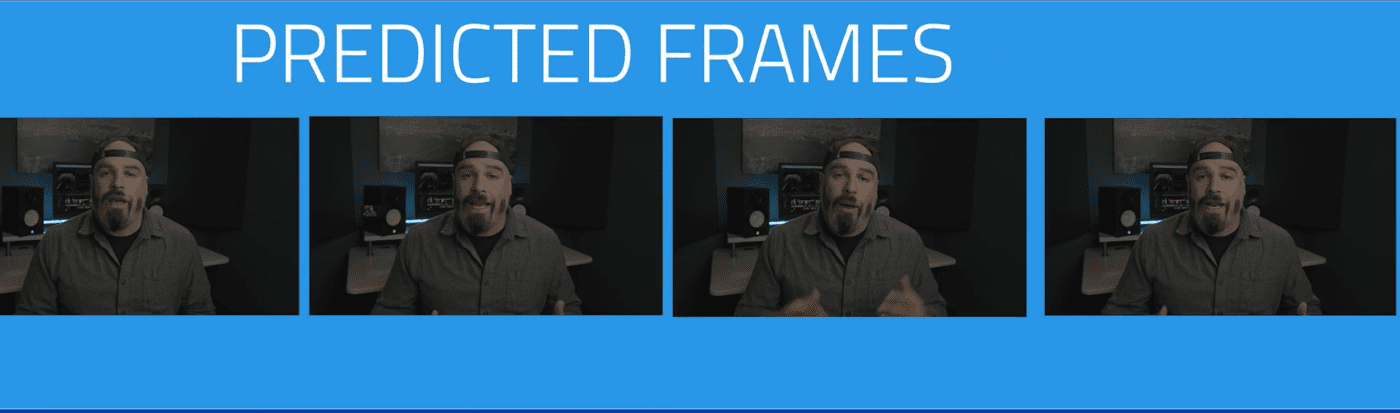
Rather than store all of the data in every frame of video, H.264 makes video files considerably smaller. It does so by creating keyframes, or I-frames, that your computer uses to predict what’s going to happen in several frames that follow. When you scrub along your timeline and you land on one of these predicted frames, your computer must reach back to the I-frame, find all that info that’s missing, and fill in the blanks. That’s a demanding task that requires a lot of processing power, and something you must take into account when choosing the right codec for post.
RAW recording and external storage
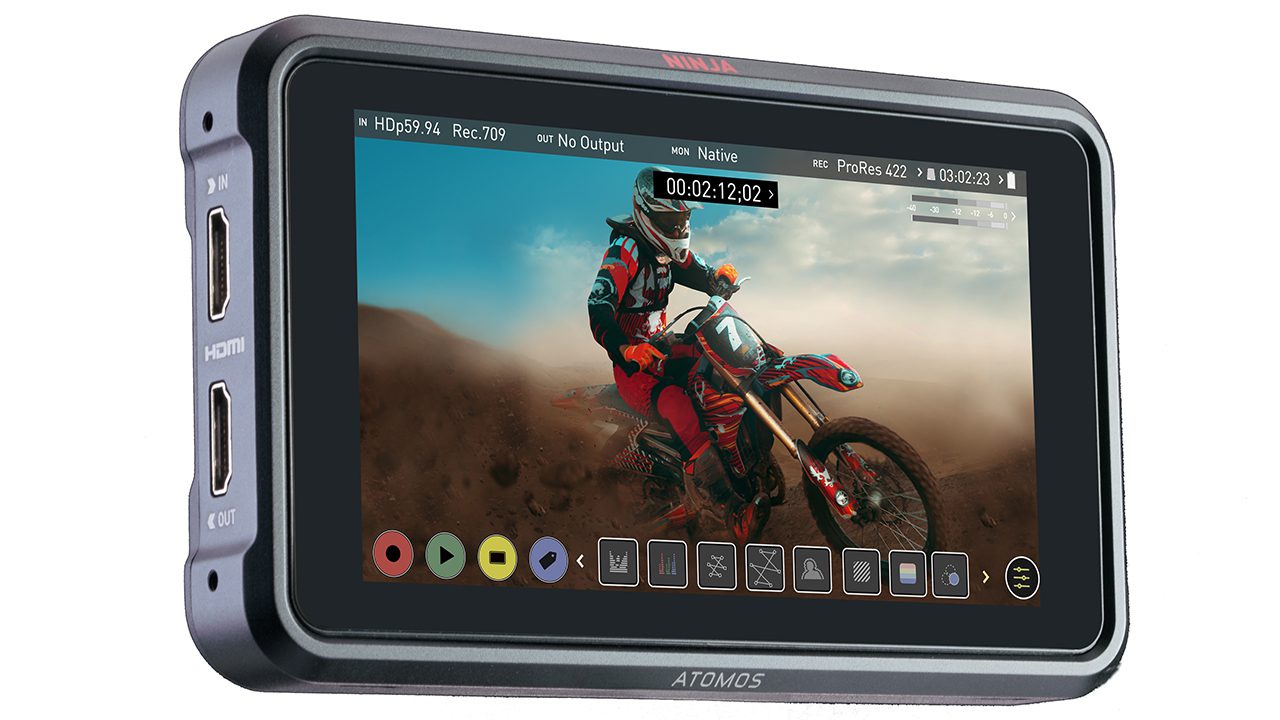
External recorders like the Atomos Ninja V provide a great alternative to the H.264 video that cameras record internally. It can store your video in a mezzanine codec like Apple ProRes when attached directly to your DSLR or a mirrorless camera.
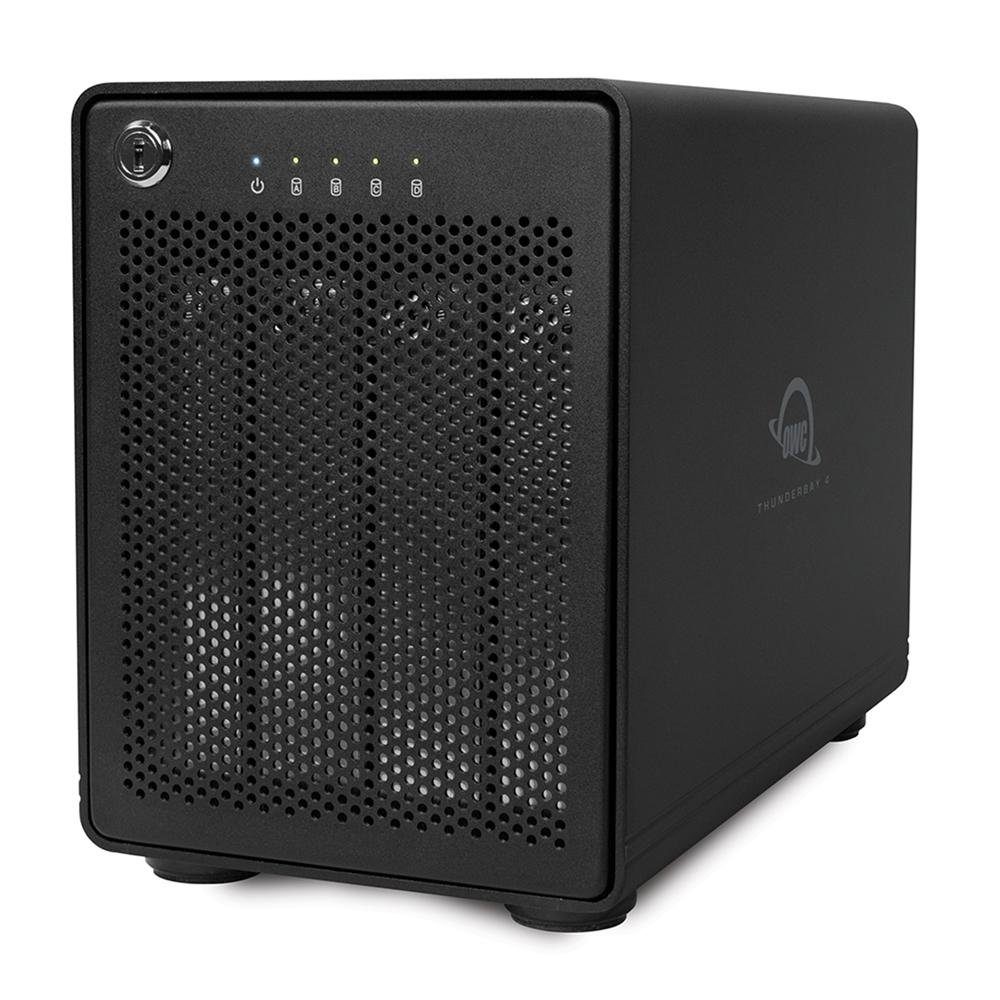
Some higher-end cinema cameras such as the Blackmagic Pocket Cinema Camera 6K offer the ability to record natively in ProRes. Others also allow recording in a RAW format, which is great for preserving quality but comes with tremendous file sizes. Using a high-performance shared storage system like the Jellyfish, or a fast, high-capacity RAID system like ThunderBay can solve this problem.
The mezzanine option
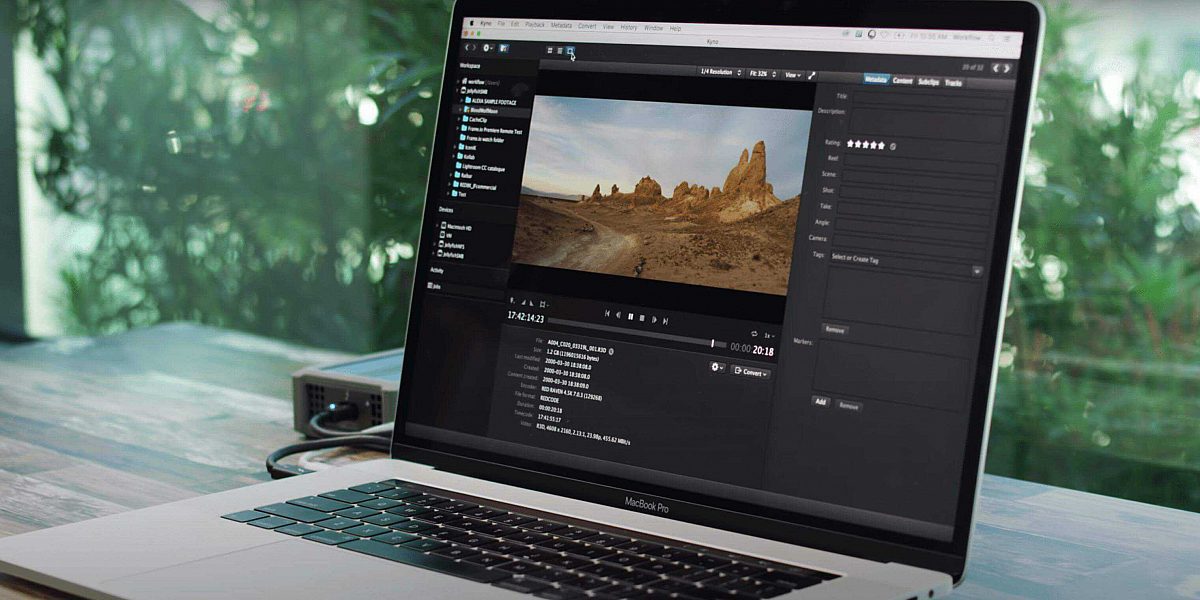
For the average user, RAW files will likely hurt your computer’s performance if you try to edit with them. Some codecs like Blackmagic RAW and RED RAW can even be played natively on a computer without using your NLE or a media management solution like Kyno for Jellyfish.
This is where mezzanine codecs come into play. Mezzanine codecs are minimally compressed, and they’re much easier on your system. Unlike H.264, these codecs basically store all the frames in your video as I-frames. So when you’re scrubbing through your timeline, wherever your cursor lands, the mezzanine codec has access to a complete picture. It doesn’t need to go search for that reference frame and rebuild the picture for you.
The most popular codecs in this space are Apple ProRes and Avid DNxHD.
Which codec should you choose?
Have you ever heard the saying something can be fast, cheap, and good—now pick two? The same applies to video codecs. There are three contributing factors to consider when choosing the right codec for post. Unfortunately, you can’t have all three at the same time.
The choice comes down to which two of these three things matter to you most: highest quality, smallest file size, or ease of editing.
If you want high quality and ease of editing, your best bet is going to be a mezzanine codec like full-resolution ProRes or DNxHD. The storage space required can get expensive, but it might be well worth the positive impact to your team’s workflow.
If you want high quality and a much smaller file size, a compressed codec like H.264 might work best for you. This choice will require you to be very patient when you’re editing because your computer is going to have to do a lot of work.
Finally, if you want a small file size and ease of editing, consider a lower-resolution ProRes or DNxHD file. You might try transcoding your 4K footage to 720p ProRes proxies. In a proxy workflow, you convert your original camera media to a more edit-friendly codec while you’re working in your NLE. Then, when you’re done, you relink the original full-resolution media for color grading and delivery.
This is a great solution for folks working with remote editors. Any media you have can always be transcoded into a lighter-weight, mezzanine codec appropriate for your workstation. It’s a great way to increase productivity and make efficient post-production from start to finish.


Codecs has been -the- number one confusing thing for me. Thanks for this info!
Is there a word missing in this sentence in the middle of paragraph 12: “When you scrub along your timeline and you land on one of these predicted frames, your computer must reach back [to] the I-frame, find all that info that’s missing, and fill in the blanks.” ? Does my guess about that word show I understood Stephen correctly anyway? That would be a tribute to the clarity of his writing! Thanks for this.
Stephen responding here: That’s correct. Thanks for the close read! I’ve updated the post with your helpful edit.