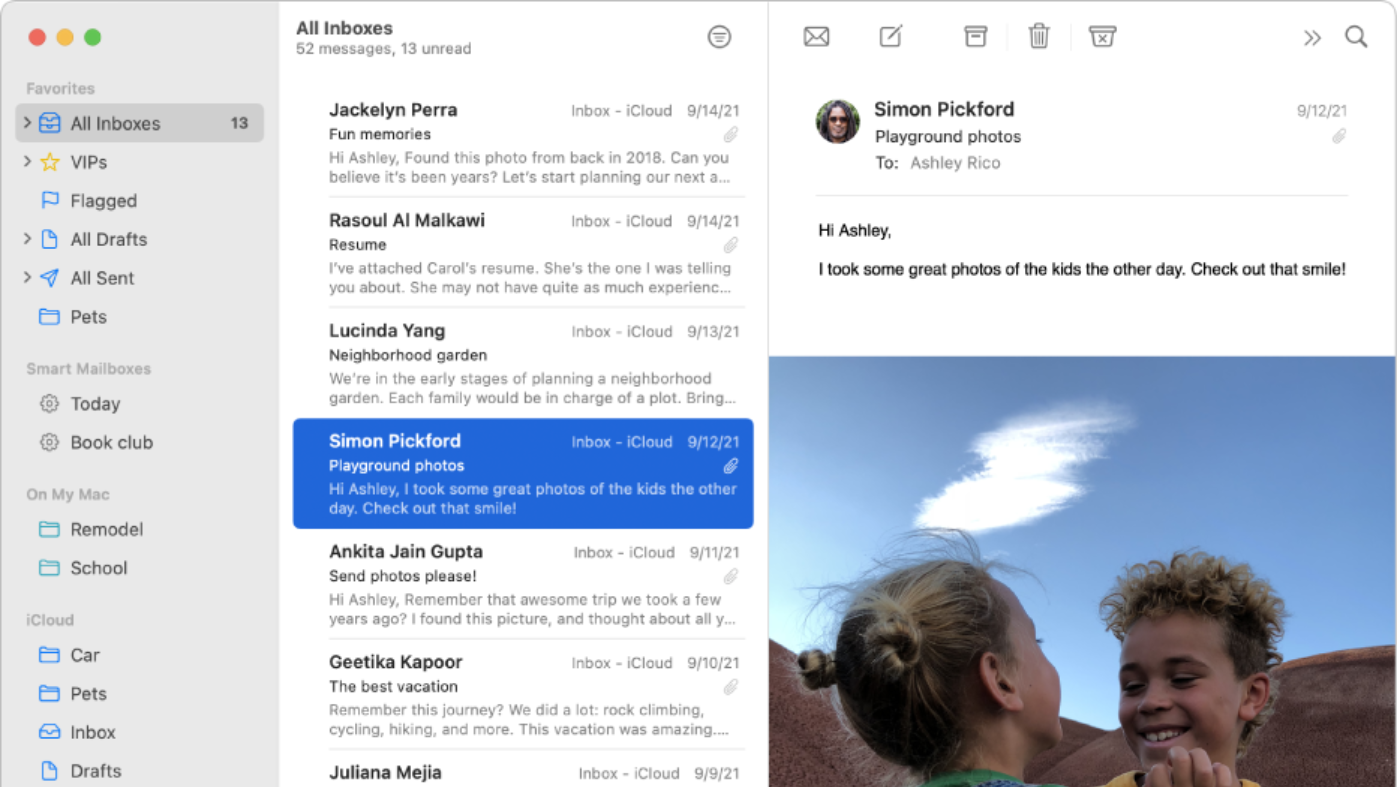
Did you know that you can create multiple mail signatures for your emails in macOS Mail? If you have more than one email account (as most of us do), you can create a custom email signature for each account. Here’s how:
- Launch Mail.
- Click on Preferences in the top left of the menu bar.
- Choose Signatures.
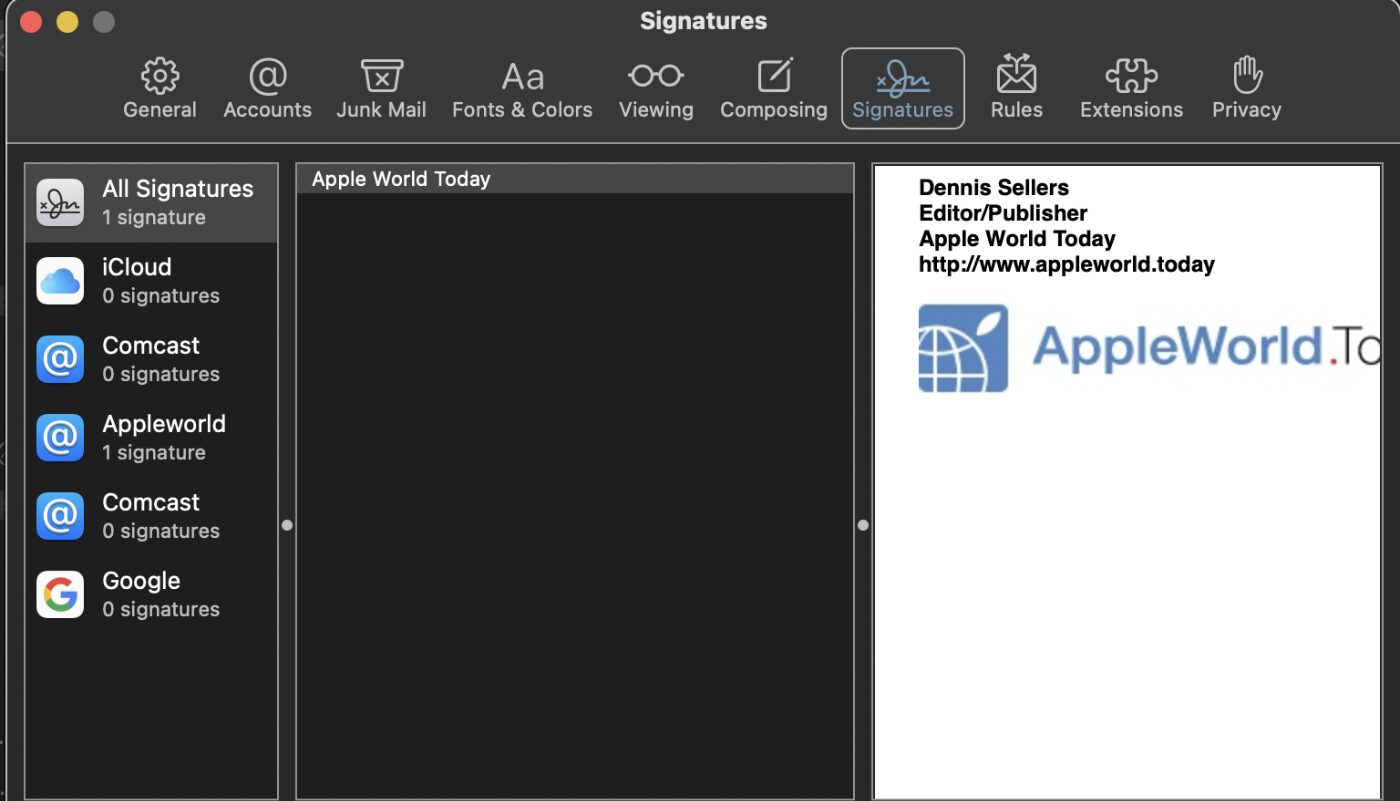
- From the list of email accounts on the left, choose the account for which you wish to create a signature.
- Click the Plus (+) icon.
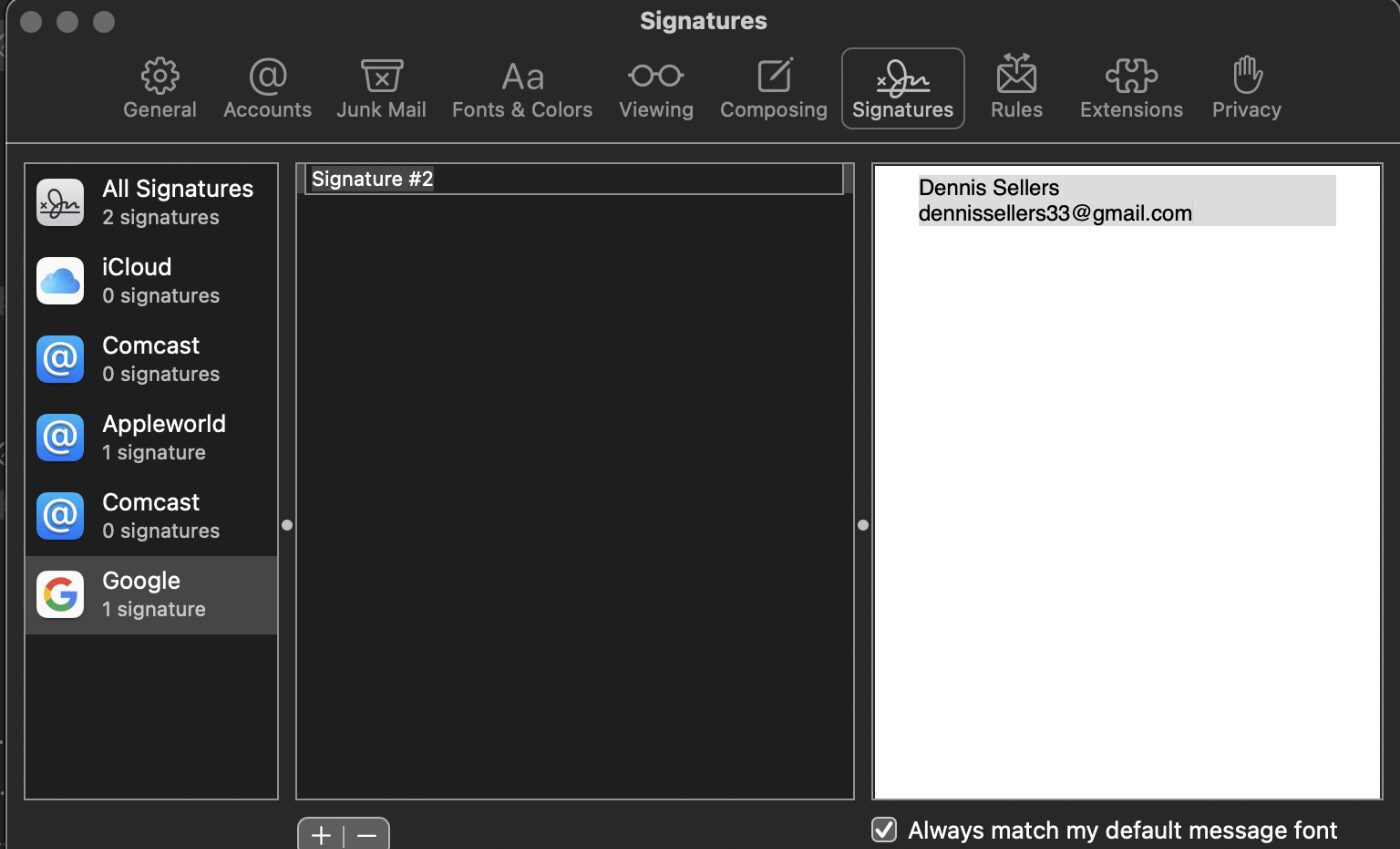
- Type an appropriate name for the signature in the middle column. For example in the graphic below, I choose “Google Signature” for my Google email account.
- In the pane at the right, enter the signature you wish to use. For example, I choose “Dennis Sellers, Editor/publisher of Apple World Today.”
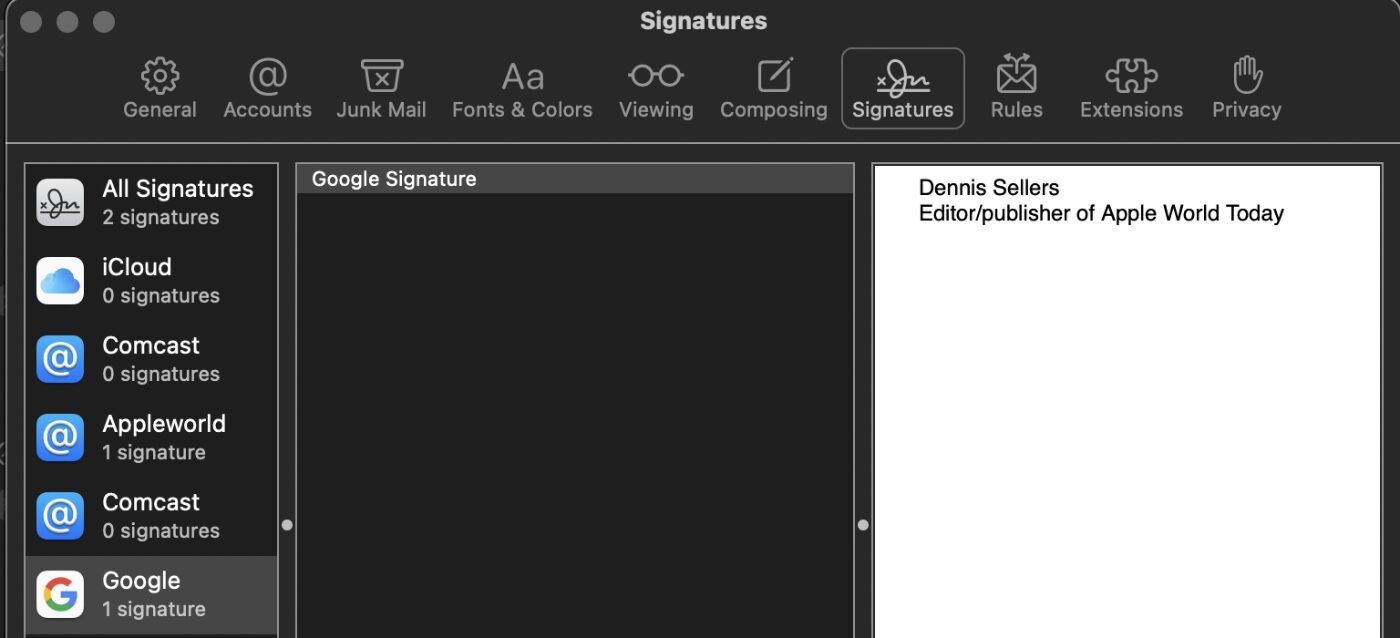
- To add an image, drag the one you want into the preview window at the right and resize it as needed.
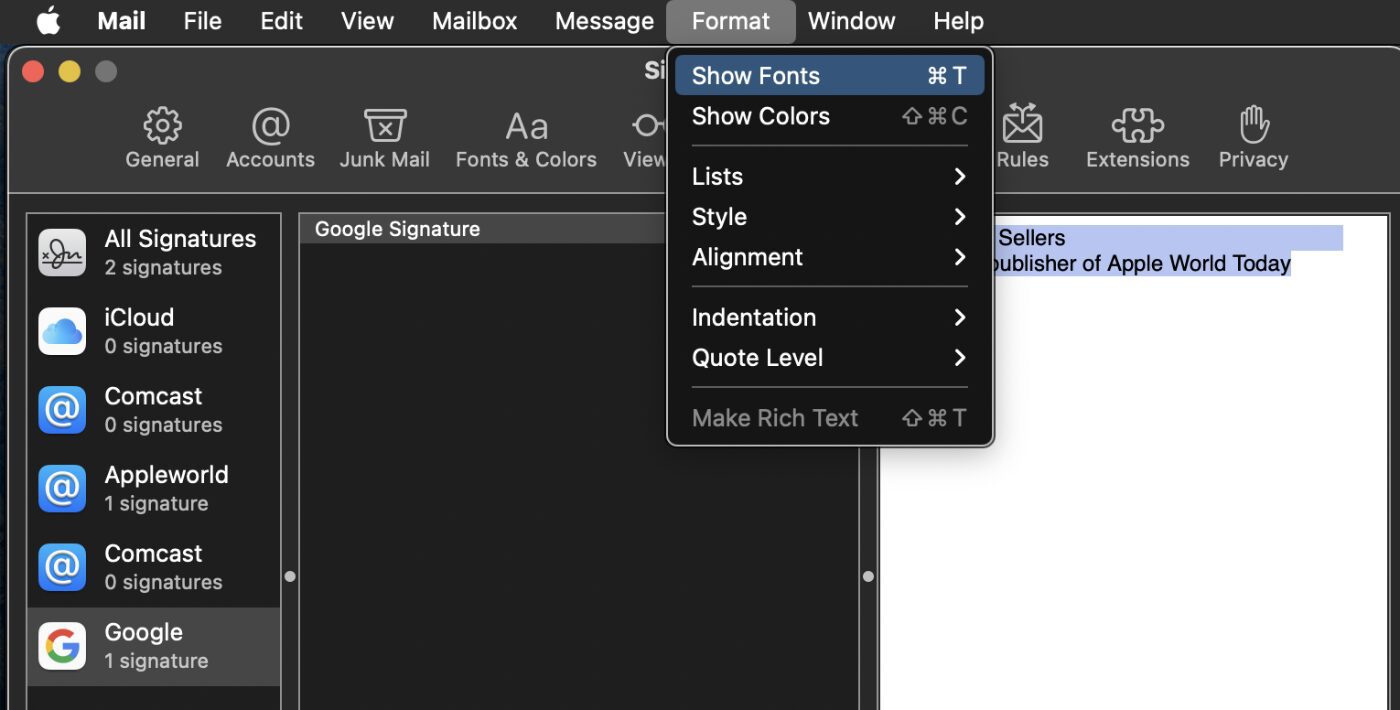
- To change the font type and color in your signature, highlight the text. Then click on Format at the top of the screen. Show Fonts lets you choose a font, and Show Colors lets you pick a color for the font.
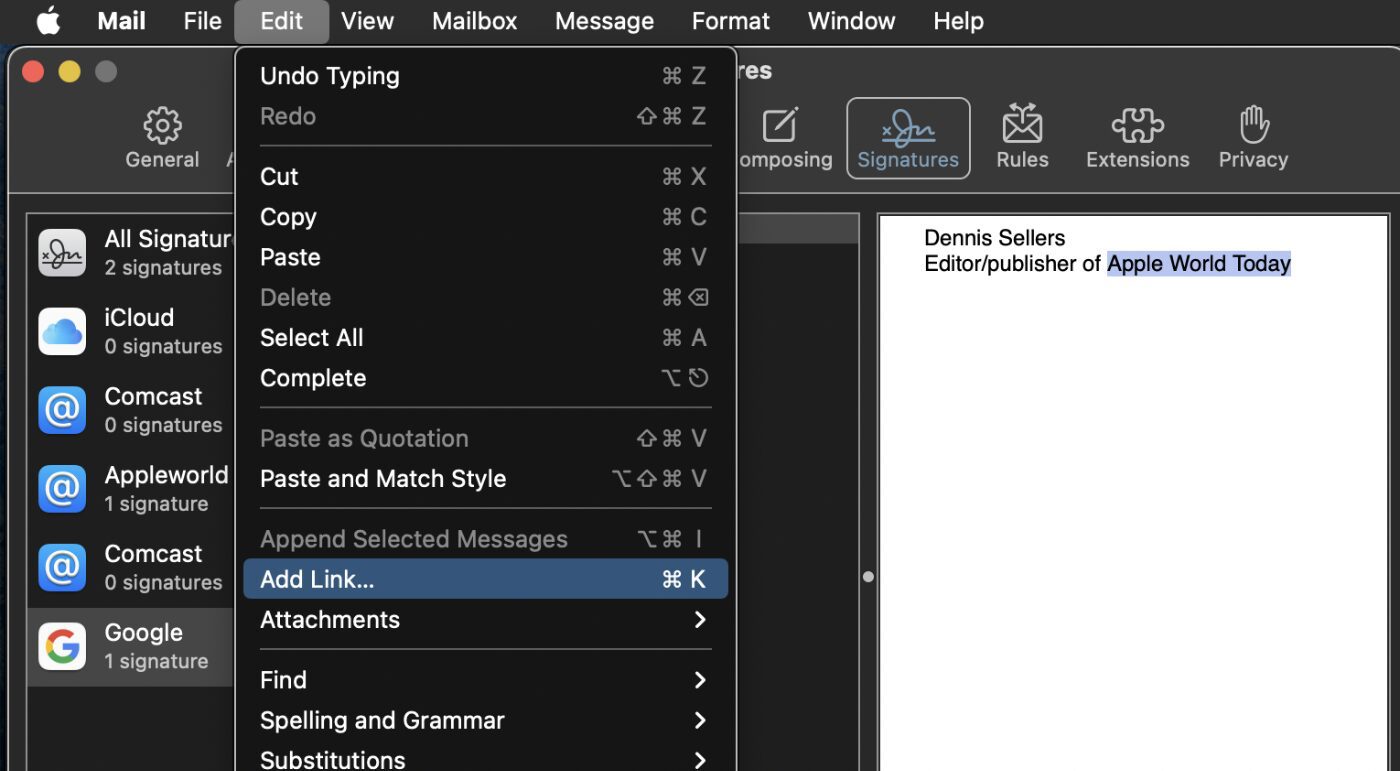
To add a hyperlink, select text and click on the Edit option from the heading. Use the Add link function to link a URL to a word or phrase in your signature.
Other options from the Preference pane
If you want your signature to appear after any text in emails you reply to or forward, deselect the box dubbed “Place signature above quoted text” in the Preference pane.
Now when you compose a message in Apple Mail, the option to choose your new Mac email signature will appear beside the sender information bar. And if you use iCloud Drive, your signatures will be available on your other Macs that have iCloud Drive turned on, and Mail selected in iCloud Drive options.
