Apple’s iMovie is a video editing app like no other. It’s especially easy to use if you are new to video editing. And if you use an iPhone, many of its features will feel familiar. So, let’s dive in and see how easy it is to make a quick video with footage shot on your iPhone.
Importing your video from the Photos App
The first step in any video edit is getting your video from your iPhone into your Mac and imported into iMovie. If you use iCloud, your videos should already be synced to your Photos app.
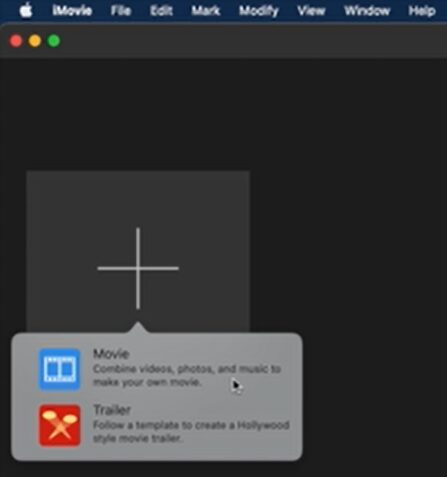
- Launch iMovie.
- Click the large plus (+) icon to create a new project.
- Click Movie. iMovie opens your Photos library.
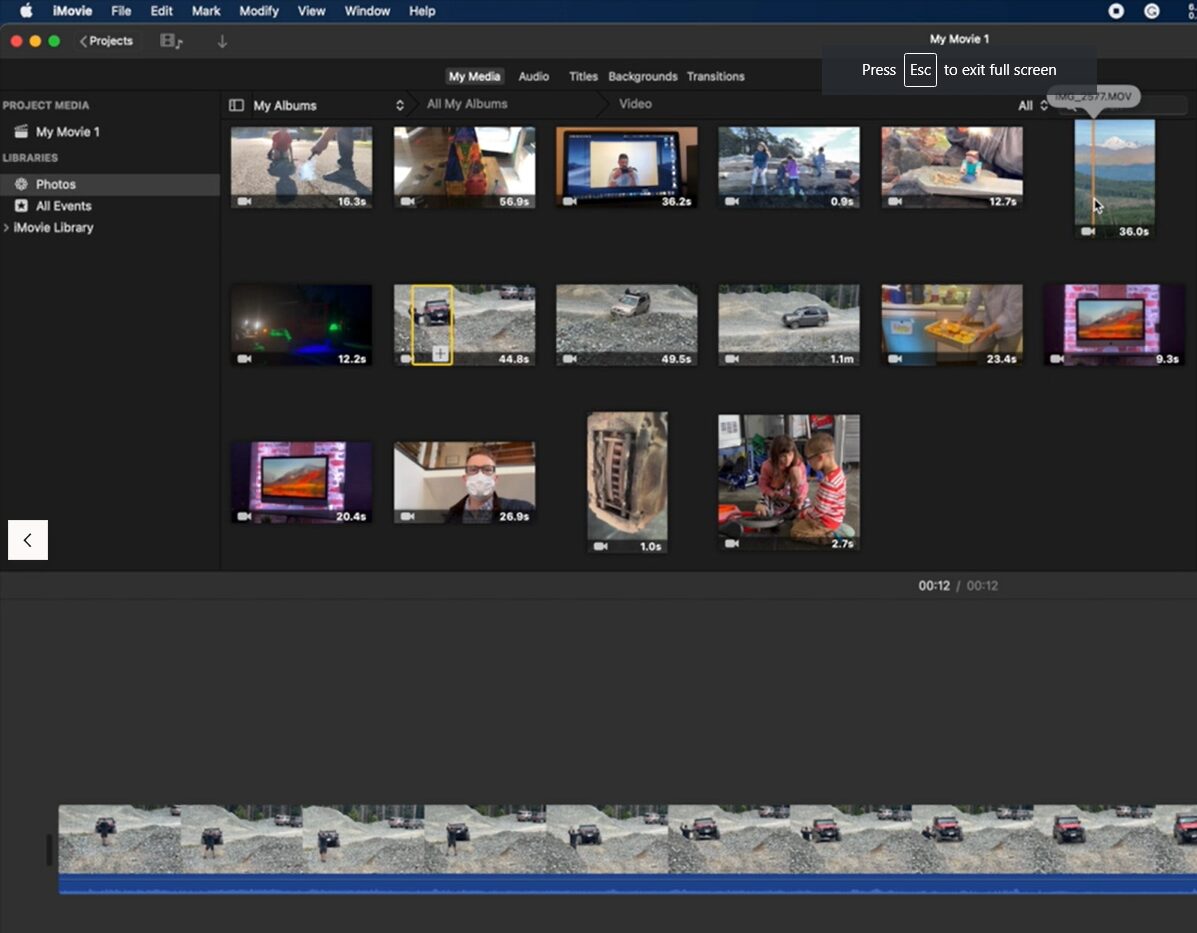
- In the search field, type Video.
This will reveal the Video album in your Photos app. Here you’ll see the movies that you’ve shot on your iPhone that have synced with iCloud.
If you don’t use iCloud, just connect your iPhone to your Mac with the cable.
Creating your first iMovie video
Next, you’ll add video clips to your timeline
- Skim the mouse cursor over your footage by floating your playhead, or Skimmer, over each clip.
- Once you have identified a section that you want to use, skim to the first frame of that section and press I. “I” stands for In Point. That’s the beginning of the clip you want to insert into your project.
- Skim to the end of the clip that you want to use and press O with your cursor on the frame that you want to end on. “O” stands for Out Point. That’s the end of the clip you want to insert into your project.
- Press E.
- In the new dialog box that opens, click Confirm.
Boom! You’ve edited your first video clip with iMovie.
Repeat this process for each clip you want to add: I for the in point, O for the out point, and E to append it to the end of the video. Then you can rearrange your clips by just dragging them around.
Finishing, exporting, and posting your video
Once you’ve edited, added, and sequenced your clips, press the spacebar to play the video.
Once you’re satisfied with your video, you’re ready to export.
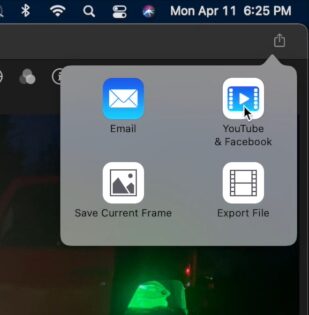
- Click on the Share icon in the top-right corner to export your video.
- Choose Export Video, then click Next, which will reveal iMovie’s great default export settings.
- Click on your destination of choice to upload the edited video to your favorite social sites like YouTube or Facebook.
iMovie makes it easy for beginners to make videos with lighting speed. What are you going to create today?