You can add and remove your various devices from your Apple ID device list on your Mac. This comes in handy when you buy a new device, replace an old one, or sell/trade-in a device.
What is an Apple ID?
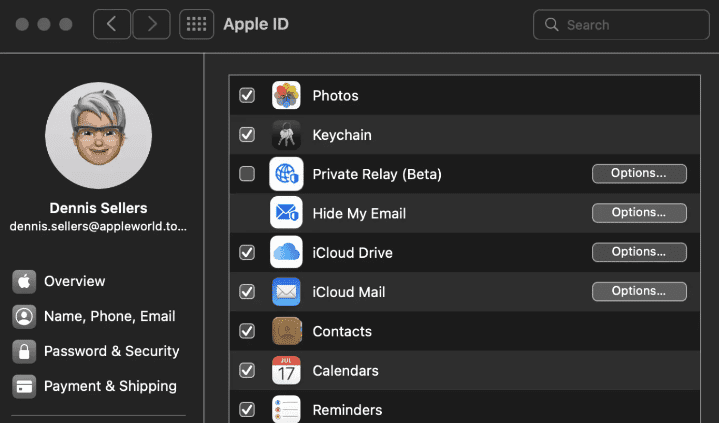
Apple ID is an authentication method used by Apple for Macs, iPhones, iPads, and other Apple devices. Your Apple ID contains your personal information and settings. When it’s used to log in to an Apple device, your will automatically use the settings associated with your Apple ID.
See which devices are signed into your Apple ID
It’s easy to find out which devices appear in your Apple ID device list. Here’s how:
° Click the Apple menu, then System Preferences : > System Preferences.
° Click Apple ID.
° A list of devices associated with your Apple ID appears in the left-hand pane.
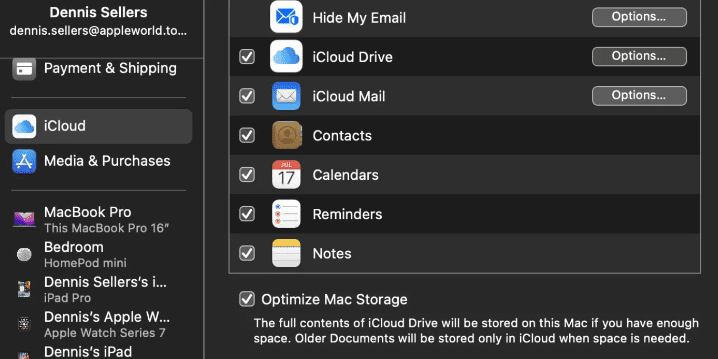
Click any device name to view that device’s information, such as the device model, serial number and operating system version.
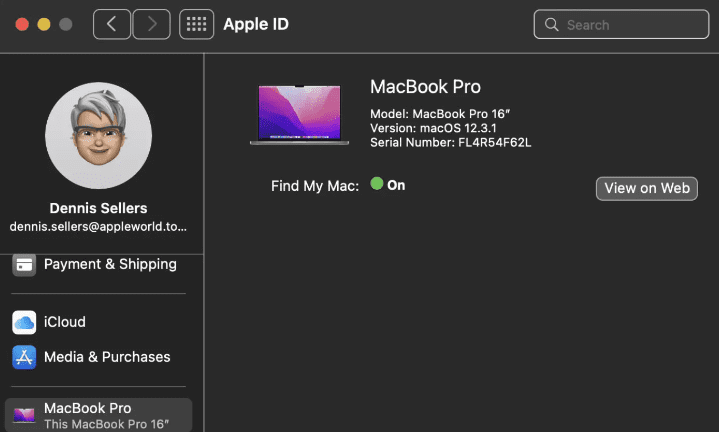
The info may vary depending on the device type. (You may need to answer your security questions to see device details.)
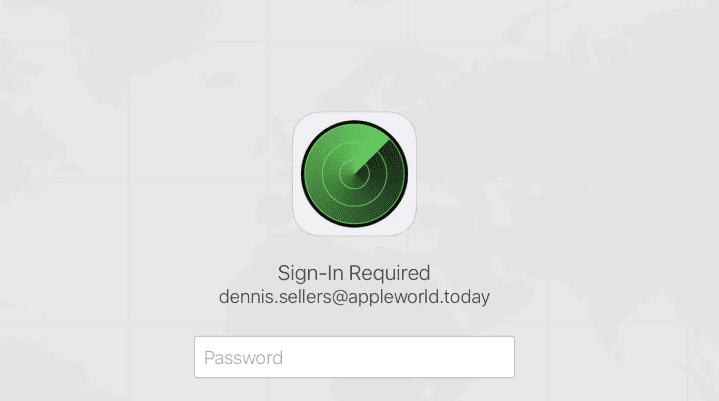
If you click the “View on Web” option, Safari will open the “Find My” service on iCloud, and you’ll be asked to sign in.
How to add a device to the list
This is the easiest step of all. When you subscribe to Apple services or buy content from the tech giant, the device that you’re using automatically becomes associated with your Apple ID.
After you’ve signed in on a device with your Apple ID, that device will appear in the list. Sign in to iCloud on your Mac.
By the way, your AirPods will appear in the Find My app, but, for some reason, they won’t appear in your Apple ID device list. However, HomePods and HomePod minis will show up in the list.
How to remove a device from your Apple ID
As Apple notes, you might want to remove an associated device in these situations:
° If you reach your limit of associations and want to add a new device. (There’s a limit of six.)
° If you can’t re-download purchases from the App Store, Apple TV app, the iTunes Store, and other Apple services.
° If you want to sell or give away an associated device.
To remove a device on your Mac:
° Click > System Preferences.
° Click “Apple ID”
° On the left side of the window that opens, you’ll see your profile photo, name, email, and the options for Overview, Name, Phone, Email, etc. Scroll down to see the full list of devices associated with your account.
° Click the device that you want to remove.
° In the pane to the right, you’ll see that device’s name, its Find My and Backup status. At the very bottom you’ll see a button that says “Remove From Account…” Click that button.
° Sometimes this process can take awhile. Be sure that you don’t navigate away from this window while the process wheel is spinning. Once the device has been removed from the list, head back to the main System Preferences pane and then back in to Apple ID and double check to make sure that it has been deleted. If not, repeat the process again.
° In the event that you still can’t remove it, Apple says you may have to wait up to 90 days to associate the device with a different Apple ID.
More topics for your consideration
By the way, check out these additional articles about Apple ID: How to Create an Apple ID for Your Child in macOS, How to Change Apple ID & iCloud Account Information on a Mac, and How to Recover an Apple ID Password.



Thank God for you, Dennis! This was just the information I needed!
And thank you for going to all the trouble to share it with us. You’re like the wilderness guide who’s been through the swamp and knows how to get safely to the other side without being eaten by the Crocodiles.
Why was my comment deleted? It reported broken links for the article’s screen captures that now are missing. Thanks.