

In June 2022 Apple introduced an updated 13-inch MacBook Pro powered by the M2 processor. Most folks were surprised that it sported the controversial Touch Bar (though I always liked it).
About the Touch Bar
Apple’s multitouch toolbar was introduced with its 2016 line of MacBook Pro laptops. It allowed applications to offer touch access to their most important functions. On the same horizontal plane as the keyboard, it was apparently Apple’s answer to incorporating touch features on a Mac without providing a full-fledged touch screen.

MacBook Pro models with the M1 Pro and M1 Max processors dropped the Touch Bar and went back to regular function keys. These models debuted before the upgraded 13-inch model. And with the new M2 Pro and M2 Max MacBook Pro models being launched without the Touch Bar, it’s almost certain that the newest 13-inch M2 MacBook Pro will be the last one to offer this feature.
So if you own one, or have an earlier Mac laptops with the Touch Bar, let’s offer what is probably the last tutorial for the feature.
How to use the Touch Bar on an M2 MacBook Pro
The Mac’s Touch Bar is actually a second, mini-display. Which means you can take a screenshot of whatever it’s displaying.
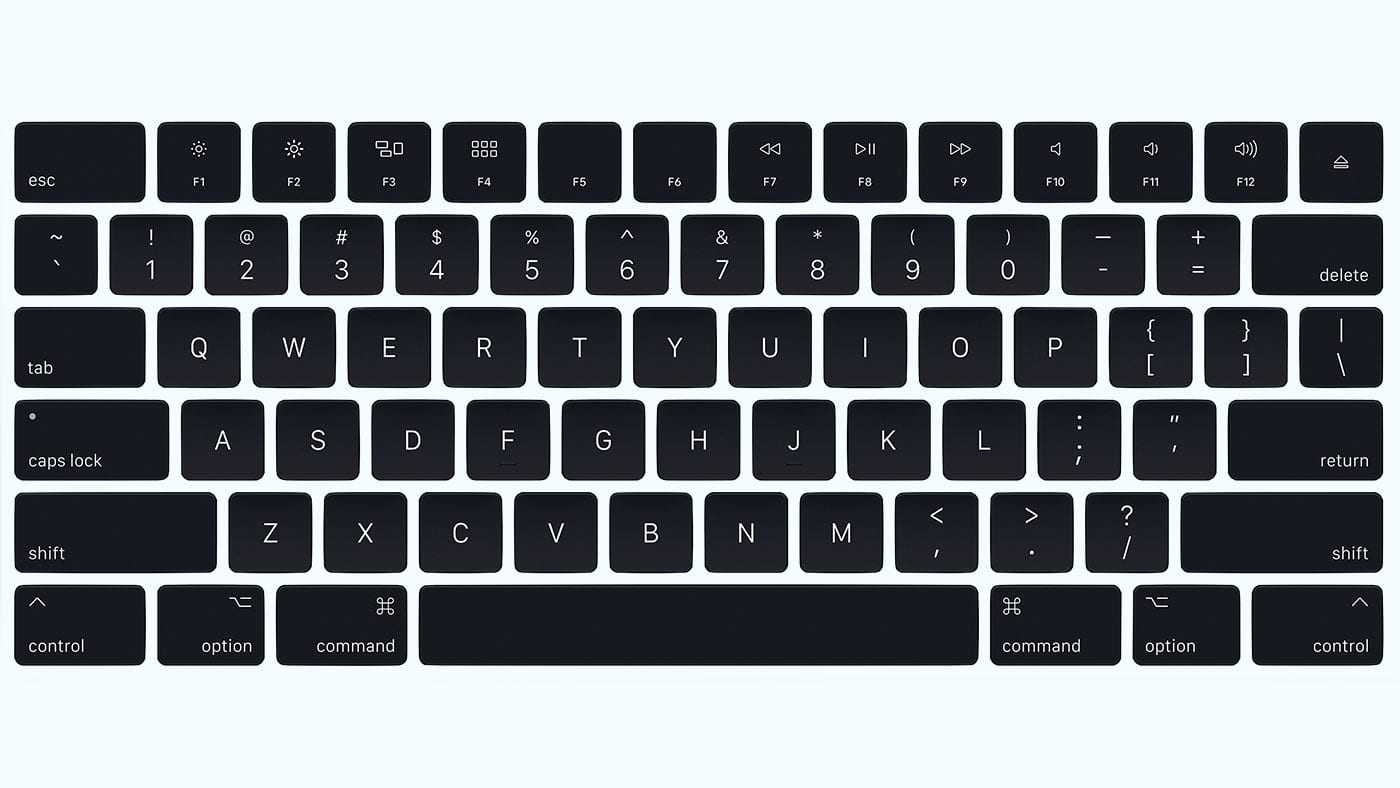
By default, ⇧⌘6 (Shift, Command, 6) will save a screenshot of Touch Bar as a file on your desktop. Alternatively, pressing ⌃⇧⌘6 (Control, Shift, Command, 6) will copy what you see on Touch Bar to your clipboard for pasting in an app.
You can customize which keyboard shortcut does what by going to System Preferences → Keyboard → Shortcuts → Screen Shots and selecting the key combination for both Touch Bar shortcuts.

You can also create a button on Touch Bar’s Control Strip for creating screenshots of your Mac display. Go to System Preferences → Keyboard → Customize Control Strip. Drag and drop the screenshot button where you want it on Touch Bar.
How to customize your MacBook Pro’s Touch Bar
Apple’s Touch Bar comes with a default set of shortcuts, depending on which app you’re using. If you don’t like the default options, you can add and remove buttons to customize the Touch Bar.
Click File. You need to open a window in an app to edit the Touch Bar options for that view.
Select New Window.
Click View.
Select Customize Touch Bar.

Click and drag buttons down from the display to the bottom of the screen, bringing them to the Touch Bar. You’ll only see the options for your current view.
To move a Touch Bar button, hold and drag it to a different spot.
To remove a button from the Touch Bar, hold and drag it to the far left end.
Release your finger when “Remove From Touch Bar” appears.


May the touchbar vanish into obscurity filed under “How can we improve that which needs no improvement?”
There it will find the hockey puck mouse, an AppleTV remote, a canyon of butterfly keyboards that failed to pollinate set to the tune of a Jonny Ive voiceover loop repeatedly chanting the phrase “thin & thinner.”