Despite numerous advances in technology, one relic of the past still remains on nearly every single external display that’s currently on the market. The relic I’m referring to is the venerable built-in on-screen display (OSD) controls used to adjust your monitor’s brightness, contrast, and input source, among other things.
The buttons that control your monitor’s settings are often located on the lower righthand corner of its bezel (as found on many Dell displays), but sometimes you’ll find them on the side of the unit. (And some displays inexplicably have these buttons on the back of the unit, but we won’t go there…)
Thankfully, I’ve found a solution: Lunar for Mac.
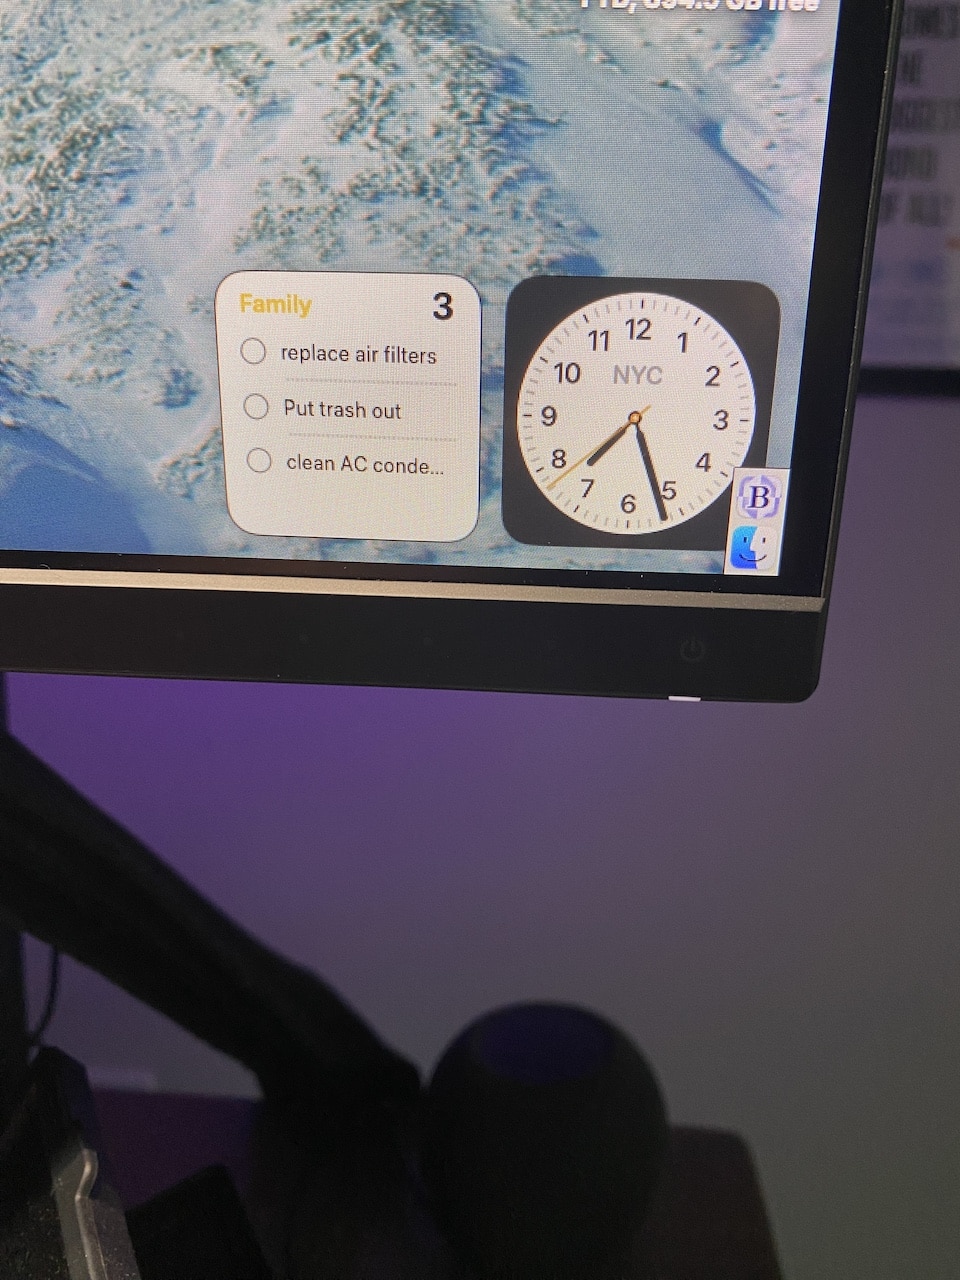
Let’s be real: Using your display’s buttons to select parameters from a primitive OSD is cumbersome at best, and downright irritating at worst. To make matters even more confounding, no two display manufacturers have the same OSD menu setup. If you have different branded displays attached to your Mac, you’ll have to learn where each of the menu items are for each display.
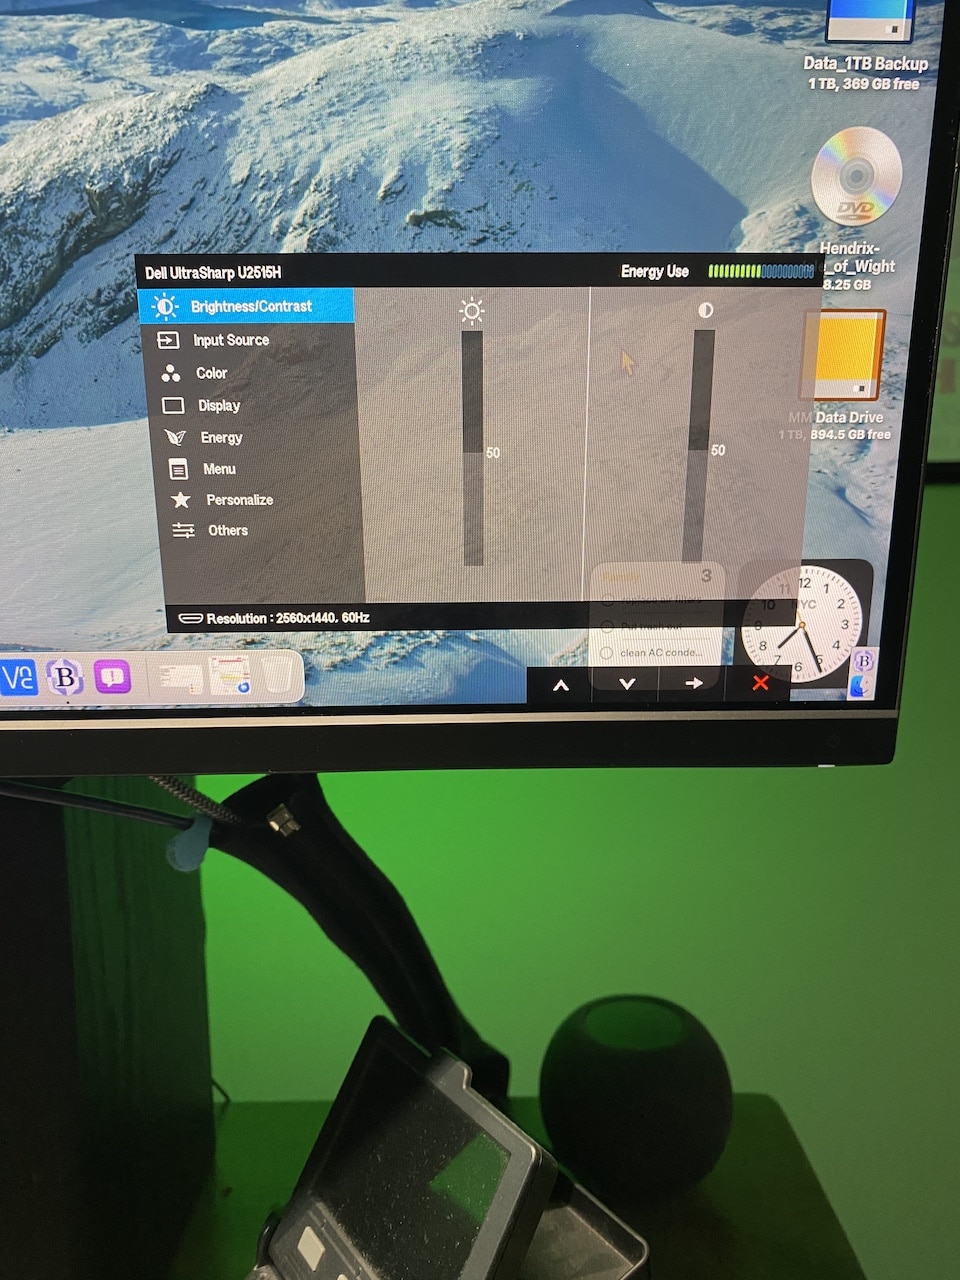
And, as you wend your way down through the menu gauntlet, similar to texting on a pre-iPhone era cellphone, you’ll make mistakes, which will invariably necessitate you to use the “Back” button. Hit the wrong button and there’s a good chance that the display’s OSD will disappear, leaving you to start the entire process all over again.
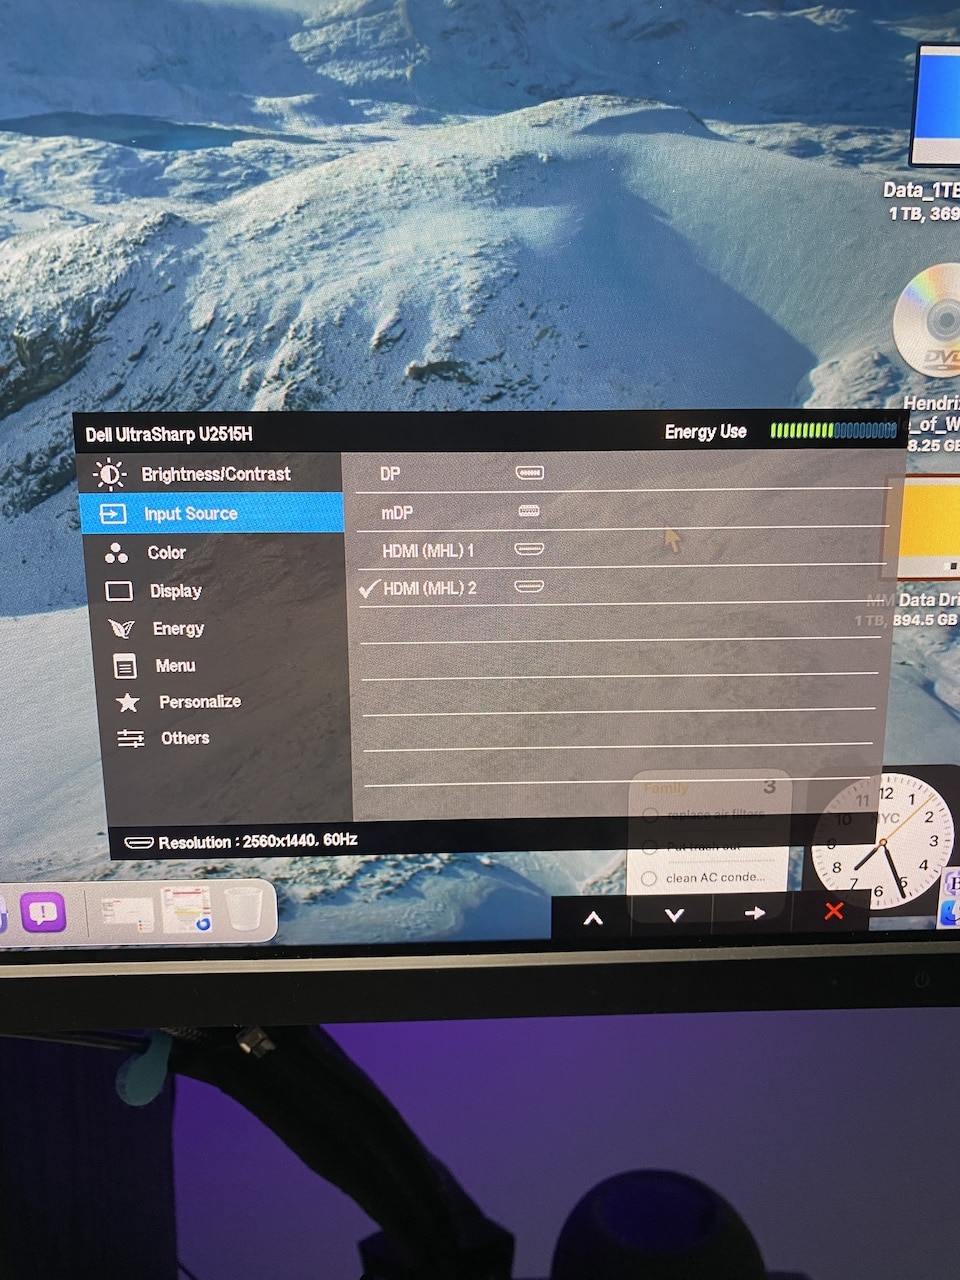
I’ll go on record to state that even the best implemented built-in display OSDs are still terrible.
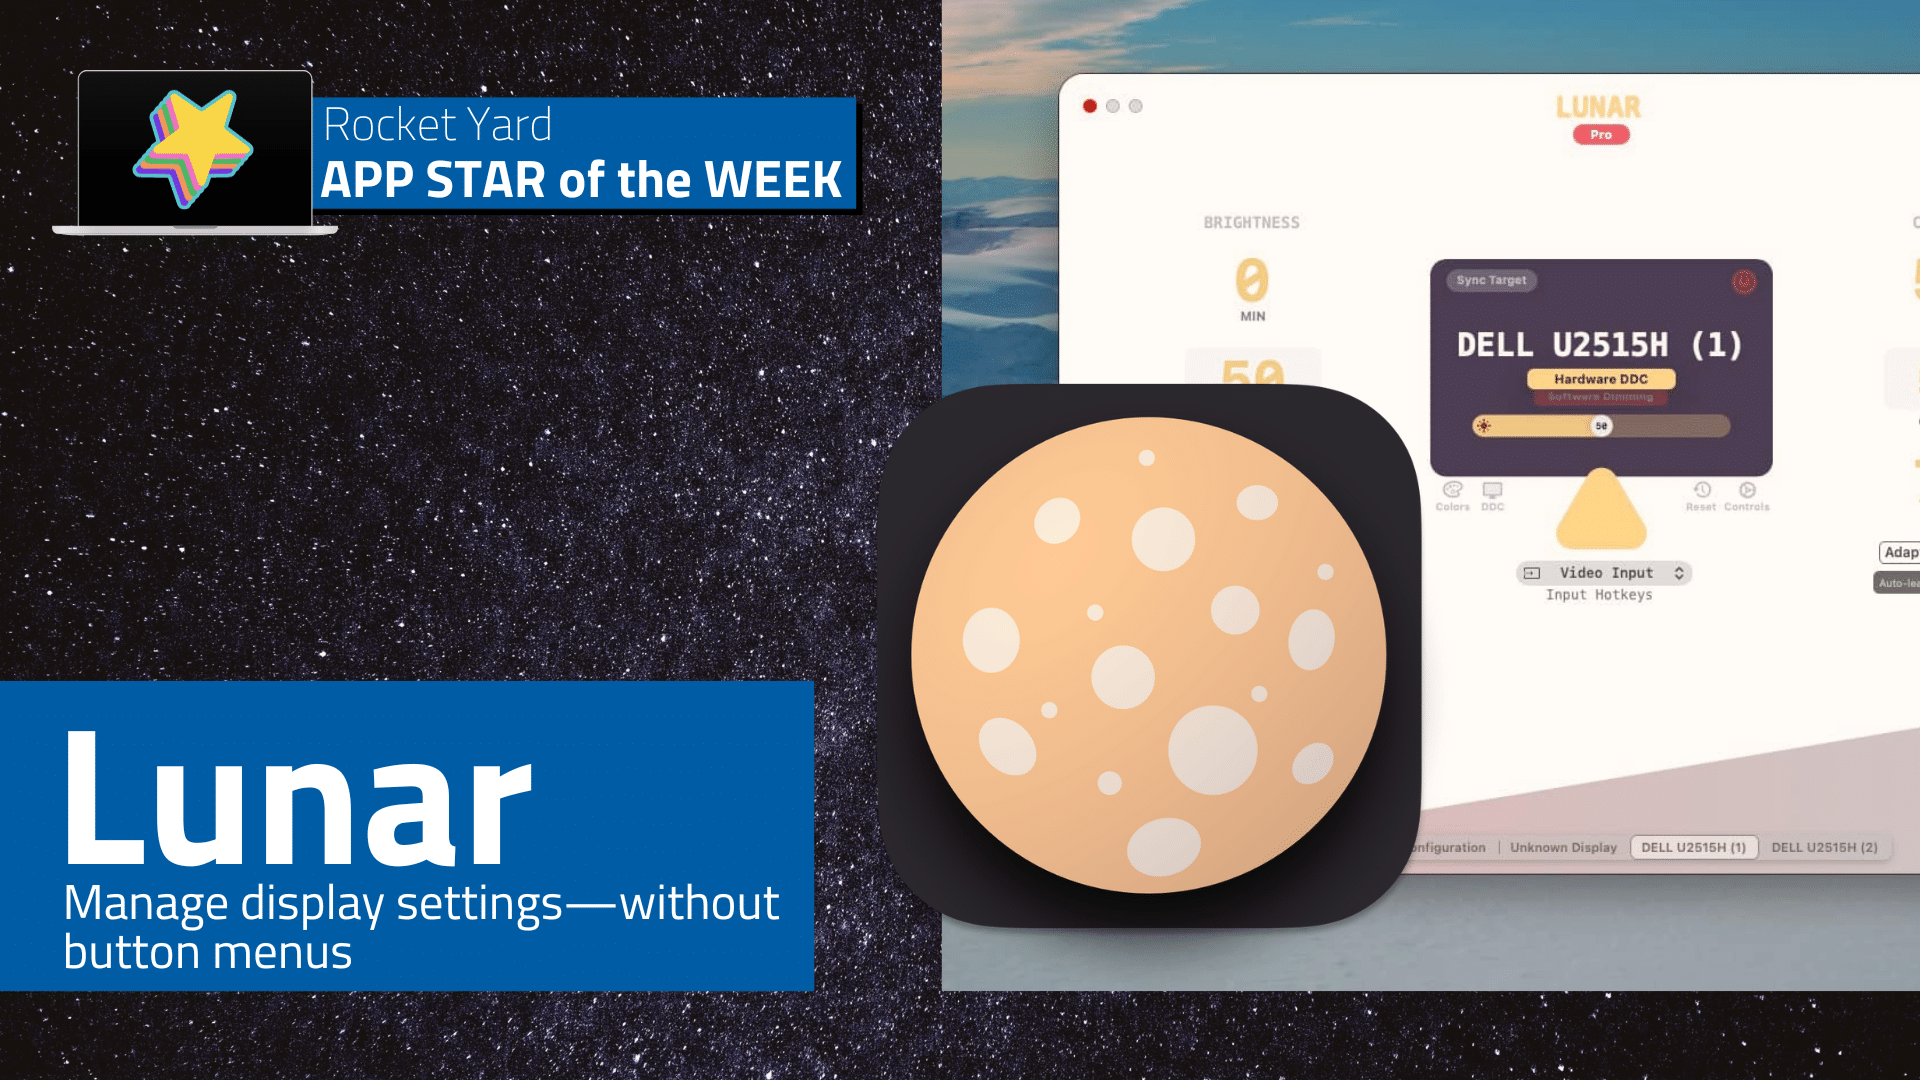
Enter Low-tech apps, the developers behind the program Lunar. Lunar has one job: it directly controls your monitors’ built-in settings, whether your Mac is connected to one display or four. Instead of navigating each display’s built-in OSD, you can use Lunar on your Mac to adjust all of your connected displays.
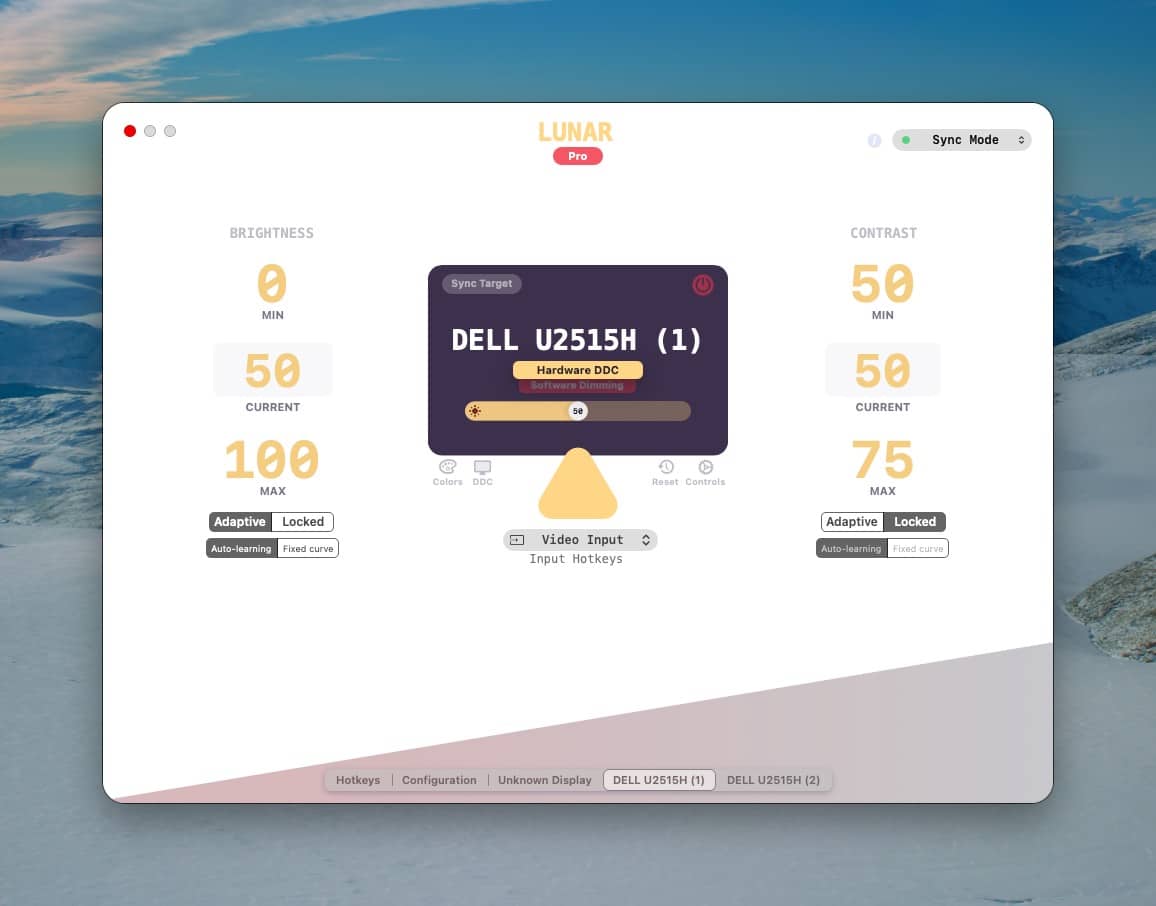
Lunar does much more than adjust each display’s contrast and brightness settings. With Lunar, you can quickly specify your display’s input (HDMI, DisplayPort, Thunderbolt, etc.), adjust its Gamma (color), modify its orientation and change its resolution. In short, Lunar is a one-stop shop for making just about any adjustment you can possibly imagine on your connected displays.
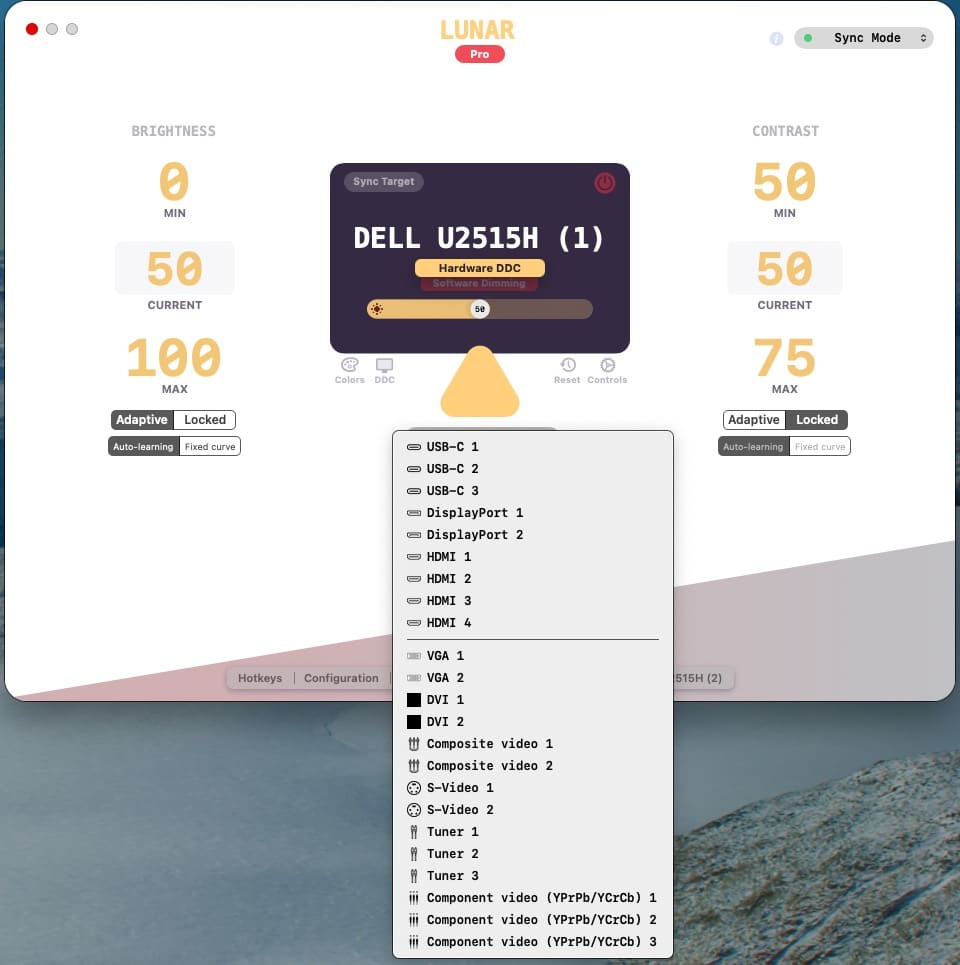
But there’s more!
Lunar includes some advanced features that are sure to tickle both novice and power users alike. For example, Lunar can synchronize your display settings to share the same contrast and brightness values across multiple displays or, if you prefer, you can control each display’s settings independently. With Lunar, you can also make setting changes based on time or set each display to a different setting based on your present location.
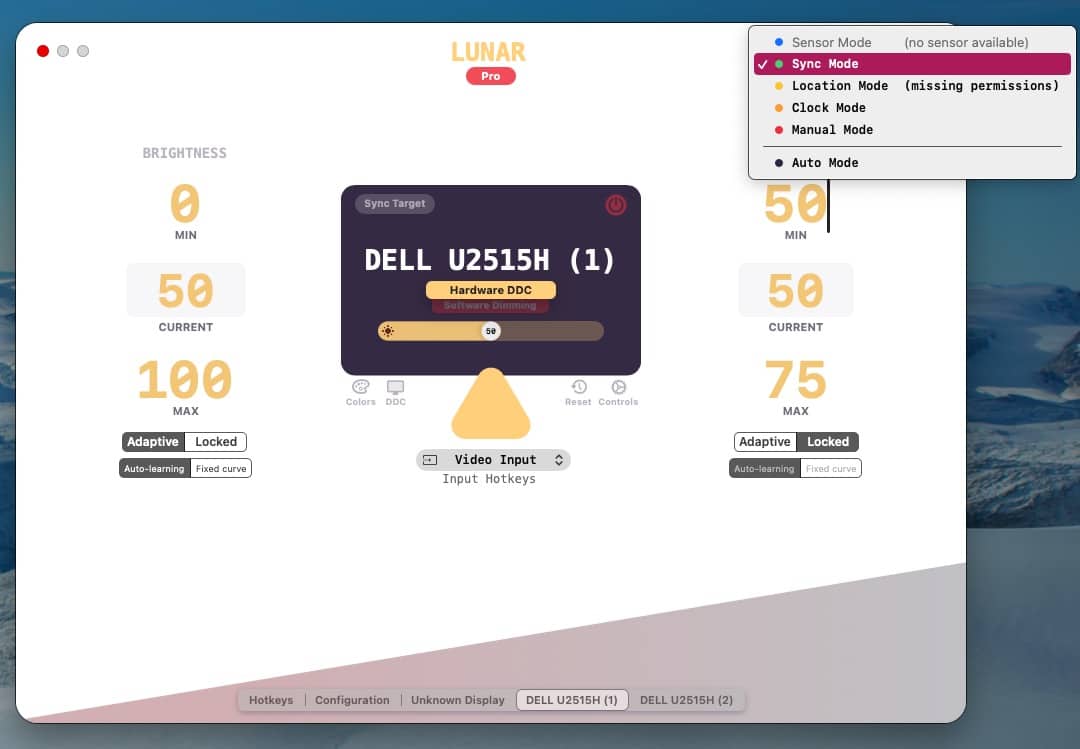
Like a good, well-behaved native Mac app, Lunar is very intuitive to both use and configure. Lunar presents your display’s information (including the specific model name) in a clear, organized fashion, allowing you to focus on your display setting changes, rather than fighting with the settings through your display’s built-in OSD.
How does it work? Instead of simulating a brightness change by way of a software overlay, Lunar uses Display Data Channel (DDC) to send commands directly to your monitor. This keeps your colors more accurate, while consuming less power.

If you drive an Apple display (external or built-in), Lunar has special software hooks to let users natively control display’s settings. If you spring for Lunar Pro (the paid version), Lunar will give you the ability to unlock full brightness of your XDR display. This means instead of being stuck at 500 nits, you can crank your XDR up to a retina-searing 1600 nits. Truth be told, you probably won’t need this feature, unless you find yourself working on the beach…
Alternatively, if you want to lower your display’s brightness below its current lowest setting, Lunar lets you do that, too!
With the paid version of the program, Lunar can automatically adjust your brightness and settings based on your Mac’s ambient light sensor. The Pro version also includes Auto Blackout, which automatically turns off your MacBook’s built-in display when you connect your laptop to an external display. With Lunar Pro, you can also assign your media keys to uniformly adjust all of your display’s brightness settings from one media key on your keyboard. You can even use customized hotkeys to quickly switch your display’s input source.
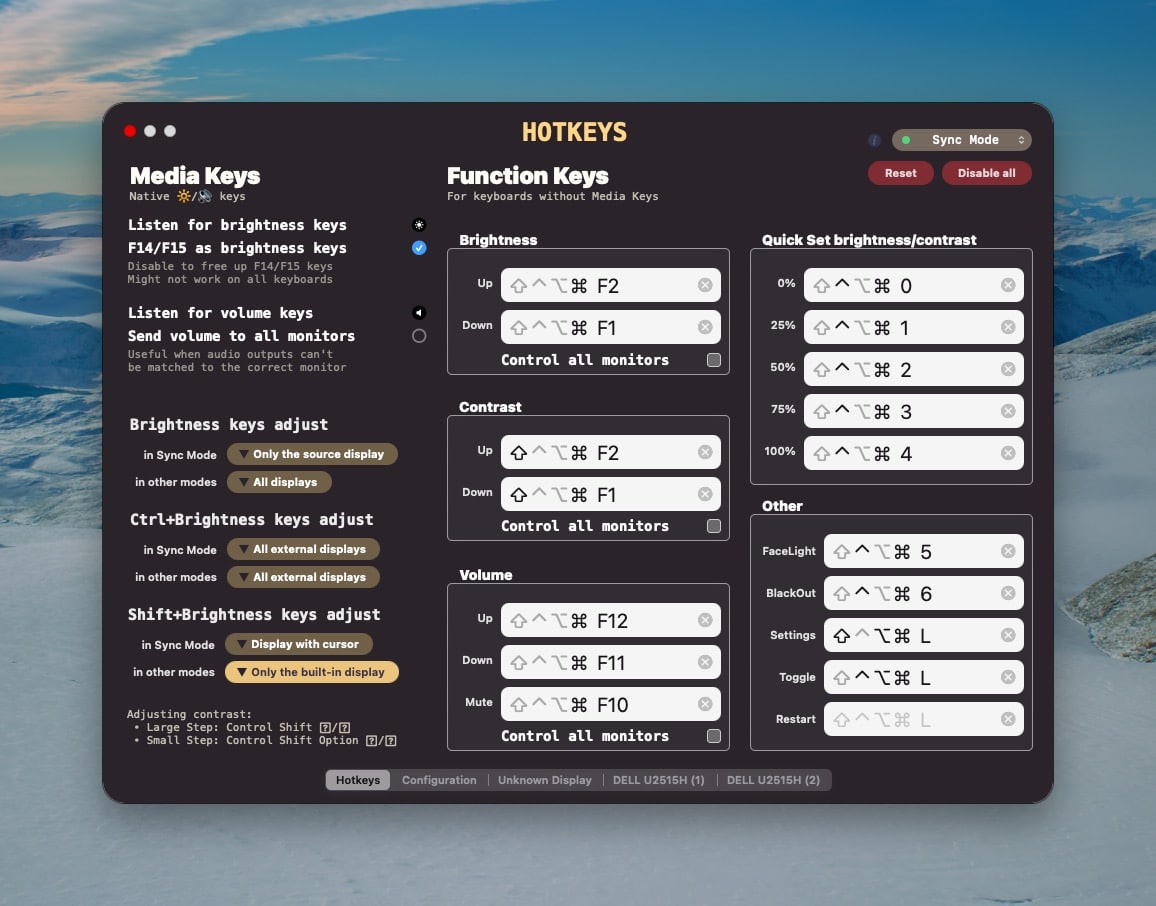
And, for those who consider themselves to be major aficionados of the Terminal, Lunar Pro offers command-line integration. (There’s something for everyone!)
I’ve used Lunar for almost a week now, testing it regularly with two Dell 2515H displays, a Dell 2718Q display, a Wacom 27QHD tablet monitor, and a tiny 10″ Pimoroni display (used as the screen for a Mac SE/30 case on my desk). Lunar worked flawlessly with all of them. Lunar was tested on an Intel Mac Mini i7 (2018) running a Public Beta of macOS Sonoma and a 2021 14″ MacBook Pro running macOS Ventura 13.5.1. Based on my testing, Lunar works as advertised and occupies a very small footprint from a RAM / CPU standpoint.
A note from the editor: If you install Lunar on a MacBook connected to an external display while the MacBook is in clamshell mode, you might find yourself a bit lost when you launch Lunar for the first time. When I launched it on my M2 MacBook Air, my external monitor showed “Desktop 2” in Mission Control and all my windows disappeared. Essentially, once Lunar opened, my MacBook thought it had been opened, so it switched my display settings to make my MacBook’s built-in display the primary display while my external monitor became an extended display. I opened up and closed my MacBook again and this fixed the issue.
Lunar is compatible with macOS 11 and up and works natively on both Apple Silicon and Intel Macs. If you’re on the fence, Lunar includes users a 14-day free trial, which gives you all the Pro features to play with. If you find it useful, a Lifetime License for Lunar costs $23US. Ponying up for the full version allows you to install and use Lunar Pro on up to 5 Macs.
The free version of Lunar includes a wealth of useful features that other competing programs charge for. This alone makes the program well worth installing. For most Mac users, the free version is all you’ll really need. If you need the Pro features, $23US is a small price to pay. I find Lunar to be indispensable, especially when using a Mac with multiple displays. The quality of life improvements Lunar offers means I’ll never need to use another monitor OSD again. And that, to me, is worth it.

