According to Apple, macOS Sonoma boasts a new high-performance mode in the Screen Sharing app that “uses the advanced media engine in Apple silicon to enable highly responsive remote access over high-bandwidth connections.”
Does it live ups to Apple’s hype? You can test it for yourself. Here’s how:
° Launch the Screen Sharing app.
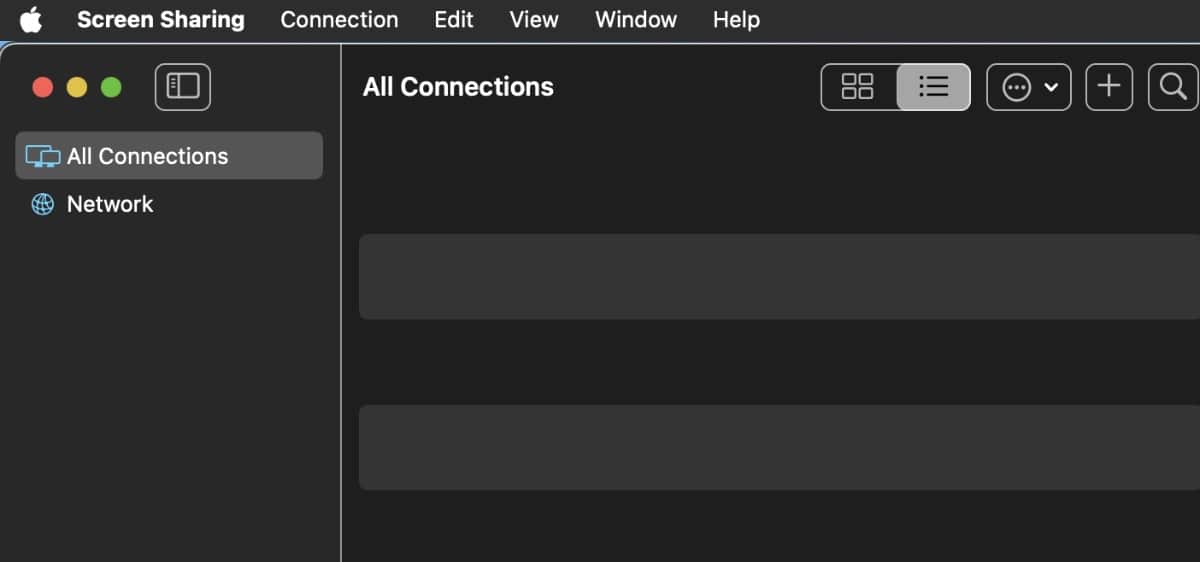
° Choose from the list of previous shared connections, or click the plus sign at top right to add a new one.
° Enter the Apple ID of the owner of the screen with whom want to connect.
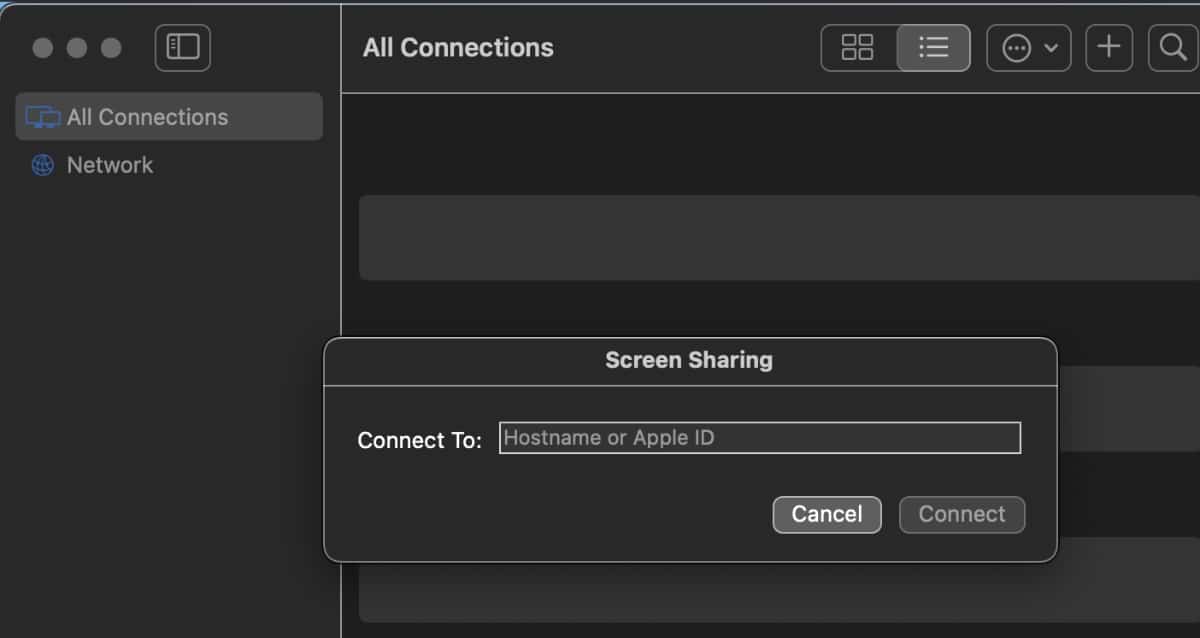
° Once you request to connect to someone’s Mac, he/she will get a notification that “Your Name* would like to view your screen”.
° Once accepted, a new window opens up. Here, your friend can choose between allowing you to Control my screen or Observe my screen. Once the option is selected, they can click on Accept.
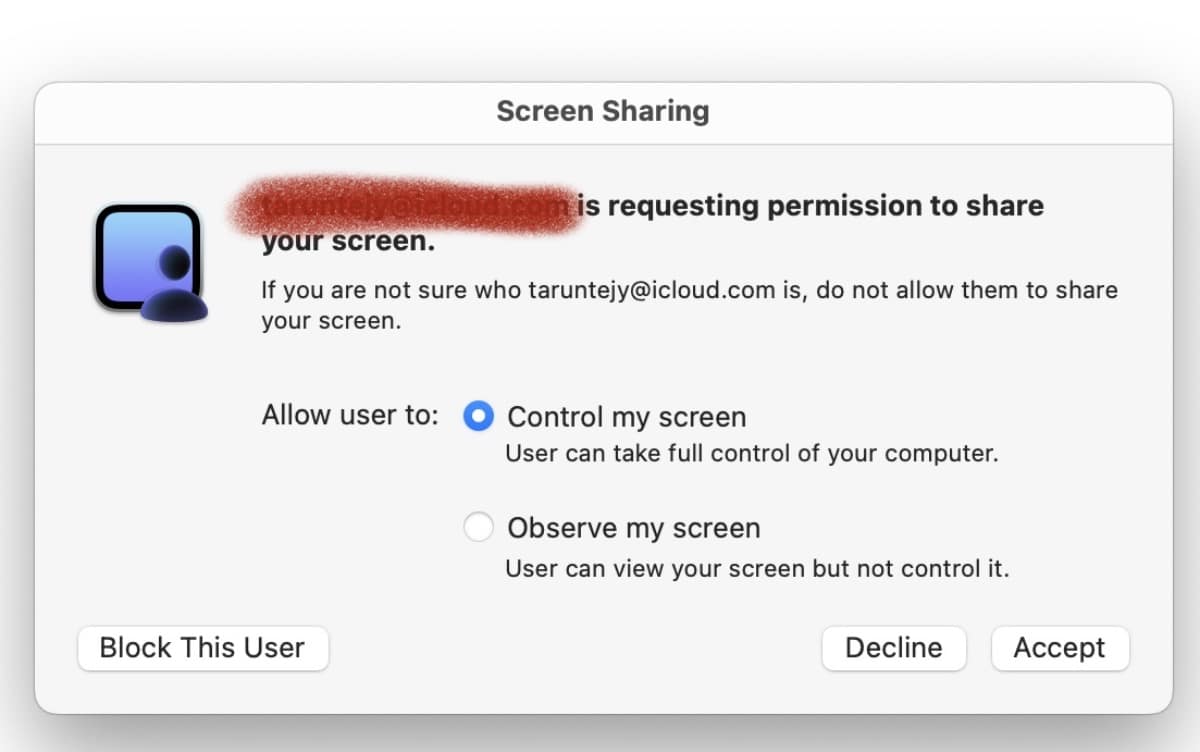
° The first option lets you control his/her screen. The second option just lets you, well, observe it.
If you’ve been using Macs for a while, this process may sound familiar—and it is. Mostly.
However, for example, when you launched the Screen Sharing app in macOS Ventura, a simple dialog popped up asking for the other person’s Apple ID. With macOS Sonoma, you’re shown a list of folks with whom previously connected. And you can edit that list, adding folks, deleting folks, or creating new sharing groups.
How to end Screen Sharing
Once screen sharing has started, the user whose screen is being remote controlled has a new menubar icon to End Screen Sharing. He/she also has the option to pause the screen sharing.

