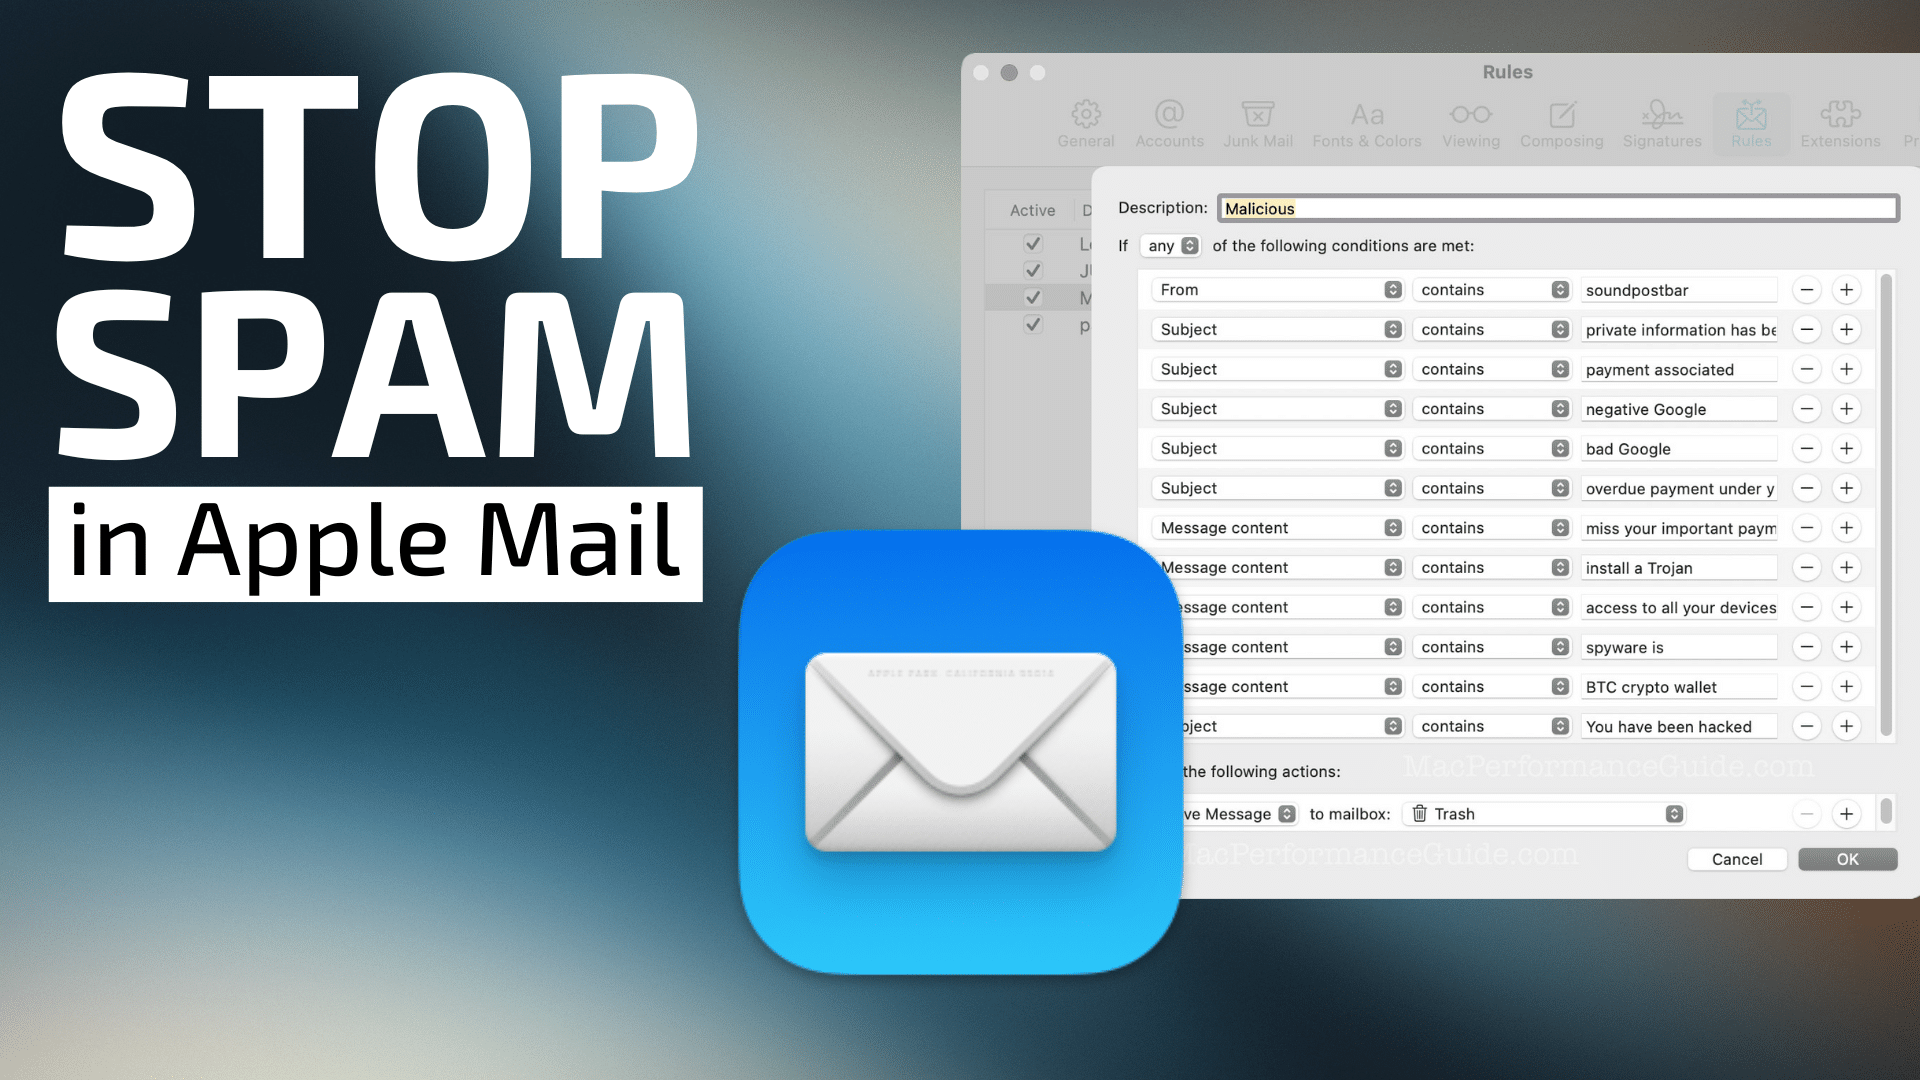
A 2-tier system for dealing with unwanted mail can eliminate 98% or more of unwanted emails. You can also organize wanted/desired emails with the same Rules mechanism.
Your first layer of defense is junk mail filtering of some kind. These vary in effectiveness. Spam Sieve rejects a big chunk of spam and does a much better job than Apple’s junk mail filtering. Either one is your baseline nuisance-factor filter. Apple’s junk mail filtering does an OK job, but it is a 2nd-best choice based on my experience.
Whatever your baseline junk/spam filtering approach misses, creating Rules within Apple Mail can filter what gets through. This article shows examples and then step-by-step how-to.
Apple Mail Rules — examples
Apple Mail preferences have a Rules tab. As shown, there are 4 rules I’ve created for my own purposes:

Wanted/desirable emails
Below, the payment received rule is to organize incoming PayPal payments. These are emails I want to see, so I put them into their own mailbox, via the action Move Message to mailbox: PAYMENTS.

Unwanted emails
What about unwanted emails that make it through the junk/spam filter? I get some of these every day. The most obnoxious kind are blackmail “pay us or else.” I have nothing to be concerned about, but I get them just about every day; just about everyone does.
I never want to see this kind of electronic-mugging email. Accordingly, the action is Move Message to Mailbox: Trash as shown. They go to Trash and I never see them. The action could just as well be Delete Message.
This rule looks complicated but it’s actually quite simple: all it’s doing is saying “if any of,” with a variety of phrases.
Over time as I receive these malicious emails, I click the + icon to add another one eg Message Content – contains – “spyware is”.

How to use Apple Mail Rules — step by step
Example 1 — Excluding unwanted senders explicitly
Suppose you want a rule to trash any email from an unwanted sender eg any email from unwanted.com.
- Click Add Rule.
- Give it a Description eg “unwanted”.
- Choose a criterion eg “From“
- Choose a deciding factor eg “contains” with a value of “unwanted.com“
- Create an action eg Move Message to mailbox: choosing Trash.
- Click OK
Your rule is operative after clicking OK. Should there be additional problematic stuff, click the + and add an additional criterion to the first one. The “any of the following...” at top will apply the action for any of the items listed, so you can just keep adding to the list as needed.

Example 2 — Excluding by subject
Follow similar steps as per above, but this time the criterion is Subject contains. As above, you can do this for any number of items.
Exercise caution so that you do not unintentionally filter messages with commonly-used terms found in legitimate/desired messages.
I used to get emails everyday about “woodworking… blah blah blah”. Since I don’t pursue that hobby, this one was easy.

Example 3 — Skipping processing for known senders
Perhaps you want to be aggressive with the rules, but do not want messages from known contacts inadvertently filtered.
By adding a rule that stops processing (“Stop Evaluating Rules“) when Sender is in my contacts and placing that rule above the other rules, rule filtering is halted then and there.

Drag rules to order them. Rules are run from top to bottom:

Advanced spam control
Spammers are not trying to make it easy for you—sometimes it is hard to figure out what to filter by. That is why using a program like Spam Sieve or junk mail filtering is so helpful—it does most of the heavy lifting for you. Train it for good/bad before resorting to advanced rules.
You might have to look into the “raw source” of the email to figure out what rules might be useful.
View => Message => All Headers or
View => Message => All Source
You might then also have to Edit Headers… in order to add a header to the things that can be chosen for Rules filtering. For example, “From” and “To” and “Cc” and “Subject” are headers you will see in the raw source.

Conclusions
Apple Mail rules are a useful adjunct to spam/junk filtering. While the facilities are relatively primitive as per typical Apple half-hearted efforts (no wildcarding or and/or constructs), they are nonetheless useful in organizing and filtering email, wanted or unwanted.
About Lloyd Chambers of diglloyd.com
Need help working through your requirements? Consult with Lloyd before you potentially buy too much or too little, and see my Mac wishlist of current models, first pondering whether refurbished or used Macs might do the job for you.
View all posts by Lloyd Chambers… Lloyd’s photo web site is diglloyd.com, computers is MacPerformanceGuide.com, cycling and health are found at WindInMyFace.com, software tools including disk testing and data integrity validation at diglloydTools.com. Patreon page.


