With this new iPhone 17 generation of iPhones, Apple threw in a new wrinkle into the process of choosing which iPhone is best for you. New to the lineup this year is the iPhone Air, an iPhone that is premium without being Pro.
That’s because this iPhone is the thinnest and lightest Apple has ever produced. And while it doesn’t have the biggest screen in the lineup, it also doesn’t have the smallest at 6.5” and sitting right between the iPhone 17 Pro and 17 Pro Max.
Meanwhile, the Air has the same 120Hz ProMotion display technology as found in those Pro iPhones and the same A19 Pro processor as the pro phones.
So how is it not pro? Well, you’re looking at it.
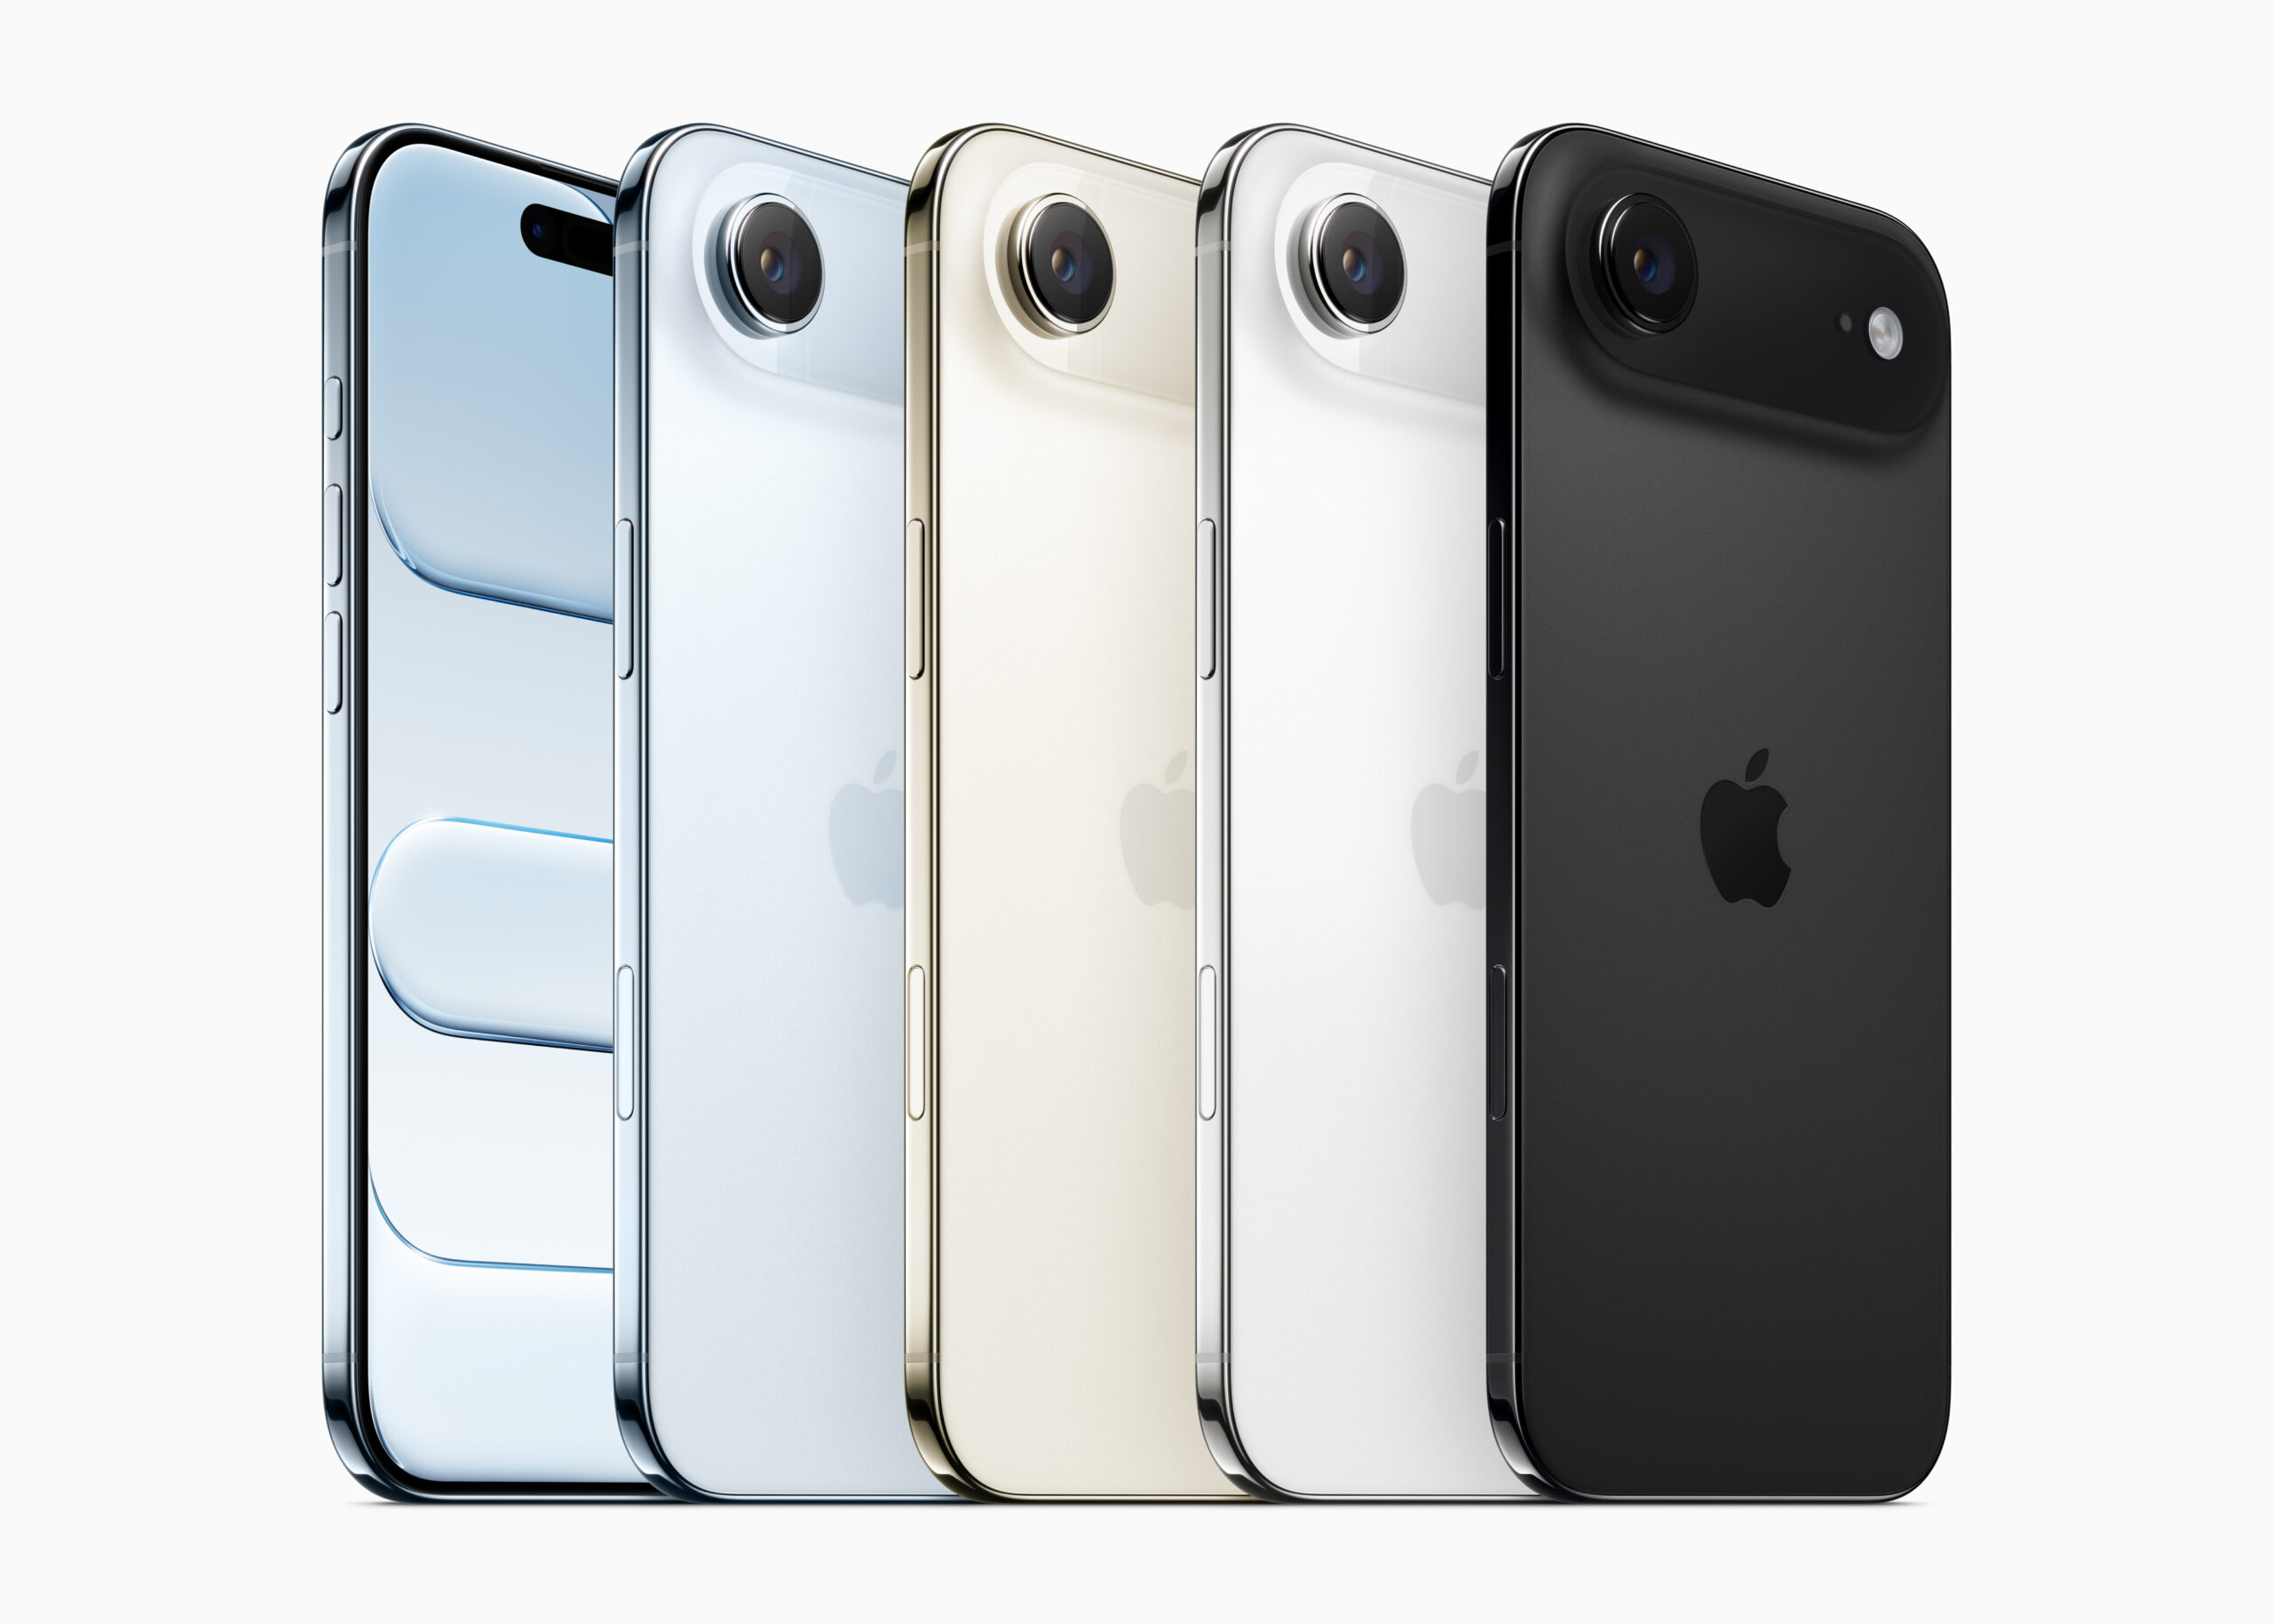
While the Pro iPhones have three rear cameras the iPhone Air only has a single 48MP rear shooter.
Not only that, Apple also made the unfortunate decision to not include the Pro phones’ capture formats. There’s no Apple ProRAW for stills or ProRes RAW for video on the iPhone Air. Despite the fact that it has the A19 Pro and the processing power to pull those formats off, the iPhone Air has the same capture format support as the regular, non-Pro iPhone 17.
Which makes this tip very important. If you can’t shoot in RAW, you’ll at least want to make sure you know how to get the full use out of this 48MP sensor in the iPhone Air when you need it.
How to get the most detail out of your iPhone photos: Resolution Control
By default, all iPhone 17 models are set to capture stills with their standard “wide” camera at 24MP. All of the new iPhones have 48MP sensors behind those “wide” lenses, but the iPhone’s Fusion Camera pipeline works its automatic optimization magic by combining pixels and binning things down from 48MP to 24MP. And that is fine in most circumstances.
But if you’re shooting a landscape or something else where you want to capture as much detail as possible, switching to 48MP is easy when you have the Camera app’s Resolution Control setting enabled.
To do this go to Settings > Camera > Formats and then toggle on Resolution Control.

Now when you open the camera app, in the upper left hand corner you’ll see HEIC 24. Tap that and then tap 48MP to shoot 48MP images.

There is something to be aware of when switching to 48MP: When you switch, the iPhone Camera won’t automatically capture depth data at this resolution. That means you can’t shoot in 48MP and then take advantage of one of the iPhone’s coolest camera features: being able to turn any photo into a Portrait mode photo when editing later—even if you didn’t shoot the photo in Portrait mode in the Camera app.
That’s because Portrait photos require the Camera app to capture depth data. Unfortunately, Apple limits the capture of depth data to the binned 24MP capture mode. This is reflected in the fact that once you switch to 48MP and then switch over Portrait mode while shooting, the Resolution Control icon disappears, indicating that the camera is locked at 24MP.
So, the best way to think of shooting in 48MP is with purpose. If you want to make sure that your photos are as sharp and detailed as they can be, or if you want to make sure they can be as cropped in as much as possible when editing later, switch into 48MP mode. For everything else, you’re best served leaving it parked in 24MP, especially if you like the ability to turn photos into portraits/depth shots later.
And if you want to make sure your resolution choice sticks every time you open the Camera, head to Settings > Camera > Preserve Settings and scroll down and toggle Resolution Control.