


Some people do not backup at all (my kids, what about yours?). Some use ‘cloud’ backup (way better than nothing). Some use Time Machine with an external drive (subject to the same risks as the computer!).
And some do it right.
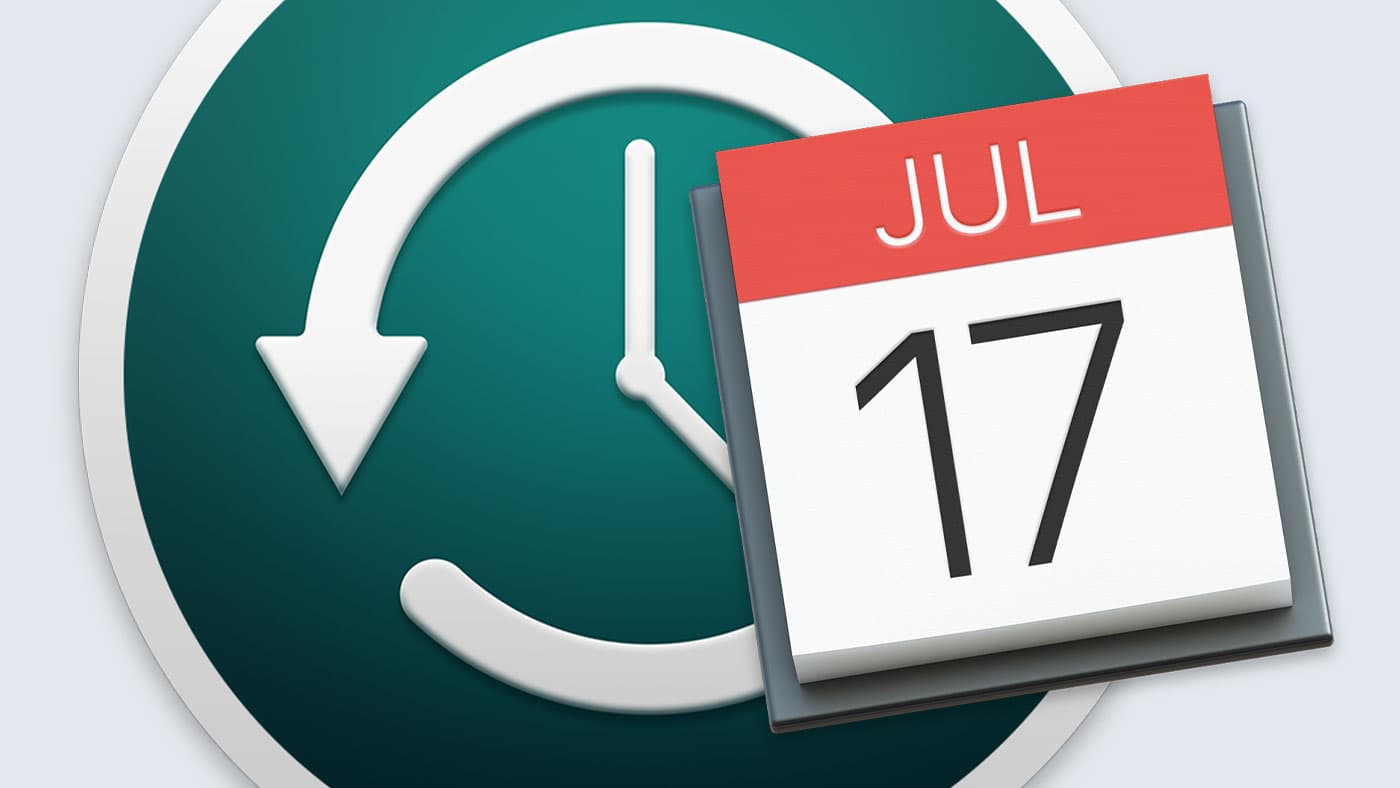
This post concerns the best way to setup and use Apple Time Machine. Clone backups will be covered in another post.
Backup best practices
The Three Rules/Best Practices for a Competent Backup Strategy:
- At least 2 and preferably 3+ backups not subject to risks to the computer itself. eg. Stored away from the computer so that theft/fire/flood risks to the computer do not risk them. Updated every 1-4 weeks and not all at once.
- Use Time Machine as a supplementary and daily backup in addition to #1.
- Use iCloud or other cloud backup a supplementary backup in addition to #1.
Rules #2 and #3 are best seen as supplementary because of significant risks, including the same risks as the computer, accessibility, password compromise (eg locked account), bandwidth impracticality, etc.
A Time Machine backup is an “always-attached backup”. As such, it is subject to the same risks as the computer itself eg. theft/fire/flood/voltage spike/etc. Such backups might be called “half backups” because they might be toast when the computer itself is lost.
Best features of Time Machine: hourly backups, keeps deleted files, keeps versions of files, backs-up the boot volume without the hassles of other backup methods.
Worst features of Time Machine: at risk along with the machine, no direct access to files, poor control over what it does and does not backup.
One irritant for me: I like to backup to encrypted volumes. While TM offers an option to encrypt the TM backup itself, if you attempt to use and existing APFS encrypted volume as a TM backup, TM insists on erasing it to a non-encrypted case-sensitive APFS volume. This is no good if I want to also make a clone backup to the same volume, a perfectly reasonable thing for a large drive. Moreover I do not want some extra password involved for TM specifically. The only workaround seems to be to make more than one volume on the same drive.
Is the backup good?
The data integrity of all external backups in rule #1 should be proven, because assuming correctness is a strategy for failure. Even if a backup is OK when made, it might not stay that way… how would you know? Mistakes of various kinds are made all the time.
Verifying data integrity (including checking for missing files!) is a complexity that most users never consider, but the threats to data integrity are real, not the least of which are user error or software bugs. As of 2023, the only general purpose (and cross-platform) data integrity solution on the market today is diglloydTools IntegrityChecker (manual pages, sales page). Yes, it’s my (the author’s) creation and yes that’s a pitch for it. No professional should be operating without it.
Capacity for Time Machine backup drive

More than one TM backup drive can be used. But my recommendation is one and only one TM backup drive, using other drives for clone backups.
Just about any external drive will do, but because Time Machine stores multiple versions of files as they change, it is a good idea to choose a drive that has at least 50% more storage capacity than what TM will be backing-up. Which means how much stuff you actually have on your Mac’s drive, not necessarily the drive capacity.
For a large drive with not much stored on it, the backup drive need only be large enough for the backup, not the entire potential used capacity. This might save you some money in the short/medium term by buying lower-capacity backup drives. Plan ahead appropriately.
For example, for a 4TB internal SSD (“flash drive”) on your Mac that is mostly full, a backup drive for TM would ideally be 6TB or more. But what if there is only 1TB or so of data on that internal SSD, and might only be 1.5TB two years later? In that case, a 2TB drive for backup should serve well for two years; no need to spend on a larger and costlier backup drive. On the flip side, too small a drive means replacing it too soon—even more expensive. Plan accordingly.
A note: OWC has a lot of great external drives for use as a backup drive, but the new Express 1M2 enclosure is a particularly appealing solution for just this purpose. Not only is the Express 1M2 a blazing fast external drive—which means the act of backing up your data will take much less time—it’s also a DIY enclosure, allowing you to install your own 2230, 2242, or 2280-sized NMVe M.2 SSD.

This means that you can swap out multiple M.2 SSDs as redundant backups with the Express 1M2. Once you have your backup done, you can follow Rule #1 by popping out a particular M.2 and storing it in a protective anti-shock case such as this one, away from your computer, while still being able to use another M.2 SSD as a more frequent Time Machine backup.
Configuring Time Machine to use the drive
In System Preferences => General => Time Machine, click Add Backup Disk…. Choose the volume that Time Machine should use (I like to name my Time Machine volume “TM”, as a working practice).
More than one TM volume can be specified, but additional backups are best done as clone backups, and stored elsewhere. TimeMachine is really best for short-term changes/updates.


Below, a walk-through video on adding an encrypted drive for Time Machine Backup.
Backup Right Now!

From the Time Machine menu in the menu bar, choose Back Up Now… [sic] to cause TM to start backing up right now.
Why not just let TM kick-in later? Perhaps you just did a download from a camera card, or finished a job, etc. By backing up right now, you know you have an up-to-date snapshot. Which might prove useful if you start rearranging/deleting/editing stuff, and make a mistake!
For example, when I edit a blog post for my photography website, I too often (and to my great annoyance) forget to Save As, overwriting an older blog post with a new one as I edit it. It is awfully handy to have TM around to restore that old blog pot.
Conclusions
Time Machine is handy, but offers poor configurability and has various limitations, including being at risk just like the computer. Use it, but only as a supplement to a more thorough backup strategy.
Full? Sometimes the TM backup volume will fill up and a message to that effect will appear—that’s the subject of next week’s post on Time Machine, which will explain why a full message might not mean having to get another backup drive.

View all posts by Lloyd Chambers… Lloyd’s photo web site is diglloyd.com, computers is MacPerformanceGuide.com, cycling and health are found at WindInMyFace.com, software tools including disk testing and data integrity validation at diglloydTools.com. Patreon page.


I have 2 clones and 2 Time Machine backups for my Macs.
My ideal back up set up would be to set up a backup server at my daughter’s house in Pennsylvania and another at my brother’s in Nevada (I live in Florida) and transfer changes in the clones between the 3 locations overnight.
I have Mac only in Florida, Nevada is Windows only, and Pennsylvania is Mac and Windows.
Any suggestions?
The web page that you link to for your program IntegrityChecker seems to have a long, long list of blog posts about the program… and no download links, no general description of the app, nothing about pricing… and there’s no entry for it on MacUpdate either. Or perhaps it’s just a module within a larger program you created… but if so, that’s not clear either. Do you really expect people to hunt down the details for your program if you obscure them?
Also, I noticed a couple of obvious typos on this page. (Perhaps they’ll be fixed after you read this comment.) Not important in and of itself, but… if you can’t even be bothered to check your own prose, why should I trust you to check the data on my drives?
Specific criticisms are welcome that aid in improving the article.
Very timely article! There have been widely reported issues with Time Machine since the release of Sonoma; see https://discussions.apple.com/thread/255171911.
Thanks for the heads-up.
Time Machine has a long history of problems over various macOS releases. Most and maybe all of these eventually get fixed. But a backup strategy needs to be 100% reliable as a critical feature. Any flakiness should raise a big red flag. This is a big reason why I use TM as an adjunct, never a primary, and only one TM drive—other drives are better used for clone backups.
Thanks for addressing the data integrity issue. This has been increasingly a concern for me, especially with the rapid proliferation of SSDs that can corrupt over time, and the risk of making backups from corrupted data. I had been trying to find a way to monitor for that, but not finding a lot of useful information.
My IntegrityChecker Java program is tool for professionals. However, it is not a GUI; it’s a command line tool that runs on macOS, Windows, Linux, NAS—anything with Java.
And because it is Java, it has a high likelihood of running years from now no matter how many OS changes—a big deal for anyone whose data has value over longer periods of time.
I know well that a command line tool is intimidating for most users. OTOH, it does the job like nothing else can, and a GUI would take 20X the development time.
However, it is actually very easy to use via drag-and-drop. The following screencasts show how.
https://macperformanceguide.com/diglloydTools-HowToVideos-IntegrityChecker.html
A couple thoughts: (1) I use TimeMachine as the primary backup, because it’s easy to get something from it. My secondary backup is to an external drive on a different computer. For that I use Carbon Copy Cloner.
(2) I tried iCloud, but it decided to start messing with the files located on my laptop. THAT IS COMPLETELY UNACCEPTABLE TO ME. And wouldn’t easily support full-disk backup. It was annoyingly restrictive about what locations it would backup. (I have other major problems with iCloud syncing, and generally consider this a terrible Apple product.)
I’m still looking for a good offsite backup that has low cost/mb, can hold 5TB, and that supports reasonably simple backup and recovery from the Finder.
This is a good approach but…
Consider what the physical and electronic risks are to both of those backups. One of them is already attached, and thus is subject to the same risks as the computer. As such, it only really protects against user errors and similar, not from physical risks (theft/fire/flood/etc affect both the computer and the TM backup). As such, it is what I call a “half backup”.
Therefore, you really only have one backup, that one on the different computer. Is it also subject to the same risks?
My general recommendation is at least two (2) backups in addition to the always-connected at-risk ones. Your current process is far better than what many people do, but has significant risks from calamity.