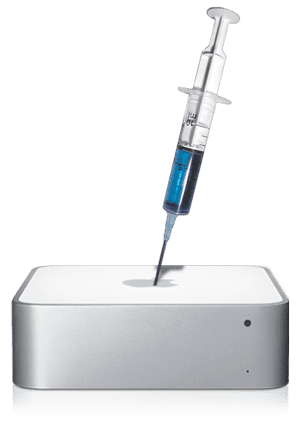
 We hinted at this latest installment in our Instructional Video series a couple of weeks ago, but we had other things (such as Black Friday/Cyber Monday specials) on our plates which kind of delayed it. I am, of course, referring to the upgrade videos for the Mac mini Server. This installment covers the process for upgrading the memory inside.
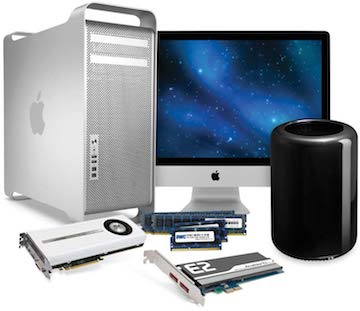
I’m not going to go on and on about how adding more memory to your Mac improves performance; we’ve covered that topic quite extensively already. Though the Mac mini Server comes with 4GB installed by default, it is capable of handling twice that much. While you can’t get it from Apple, you can get up to 8.0GB from OWC. Once you get your OWC memory upgrade, our step-by-step video will walk you through the process of installing it. You can find the video (and all of our other install videos) both in our Tech Center and on our YouTube channel.
Of course, if after viewing the video, you decide that you’d rather not upgrade your mini yourself, you may want to check our our Installation Service. We offer quick turnaround (usually <24 hours from when it arrives here) and is a great option for those who want the benefits of the upgrade, but not the hassle of the upgrade process. Check out our Web site or contact one of our helpful sales staff for more information.
Either way you go, with more memory in your Mac mini Server, you’re going to enjoy increased performance – which is always good in a server.


What does this upgrade do to the warranty?
This, like most upgrades, should not affect your warranty. This does, however, come with the caveat that if you damage something during the installation itself, said damage MAY affect your warranty.