Have you been updating your Mac, adding memory or storage, or perhaps simply customizing how it looks? Are you the go-to guy for repairing a favorite toy? Do you wish you had a place to brew up a newfangled creation without imposing your mess on the rest of the household?
If so, then you have a DIYer heart, and could probably benefit from a dedicated area for your projects. It doesn’t matter if you’re just upgrading RAM now and then, or cobbling together an advanced supercomputer to rule the world, from refurbished Mac minis you’ve acquired (insert evil supervillain laugh).
In this Rocket Yard guide we’re going to look at setting up your own DIY workspace to accommodate projects of all sizes. We’ll cover work surfaces, lighting, storage, and anti-static needs, as well as tools and equipment that can help you with your projects.
Counter and Table Space
For occasional small projects, you don’t need a great deal of room. One of my main workspaces is an older computer table that measures 20″ x 36″. It’s roomy enough for changing out RAM or adding storage on any of our home computers. It might be a bit cramped for more involved projects, but it gets the basic jobs done.
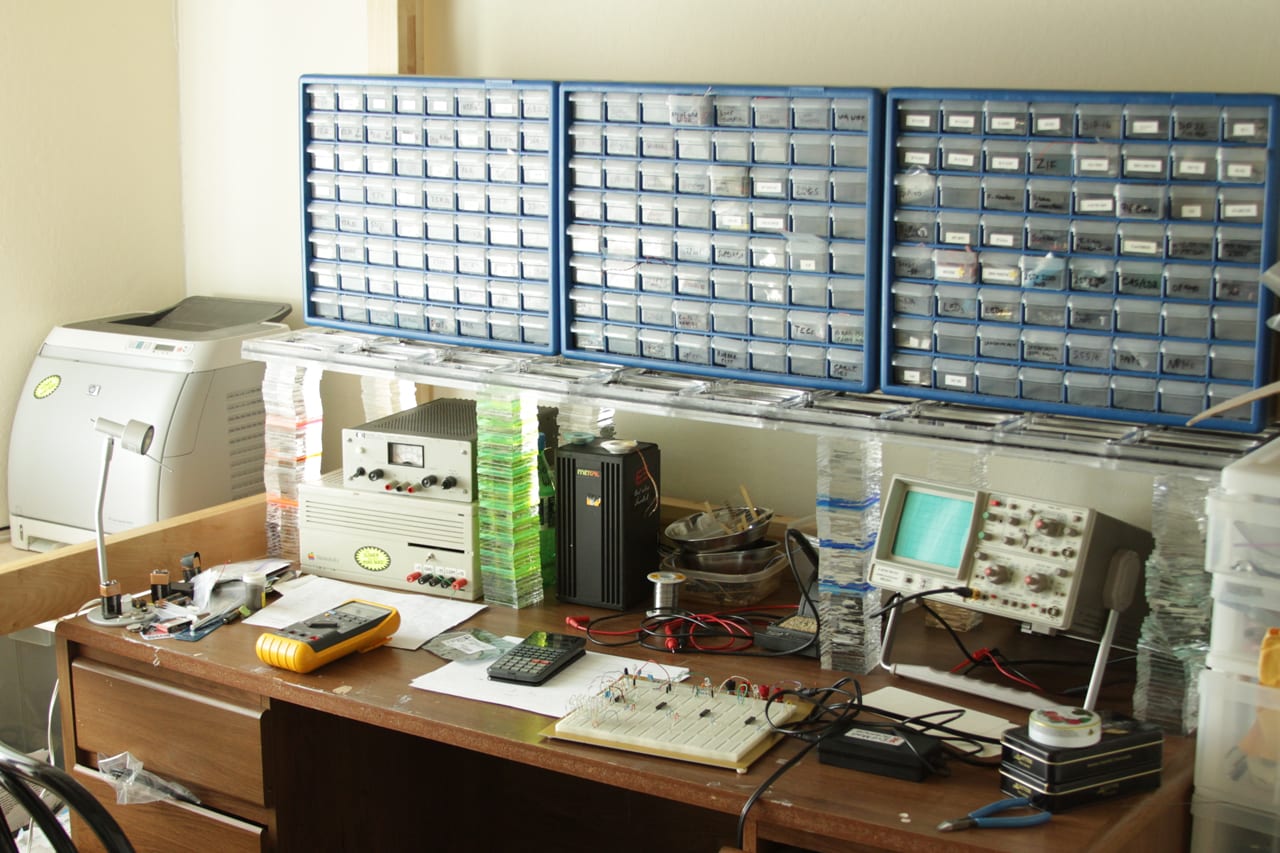
For more involved projects, I appropriate our kitchen table, which is 30″x48″. The extra room provides plenty of space for spreading things out, taking complex assemblies apart, and storing small parts and fiddly bits that always try to hide when you put things back together.
For a more permanent space for DIY use, I like a bench that measures 30″ x 60″ or 30″ x 72″. Notice I’m not going any wider than 30 inches. This lets me easily reach across the table without having to get up. You can adjust the width to meet your arm reach.
If you have reasonable woodworking skills, you can make a custom bench from dimensional lumber (1 x 4s or 2 x 4s), and plywood for a top. Otherwise, look to flea markets and garage sales for appropriate size tables, benches, or counters.
Work Surface
I prefer a wood table top for working with electronics. When I built my own tables, I used Masonite over a layer of plywood. Masonite is tough, takes a beating, is easily cleaned, stands up to heat from soldering irons, and, if needed, can be easily replaced. It’s also available at most lumberyards and big box stores. Wood or Masonite tops are also non-conductive, an important consideration if you work on “live” circuits in your DIY projects.
I’ve used many tabletop types, but I generally avoid plastic (including vinyls and laminates) because of their ability to generate or store static electrical charges, which can damage many electronic components. More on static in a bit.
Storage
You can’t have too much storage. Storage space can be as simple as cubbyholes for keeping tools in, and small parts organizers for sorting and storing the aforementioned fiddly bits. Drawer bins are particularly handy for keeping stock of common screws, connectors, and electrical parts that you may use. It’s especially helpful to be able to pull out a drawer and place it where you need it. Your local hardware store is a good source for parts bins and storage needs. Some stores sell parts bins pre-stocked with screws, nuts, and washers, or electrical parts, such as wire nuts, connectors, and splices. You can also find specialty stores online that offer parts bins stocked with electronics parts, such as resistors, capacitors, switches, and logic circuits. Related: NewerTech StoraDrive is the perfect stackable, anti-static cases for 3.5″ HDDs.
Lighting
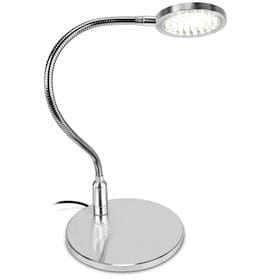 A DIY lab needs very good lighting. I like to have general overhead lighting in the room, and one or more adjustable work lights at each work surface. You don’t need to spend a lot on lighting; simple swing arm lights that clamp to a table are available from most hardware stores. If you’re working on circuit boards or need a close-up view of small items, look for swing arm lamps that have built-in magnifiers.
Be sure to include a small flashlight in your kit. No matter how many light sources you have, there will always be a corner that’s dark and difficult to see into. A flashlight works great for these areas.
Electrical
You’re going to need electrical power on your bench; I recommend at least a multi-outlet switched power strip in a metal case. I choose metal because it will be grounded, and can be a good connection point for anti-static devices. It can contain surge protection, but avoid any type of UPS with battery backup in this environment. You don’t want to be powering an item when you think the power is off.
Flooring
If possible, avoid carpeted floors. The reason is twofold; first, dropping small items onto a carpet can make them very difficult to find. (If you have pets, you can be sure they’ll find them quickly, and try to eat them.) And second, unless the carpet is treated, it will likely contribute to the generation of static electricity, a deadly enemy of many electronic parts.
If you can’t avoid carpeting, you can treat the carpet with commercial anti-static spray, or make your own using liquid fabric softener and water. Spray the treatment on the carpet around your work area to help reduce static buildup in the carpet during each DIY session.
Static Control
 You’ve probably seen the warnings included with RAM and storage upgrade kits that admonish you to discharge static electricity before touching the components, and to work only in a static-free environment.
Sounds easy enough until you discover that walking on a carpeted surface can lead to a build up of 10,000 to 20,000 volts. Moving plastic containers around on your workbench can produce static charges, and in a low humidity environment, electrical charges can build up on just about any surface. This can result in the familiar zap! when you touch a surface that’s grounded, or at a lower electrical charge than you. That zap of electrical current can destroy sensitive electronic components, such as those found in your computer and other electronic devices.
When working with electronics, you should always discharge any static buildup on you and the surfaces you’ll be working on. A simple way to keep a work surface free from static is to use an anti-static mat. You can also purchase anti-static chair mats and floor runners, which can be helpful in a carpeted environment. The mats and runners include an electrically conductive layer to drain static charges away to ground through an included cord.
With the work surface now static-free, you need to ensure that you’re free of static as well. One way to do this is by touching a computer’s grounded metal chassis. This was simple to do with my 2010 Mac Pro, which was almost all metal. It’s not so simple with more recent computer models, which could be a mix of plastic and metal components.
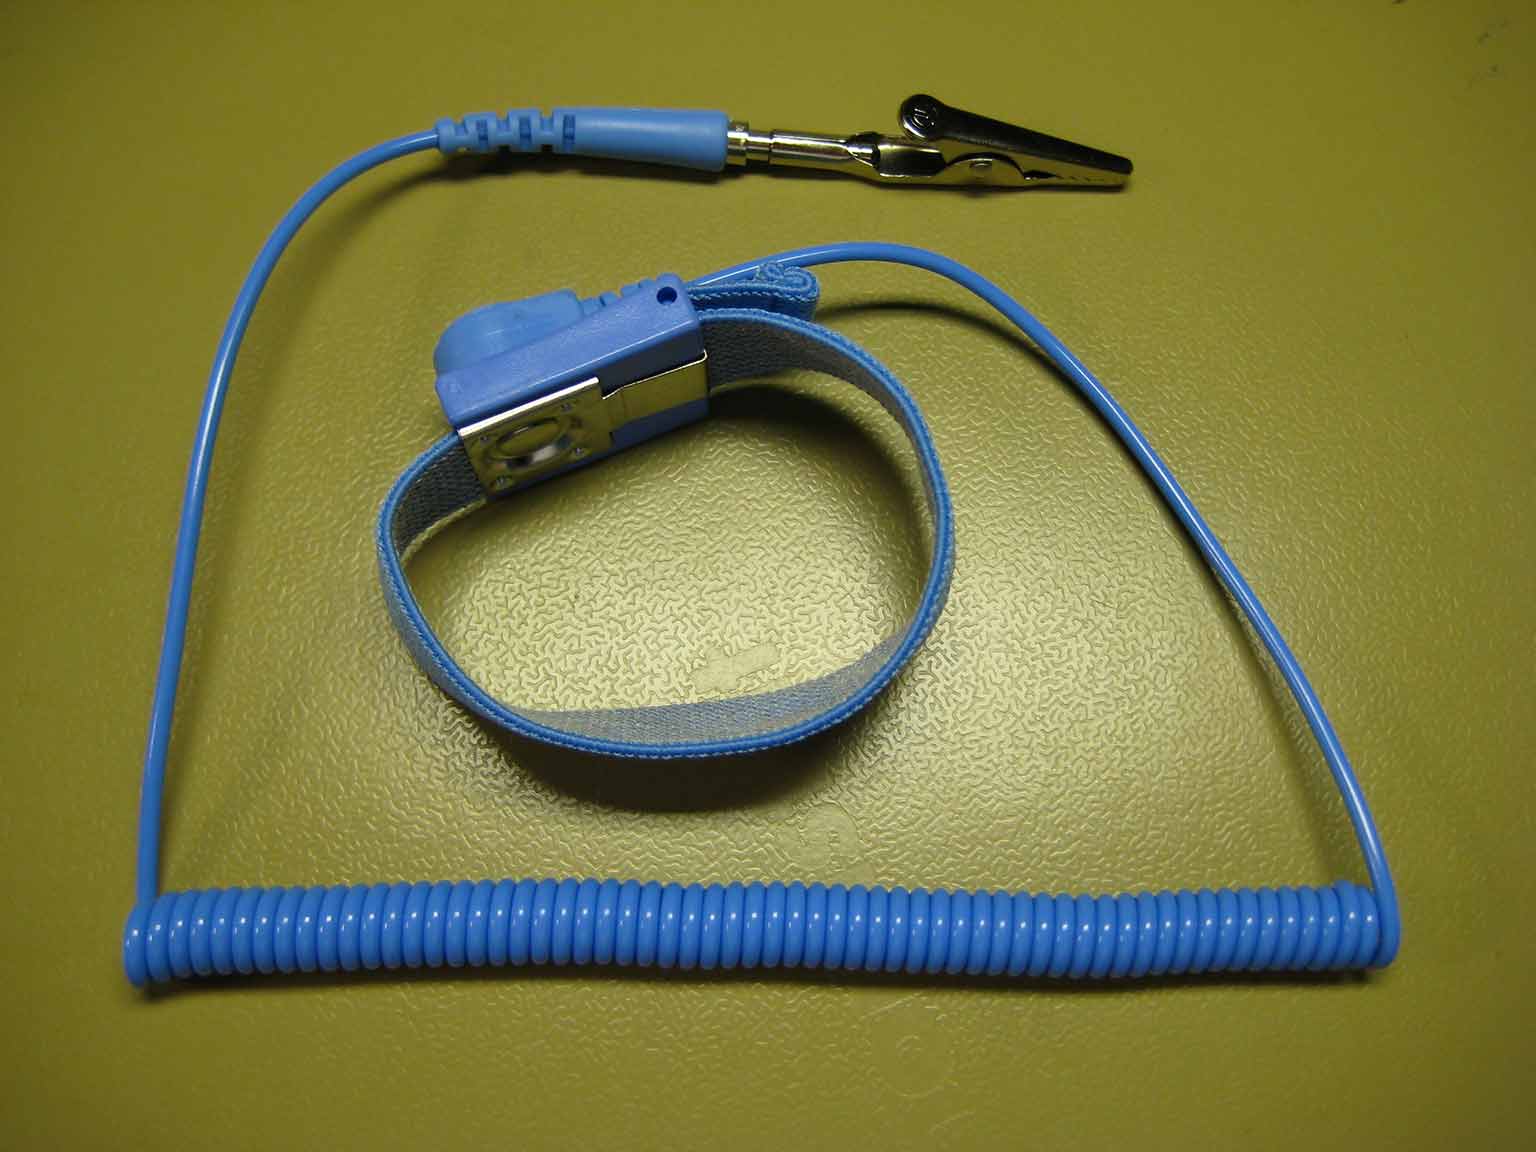
A better way to ensure you’re static-free is to use an anti-static wrist strap, which contains a conductive surface that will bleed away any static charge you may have. These wrist straps use a cord with an embedded resistor to reduce current flow to safe levels, and terminate in an alligator clip you attach to a grounded device. There’s another type that has the cord connected to a special AC plug that contains only the ground prong. You can plug your Mac into the special AC plug, and ensure that you and the Mac are at the same electrical potential, and that the Mac has no AC running to it, just the ground connection.
When you’re ready to work on a project, make sure you turn off the power to the device while retaining the ground connection. Make sure you and the devices you will be working on are at the same electrical potential; you can do this with anti-static mats, wrist straps, and power connections that block the AC connection but keep the ground connection intact. If you don’t have an anti-static setup, manually discharge dif by touching a grounding point shared by the devices you’re working on.
Parts that came wrapped in anti-static bags should be kept in the bags until needed.
Handle parts only by their edges; try not to touch the components, wiring traces, or connector pins on the parts.
Tools and Test Equipment
 There are a number of hand tools that every DIY bench should have; this includes a good assortment of screwdrivers, pliers, wrenches, and hammers. But since we’re looking at electronics DIY, and more specifically, computer repair and expansion, I’m going to suggest a few tools that are helpful for upgrades.
You can drop into your local hardware store to purchase these tools individually, but I like the pre-made sets. They help keep the tools for computer upgrades all together.
A favorite is the NewerTech 14-piece toolkit. It contains a collection of Slotted, Philips, Torx, and Pentalobe screwdrivers needed to access modern Macs as well as many other computer models. You’ll also find tweezers and nylon pry tools (spudgers), all in a handy case.
If you’re opening up an iMac you may want to consider a similar kit that also includes suction cups, pry picks, and adhesive, for reattaching the display after an upgrade or repair.
Another tool I like is a nylon probe with anti-static characteristics. It lets you probe and pry open parts without worrying about static discharge.
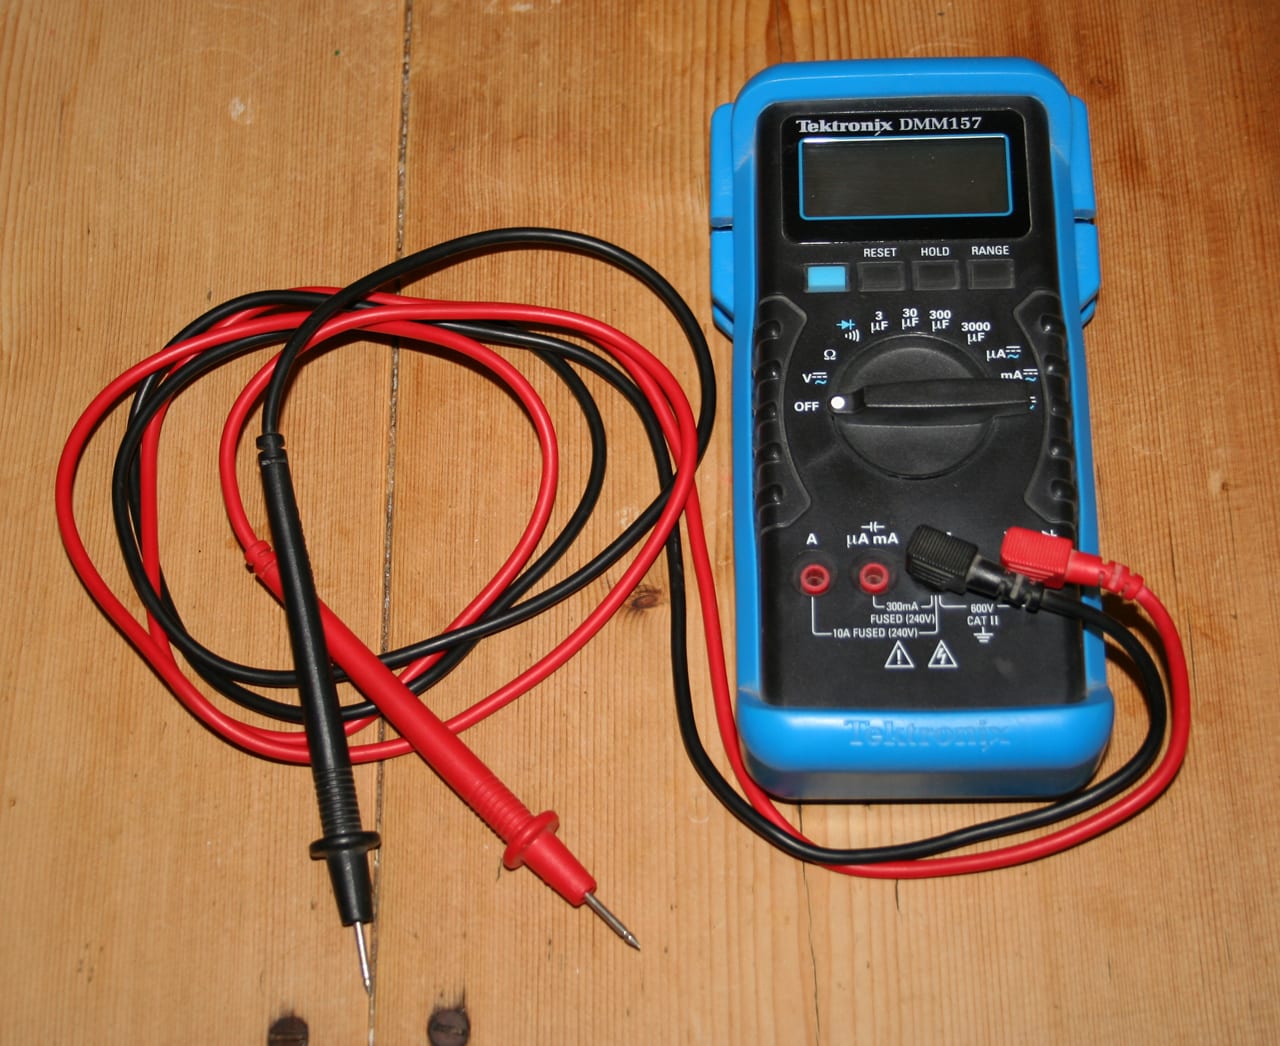
As for test equipment, I always seem to have my digital multimeter on the workbench. It can measure AC and DC voltage, current, resistance, continuity, and a bit more. They’re available in a wide range of prices, but even the basic models will serve the home DIYer well.
There are quite a few additional tools and test equipment you may need as your expertise and scope of projects expand, but those listed here can be the starting point for a DIY hobby of its own.
Have your own DIY tips? Let us know about them in the comments section.



It would be great to have a toolkit to open and service any Mac ever built. All in one. Upgraded as required and purchased in full or as needed to bring it to the latest version.