If you have an iPhone, iPad, or iPod you can use the Remote app — free at the Apple App Store — to control your Mac’s Music library from a distance.
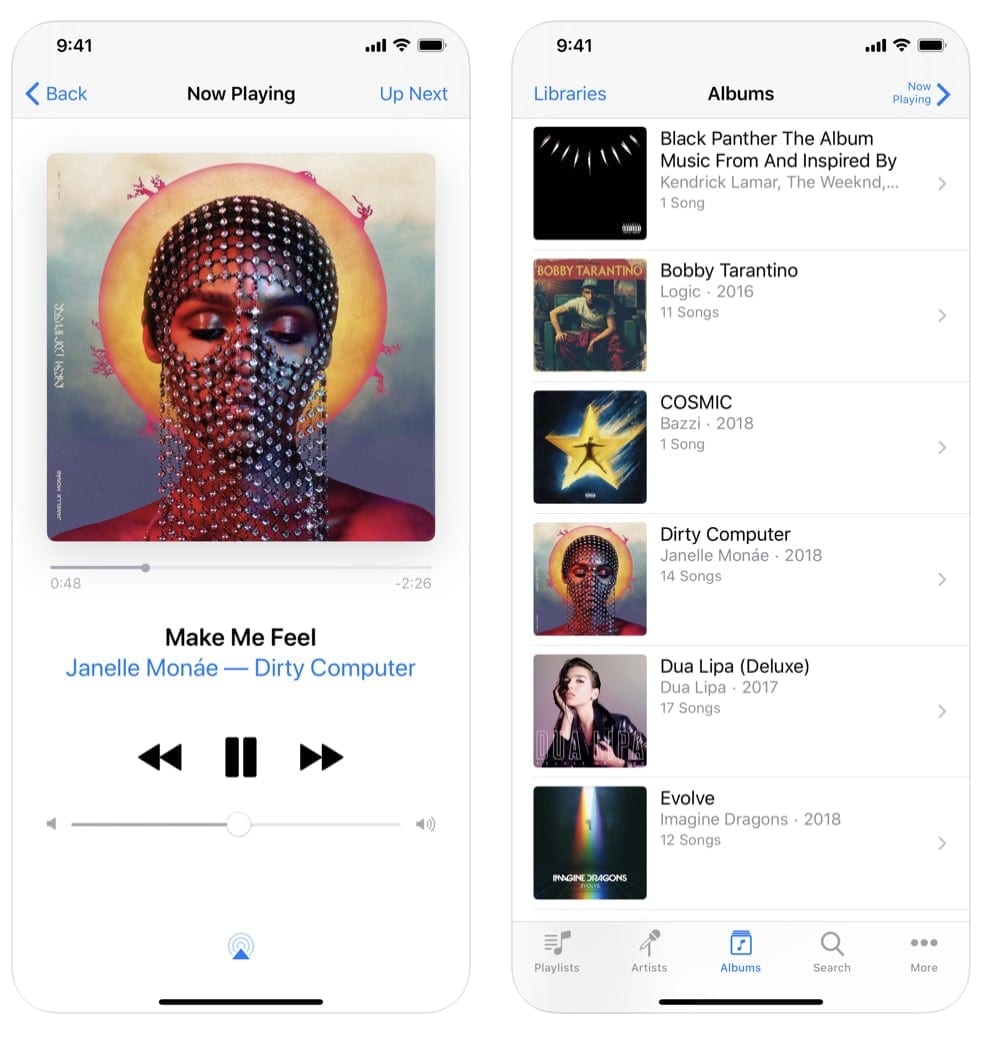
iTunes Remote lets you control Apple Music, iTunes, or the Apple TV app from anywhere in your home. Download the app to your iPhone or iPad, and connect directly to Apple Music, iTunes, or the Apple TV app on your Mac or PC.
With iTunes Remote — which has been updated with macOS Catalina support and Dark Mode support — you can:
- Access your Apple Music, Apple TV, or iTunes libraries
- Browse music by artist, albums, and songs
- Browse movies, TV shows, and podcasts
- Create and edit playlists
- See upcoming songs with Up Next
- Search your entire Apple Music, Apple TV, or iTunes libraries
- Explore shared Apple Music, Apple TV, or iTunes libraries
- Listen with AirPlay
- Send music to AirPlay speakers
- Group speakers together to play music in multiple rooms at the same time
- Set the volume on each speaker independently
iTunes 12.8 or later is recommended for use with iTunes Remote. Ready? Okay, pair the app with the iTunes library (or libraries) you want to control. Your device and your Mac must be on the same wireless network and iTunes must be open on your Mac.
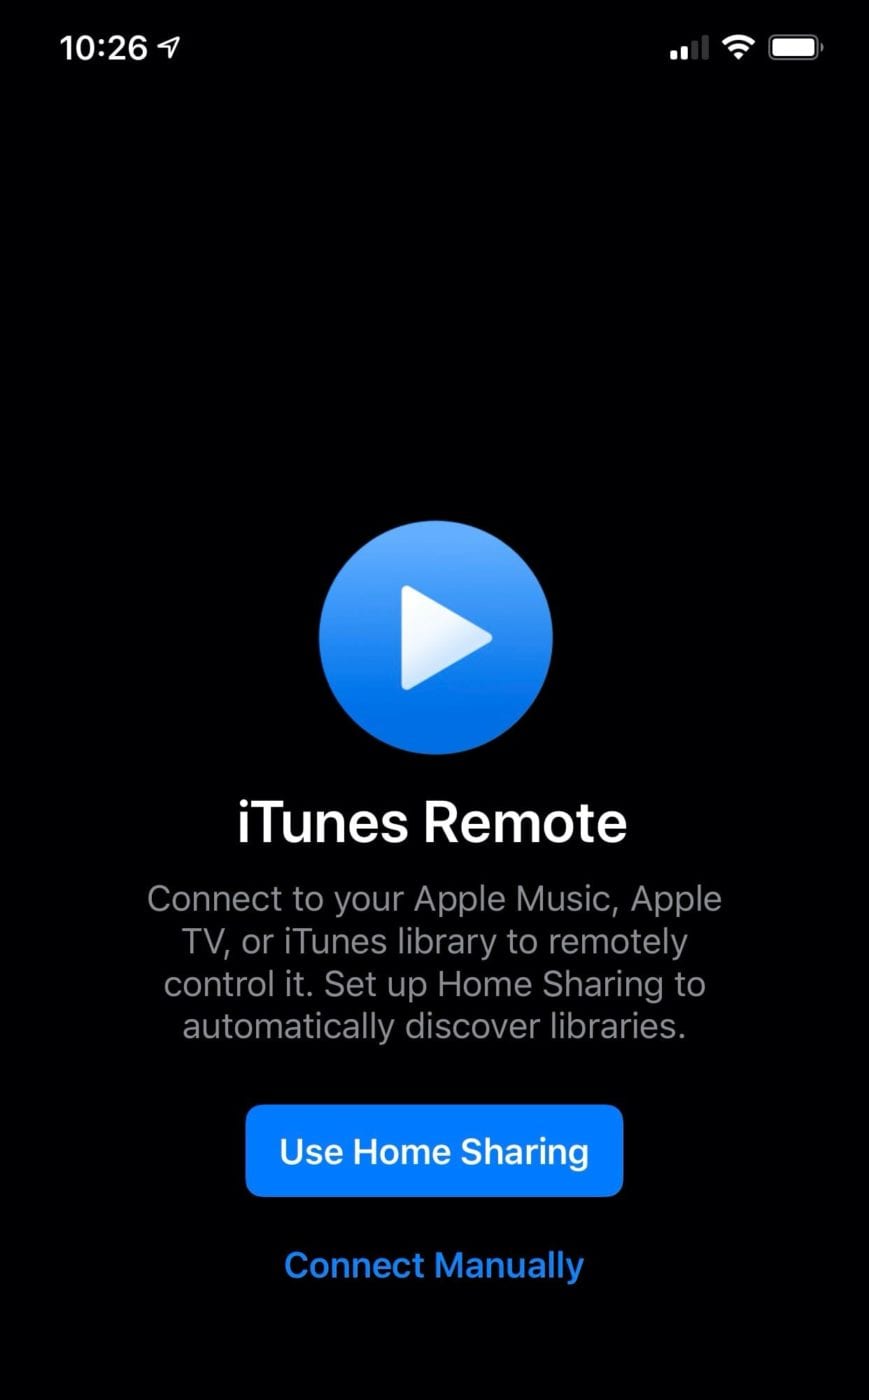
On your iOS or iPadOS device, open the Remote app and do one of the following:
- If it’s your first time using iTunes Remote: Tap Connect Manually.
- If it’s not your first time using iTunes Remote: Tap Settings, then tap “Add a media library.”
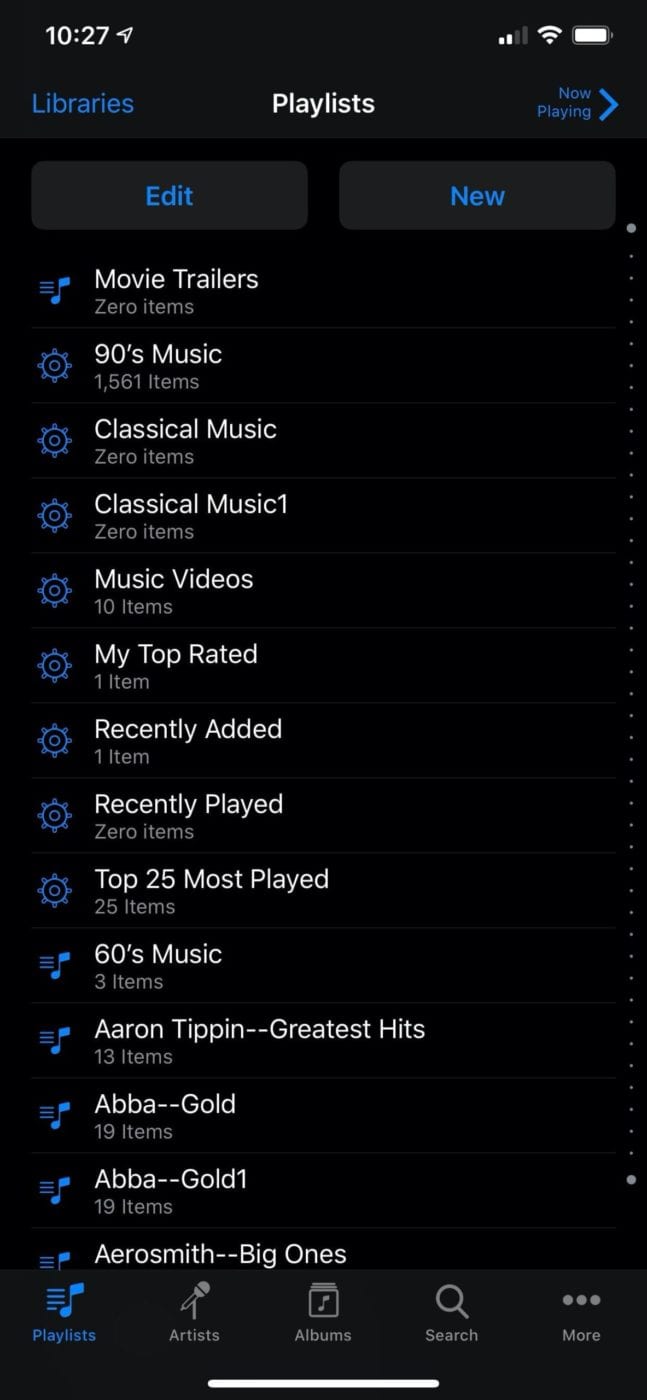
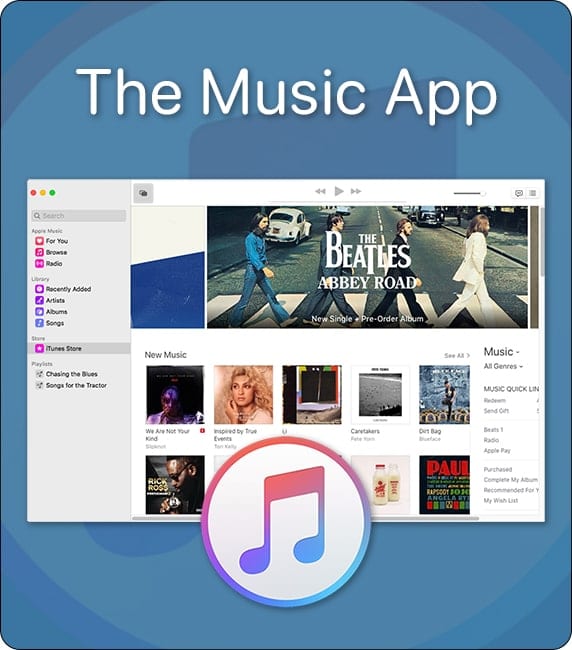
A 4-digit code may appear. In the Music app on your Mac, click the Remote button under Devices in the sidebar, then type the 4-digit code.
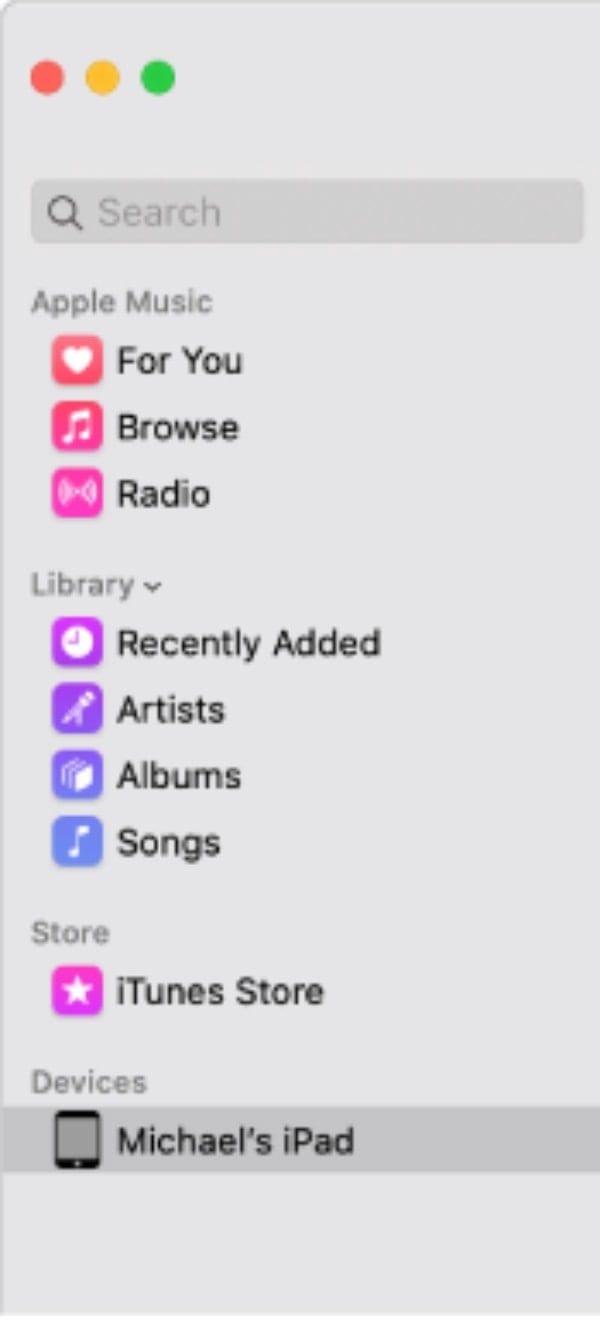
Music pairs the library on your computer with the iTunes Remote app on your device.
A caveat: I said “may appear” because on my set-up (see below), there was no need to enter a 4-digit code. The iTunes app and the Music library on my Mac paired automatically.
If you have Home Sharing turned on, you can set the iTunes Remote app to pair automatically with any of the media libraries on your Home Sharing network.
On your iOS or iPadOS device, open the Remote app.
Do one of the following:
- If it’s your first time using iTunes Remote: Tap Use Home Sharing.
- If it’s not your first time using iTunes Remote: Tap Settings, then tap to turn on Home Sharing.
Sign in using your Apple ID and password.
Tap the media library you want to control.
These instructions apply, for the most part, to other versions of macOS besides Catalina. However, I’m using Catalina on a 16-inch MacBook Pro for this tutorial.


Is it possible to rename the name of the music library showed in Remote App (in case of multiple computers with similar names)?
Thanks a lot
My Mac no longer has iTunes. It was replaced by Music in 2019.
This article was written 3/30/2020?
Thanks, learned a lot!
OK… sound interesting. However, I do not understand how it works. A walk through example would have been nice. My knowledge of iTune is, let say, is only surface deep. As a result, I do not have a clue what the iTunes Remote is or how to put it to use. It does not look Mac friendly to me.