
Did you know you can use your Mac to take screenshots and grab video from an Apple TV? You can — if your Mac is running macOS High Sierra or later.
Here’s how to capture video playing on your Apple TV:
1. Turn on your Apple TV, open Settings, and choose Network.
2. Look under “Connection” and note the Wi-Fi network name.
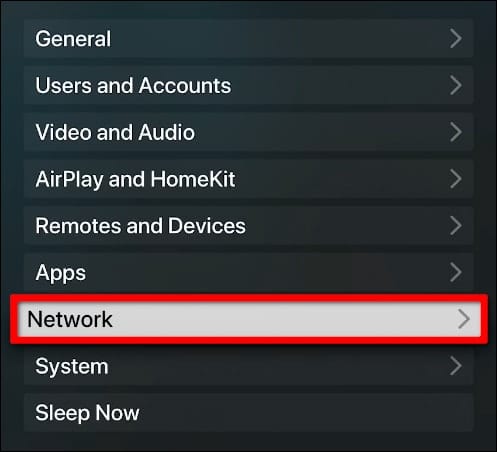
3. Turn on your Mac, and make sure it’s connected to the same network.
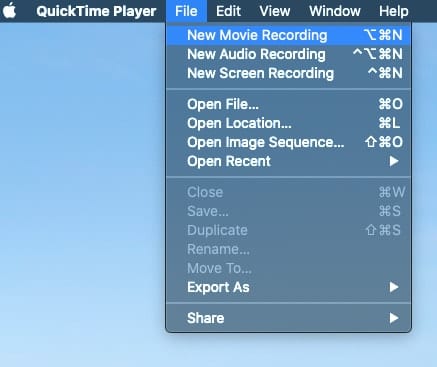
4. Launch QuickTime Player.
5. In the QuickTime menu bar, select “File > New Movie Recording.” A new recording window will open.
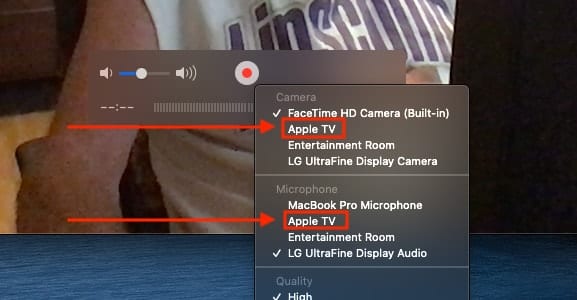
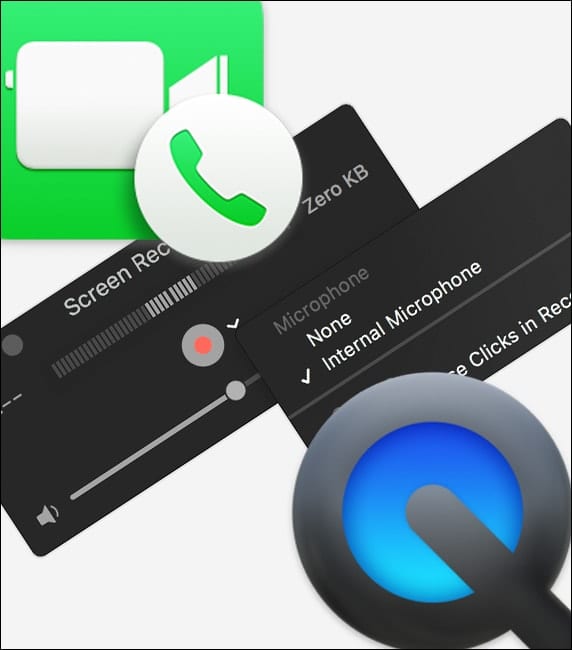
6. Click the small down arrow to the right of the red record button and a dropdown menu will appear.
7. Select Apple TV under both the Camera and Microphone sections.
8. On the Apple TV, a screen sharing permissions prompt will pop up. Use the Siri Remote and choose “Allow.”

9. Click the red button to start recording.
To take a screenshot of your Apple TV screen from your Mac:
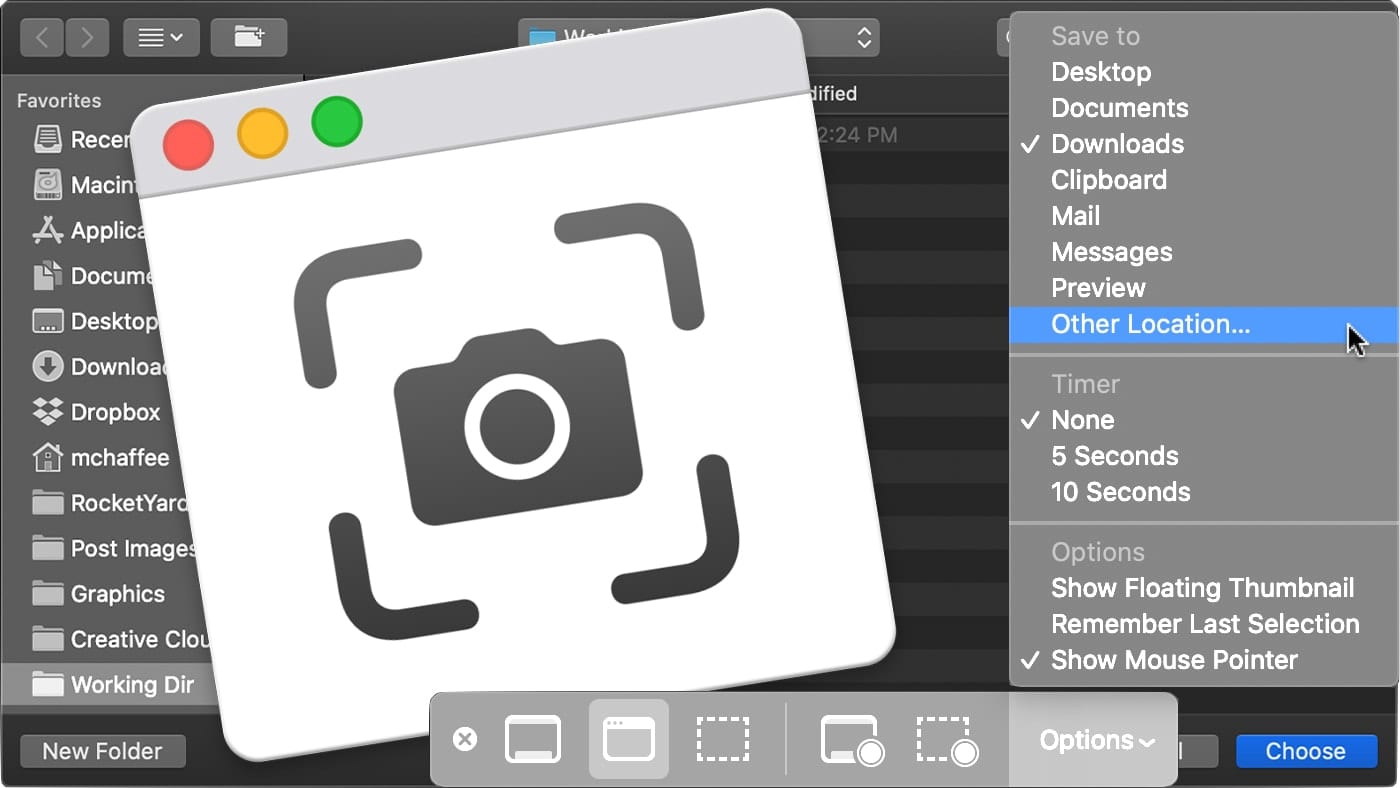
1. Press Shift (⇧) – Command (⌘) – 4, and the onscreen pointer changes to a crosshair.
2. Press the Space bar. The pointer changes to a camera.
3. Move the pointer over the QuickTime Player window, wait until the QuickTime menu and the overlay with playback controls have disappeared, then click the mouse or trackpad to take a screenshot of what’s shown on your Apple TV.




Pretty! This was an extremely wonderful post. Thank you for providing these details.
WhenI mi click the damll arrow next to the red record button no Apple TV appears in the Drop Down menu only the location of where my two Apple TVs are located.
This worked for me to a point. I received an HDCP handshake error when I selected content on Disney+ and Amazon Prime. Up until that point, I was able to record the screensaver and interface. The recording came out great. I know HDCP is there to prevent pirating which is fine. Just thought I’d throw that out there. Thanks for the excellent tip!