There is perhaps nothing more important for a filmmaker to stand out in a sea of visual storytellers than having a signature style. Everything from the look to the audio to the dialog to the story – it all plays a key role in creating that signature stamp. And when it comes to creating that visual look, few crafts are as important as color correction and color grading. That is where professional colorists come in.
Color Grading and Correction
Simply put, this is the art of giving a film (or video) it’s “look.” In the professional space, this is done in the “finishing” phase. Most professional film and video shoots are shot in raw or some other form of low contrast, low saturation color profile that preserves color and lighting info in the digital files. This gives the colorists the greatest flexibility in manipulating the images to look however they like.

The bottom is how it looks after color grading.
And it is the role of the colorist as an unsung hero I want to highlight. (As well as the role a product like OWC’s ThunderBay Flex 8 plays in helping colorist work their magic.)
A Colorist’s History
I know just enough about color grading and correction to be dangerous. I can get by, and I’ve written my fair share of beginner level blog posts on the topic.
But for purposes of this post, I wanted to get the 411 from a seasoned veteran (for you international readers, 411 is a colloquial term which just means, “get the info.” it dates back to when you’d dial 411 to find out the phone number of a company or person. This information has absolutely nothing to do with the topic at hand, but don’t we all like learning useless tidbits of information here and there? It keeps life interesting) So, I “called up” Joey D’Anna to get that 411 (in truth, I just emailed him, but I’m trying to stick with a phone call analogy, so work with me).
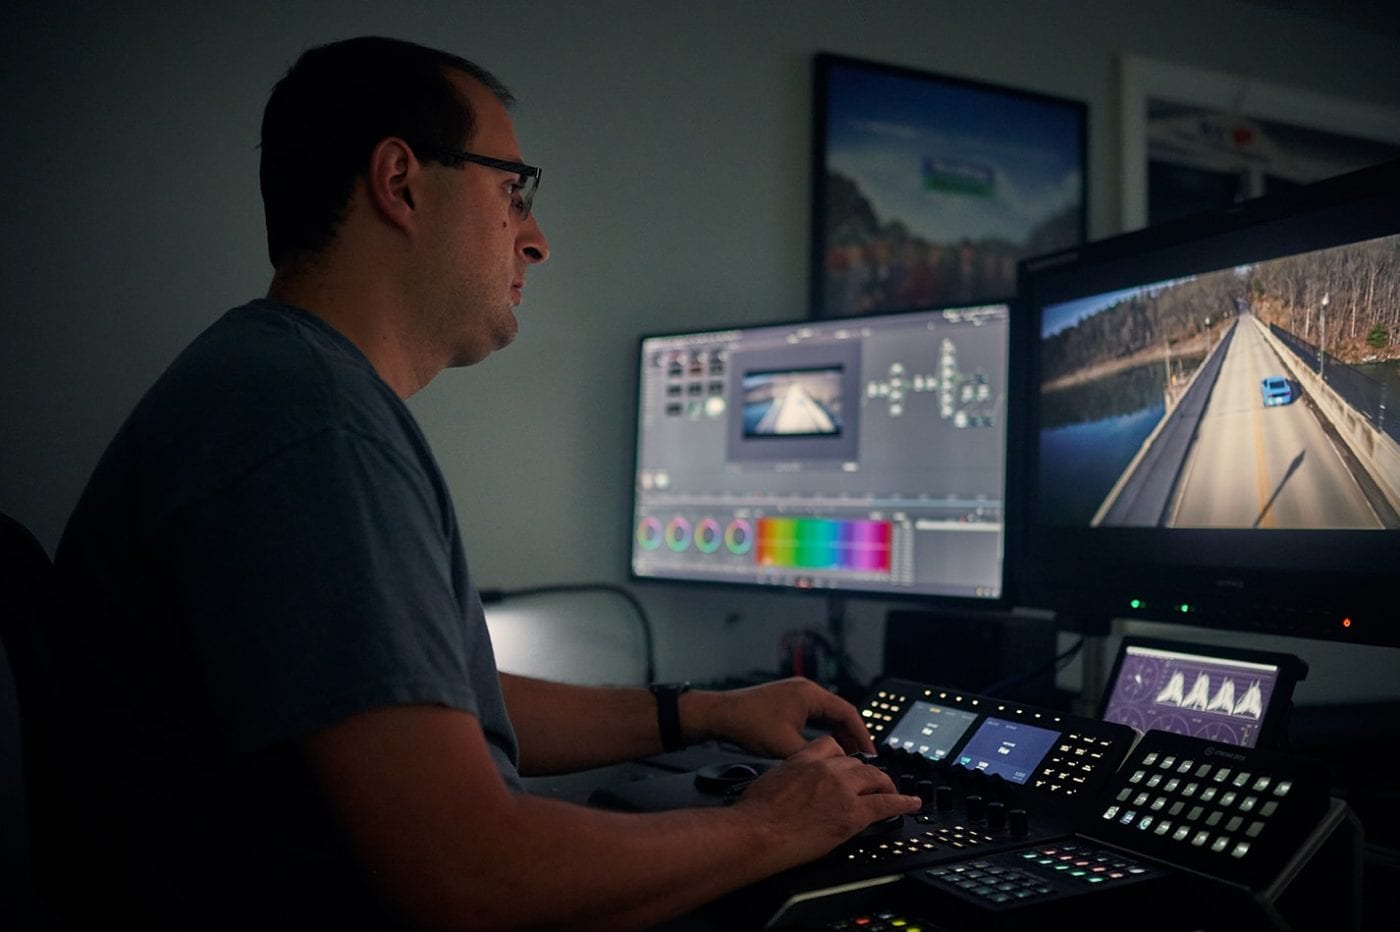
Joey is a 20-year veteran and a lead colorist at DC Color, a boutique facility in the Washington D.C. area. He recently finished a detailed review of the ThunderBay Flex 8, and I knew he’d be the perfect person to help me out.
Joey started his career as an engineer before becoming an editor and then finally working as a colorist for the past twelve years. He’s worked for post houses, TV networks, documentary and film clients, and political advertising firms. His specialty has been short-form promos, but he also loves to work on long-form documentaries and narrative films as well.
“My dad was a broadcast engineer, so I grew up in and around TV studios and post facilities,” Joey told me. “I started at the biggest post house in DC right out of high school and have been fortunate enough to have had a series of incredibly good mentors over the years who helped me learn on the job.”
Joey said that he spent hours watching veteran editors work a linear suite until he could jump in and do it himself. From there, learning non-linear tools became second nature.
“I’ve always been into computers and technology, so learning new software came pretty easy to me. But I started in linear online editing, which very often had a color correction component to it.” Joey told me. “After the linear era, I moved into non-linear finishing for promos and documentaries. Often in those days, promos and low-medium budget TV shows didn’t go through a dedicated color grading pass – so that was my first taste of non-linear color grading, and color is where I’ve kept my creative focus ever since.
“The first time I graded an entire show beginning to end (as in just grading – not doing any other editing and finishing), I fell in love. To shape the feel and tone of the show from beginning to end was so much fun, and I’ve been dedicated to this craft ever since.”
Today, Joey splits his time color grading between his work for DC Color and doing training work and demos at trade shows, conferences, and on MixingLight.com (the premiere destination for color grading training on the web.)
Technology and Change Over the Years
Filmmaking as a medium has existed over 130 years, and in all that time, we’ve seen tremendous advancements in all aspects of it. The same holds true for color correction and grading. Before the digital world, color grading (or color timing) was done by physically manipulating the film to yield the look you wanted. I can’t even begin to imagine the painstaking process that was required. Once the process became digital, it was relatively “easier,” but still quite intensive. It requires a deep understanding of color science, as well as knowledge of how to use the tools.
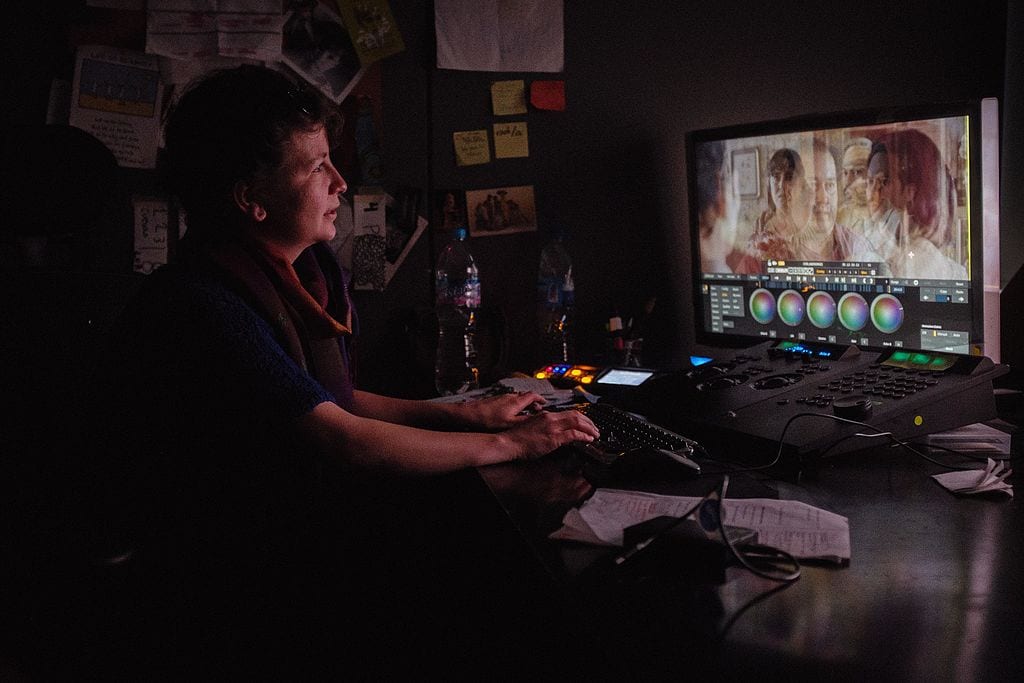
Image CC BY-SA Erwin Verbruggen
In the dozen or so years Joey has done this professionally, I wanted to know what changes he’s seen.
“The biggest change has been accessibility. As technology has gotten better and cheaper, it’s opened the door to so many more people and companies who couldn’t afford the needed gear for high-end color grading until now. In my case, it’s allowed me to have a successful color grading business that I run from my home, in my own suite. Ten years ago that would have been completely impossible simply due to cost.”
Another one of the changes Joey shared has been the very need for the service since the early days of television. “Most cameras during that time produced a normalized color image, so any color work after the fact was more just a correction of problems. These days almost all cameras record log or raw encoded images that require competent color grading to prepare for display. This has driven up both the demand for color grading, and the quality of TV shows that people are watching.”
The Flex 8 Takes the Technology Game Up Three Notches
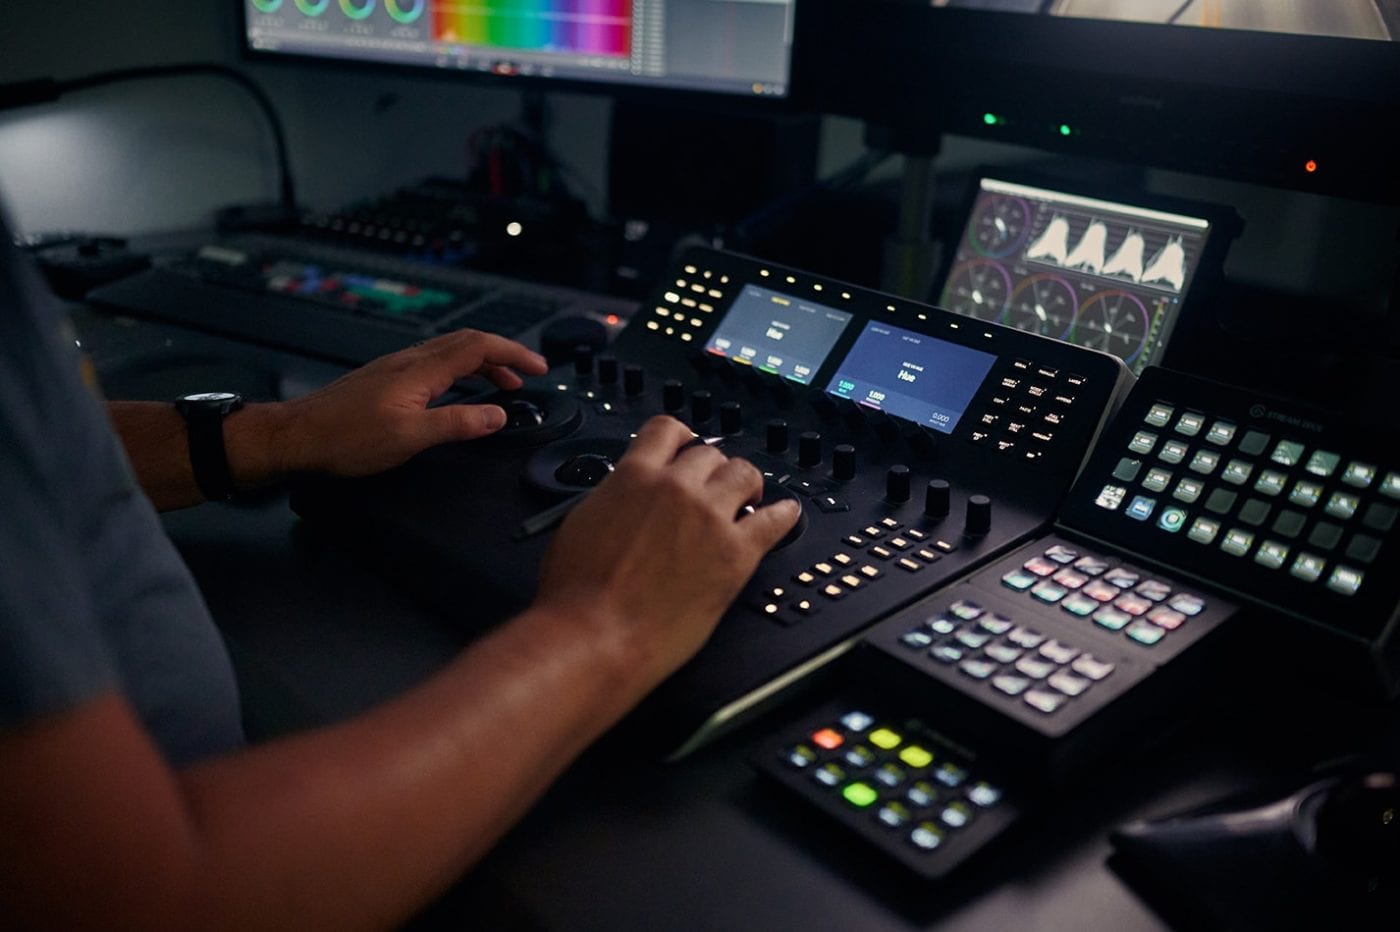
There is nothing more important to the work of a digital colorist than the hardware he or she uses. Everything from the processing speed of the computer chips, the power of the graphics card, and the amount of RAM. All of these impact their work.
As I mentioned earlier, Joey had an opportunity to use OWC’s ThunderBay Flex 8 and extol its virtues (full disclosure: Mixing Light is an OWC affiliate.)
“For me, the Flex 8 replaces three separate components in my suite: Video I/O for scopes on my assist station, near-line backup of all my active projects, and a card reader to get client media in and out of my shared storage system.”
Joey goes on to mention what stood out most for him. “The PCI slot is a major thing for me. I’m using it to house a DeckLink 4k I/O card to run my scopes. The only alternative would be to spend over twice as much on a dedicated thunderbolt I/O box.”
What It Takes to “Make the Grade”
If you have aspirations for becoming a professional colorist yourself, there are a few things you should know. First, know what color grading isn’t. Joey explains. “I think the biggest misconception about grading is that we make the look of a show or film in the color suite. While it is possible to do some pretty stylized, heavy color treatments, at the end of the day, the look is determined by lighting, production design, costuming, direction, photography, etc. The vast majority of the look is made in front of the lens, not in post. Color grading works best when it is done in concert with the photography, not fighting it or trying to fundamentally change it.”
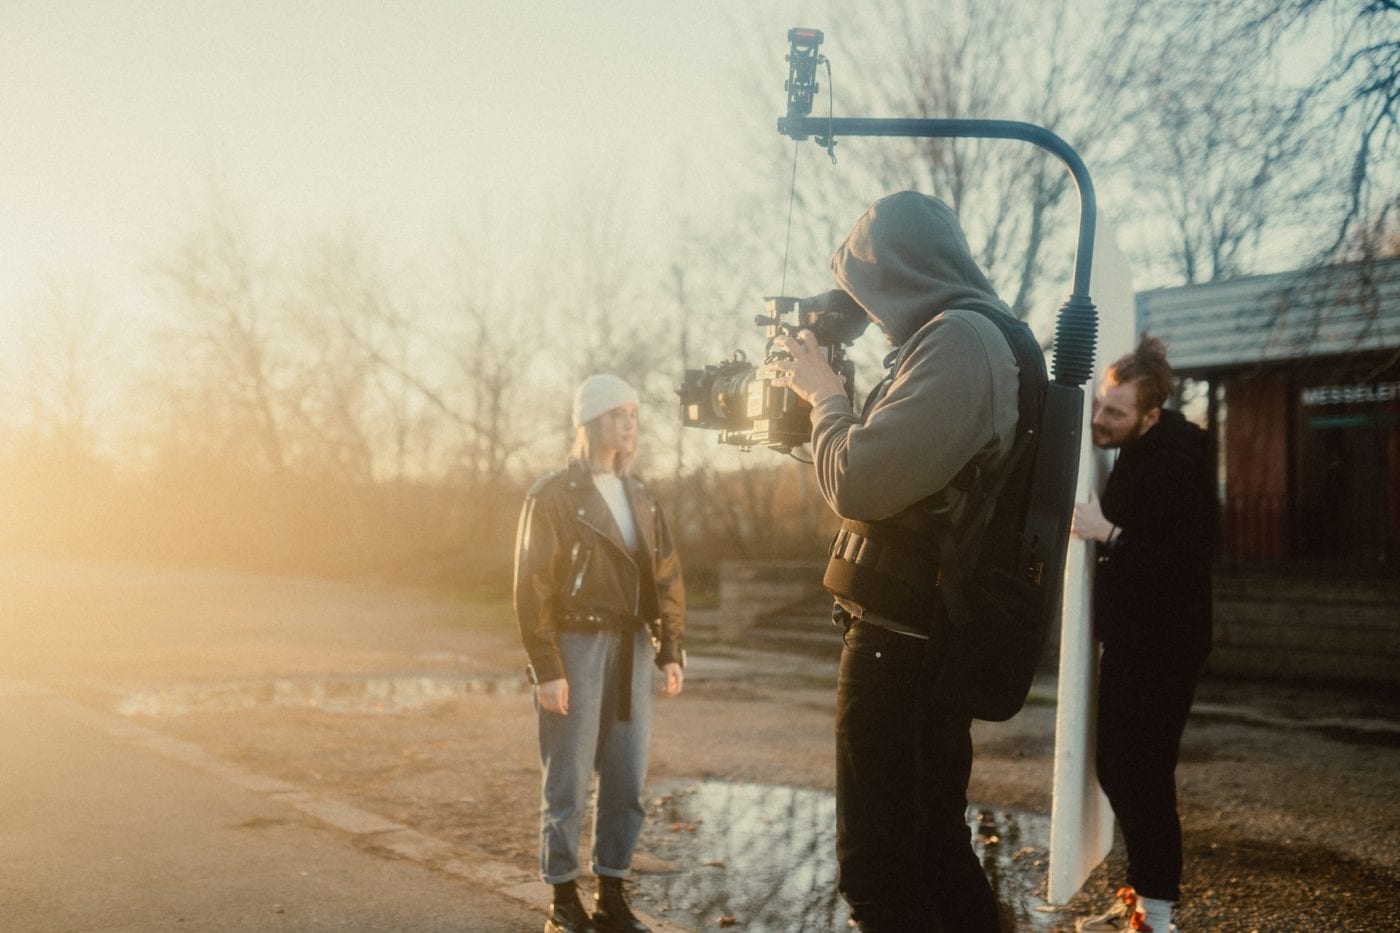
Photo by Mike Palmowski on Unsplash
I think this is a significant point. Interestingly, it’s one that slightly contradicts the point I made at the beginning—that color grading plays a key role in the look or style of a film. However, I stand by my assessment. Whether it’s accomplished because of how you design and light your project, or what you do in the color suite, it’s still about how the color and lighting are manipulated to evoke certain moods.
If this is a profession you want to aspire to, Joey places a lot of emphasis on more intangible elements than just hardware or software.
“Focus on technique, fundamentals, and creativity, not just learning software. I think a great colorist can be a great colorist on any platform, software, or system. Software and grading systems always change and evolve over time; but fundamental skills for examining, evaluating, and adjusting an image don’t ever change.”




The example image you put is not color grading, is just an image with the proper color transformation applied to rec 709. and some bad color adjustment.
Poor example
Are we picking nits here? The image’s point is to illustrate that footage is typically shot in a raw format, or with a flat profile, for the expressed purposes of grading it later. It’s just a before and after shot, and not meant to be a lesson in how to grade.