

Have you ever been in the hard drive aisle at the electronics store and wondered, “Hey, will this drive work on my computer?” Worry not! This article will help you better understand what all those drive formats mean and which one is the best drive format for you.
What are the different drive formats?
Your hard drive can be formatted to many different formats, and each of these formats serves a specific purpose:
- APFS – Apple File System
- HFS – Hierarchical File System, otherwise known as MacOS
- NTFS – New Technology File System
- exFAT – Extensible File Allocation Table
With so many options for how you can format a new hard drive, how do you know which option is the right one for you? And moreover, will it even be compatible with your computer?
So let’s break down each format one by one.
APFS – Apple File System
Released in March of 2017, APFS was first used on macOS Sierra. Upgrading to this operating system forced your computer to completely update the hard drive – making it impossible ever to go backward. While divisive at first, APFS has proven itself to be a powerful drive format for Mac users for a variety of reasons.
First, APFS was designed with flash storage Solid-State Drives (SSDs) in mind. Most modern Mac computers, from your basic MacBook and MacBook Pro to your iMac, iMac Pro, and Mac Mini’s, all have SSDs in them now.
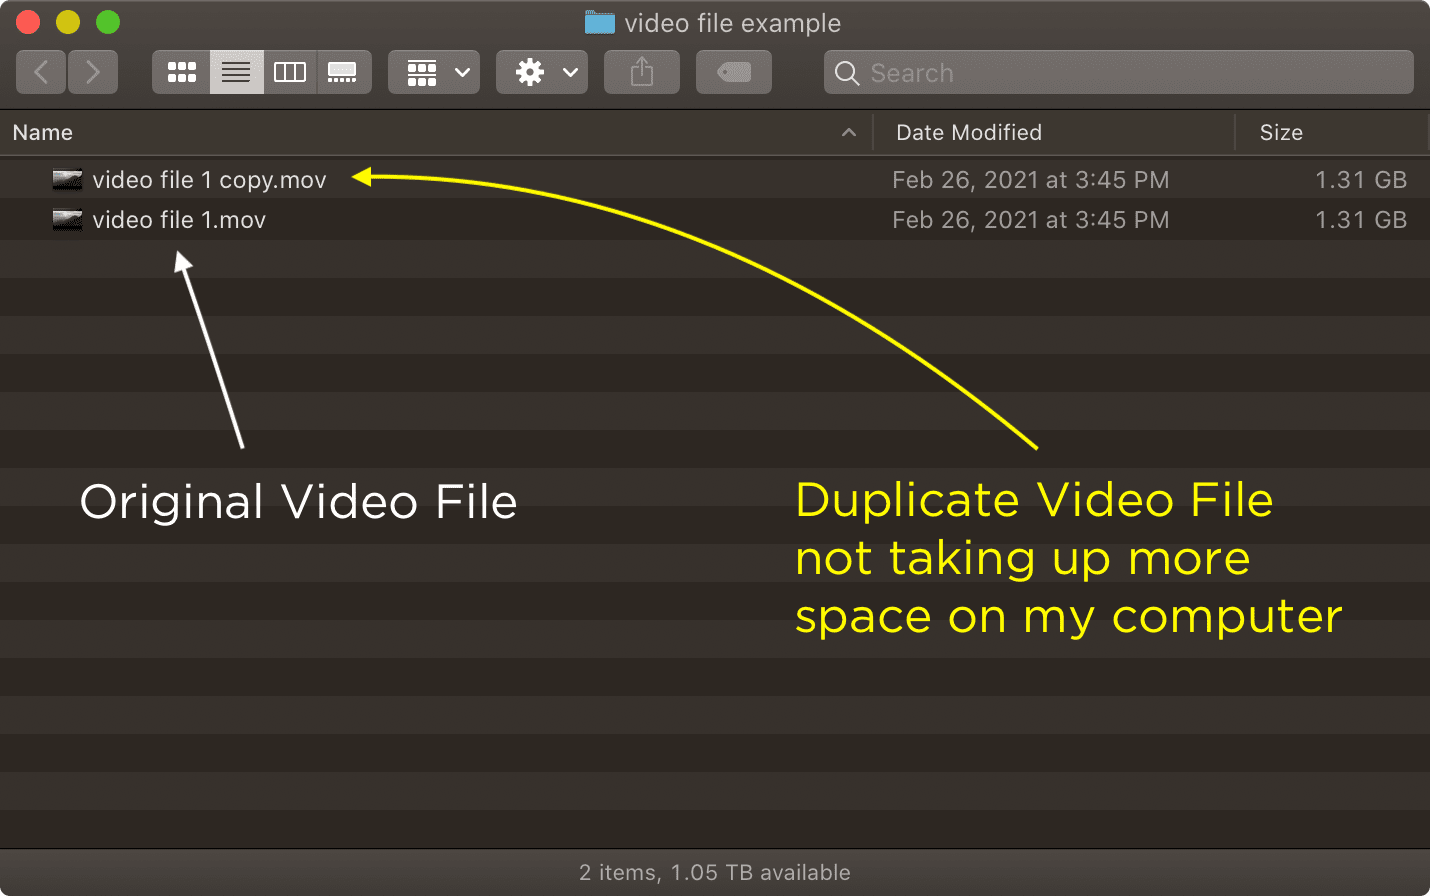
One of the great things that APFS does that you will really notice is that it essentially shares data from one file to another. That means if I have a large video file and I duplicate it on my computer, the duplicate doesn’t take up more storage on my computer. For those of us on laptops with smaller SSDs, this is a huge benefit to using APFS.
Another great thing about APFS is that it will duplicate your files, even the very large ones, instantaneously. Unlike other formats, which require you to wait to basically copy the file a second time, APFS just magically duplicates it right in front of you in a split second.
While this all sounds great, remember that APFS was designed for your internal solid-state computer hard drive and your iOS device. It is not an ideal choice for your external hard drive, which for many users will be a regular spinning hard drive and not an expensive large solid-state volume.
HFS – Hierarchical File System
You may be familiar with this option as it is the default option that appears when you go to format a hard drive on your Mac. You may have commonly heard this referred to as HFS+ or Hierarchical File System, though the MacOS Extended (Journaled) option is actually an improved version of HFS+.
It’s a great format when working with your external hard drives on your Mac, and will work great with every other Mac user out there.
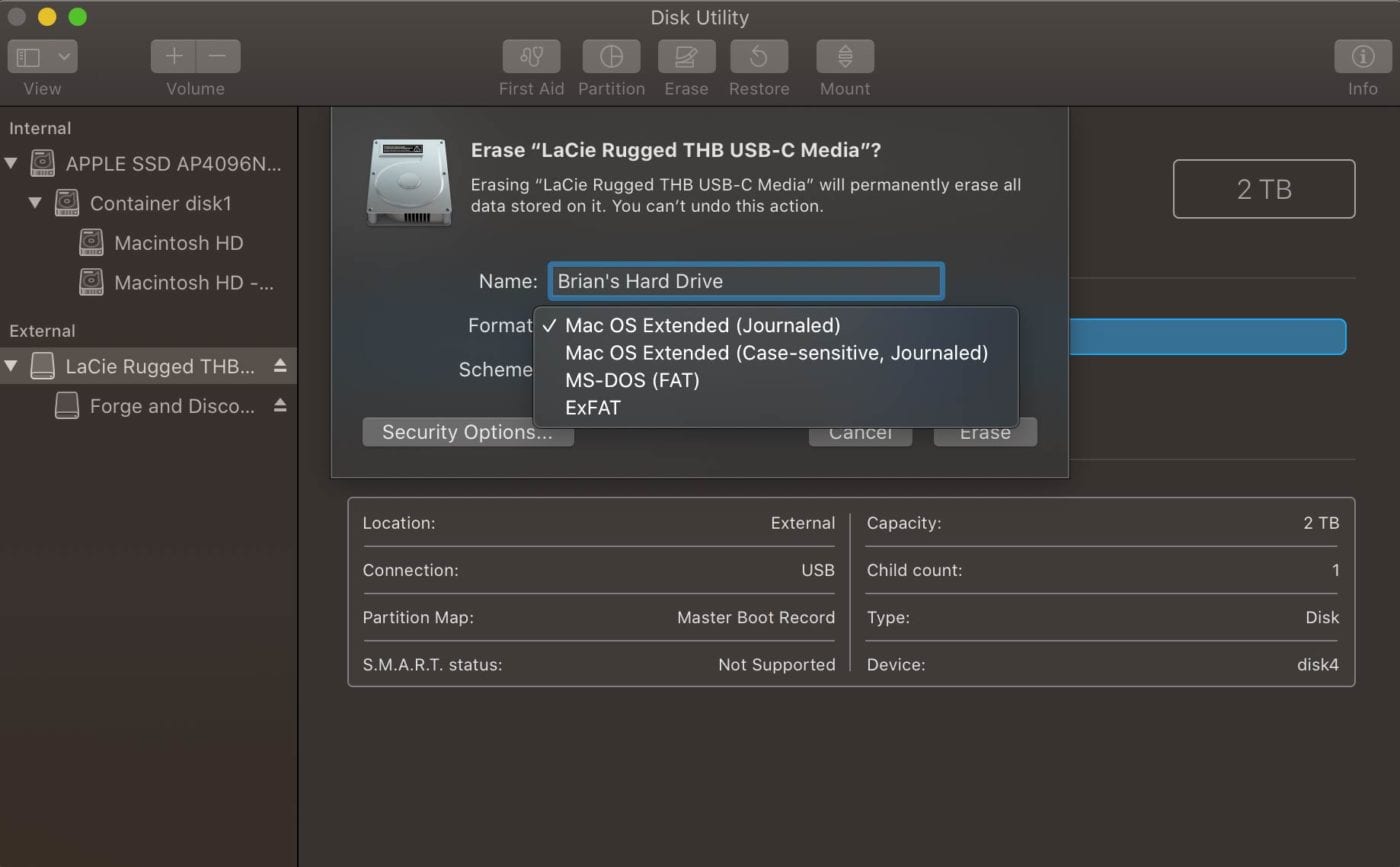
MacOS Extended (Journaled)
The “journaled” part of the format simply refers to a method of storing media on the drive that prevents files from being corrupted in case you accidentally unplug the drive while it’s turned on, or you lose power to the drive while it’s in use.
If you are going to be working on a Mac computer and using an external hard drive, this is the format you’ll want to go with. The only caveat here is that Windows PC users won’t be able to read this drive (but more on that below).
MacOS Extended Case Sensitive
This option appears just below the MacOS Extended (Journaled) option in the list of formats you can choose from, and although it’s remarkably similar, it does come with one key difference.
When you format your hard drive to be Case-sensitive, it means that if you have a file called MyDocument.txt and you also have a file called mydocument.txt, the hard drive will see those as two completely different documents. The lowercase “m” and lowercase “d” in the second example have changed the file enough that it is now an entirely new file.
If you are anything like me and obsessively name your files with specific uppercase and lowercase precision, this would not be an option you want simply because we’re all human and prone to error. I would not want to have two versions of “My Film – 210618_DELIVERY” and “My Film – 210618_Delivery” going around, never sure which one is the correct one I sent to the client.
NTFS – for Windows users
NTFS, which stands for New Technology File System, is the default option for Windows PC users when formatting a hard drive.
Think of it like MacOS Extended except for Windows. And just like MacOS Extended in a Mac environment, NTFS formatting is going to be great for a purely Windows environment.
In fact, if you are a Mac user, depending on how the hard drive was formatted, it’s possible if you were to plug in an NTFS drive on your Mac you’ll get this error message:
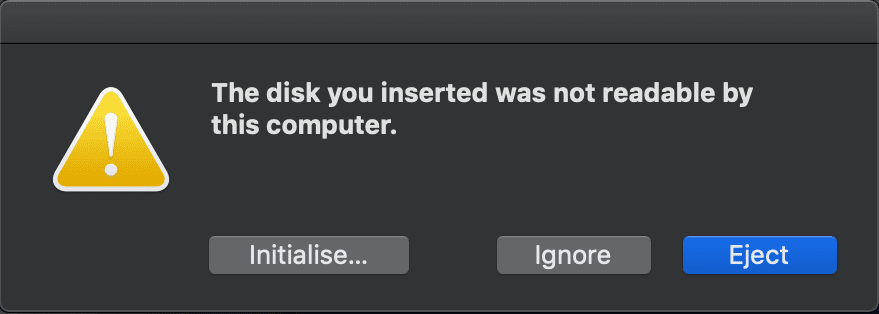
Yikes! But it’s not all bad news, because if you are a Mac user, you can actually format a hard drive as NTFS, the only caveat is that the drive will be read-only, meaning you cannot modify or add content to the drive.
In this example, I really needed to get these cute puppy images from my Windows PC to my Mac, so I formatted a hard drive as NTFS on my Windows PC and plugged it into my Mac.
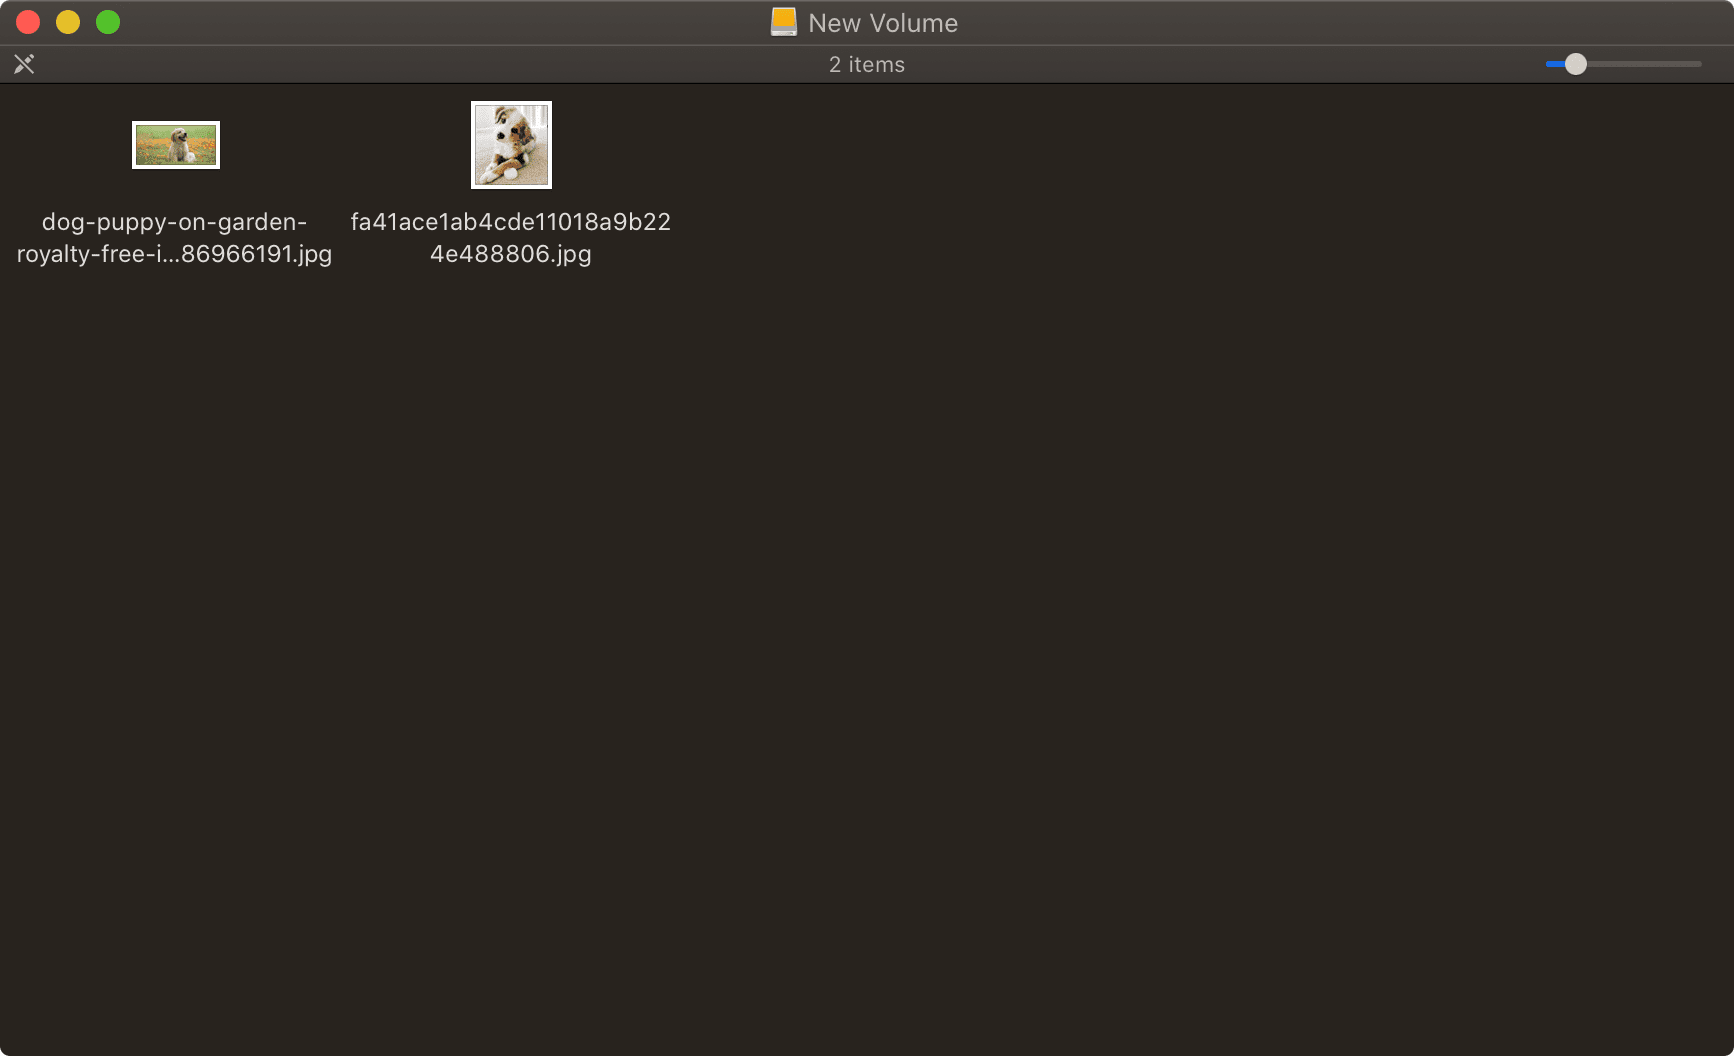
You can see that this window is missing the typical navigation and toolbar on top, suggesting that this is for viewing the content only. I can’t add a new folder, or drop more cute puppy pictures on this hard drive.
If you do want to share content between your Windows PC and your Mac, there is a solution for that though.
exFAT
exFAT is an interesting option for users. It works on both Mac and PC and can share files back and forth. In fact, I have a client who works exclusively on PC, and I work exclusively on Mac, and we format all of our shared drives as exFAT so we can work collaboratively if needed.
exFAT is a newer option that replaces the old FAT32 option. You may have heard “oh but exFAT has limitations” and that was once true of FAT32, but is no longer true of exFAT.
In FAT32, no single file could be any larger than 4GB, and no drive volume could be larger than 8TB. This, of course, isn’t helpful if you are a video professional working with files in the tens or hundreds of gigabytes.
exFAT solves a lot of those problems by removing the file size and volume size limitations but keeping the great cross-platform sharing options available.
But first, some exFAT warnings…
It’s important to note that exFAT is not “journaled” like your MacOS Extended option or the Windows NTFS option; meaning if you have a catastrophic failure of some kind, like a power outage or your dog running under your desk and pulling out all of your cables, it’s possible that this can create corrupted files. Knowing that, it’s important to always keep backups of your files in multiple places, especially if you are using exFAT.
Another important warning comes from a personal experience using exFAT. I work with a client who exclusively uses a Windows PC, and he creates an exFAT hard drive for me, loads it up with footage, and sends it to me. On most occasions, I received this dreaded screen:
Yikes again! So I had to use a blank hard drive I had here, format it as exFAT using my Mac, and then plug both drives into my Windows PC that I have here to copy the contents from one to the other.
I was then able to format the drive on my Mac and copy the contents back onto it. Depending on how a Windows user creates the exFAT volume, I’ve found that Mac users can run into this issue, so I always make it a rule of thumb when using exFAT to create the exFAT volume on my Mac first before it gets used on a PC.
So what is the best drive format?
Well, the answer is complicated because it depends on your scenario. Here are some guidelines to follow:
- If you are a Mac user sharing this hard drive with other Mac users – MacOS Extended Journaled
- If you are a Windows users sharing this drive with other Windows users – NTFS
- If you are a Mac user and need to share this drive with a Windows user – exFAT
- If you are a Mac user and have been given a Windows hard drive full of content but you don’t have a Windows computer handy… well I said we’d be talking about this and fortunately the solution is very simple.
How to open a hard drive from Mac or Windows on either computer
There are three great tools in case you ever do need to access and interact with the content on an external hard drive that has not been formatted for your computer.
For Mac Users
If you are a Mac user and you need to open up a Windows NTFS hard drive, I recommend you check out Microsoft NTFS for Mac by Paragon.
For Windows Users
If you are a Windows user and you need to open up a MacOS Extended hard drive, there are two good options for you. The first is OWC’s own MacDrive. With blazing quick read/write speeds and unparalleled data security, you can’t go wrong. A second option is another tool from Paragon software called Paragon HFS+.
Now you should be able to successfully create and manage any hard drives you create or receive on your Mac or Windows computers.


Is there a work around for exFat when using the search function on a mac? My images preview fine until I try to search by name. They show up as a generic jpg image. They open fine & show when in gallery format but when changed to icons, they look generic. I thought that this was a new problem but now I’m not sure. My laptop is a Macbook pro with Big Sur, my external is a Seagate Portable formatted to exFat.
How much of a negative impact in performance would come with using APFS on an external disk vs HFS+? I know it was pretty significant for an internal spinning disk back in Sierra/High Sierra days. Are we talking 5%? 15%? Or an “It’s complicated?”
Quote from makers of SoftRAID
https://forums.softraid.com/postid/4063/
“You want HFS for two reasons: [on external HDDs]
1. APFS volumes on HDD’s are 50% slower than HFS
2. APFS volumes can still get damaged and there are still no repair tools, so backups need to be extra solid.”
THANKS!! Glad I found this thread. I have a 2012 MBP non-retina . I converted the optical drive which is slow anyways to an extra internal SSD. Would the same reasoning apply to the converted drive or can it be apfs? My current plan is to covert Both drives to 2TB SSD and make the converted drive a bootable copy of the main boot drive. If you have any comments or suggestions, I will be grateful. Thanks & Cheers!
One thing not talked about here is performance. Hard drives formatted as APFS have one big flaw… they are known to get bogged down over time because the Copy-on-write scheme of APFS causes A LOT of fragmentation. This is not a problem for SSDs but for HDDs this causes a lot of churn. And currently there is no tool to defragment APFS drives fully (the only tru way ATM is to copy to another drive n back).
This may impact your choice of drive formats.
Also, there is a known problem in using external drives with M1 computers that has yet to be fully resolved.