

The other week someone said to me, “I love the video from my iPhone, but on my (Windows) computer, it’s super blown out.” Ah! Some HDR footage, I thought. I know how to fix it. And by the time that you watch (or read this), so will you!
I want to take a dive into some of the problems around HDR. That’s High Dynamic Range video, not the still photography version. And I promise, no math.
In November of 2020, Apple shipped the iPhone 12 Pro. It instantly became the number one HDR acquisition device on the first day. If you’re curious, the particular flavor of HDR it creates is Dolby HDR.
Dolby did some research to get an idea of the flexibility of human vision. HDR represents a better ability to capture light and color. It’s not just turning up the brightness and saturation. This is about more latitude of contrast and a better/broader representation of colors. We don’t have consumer devices that can show the full range yet.
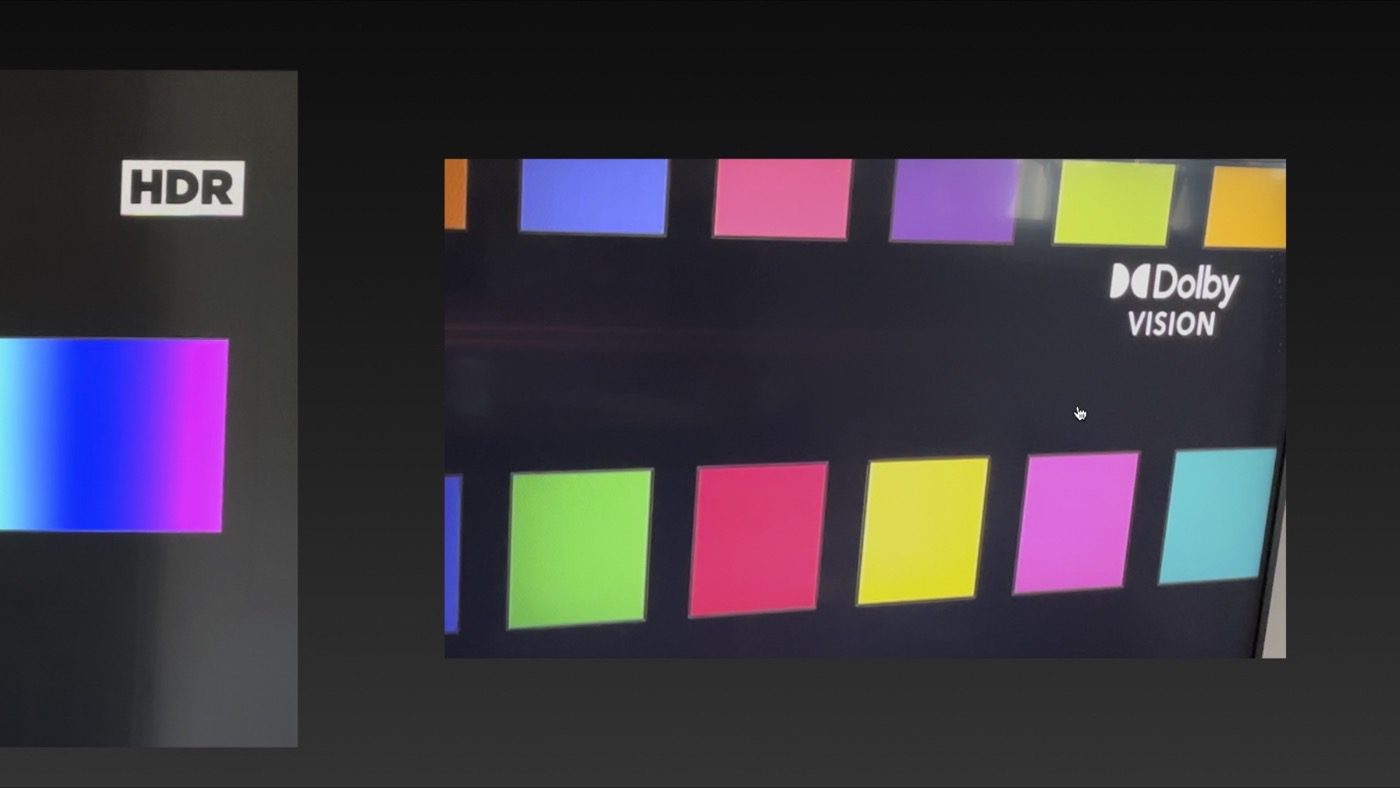
Dolby’s site has a great set of examples to see the difference between HDR and regular video (also known as SDR – Standard Dynamic Range). HDR can show more of this information than older equipment does.
If you’ve got a TV that supports HDR, when you put HDR content on screen, it should put a large indicator, usually in the upper right of the screen, indicating HDR video.
To test it, just take your phone and use the Airplay feature to display some HDR video from your camera roll. Or, if you’ve got Netflix, go to this URL on a computer and add it to a playlist. Then go to your TV and play one of these screen test programs from the playlist. Netflix charges extra – but you should see HDR in large letters on your screen.
In general, when this works, it’s great. You shoot on your phone. You share with your friends on Apple Messages, YouTube, or Vimeo.
But what about when it doesn’t work? It’ll be like the example at the beginning. It looks weird/blown out. That is because it has more information than the viewing device you’re using.
How can you tell if your footage is HDR?
- Photos on an iPhone: Videos will have an HDR tag in the top left of the screen.
- Photos on a Mac: Photos on your Mac doesn’t display HDR, but you can build a Smart Album to show your HDR clips (see the video).
- Finder on a Mac: Just click on any clip and press CMD-I for Get info. It should show a color profile. If it’s BT2020 or HLG? It’s an HDR clip.
- Quicktime (current Mac version): If you press Command-I, which is called the Movie Inspector, the information will be in the Video Details section.
- VLC player: This cross-platform tool can display HDR information. It’s called Media Information, under the Windows Menu.

So, what if you want this off? I have mine on all the time. But I can imagine loads of reasons why someone might want it off entirely.
On your iPhone. Go to Settings > Camera > Record Video > and turn off the HDR Video Toggle.
If you need to convert your video (because something didn’t work), thereby reducing the color space, you’ll need a third-party tool.
Shutter Encoder is perfect for this (and I have other tips about it). It’s a donationware open-source tool. http://www.shutterencoder.com
How to use Shutter Encoder
- Drag your file into Shutter Encoder’s window.
- Pick the type of conversion (for instance, h.264)
- On the right side (Settings), pick Colorimetry.
- Convert Colorspace from Rec 2020 > Rec 709.
- Then start the encode.
The result won’t look as good as the original (SDR has less color and latitude), but you won’t get complaints about how the footage looks.
And that was the goal here, get a basic understanding of HDR and how to check your footage. And now you also know how to turn it off. Most importantly, you know how to fix HDR when it doesn’t automatically work. Thanks for reading, and feel free to ask questions in the comments!


This is the only article that helped me when I neeeeeded to use HDR iPhone footage. Thank you for the step-by-step instructions.
Technically the iPhone shoots the only version of Dolby Vision that uses HLG instead of 2084 curves, which nobody else uses at all. But the display device will display it sort of correctly. The HDR choices, just like their P3 choices, are incorrect, inaccurate and counter productive, but not so must people notice or understand.