

I’ve been writing a lot about Parallels Desktop, a powerful app for running virtual machines that now runs on Apple Silicon Macs. In April, a short article showed how to install both an ARM version of Windows 10 and Ubuntu Linux on an M1 Mac. Today I’ll show you how to test the upcoming Microsoft Windows 11 on an M1 Mac using a Parallels Desktop virtual machine.
Are Windows Virtual Machines Living on Borrowed Time?
For Mac users who need to run Microsoft Windows on their computers for compatibility reasons, virtual machines are currently the only game in town. Just last week, Microsoft announced Windows 365, a way to run Windows and Windows apps in a web browser. While Windows 365 is initially targeting businesses starting August 2, 2021, the company may eventually bring the “Cloud PC” service to consumers.
Word has it that Apple users can run Windows 365 on Mac and iPad. Will this make Windows virtual machines obsolete? Probably not. Windows 365 requires a full-time internet connection. For field workers using Macs a Parallels or UTM virtual machine is a necessity.
Microsoft Windows 11
The next version of Windows is expected to ship in October of 2021. For system administrators who might need to test compatibility of the new operating system with existing applications and for curious consumers, Microsoft made a preview of Windows 11 available to those who are in the Windows Insider program.
Almost immediately, a number of Mac users attempted to run the ARM64 version of Microsoft Windows 11 under Parallels Desktop on M1 Macs. Most ran into the same barrier — a message during installation stating that their computer wasn’t compatible. In each case, the error had to do with the Mac not supporting TPM 2.0. That’s “Trusted Platform Module”, used for digital rights management, Windows Defender, and more.
Fortunately, there’s a workaround. In the remainder of this post, I’ll show you how to install Windows 11 on your M1 Mac running Parallels Desktop.
Start with a Clean Windows 10 Virtual Machine
I wanted to keep my Windows 10 virtual machine, so rather than upgrade the existing VM to Windows 11, I created a totally Parallels Windows 10 VM and renamed it to Windows 11. Fortunately, that’s a fast process.
You’ll need to be a member of the Microsoft Insider program. If you aren’t, use the link in the previous section to sign up, then download the VHDX file used for installation. Unlike in our experiment with UTM, there’s no need to convert the VHDX file to a new format prior to creating the Parallels virtual machine.
After the clean Windows 10 VM is running, shut it down. Click the “gear” icon on the Parallels Control Center listing for your new virtual machine and make sure the hardware configuration matches this:

Once the configuration has been updated, close settings and power up the virtual machine again.
Remember RegEdit?
Anyone who has been a serious user of Windows for any length of time knows about RegEdit — the registry editor for Windows. It’s used to edit individual settings in a dynamic link library (dll) containing common code for the operating system or apps.
The workaround that allows us to upgrade our Windows 10 VM to Windows 11 uses RegEdit to change some settings that let Windows Update know that it is OK to install the Windows 11 preview. Here are the steps to take:
- Launch RegEdit. If you’re unsure where it is, click on the Search button (looks like a magnifying glass), type in RegEdit, and press return. The app launches:
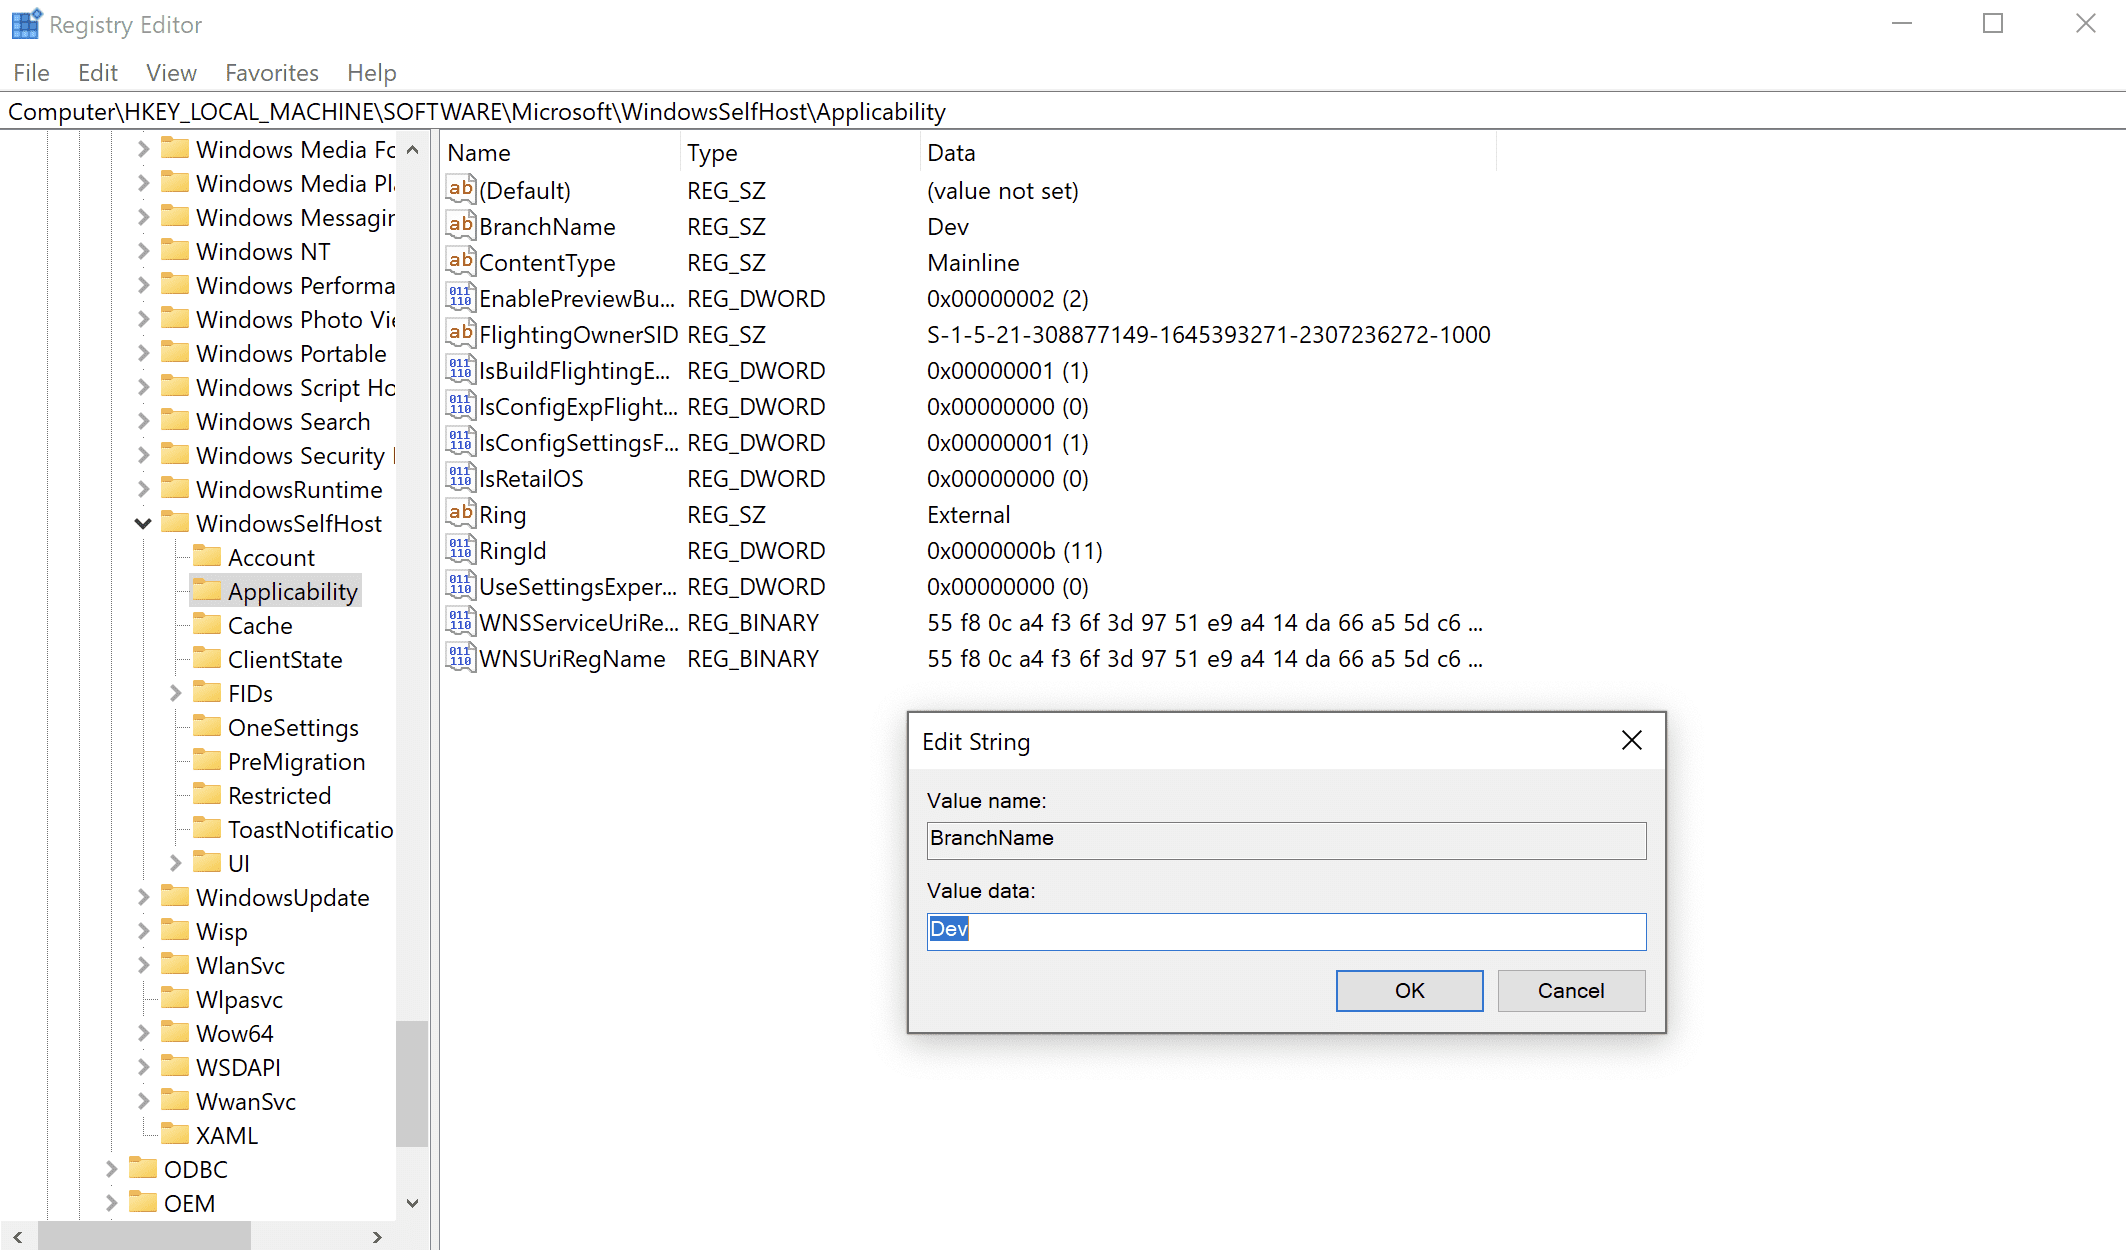
2. You’ll need to navigate to HKEY_LOCAL_MACHINE\SOFTWARE\Microsoft\WindowsSelfHost. Click Applicability. Right-click BranchName and change the value data to Dev. Click OK to save the edited string.
3. Next, click UI (same path as above). Under UI, click Selection. Right-click BranchHome and change the value data to Dev. Once again, click OK to save the edited string.
4. Close RegEdit, then restart the virtual machine.
Windows Update
When the virtual machine is restarted, go to the Start Menu and click Settings. In Settings, click Update & Security. Windows 11 should appear as an update:
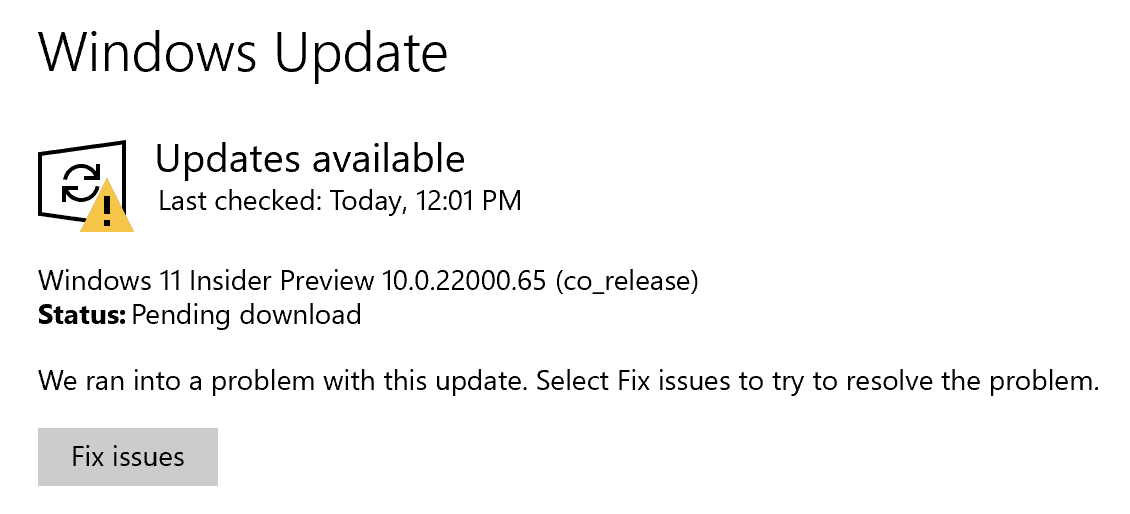
Click “Fix Issues”, and the download begins. When the download gets to about 8%, the installer stops with the error message “This PC Can’t Run Windows 11”. That’s the TPM issue described earlier. Of course, some wise person came up with a workaround…
The TPM Workaround for Microsoft Windows 11
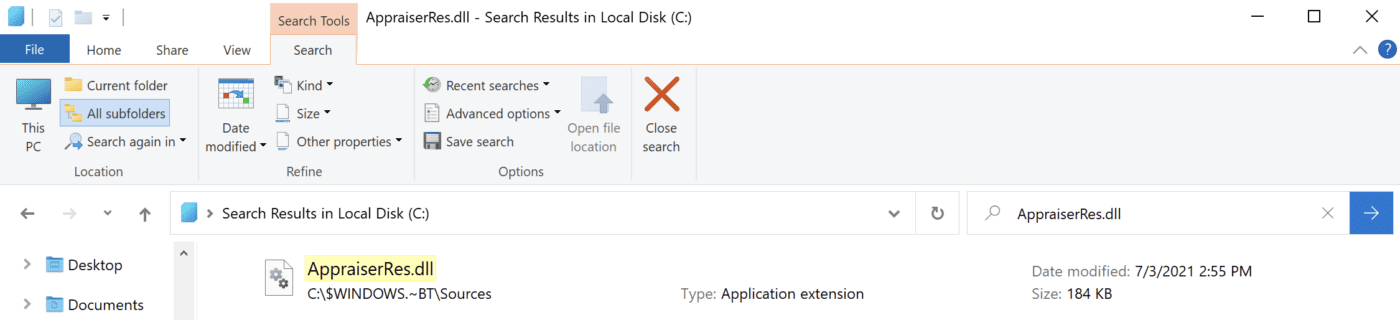
- Launch File Explorer and open the C: drive:

2. When the file is found (see below, it’s in a $WINDOWS.~BT hidden folder), right-click it and select “cut” from the menu.
3. Paste the file you just copied onto the desktop or into a blank folder on the desktop. Minimize the File Explorer window as you’ll need it again shortly.
4. Go back to Windows Update, and click Continue. It shows a screen that says “Setup is Cleaning Up”.
5. Eventually you’ll see that familiar Fix Issues button we saw earlier. Click it. This time, the download proceeds normally. Once it is past the 8 or 9% mark, open the File Explorer window again and copy and paste the AppraiserRes.dll file back into its original folder. You may need to enter your Windows admin password to allow this to happen.
6. Windows 11 installs quickly, then reboots. Windows Update may download a few updates after reboot, but that also happens quickly.
Enjoy Your Windows 11 Insider Preview
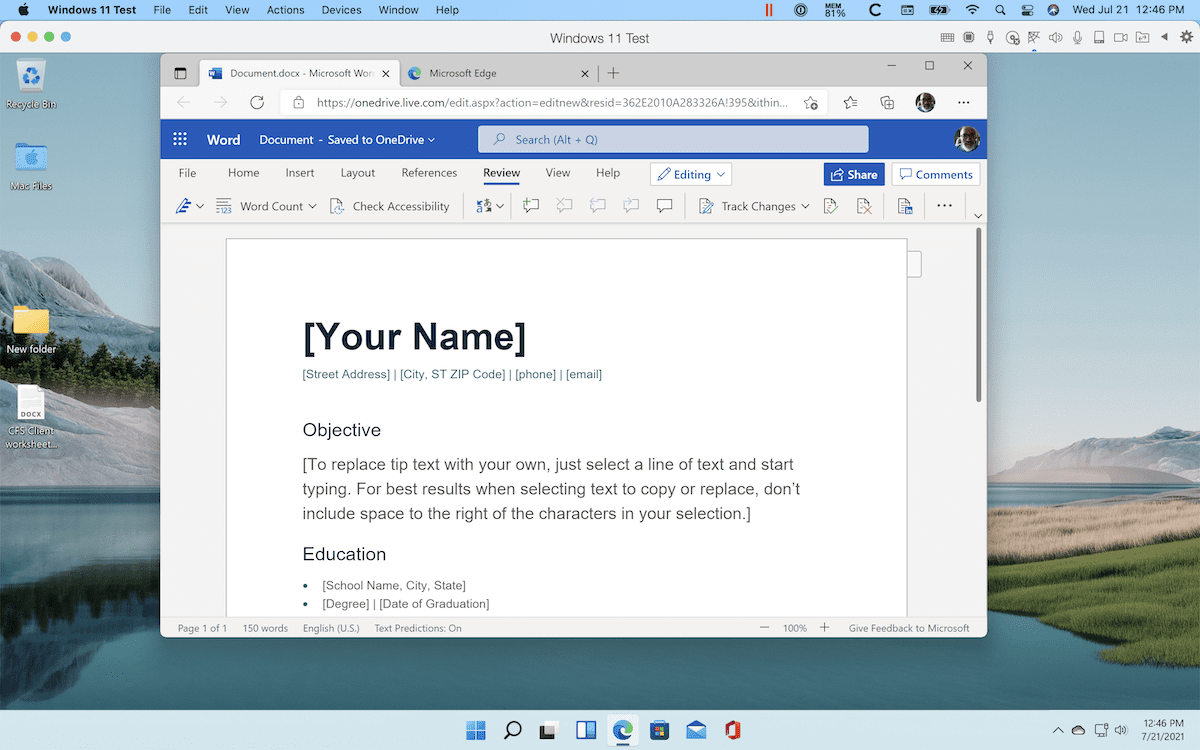
At this point, you can try out the features of the Windows 11 Insider Preview. As with the Windows 10 ARM installation, I was surprised at how quickly Windows 11 runs in Parallels Desktop on an M1 Mac. The UI of Windows 11 is different — in a good way — from that of Windows 10.
You’ll see some features in Windows 11 Insider Preview that are similar to what we’ll be getting this fall in macOS Monterey, including desktop widgets. If anything, Windows 11 seems much more Mac-like than any previous version of Windows.
Remember…
Remember that this is an Insider Preview of Windows 11 and is not meant to be a permanent installation. Eventually you’ll need to acquire an ARM-compatible version of Windows 11 to install in Parallels Desktop, or perhaps Windows 365 will finally be available. In the meantime, this is a great way to familiarize yourself with “that other” operating system.


Great guide! I am running a MacBook Air M1 with 8GB unified memory. I changed the VM settings as per your guide to 8GB and, of course, got warnings that maybe that maybe it is excessive to give ALL my memory to Windows :-)
Question… At the end of the install can I change my VM settings to 4GB RAM shared?
The almost brilliant guide!!! Thanks!
We’re glad you found it helpful.
Hey, Steve,
Here’s my dilemma. I still use a Macbook Pro 17″ loaded and upgraded with an SSD, etc. I have to use Windows for a lot of things. Bootcamp has worked well for me. I have never used Parallels. I need full power. I almost pulled the trigger on the 16″ Intel model, but, when I loaded it up the way I wanted it, it came to close to $5000 and I hesitated. Glad I waited. Now, I’m waiting on the M2 Chip in the upcoming 16″ model and I know it is going to cost me over $4000. But, here’s my dilemma. Software adds up, too. In Bootcamp, with an SSD, I can still run legacy programs I use that need lots of power like Sound Forge Pro and Vegas Pro. I like Final Cut better, but, I have tons of projects in Windows programs where I need full power Windows performance which is why I didn’t go virtual and use Parallels.
So, my question is, will the Parallels/virtual option be able to give me full power performance on Windows doing video/audio, etc. and other stuff or am I going to be forced to buy a 2nd Windows computer to obtain full performance? I’ve heard many stories that while Windows runs on M1 chip, that it really is not going to give me the full power and performance I had with Bootcamp. The bottom line is before I drop close to $5000 on a new Macbook Pro, I may have to re-think it. I cannot afford another $3000 for a loaded Windows computer. If I have to make a choice, I’m probably going to abandon Apple.
I hate Apple. They are arrogant. They dropped the 17″ model for years and even kept silent on their plans, I have (2) 17″ models and if I knew they discontinued them, I might have run out and bought a 3rd one. They let down MacPro users for years and then finally released equipment that is priced more like a low end certified used car. Everything is hundreds more for comparable specs to Windows computers.
I find it arrogant and insulting to configure for sale a Macbook or Macbook Air with an obscene small drive like 128gb or 256gb. That’s so small, you might as well use a Chromebook. You can’t load or install much of anything on the drive. In reality, loaded IPADS with accessories are pushing $2000, a reasonably equipped laptop, Air or Pro is hundreds more than a Windows machine. The starting price configurations from Apple are a joke on laptops and they deliberately create obsolescence in everything they sell by stopping OS updates after 3 years, basically.
I didn’t mean to turn this into a bash Apple commentary, but, I really feel that Apple does not care about me or my needs. I know people who felt that way over Mac Pros, too. Part of my decision to buying an M2 Macbook Pro, though, will hinge on the performance I can expect running Windows. I need a loaded Windows computer for the business world.
Another dig. They didn’t even upgrade the camera on the laptops. Do a lot of video conferencing and they only had 720 resolution, but, they still charge a premium over competitors for everything they sell. There were more nits in a Dell laptop screen, too! I use Apple. My hardware is built fantastic. Lasts a long time, but, I am still disillusioned and no longer drinking the kool-aid.
I didn’t have to do any of that. I had installed and was using a preview Windows 10 ARM VM in Parallels. Noteworthy: At some point the “preview” status disappeared. It appeared and acted like a regular licensed install of Windows 10. I had enabled auto-update along the line. One day I started to work and the desktop looked different. It had been updated to Windows 11 overnight.
Thank you for your work on this. After reading your article I would like to do the process but could you please tell me how to go back to the win10 o/s. I am an insider member and have already been working with win10 in my M1 Mac.
David,
Thanks for the nice comment! Sadly, I think the only to revert to Windows 10 at this time is to create a new Win 10 VM.
Steve