File management in iOS is both easy and powerful. From downloading files to your iPhone, sending files between apps, and sharing entire photo albums to your iCloud account, managing files on iDevices uses common menus and shortcuts across all aspects of iOS and iPad OS. By either connecting locally via a cable or syncing with your iCloud account, moving files between an iPhone or iPad and a computer is a breeze. Read on to get the most out of file management on iOS.
Note: This blog will refer to iOS 14 (iPhone and iPod Touch) and iPad OS 14. I will broadly refer to all three platforms as being “iOS devices” for simplicity.
Is File Management on iOS Similar to macOS?
While a computer analogy may help visualize how files are stored on an iOS device, the answer is: no. It would be incorrect to say that file management on an iPhone is just like a Mac. iOS subdivides groups of files based on which application interacts with a specific file type.
Some examples of this are:
- Downloads and some documents are kept in folders found within the Files app.
- Pictures are stored in the Camera Roll. To access the Camera Roll, enter the Photos app.
- iTunes Media such as music and movies are saved to the Media Library, which is accessed through either the Music app or TV app.
- Notes are saved to an iCloud account or locally on the device.
- Contacts are stored with an iCloud account.
- Garageband projects are found within the Files app.
- Third-party applications can also save folders to the Files app.
Getting Started with the Files App
Opening the Files app displays a list of locations. This includes the device and cloud services such as iCloud, Dropbox, Google Drive, and more. To ensure you see all services available, open the 3-dot context menu in the upper right of the panel and enable any hidden services.
Within the Files app, files can be copied from one location to another. For instance, copying a document from On My iPhone / Downloads to a cloud service such as Google Drive.
Downloading Documents and Images from Safari
When opening a PDF from a website, Safari will open the document in a new tab. To save the PDF to an iOS device, tap the share icon along the bottom toolbar. If you don’t see the toolbar, tap anywhere inside the body of the document, and the toolbar appears.
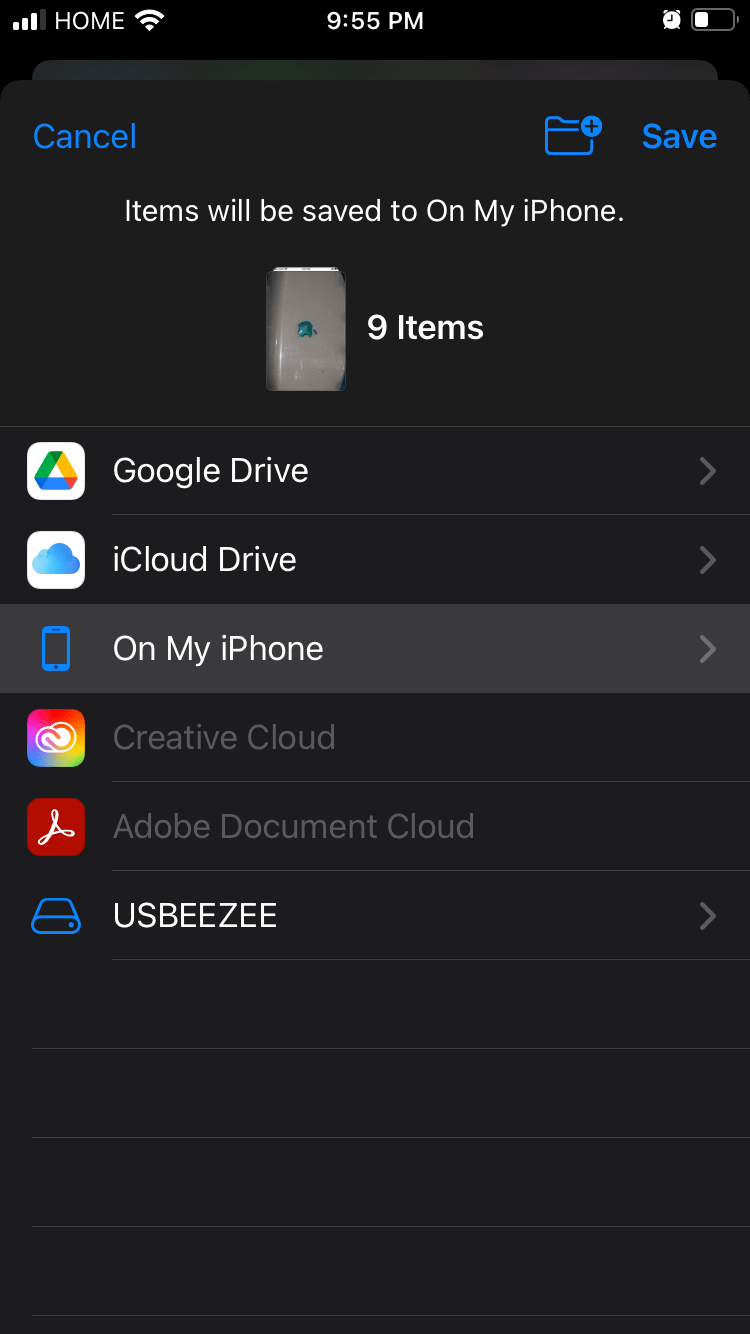
From the Share menu, scroll down and choose “Save to Files.” A directory tree appears that by default is directed to “On My iPhone > Downloads.” Tap Save. Now, step into the Files app, and our PDF will be available within the Downloads folder.
Downloading a document can be done straight to a cloud service, it is not a requirement to save the file onto the iOS device first. To do this, open the Share menu from the PDF in Safari. Select the service from your list of providers, such as One Drive or Dropbox, and save. You can even send straight into sub-folders on a cloud service using this method.
Individual images can be saved out of Safari as well. Tap and hold the image you would like to save, and select “Add to Photos”. This saves into the Camera Roll rather than a folder in the Files app.
How to Access Photos in iOS
Images such as photos and graphics are saved to the Camera Roll. The Camera Roll is a common place for all applications to access images. The primary way to access the Camera Roll is by opening the Photos app. The Library panel displays all pictures in the Camera Tool. Images can be organized by creating albums. First, move into the Albums panel.

Then, create a new album by pressing the + icon in the top left.
When creating a new album, the entire Camera Roll is loaded. Tap to select which images are to be moved into the album.
What’s the difference between albums and folders? Albums are collections of pictures, folders are collections of albums. Individual images cannot be saved to a folder within the Photos app, folders are for albums only.
Apple Camera Adapter
The Apple Camera Adapter adds a USB port to Lightning-connected iOS devices. Using this adapter, it is possible to directly connect a professional camera and offload pictures into the Camera Roll. Here, I have connected a Sony a6000 mirrorless camera to an iPhone. I took some pictures of my G3 Bondi Blue iMac.
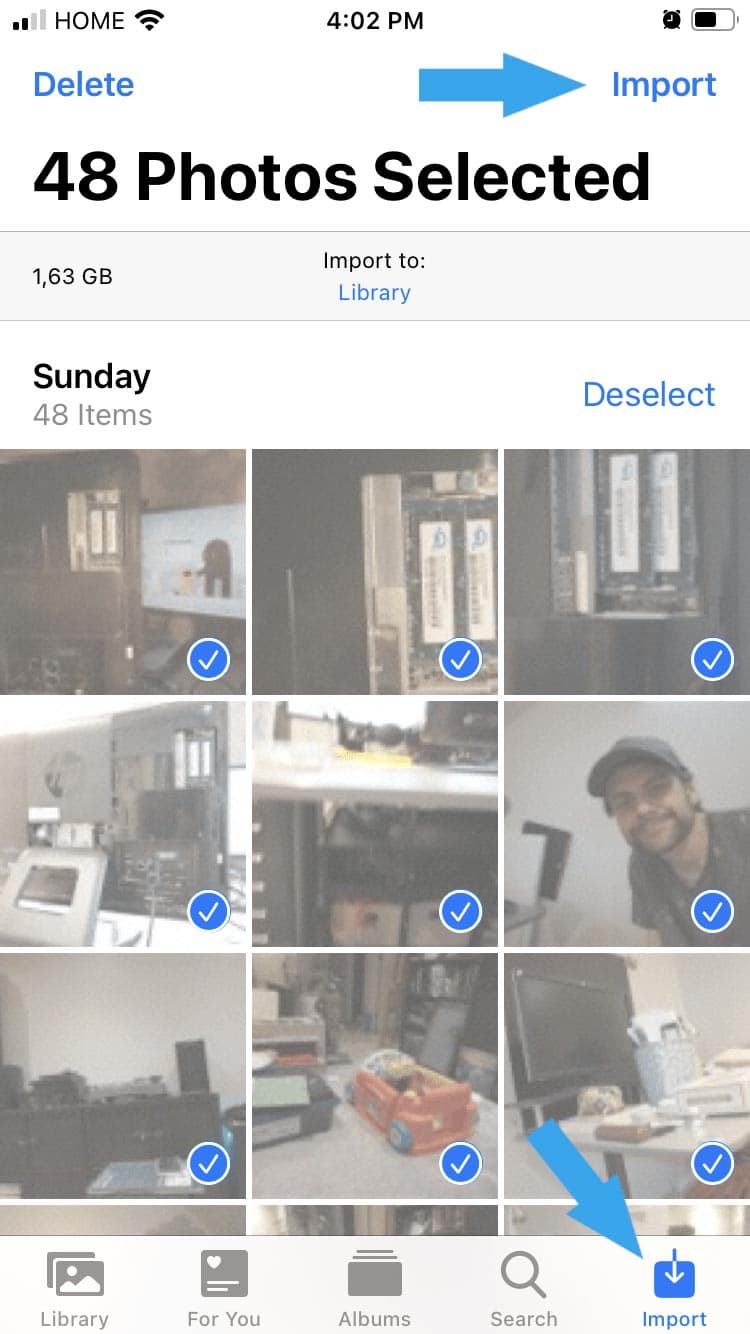
No setup was required. When connecting the camera to the phone the Sony a6000 immediately switched to USB data mode. In the Photos app, an Import panel appears. Using the Import panel, use the Import tool found in the top right and offload pictures straight off the camera to the Camera Roll. Once the transfer has been completed, you’ll be prompted if you want to wipe the camera clean to continue shooting.
Using the Apple Camera Adapter, flash drives can be connected to iOS devices. Simply plug the flash drive into the USB port. Now, the USB drive will appear as a destination within Save to Files. Files can be copied from the Photos app right into the USB flash drive by selecting the images and using the Share menu.
Copy That
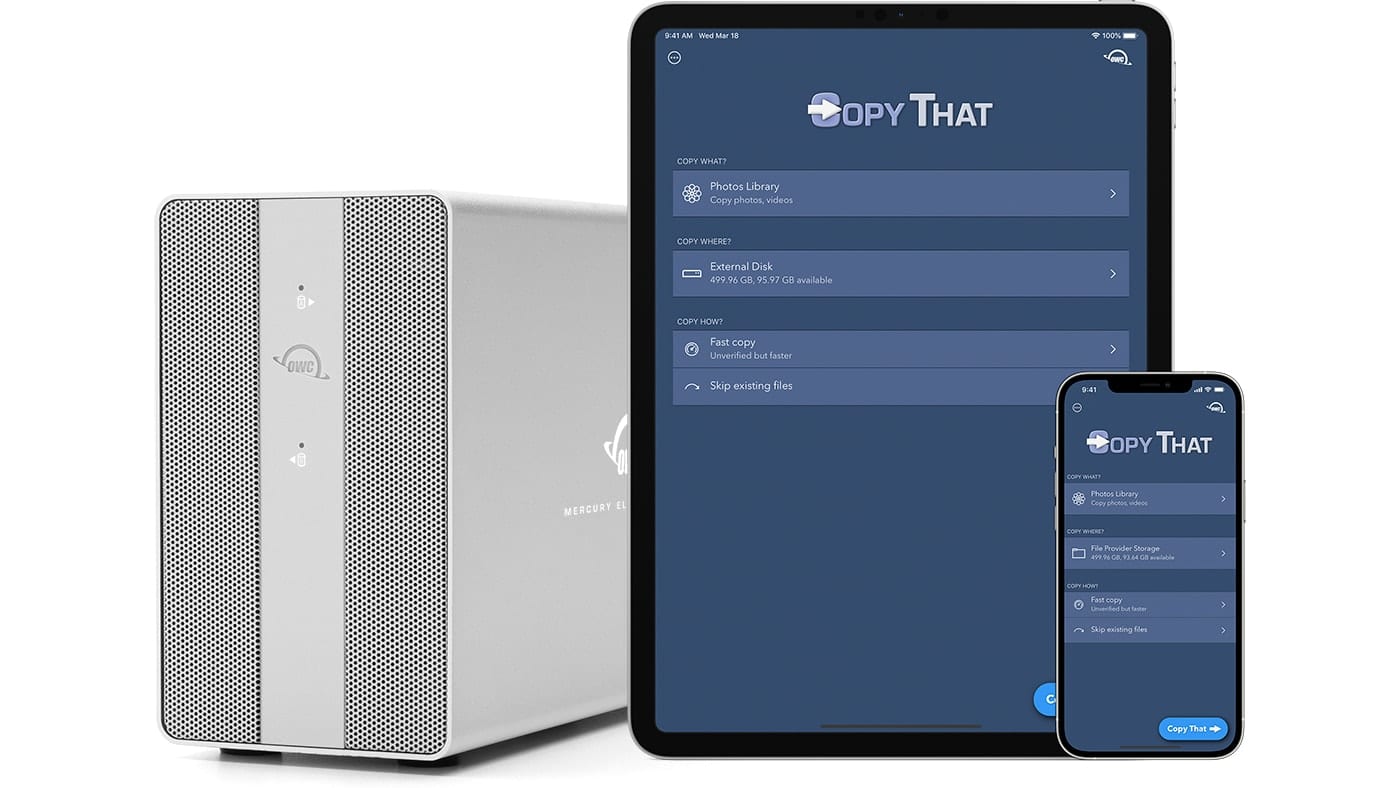
Copy That is a freely available app from OWC that brings hard drive file management to iOS devices. Connect an iPhone using the Apple Camera Adapter, or connect an iPad over USB-C to a flash drive or powered hard drive. Copy That allows backing up the Camera Roll in an automated way. Pick a destination, and done! Using Copy That for backups can be more convenient than manually backing up albums as the software grabs all items from the Camera Roll without the need to select each photo to backup. And best of all, if you’ve already used Copy That and are continually backing up, duplicate files can be skipped automatically. An in-app purchase unlocks additional features including verified copies, filter media by date created, and customizable folder creation.
Working Folders for Apps
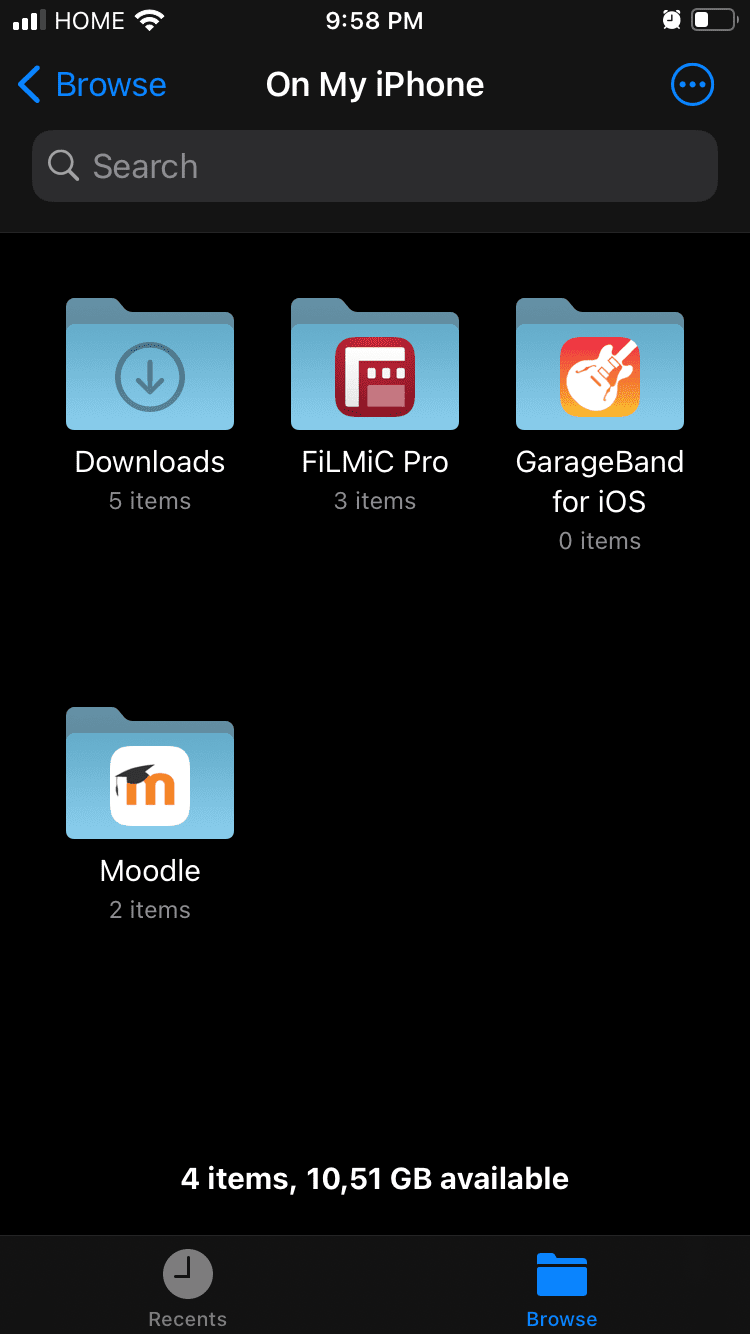
Some apps create their own working folders on the iOS device. Garageband projects are saved to a Garageband folder that can be accessed from the Files app, within On My iPhone. Another example is FiLMiC Pro, the professional video camera application. FiLMiC saves video media to the On My iPhone folder within the Files app.
From here, files and projects can be sent to either a cloud service or a USB drive through the Share menu.
To copy a folder’s contents to a USB drive or a cloud service, step into the folder you wish to copy. Select the files you want to copy by opening the 3-dot context menu in the top right. Now, the Share menu will become active and a copy destination can be set.
Freeing Up Space
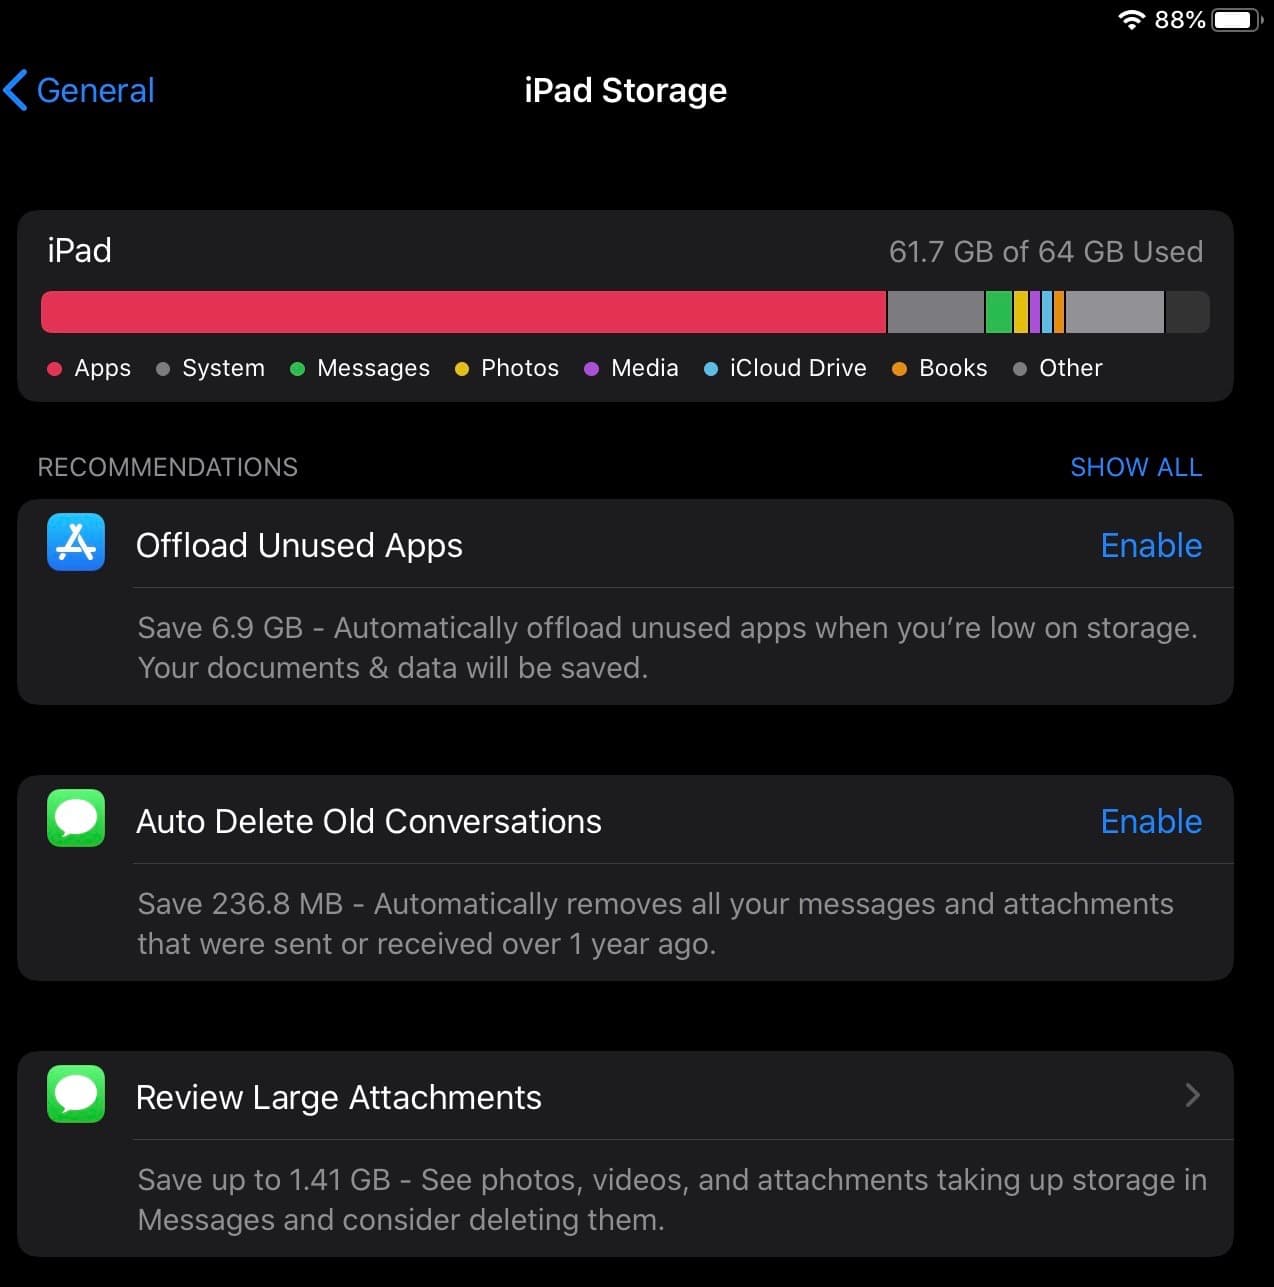
Documents, apps, media, and photos can take up a lot of space. When an iOS device reaches storage capacity, new files will not be able to be created. One way to free up space while keeping all your documents online is to clear out unused apps. While you can manually delete each app one by one, there is a faster way to do it. From the Home Screen select: Settings, General, iPhone Storage.
If you are running low on space, there will be a suggestion “Offload Unused Apps.” This clears out any application, such as a game you rarely play, but leaves the app icon on the home screen should you want to quickly retrieve those files. This leaves the arrangement on the home screen as-is and is a quick way to free up space in a pinch.
File management on iOS has continually seen improvement. With each version comes more enhancements and ease of use. With the iPad migrating to USB-C and now Thunderbolt, even more features are being introduced – such as the ability to connect the Files app to a network server.
Is file management in iOS everything you want it to be? Any tips I failed to mention? Let me know in the comments section, I’d love to hear what you have to share!






Some years ago, I started using the “FileHub” app because of Apple’s annoying requirement about storing files in different locations, by file type. How has Apple “Files” improved since then?
Hi Ed,
I think FileHub is a good solution if you are looking for a more traditional macOS Finder like experience. It offers convenient preview options for PDFs, photos, and videos.
Files has seen a lot of improvement. I was really surprised with just how much can be accomplished on an iPhone.
Hi,
This article only covers copying files from the iPhone to a storage device. How does one do the reverse – specifically, how do I copy files from my computer onto my iPhone?
Hi Hugh,
For macOS users, check out this link from Apple. When connected the iPhone appears like any flash memory or hard drive.
https://support.apple.com/en-ca/guide/mac-help/mchl4bd77d3a/mac
For Windows users, you’ll have to install iTunes. Within iTunes you’ll see your iPhone and can drag and drop documents to and from the iPhone.