

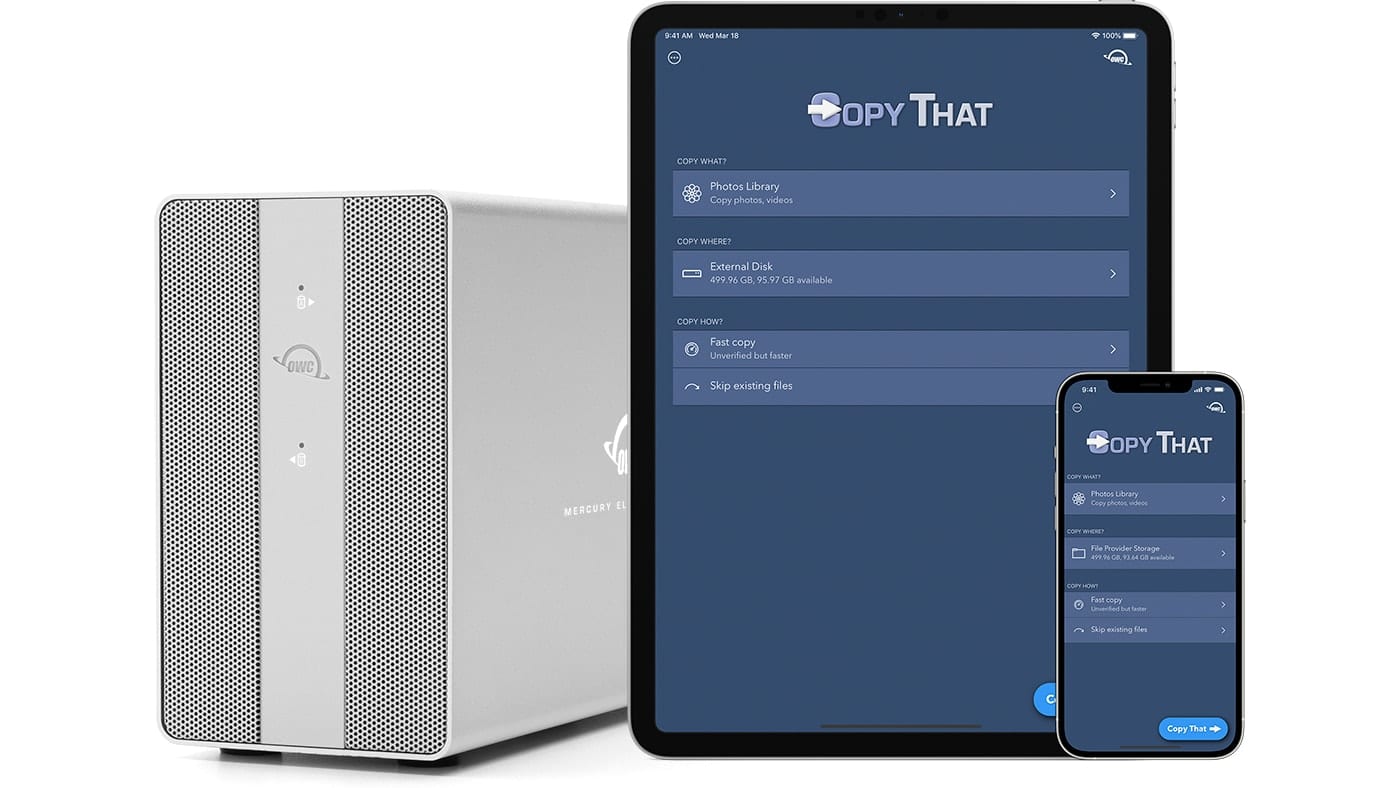
Earlier this week, we announced our new iOS & iPadOS app called Copy That. It lets you easily copy photos and videos from your iPhone or iPad to an external storage drive. You can select what you want to copy, how you want to copy it, and where you want it to go.
Now that we’ve made it easy to back up your mobile media, only one question remains: How do you connect external storage to your iPhone & iPad?
You can connect your iPhone or iPad to external storage in one of two ways:
- Directly connect an external drive
- Connect to a network share
Directly Connect an External Drive
You can use any USB disk with your iPad & iPhone—although depending on your disk & mobile device, you might need an adapter cable. Also, the disk needs to be preformatted—you can’t format it on your iPad or iPhone. The disk can be formatted APFS, HFS+, exFAT, or FAT32. exFAT and FAT32 work great for sharing with both Macs & PCs; you can also share APFS & HFS+ with MacDrive.
Also, your iPad/iPhone doesn’t put out a lot of power—it works with thumb drives, but with anything larger, you’ll need to use a disk that has its own power supply.
Adapters
If you have an 11-inch iPad Pro (any generation), a 12.9-inch iPad Pro (3rd generation or later), or iPad Air (4th generation):
Good news! Your iPad has a built-in USB-C port. If you have a USB disk with a USB-C connector, you can plug the disk directly into your iPad. That’s it!
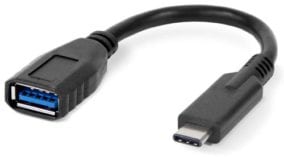
If your USB disk doesn’t have a USB-C connector, you can use an adapter cable. A couple of examples:
OWC USB-C to USB-A (USB 3) Adapter Cable
Apple USB-C to USB Adapter

If you have an iPhone or any other iPad:
If your mobile device has a Lightning port, it’s still really easy to connect to an external drive—all you need is a Lightning to USB adapter:
Lightning to USB Camera Adapter

Lightning to USB 3 Camera Adapter
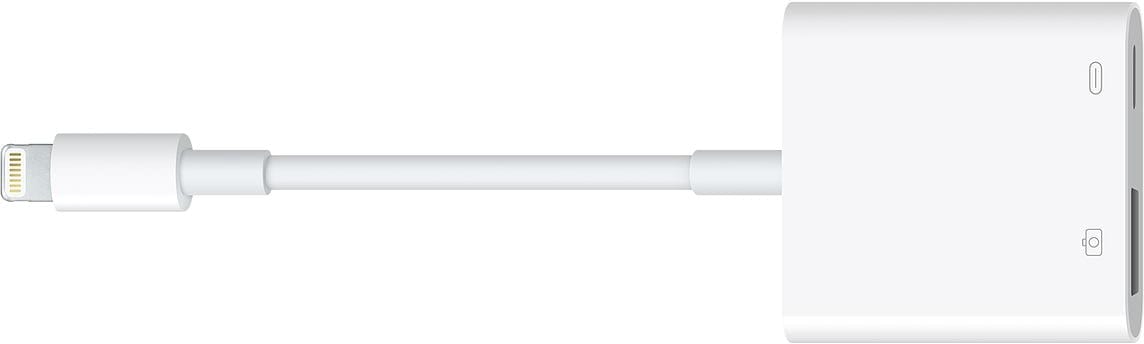
We recommend Apple’s Lightning to USB 3 Camera Adapter—it includes an additional Lightning port so you can keep your iPhone/iPad connected to power during the copy process—copying large numbers of files can take some power. Please ensure that the external drive being used is compatible with a lightning-connected host.
Connect to a Network Share
Your iPad/iPhone can also connect wirelessly to a network share. Once connected, Copy That can copy files directly to your network.
To connect to a network share:
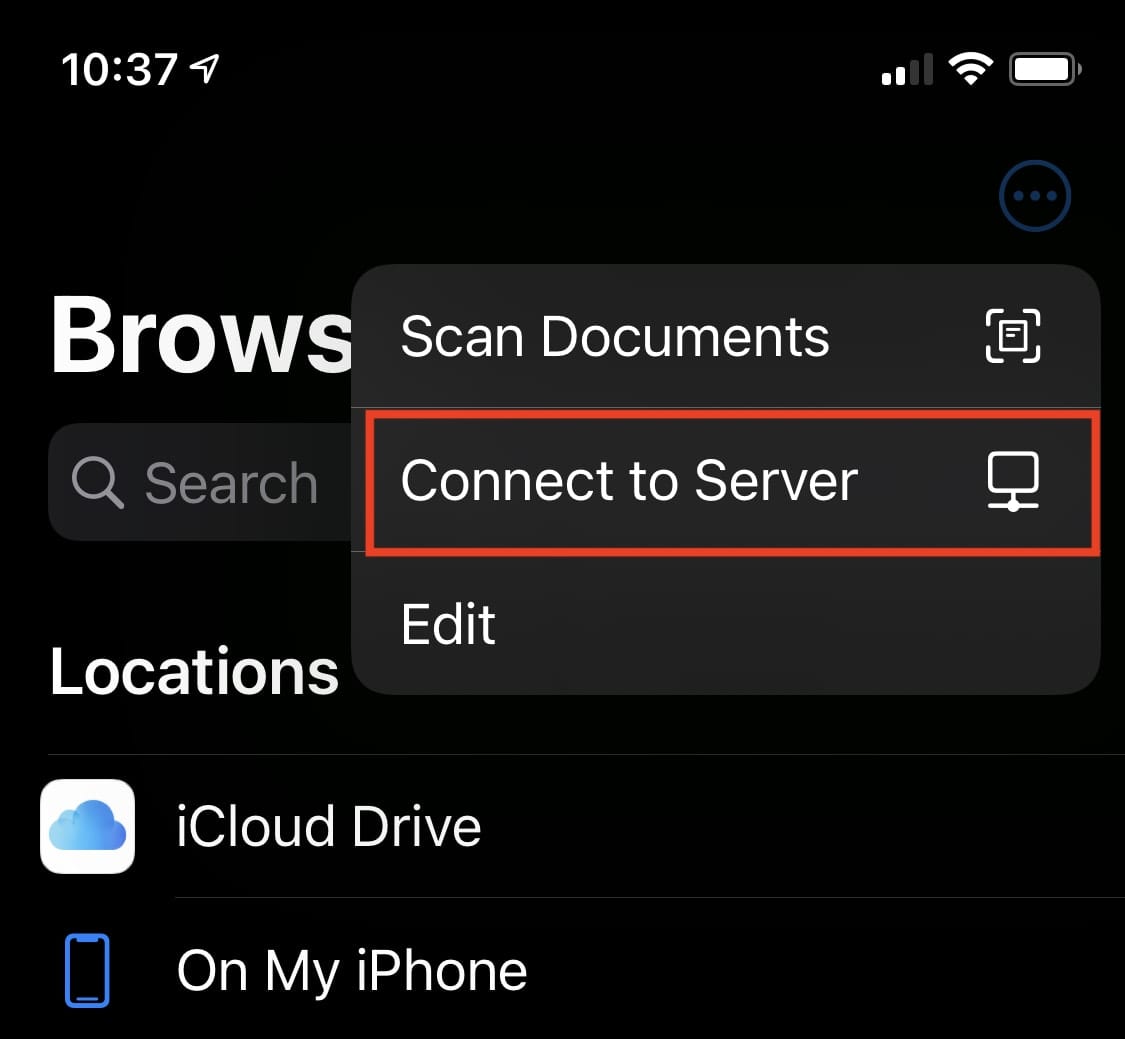
- Open the Files app on your device
- Tap the Browse tab
- Tap the ellipses button in the top-right corner
- Tap Connect to Server
You will then need to respond to the standard login questions such as Server name, Guest or Registered User, Password, etc.
Cloud services
While you can use Copy That to copy to iCloud Drive, you can’t copy to 3rd-party cloud services (such as Dropbox or Google Drive). Apple’s security sandboxing doesn’t allow enough access to support Copy That’s features.
Copy That Pricing
OWC Copy That is available for free in the App Store. Special pricing for in-app purchases will be available through the end of 2020. Currently priced at $.99, it will increase to $2.99.
In-app purchases will include Verified Copy, a more secure way to copy, verify copies of data by comparing to originals. Also included is Delete From Device – the ability to delete items from the iPhone or iPad.
External Drives
OWC is the leader in external storage solutions. From the OWC Mercury Elite Pro Dual with 3-Port Hub to the bus-powered OWC Envoy Pro EX, or the pocket-sized OWC Envoy Pro Elektron – we have you covered! Check out all of our external drive solutions at MacSales.com!
Video Tutorial
If you would like to see a “hands-on” demonstration, check out the video, “How to Transfer Files from Your iPad or iPhone to an External Drive“


Hello, I have a Samsung T7 portable SSD and the Apple Lightning to USB 3 Camera adapter connected to an iPhone 11 Pro. I have LED indicator on the T7 is blue, indicating it is connected — it turned on when I used the additional lightning port to power it / charge my iPhone.
All that said, the Copy That app does not show a symbol for a connected drive — aside from the blue LED indicator, I don’t see how I can tell the Samsung T7 can be “recognized” by the Copy That app (or the iPhone itself, for that matter), and therefore, how I can use the app I just bought.
If anyone can advise I would greatly appreciate it!!
My thanks in advance
Looking to backup my pictures using your software. Thank you for the explanation
Is there any app that will copy text files to an external drive?
Is there any app that will copy text files or Pages word processing files to an external drive?
I want to make a list of my passwords on my iPad, but do not want to send them via the web.? My internet is too slow to load things to the cloud.
Hi Rick. I just purchased a LIGHTNING TO USB 3 CAMERA ADAPTER and hooked up my iPhone X to a newly purchased Toshiba oortable External Drive. I used Copy That to copy over all my iPhone photos and videos to the Toshiba external drive. However, when I connect the external drive to my PC and look it up on My PC, it shows nothing but empty space. Am I missing something ? The Toshiba External Drive doesn’t have its own power supply. It just plugs into a USB port and that’s it. Do you recommend any external drives (portable or non-portable) with their own power supply ? Please advise as to what’s going wrong here. Thanks. Ben.
Hi Benjamin–
You’re not missing anything–that’s all that’s necessary. It sounds like your Windows PC might not be recognizing the format. Does it get a drive letter when you plug it in? Do you know how it’s formatted (HFS+, APFS, exFAT, FAT32, other)?
Hi Rick. Thanks for responding. I get a “TOSHIBA EXT (D:)” message when I plug in. I have no idea how it’s formatted. How do I determine that ? Please advise. Ben
Hi Rick. Please reply to my 1/13/22 post. Otherwise, I’m going to have to return my Toshiba Drive and request a refund for downloading your product. Btw, when I copied over all my iPhone photos and videos to the Toshiba external drive, it calculated how many photos and videos were copied. But when I looked up the the drive on My PC, there was nothing but empty space in the drive.
Ben
I have recently started a website, the info you provide on this web site has helped me greatly. Thanks for all of your time & work.
Will not recognize any drive. Bus powered Mercury elite pro duo, nor with a pocket sandisc SSD drive. Will
Not work if plugged into phone directly or via a 2017 MacBook Pro. Purchased the camera 3 apple adapter. Plus the usb to usb c apple adapter etc. app will not recognize any drive in any combo of connection. I want my money back.
Hi Jennifer–
Sorry to hear that it’s not working! We’d love to try & get it working for you.
* Are you using the Lightning to USB 3 Camera Adapter (with the extra Lightning port)? If so, please try connecting the drive to the phone using the adapter, and connect a powered Lightning cable to the additional port on the adapter.
* Do you have a drive with its own power supply that you can try? Sometimes, even with the extra power on the adapter, mobile devices just don’t output enough power for disks.
However, if you’d like to move on, I understand. Apple Support can help you with the refund (we don’t have access to Apple’s payment systems or history).
I’ve connected my iPhone 11 plus as you described with the $40 apple camera usb3 adapter and sandisc extreme ssd drive is not recognized by the app. Used my new $1200 owc Mercury elite pro duo drive and that is not recognized. So I tried a an iPhone 8 and same issue. So what’s with your app. It does not work.
Hi Jennifer–
I understand your frustration. Unfortunately, it’s not a problem with the app–it sounds like your phone may not be providing enough power to the external device. Copy That interacts with connected disks, but it’s up to iOS itself to perform disk recognition and connection.
For example–you’ll see a similar experience if you use the built-in Files app to try and access the disk. If your disk shows up in the Files app, it should work with Copy That. If it doesn’t show up in the Files app, then Copy That will be unable to find it.
My best recommendation is to use a drive with its own power supply, and connect it to the phone using the Lightning to USB 3 Camera Adapter (while providing extra power to the phone through the secondary Lightning port).
I can tell that (ultimately) my issues in attempting to use the Copy That app, with the iPhones I have and the requisite adapters, will bring me to this conclusion: I need a drive with its own power supply (and every empty storage device around me is bus-powered)…….so I ask: what external drive uses its own power supply these days? (Fall 2024 — surrounded by Samsung T7s, T9s; WD Passports — all bus-powered……)
my sincere thanks
I wanted to copy one video file, but when I select Photos/Videos, it tried to copy all of the videos, and I exceeded my iCloud allotment. Is there not a way (e.g., thru Files) to restrict which videos are copied?
Copy That is designed for bulk copying–there’s currently not a way to copy a single video (although that’s on our list for potential future additions).
You can always copy individual photos and videos with the Photos app:
* In Photos, select the photo or video that you want to copy
* Tap the action button in the lower-left corner (the box with the arrow coming out the top)
* In the menu that opens, scroll down to “Save to Files”.
Tried to connect to my network share with it’s normal signin but get “The operation couldn’t be completed. Operation not supported.” This was on an Ipad Pro with software version 14.2.
Most likely, this is caused by a setting on the computer with the network share. There’s a good suggestion at https://discussions.apple.com/thread/250668955.
dose the app let you use an I-expand SanDisk drive as a normal USB drive?
Honestly, we haven’t tried that particular combination yet. We’ll find out!
Why can’t I just use a normal lightening to USB cable?
That’s a great question!
If you’re asking about https://www.apple.com/shop/product/MXLY2AM/A/lightning-to-usb-cable-1-m:
Before USB-C, USB cables only worked in one direction: One end must be plugged into the host (computer), and the other into the device. That’s why you don’t find cables with Type A connectors on both ends, and why external disks have Type B connections–Type A connections are for the computer, and Type B connections are for the device (https://en.wikipedia.org/wiki/USB_hardware#Connectors). So the Lightning USB cable is designed to for the USB end to plug only into a computer.
USB-C cleared all of that up–both ends of the cable are the same, and can be used interchangeably. When you plug in a device with a USB-C cable, the devices communicate to figure each other out.
How do I make OSX STOP automatically opening their Photos app when I connect a camera, so I can use the app I DESIRE to use?
Hi–it’s actually pretty easy. Check out https://discussions.apple.com/thread/250992801 for the details…
But that answer requires opening the Photos app, and identifying the other device to the Photos app, which will then save the existance of that other device. This is unacceptable from a security standpoint. I do not want the device “saved” or “recognized” in any way on this computer.
Can I simply delete Apple’s Photos app ?
Apple makes that a little difficult, but it may be possible with a little work. However, there will likely be side effects–some parts of the Photos app are used by other system components. If your committed to that choice, there are some articles online that provide step-by-step instructions.
Aside from that, since the default action is to open an app when you connect a camera, there’s likely not a way to prevent the photos app from opening without giving your computer some awareness of the device.
You mention using hard drives (mainly SSD’s) with CopyThat, but what about just SD’s? You certainly can get SD’s with enough capacity to back up a lot of iPad’s/iPhone’s, but wouldn’t using SD’s solve the problem of needing power to run the storage media?
You are correct–SD cards (with an appropriate adapter) will also work when powered by the iPad/iPhone.
Hello,
It looks like Copy that doesn’t support SMB2 shares. I can save to Sandisk ibi share with Files. However it is read only on the app.