

Have an iPhone 13? The new smartphones come with a way to shoot professional-looking video with shallow depth of field and spectacular focus transitions. iPhone 13 Cinematic mode is very easy to use and today we show you how to do it.
What is Cinematic mode?
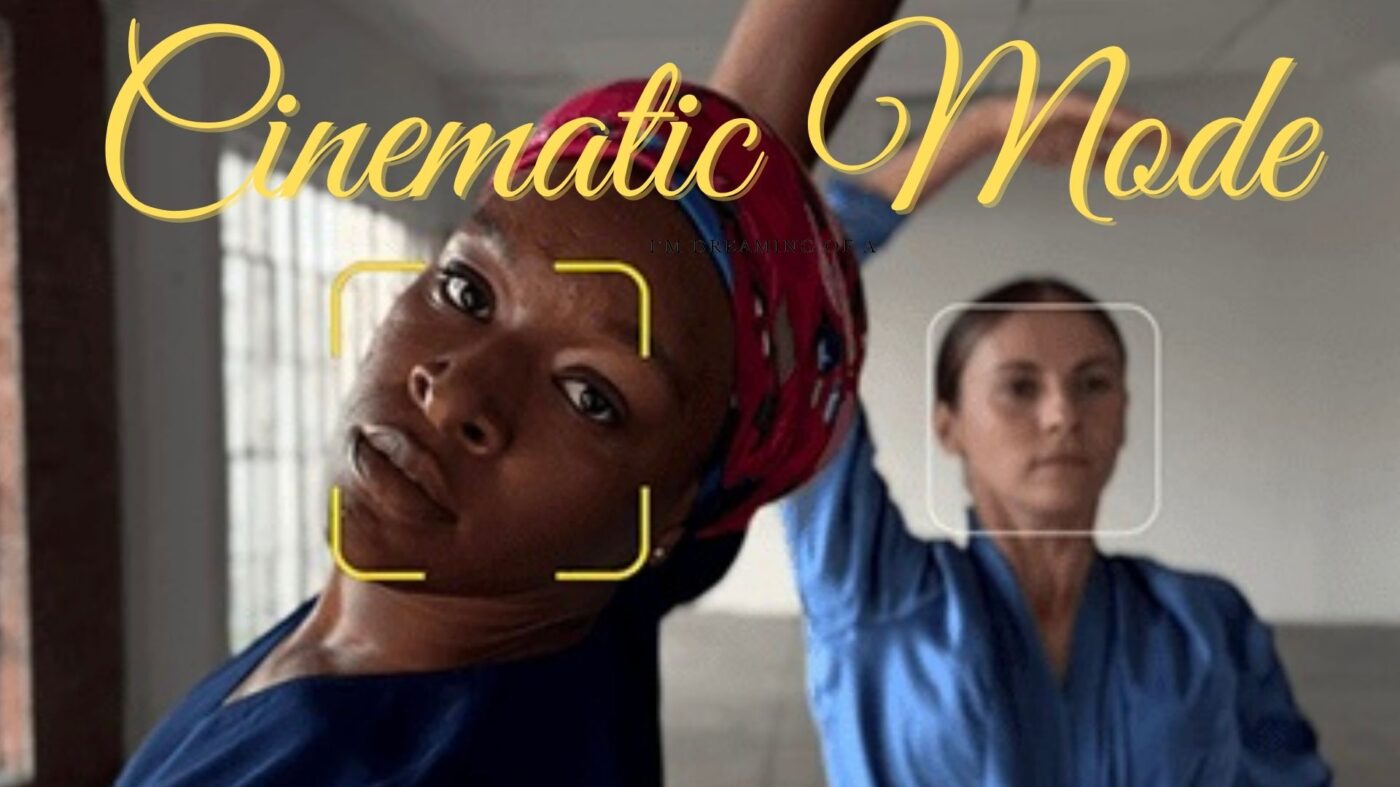
Think of Cinematic mode as “Portrait mode for video.” What the two modes have in common is that both use a shallow depth of field to keep a foreground subject in sharp focus while blurring the background.
iPhone 13 Cinematic mode differs in that it is not only shooting video rather than still photos, but it uses smooth focus transitions to put a second subject in focus while blurring the first.
It’s a standard trick of the trade for cinematographers, who take careful measurements, select the proper lenses, make calculations, and then have a focus puller adjust focus while filming is underway. Apple uses the power of the iPhone 13 series (13, 13 mini, 13 Pro, and 13 Pro Max) to automate the process.
Here’s an amusing Apple video demonstrating Cinematic mode:
Tips for taking Cinematic mode video
Cinematic mode works best when the subjects are both in the same general area. Trying to change focus between something that is nearby and another subject 50 feet away doesn’t work too well!
The mode does well using humans as subjects and doesn’t function smoothly with other objects. That — and the fact that my wife said she didn’t want to be the subject of a demo — is why I used Apple’s video to demonstrate Cinematic mode.
Recording video in iPhone 13 Cinematic mode
Cinematic mode video supports Dolby Vision HDR at a resolution of 1080p (1920 x 1080 pixels) at 30 frames per second. Let’s give it a try:
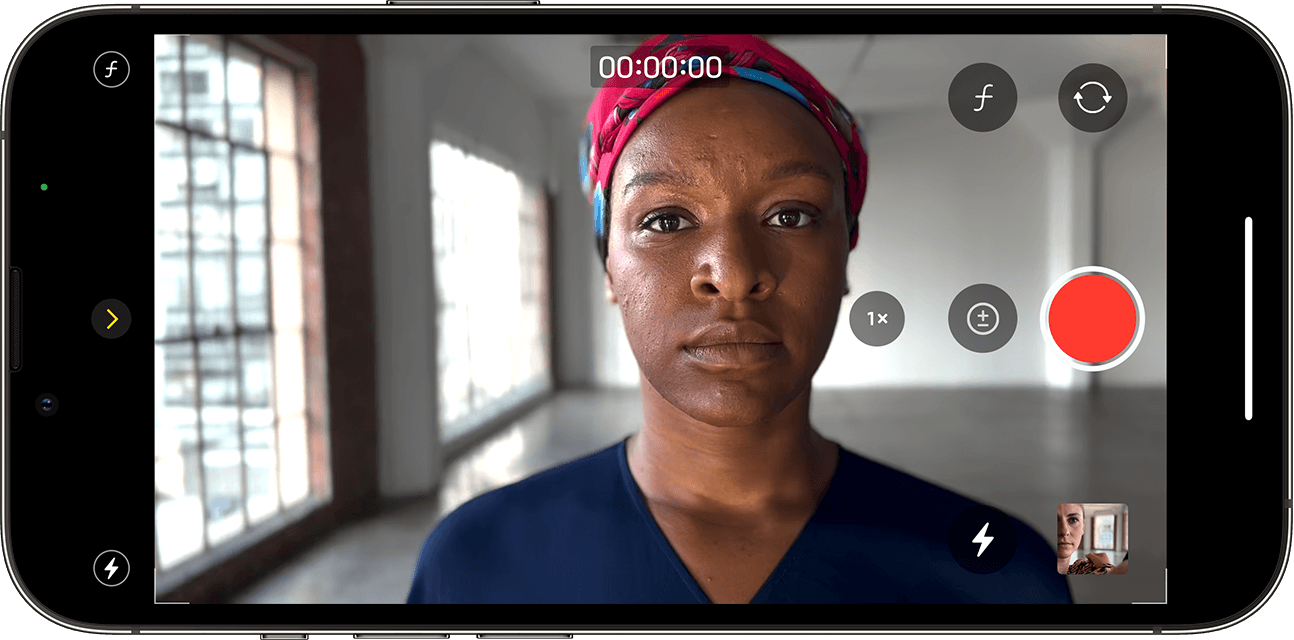
1 – Launch the Camera app, then swipe to Cinematic mode.
2 – With the iPhone 13 in landscape mode, tap the < arrow button. This displays adjustment options:
The Depth Control (ƒ) button adjusts video depth of field. To adjust the depth of field, drag the slider left or right. Immediately you see subjects in the background become either clearer (more depth of field) or more blurred (less depth of field).
The 1X button found only on iPhone 13 Pro and Pro Max toggles between Telephoto and Wide lenses.
The exposure button (±) adjusts the brightness of the video.
Tap the flash button (lightning bolt) to select lighting for your video — Auto, On, or Off.
3 – Tap the red record button to start recording.
4 – While recording, tap a subject in the viewfinder to change focus to it. Double-tapping a subject sets automatic focus tracking, keeping that subject in perfect focus as they move.
Want to lock the focus at a specific distance from the iPhone? Tap and hold on the screen.
5 – Stop recording by tapping the red record button one more time.
Editing iPhone 13 Cinematic mode video
iPhone 13 owners have an advantage that professional cinematographers using expensive cameras and lenses don’t. With Cinematic mode, you can adjust depth of field and focus points after the fact. Those pros? They can only re-shoot a scene…
Edit Cinematic mode video in the Photos app on the following iOS and iPadOS 15 devices:
- iPad Pro 11-inch (1st generation and later)
- iPhone 13 (all models)
- iPad Pro 12.9-inch (3rd generation and later)
- iPhone XS, XR, and later
- iPad Air (3rd generation and later)
- iPad mini (5th generation and later)
macOS doesn’t yet support Cinematic mode editing. It should appear in a future update.
To edit a Cinematic mode video on a supported device other than the one you shot the video on, use AirDrop or iCloud Photos to transfer the video. For AirDrop, you need to enable “All Photos Data” prior to sending the file:
1 – Launch Photos and tap the video you wish to share to select it.
2 – Tap the Share button, then tap Options at the top of the screen.
3 – Turn on “All Photos Data”, then tap Done.
4 – Tap the AirDrop button, then the device you’re sending the video to.
Editing depth of field in Cinematic mode video
1 – Launch the Photos app, then tap the video you want to edit to select it.
2 – Tap Edit. The screen looks like this:
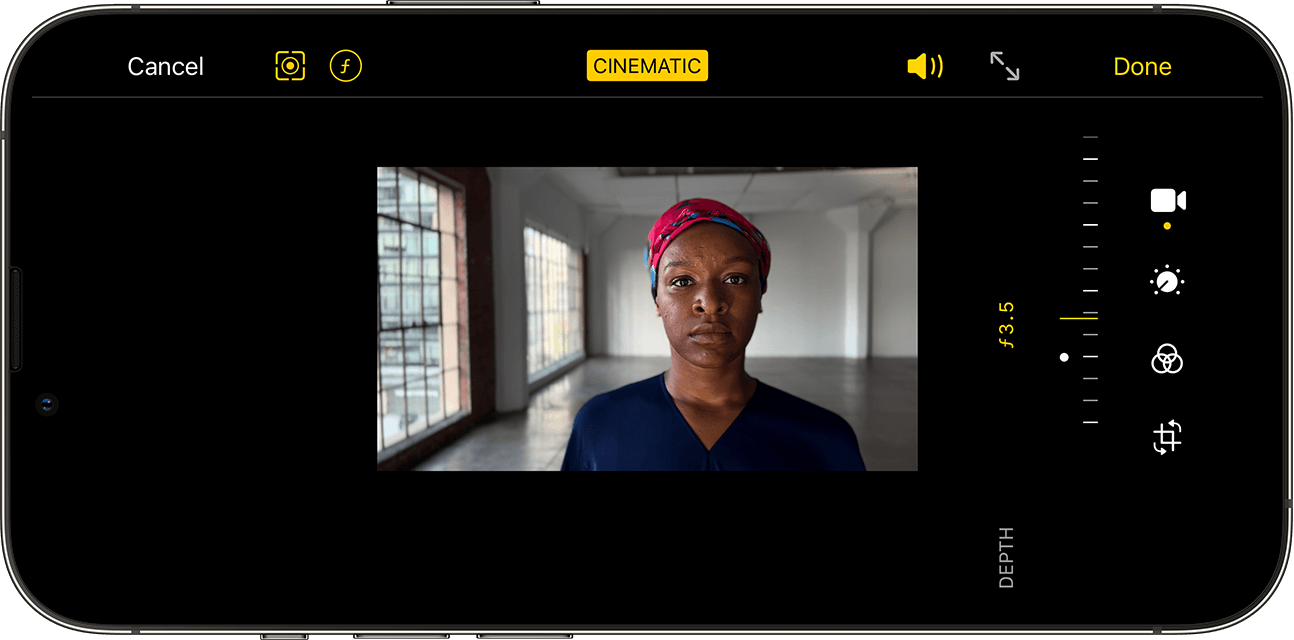
3 – Tap the ƒ Depth Control button and drag the slider to adjust the depth of field. The entire video receives the adjustment.
4 – Tap Done.
Editing focus points in Cinematic mode video
1 – Launch the Photos app, and tap the video you wish to edit to select it.
2 – Tap Edit. Below your video is the video timeline. Below that are yellow dots indicating moments in the video where the focus point changes from one subject to another. Focus point transitions are deleted by touching and holding the yellow dots until a “trash can” delete button appears. Tap that button to delete the transition.
3 – Drag the timeline to scrub through the video. The current focus point in the video is surrounded by a yellow square. Other recognized subjects in the video field of view are surrounded by white squares.
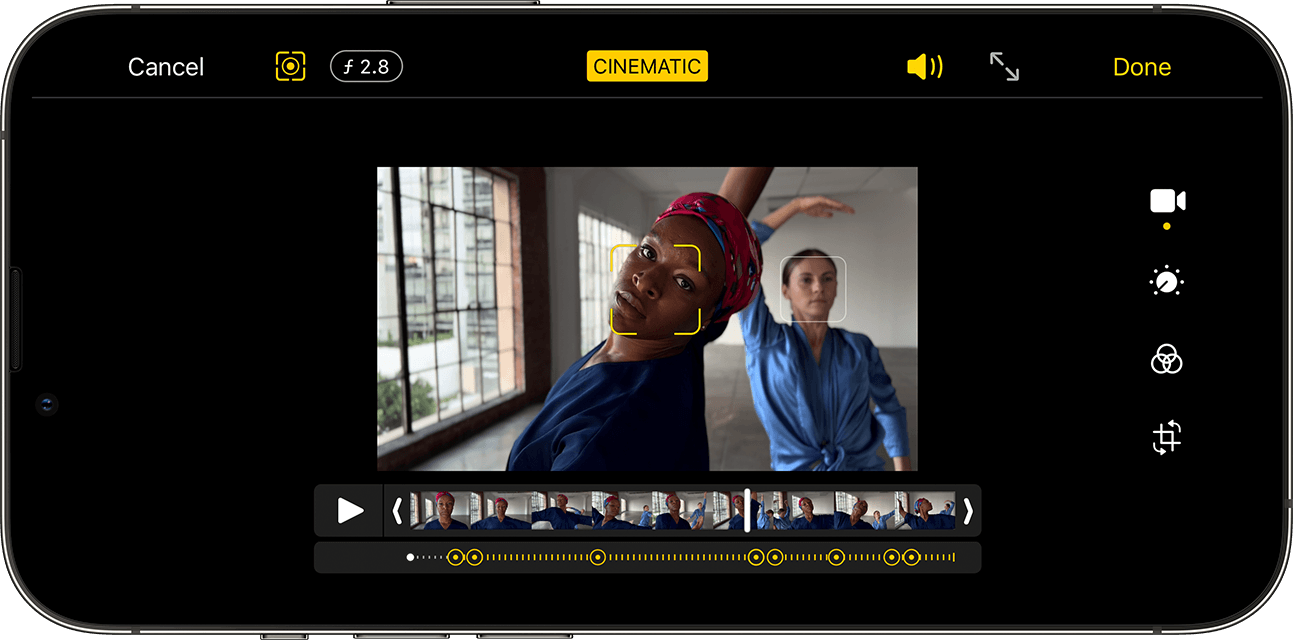
4 – To change the focus point to another person or object, tap its white square. Items without the white square can also be tapped to change the focus point to them. Want to have focus automatically track a person or object? Double-tap them to set focus tracking. Finally, set a specific distance from the camera as the focus point by tapping and holding.
5 – Tapping the focus button (round dot surrounded by a square) switches between the automatic focus tracking of the Camera app and the focus points you’ve manually selected.
6 – Once you have made your focus point edits, tap Done to save them.
When Cinematic mode videos don’t appear on your Mac or Windows PC
The iPhone does all the Cinematic mode magic on-device. You may find that some of your Cinematic mode videos aren’t showing up on your Mac or Windows PC. This indicates that the videos have not yet finished processing on the iPhone. If this is the case, you need to let the iPhone complete the process.
1 – Transferring the video with a cable connection? Disconnect the cable.
2 – Launch Photos on the iPhone.
3 – Tap Albums, then the Cinematic album.
4 – Tap “Process Now” at the bottom of the album
5 – Reconnect the iPhone and computer when the processing is complete, then finish importing the video.
6 – Using iCloud Photos? Wait for the videos to finish uploading to the cloud. They’re accessible on other devices once on iCloud.


But how to enable it on 13pro Max? There’s no such option…
Yes, that option is not there.
Even Apple doesn’t have the answer lol.
Pathetic.
Here’s how you do it.
One way is to open a video in iMovie and export from there.
Another way is to select the cinematic videos, then click the share button – save to files (note, you may want to create a folder in files to store so that your videos don’t get all mixed in with other stuff. Also note that apple tries to force your to save to the cloud so if you don’t want to do that, then make sure you select the choice to save on your iPhone). Once saved to files, all the cinematic effects are retained.
Thanks a bunch for sharing this with all of us you actually know what you are talking about! Bookmarked. Kindly also visit my site =). We could have a link exchange arrangement between us!