


Up to this point in the 12 Days of Backups, we’ve focused on the Mac. You do have other devices, probably an iPhone and/or an iPad. There’s a quick way to automatically back up those mobile devices, and that is through iCloud Backup. Today we’ll show you why you should be performing daily backups of your mobile devices, and show you how to set it up on your iPhone, iPod touch, or iPad.
Benefits of iCloud Backup
I’ve had iPhones and iPads since the first days they were available. In the early days of both platforms, all backups were made to iTunes on a Mac. Those backups were made through a USB connection to the device and took a while to finish.
iCloud Backup changed all that. It requires that your mobile device be plugged in, on a Wi-Fi or cellular network, and locked. That’s it. Once you turn on iCloud Backup it securely uploads all information on your device to iCloud, such as what apps are installed, settings, and personal information. What are the benefits of doing this?
- Everything needed to restore your iPhone, iPod touch, or iPad is backed up
- It’s automatic
- The backup is done when you’re not using your iPhone (usually while sleeping)
- Your backup is done regularly; usually once every night
- Restoring a wiped iPhone, iPod touch, or iPad is simple and relatively fast
- Setting up a new iPhone, iPod touch or iPad is as easy as tapping a few buttons
How much does it cost?
iCloud is free, but only to the point of giving you 5 GB of online storage. When you use iCloud Photos for photo syncing and backup, that 5 GB disappears quickly. That’s OK, because Apple provides three more paid subscription plans under the name iCloud+:
| iCloud+ with 50GB storage | iCloud+ with 200GB storage | iCloud+ with 2TB storage |
| $0.99 / month | $2.99 / month | $9.99 / month |
| 50GB of storage iCloud Private Relay (Beta) Hide My Email Custom Email Domain HomeKit Secure Video support for one camera | 200GB of storage iCloud Private Relay (Beta) Hide My Email Custom Email Domain HomeKit Secure Video support for up to five cameras | 2TB of storage iCloud Private Relay (Beta) Hide My Email Custom Email Domain HomeKit Secure Video support for an unlimited number of cameras |
| Share everything with up to five other family members. | Share everything with up to five other family members. | Share everything with up to five other family members. |
Once you’ve set up an Apple ID and have an iCloud account, it’s very easy to upgrade to iCloud+ plans from your device. This Apple support document shows you how to get your iCloud+ plan.
Setting up iCloud Backup
You’ve already done all the hard work. Now let’s set up those automatic backups.
- Launch the Settings app on your Apple mobile device.
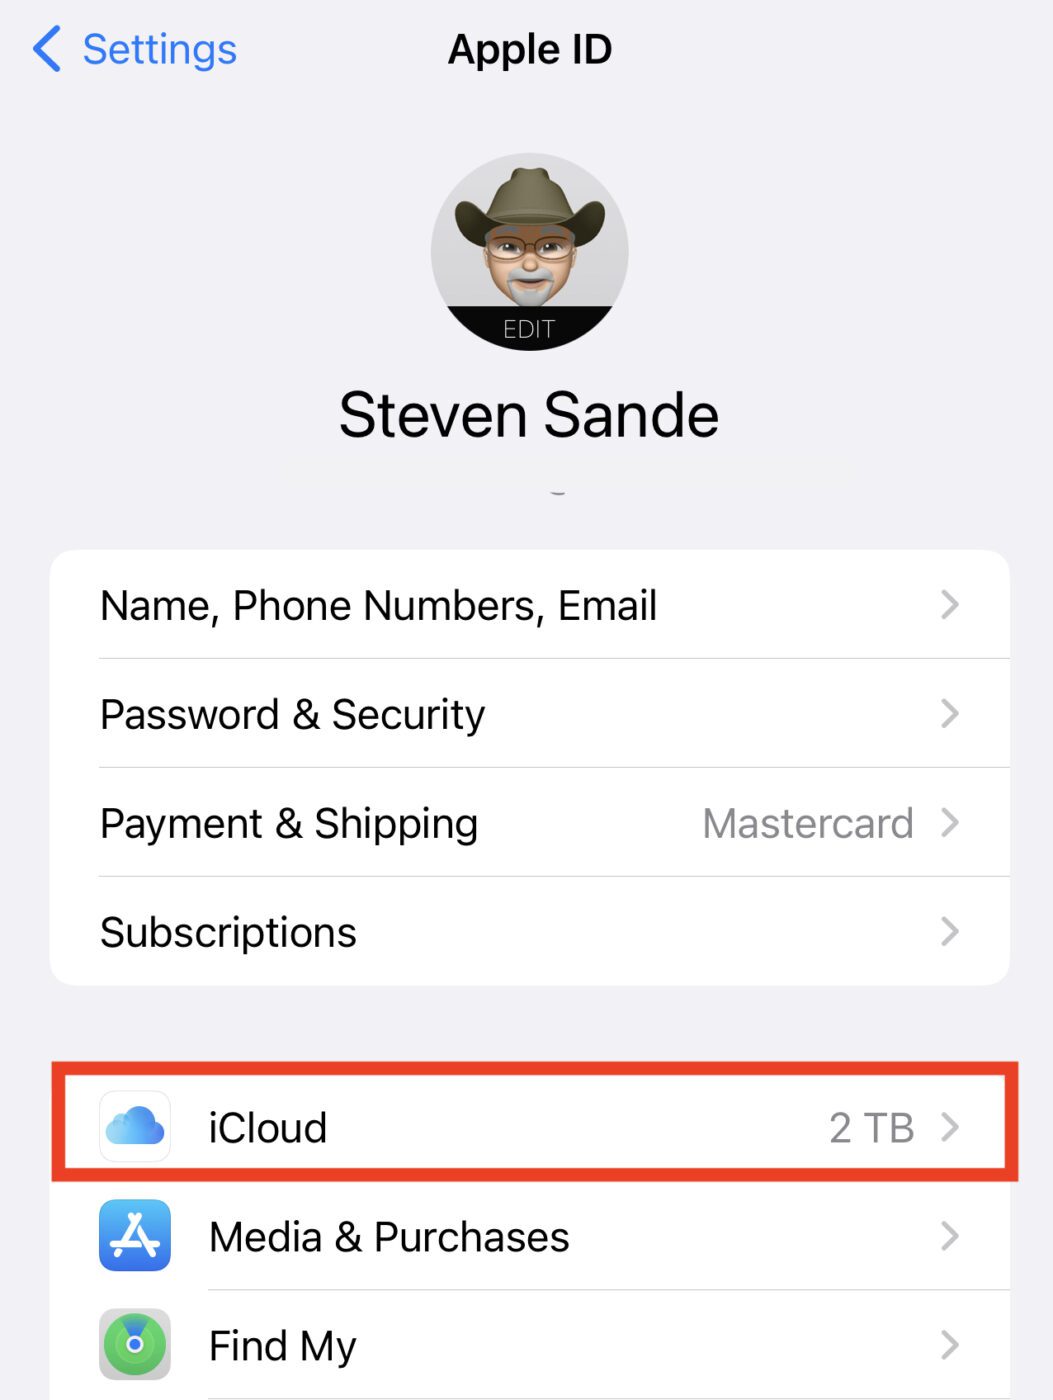
- Tap on your Apple ID button (the button with your name at the the Settings page) to open the Apple ID page.
- Tap the iCloud button (highlighted in red below).
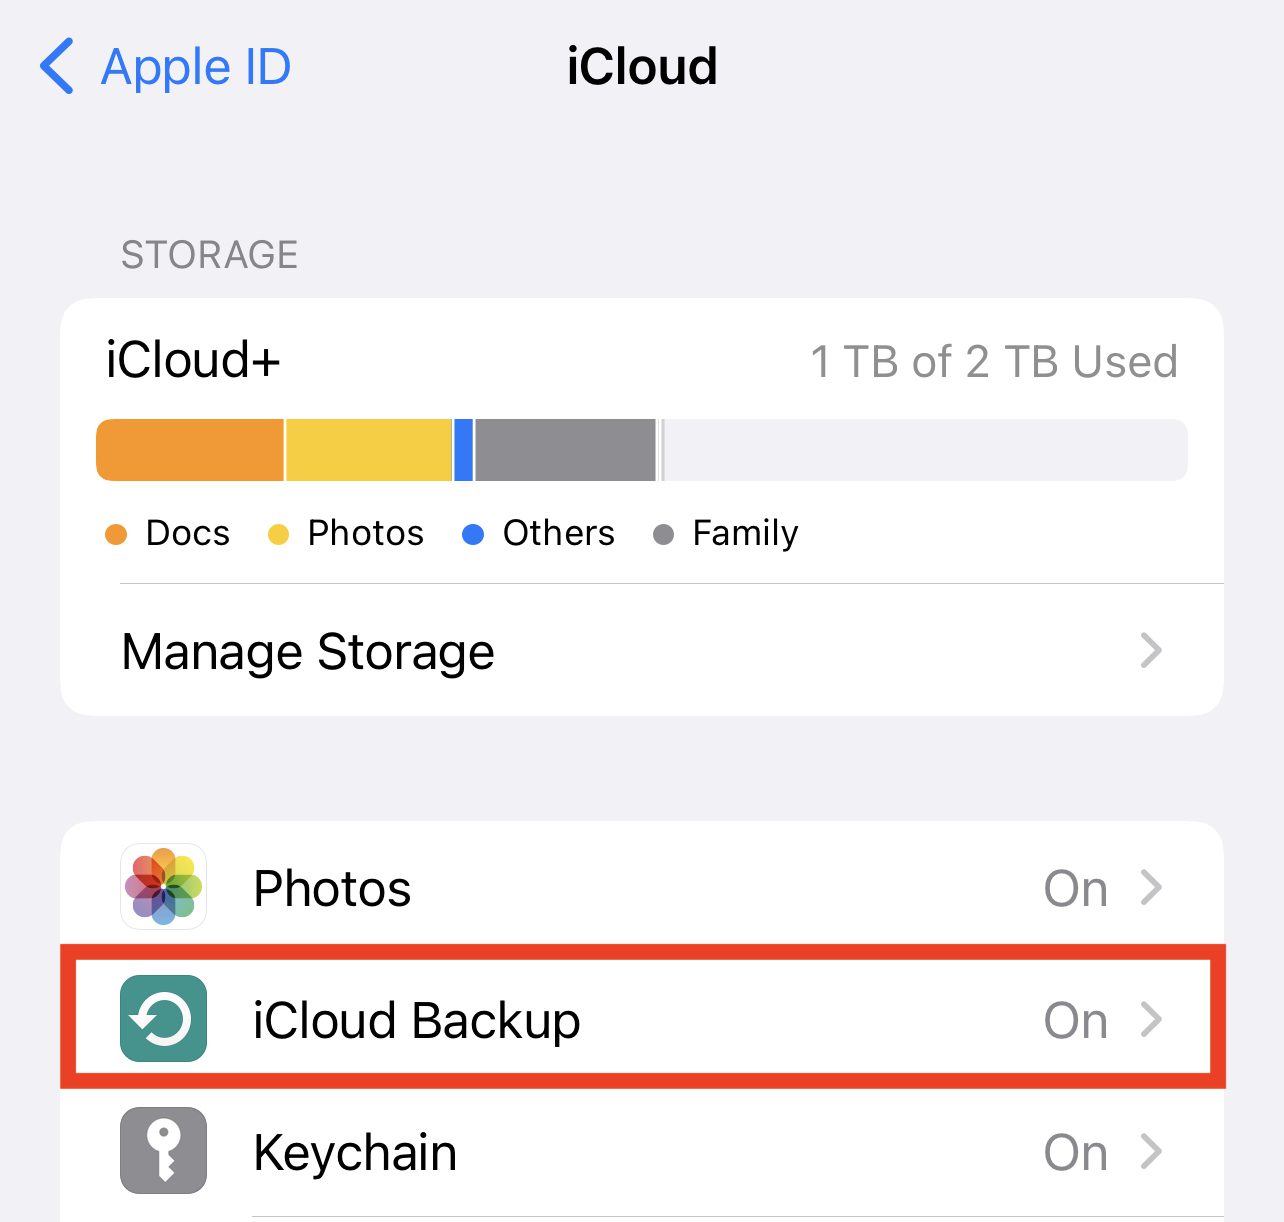
4. The iCloud page appears (see screenshot below). The amount of storage you’re using in your iCloud+ plan appears at the top. Need to get more storage or move to a smaller amount? Tap that Manage Storage button, then tap Change Storage Plan
and follow the instructions.
5. What we’re interested in now is Backups (highlighted in red). Tap that button.
6. The Backup page appears (screenshot below). If the button next to iCloud Backup is gray, tap it to enable iCloud Backup. You can also choose to back up over cellular by tapping the Back Up Over Cellular button. While this is a good idea if you’re frequently away from Wi-Fi, it can use up a lot of your cellular data plan.
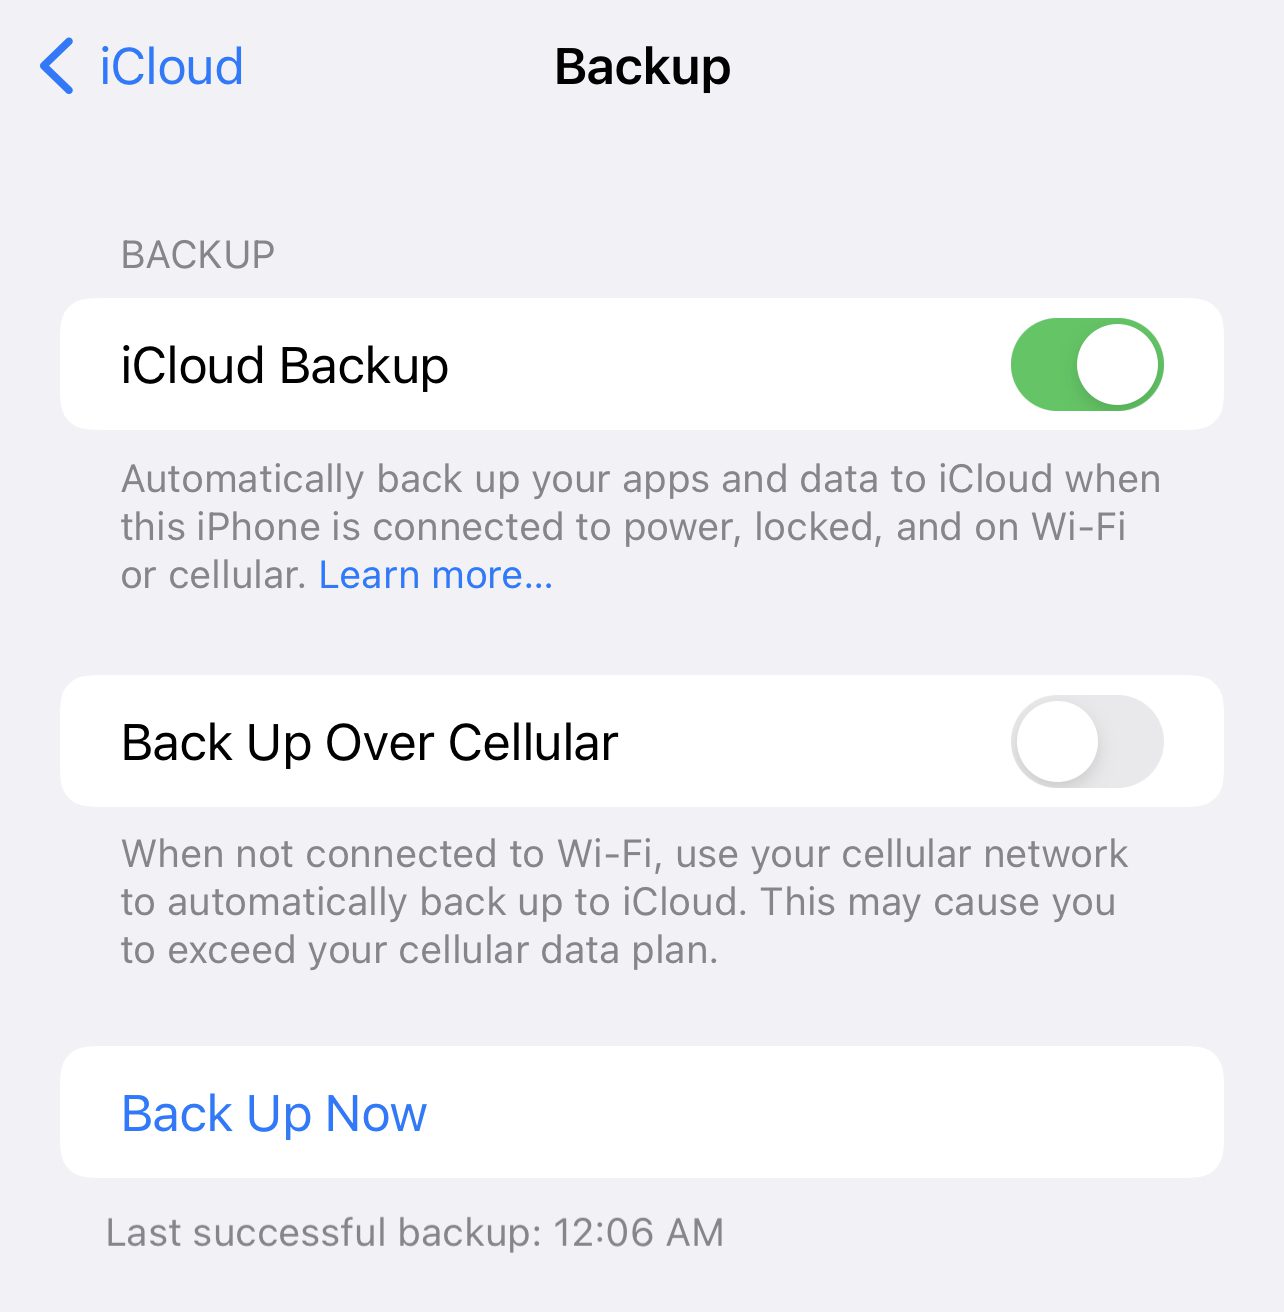
Note that you’ll see the time and date of the last successful backup at the bottom of this page. You can “force” a backup by tapping the Back Up Now button. This is useful when you’re about to do a system update or move to a new device, as your data is completely up to date.
Tomorrow we’ll show you how to back up your Apple mobile devices to a Mac using the built-in features of macOS.
Related Topics
This article is part of our 12 Days of Backups series that began on December 27, 2021 and ends in January, 2022.
- The First Day of Backups – Time Machine
- The Second Day of Backups – Third-party Mac Backup Apps
- The Third Day of Backups – MacBook Backups with the OWC Envoy Pro FX
- The Fourth Day of Backups – iMac Backup with the OWC Mercury Elite Pro
- The Fifth Day of Backups – Mac mini Backup with the OWC miniStack STX
- The Sixth Day of Backups – Mac backups for photographers
- The Seventh Day of Backups – Online backup solutions for Mac
In addition, you may wish to check out these other articles related to iCloud, iCloud+ and mobile device backups:
How to change Apple ID and iCloud account information on a Mac


iCloud backups are convenient, but they’re nowhere near as secure as backing up your Apple mobile devices to your own computer.
Apple’s announcement that they won’t fully encrypt iCloud backups due to FBI requests and abortive plans to scan content backups to the cloud for potential child pornography, not to mention Apple’s acquiescence to other countries’ demands to provide access to cloud backups, mean that Apple has access to everything you back up to the cloud, and by extension lots of other folks may too.
OWC is doing a service sharing how to back up your Apple mobile devices to your Mac desktop tomorrow. I’d suggest that that is the post that may serve us all better.