


Are you running out of storage space on your Mac? Storage refers to where data is kept on your Mac. That’s usually on either a hard disk drive (HDD) or solid-state disk (SSD) in your Mac. Today we will show you:
- How to determine if your Mac needs more storage
- Alternatives to upgrading
- Which Macs have upgradable storage
How do I know if my Mac needs more storage?
Do you need more storage? Your Mac may be in fine shape. The easiest way to find out is to click the Apple () menu and select About This Mac. When the About This Mac window appears, click the Storage tab. Wait for a moment, and a striped bar appears displaying storage usage:
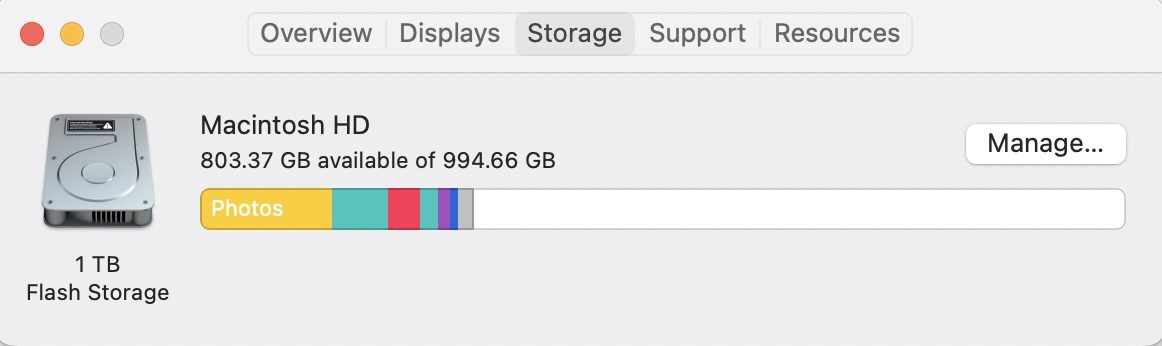
The Mac in this example has a total of 994.66 GB (gigabytes) of storage, with 803.37 GB used. That means it’s in pretty good shape. A good rule of thumb is to consider upgrading storage or offloading data when your Mac is down to about 10% of available storage. In this case, if the amount of available storage got to about 100 GB, it would be time to upgrade or offload.
Alternatives to upgrading Mac storage
You’ll notice that I refer to offloading data as an alternative to upgrading Mac storage. By that, I mean moving data stored on the Mac’s boot drive to an external drive or storing it in the cloud.
Let’s say that I do video editing, using and creating files in the multi-gigabyte size range. Store enough of those files on your Mac boot drive, and the space quickly disappears. Instead, consider storing those files on a fast external SSD like the OWC Envoy Pro FX. Your Mac drive stays relatively clutter-free, with the video files stored externally.
Most new Macs have Thunderbolt ports for high throughput to external devices. For those cases where a single external drive isn’t large enough, RAID (redundant array of inexpensive disks) storage like the OWC Thunderbay 4 offers up to 72 TB (terabytes — that’s 72,000 GB!) of space.
Cloud storage
It’s also possible to store many of your files “in the cloud” — in other words, online in multiple data centers. Apple’s iCloud Drive is a perfect example, with DropBox, Google Drive, and Microsoft OneDrive as alternatives you may prefer.
If you have an iCloud account (only $9.99 per month for 2 TB of cloud storage), it’s quite easy to let your Mac do the work of determining what to save in the cloud.
The Manage… button on the About This Mac storage tab is your gateway to reducing storage requirements.
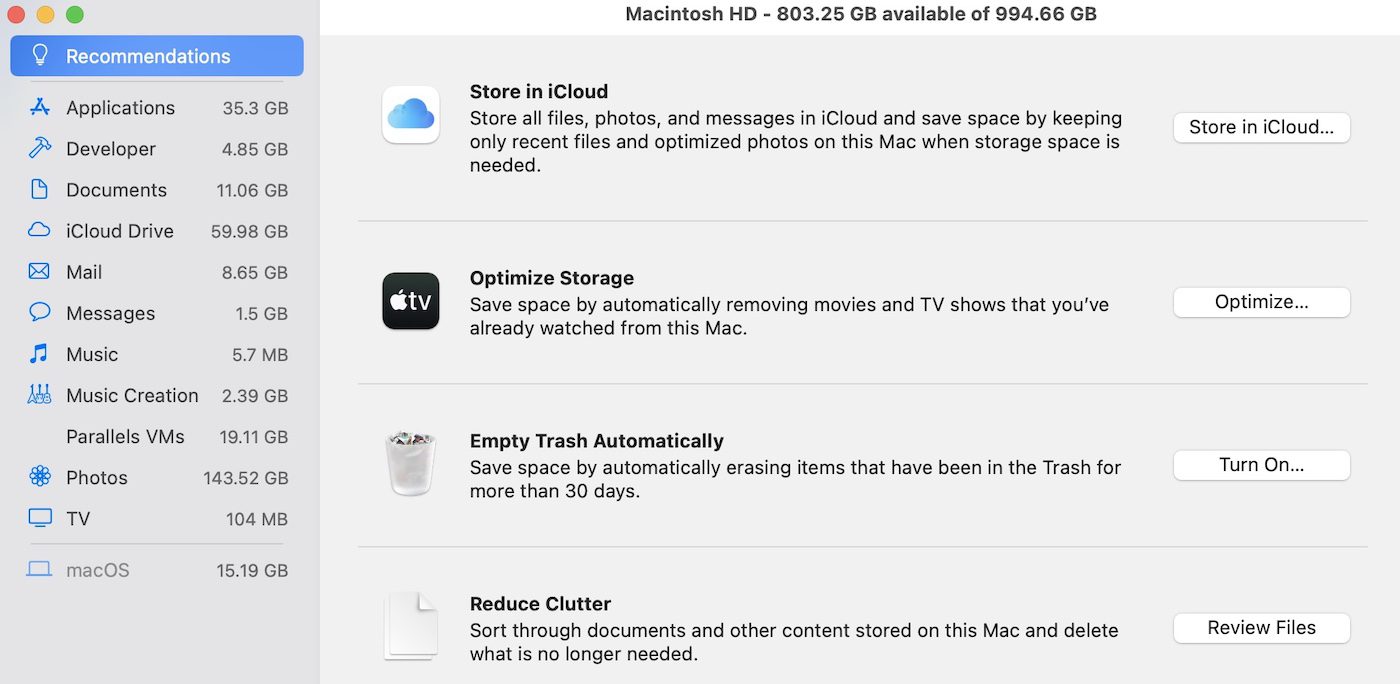
Recommendations include storing all files, photos, and messages in iCloud. Your Mac stores full-resolution versions of photos in the iCloud Photos Library. A lower-resolution version is on your Mac and other Apple devices. When you need to work on the full-resolution version, opening it in Photos downloads it to your Mac. Likewise, documents and messages exist in the cloud for quick retrieval.
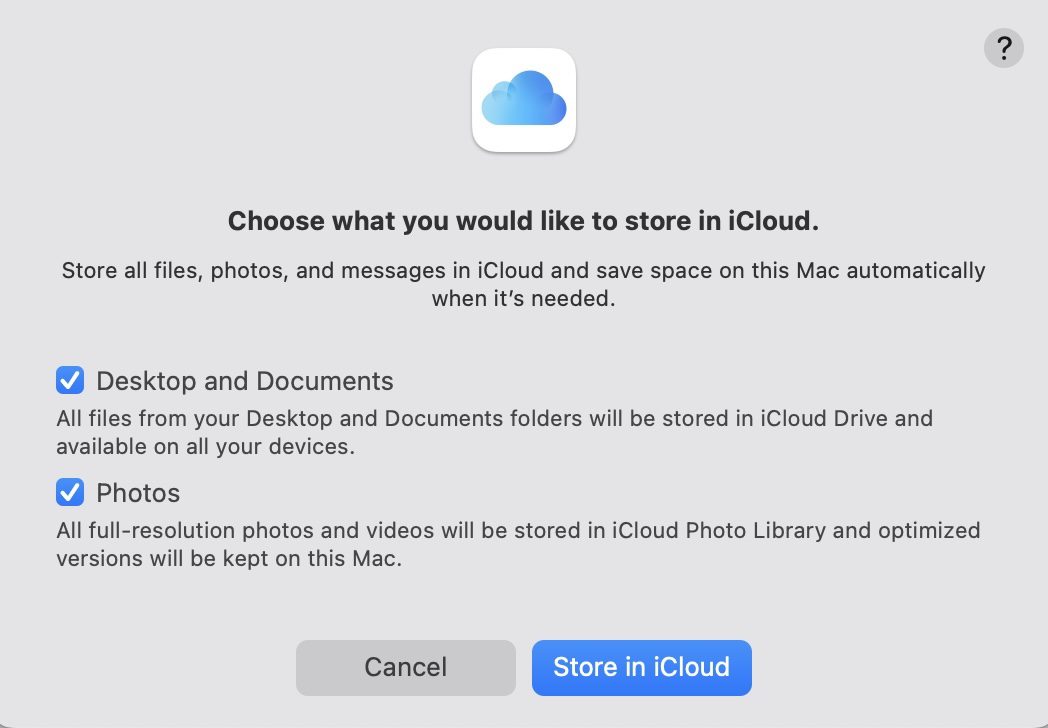
Click the Store in iCloud… button and begin optimizing space in seconds by checking Desktop and Documents as well as Photos, then clicking Store in iCloud:
The Manage window also displays other ways to save space. The TV button optimizes storage by removing movies and TV shows you’ve already watched from the Mac. You can always re-download them in the TV app should you wish to watch them again or need to have them stored locally.
Empty the Trash and Review Files
Another way to save space on your Mac is to automatically erase items that have been in Trash for more than 30 days. One click of the Turn On… button and you no longer need to remember to Empty Trash.
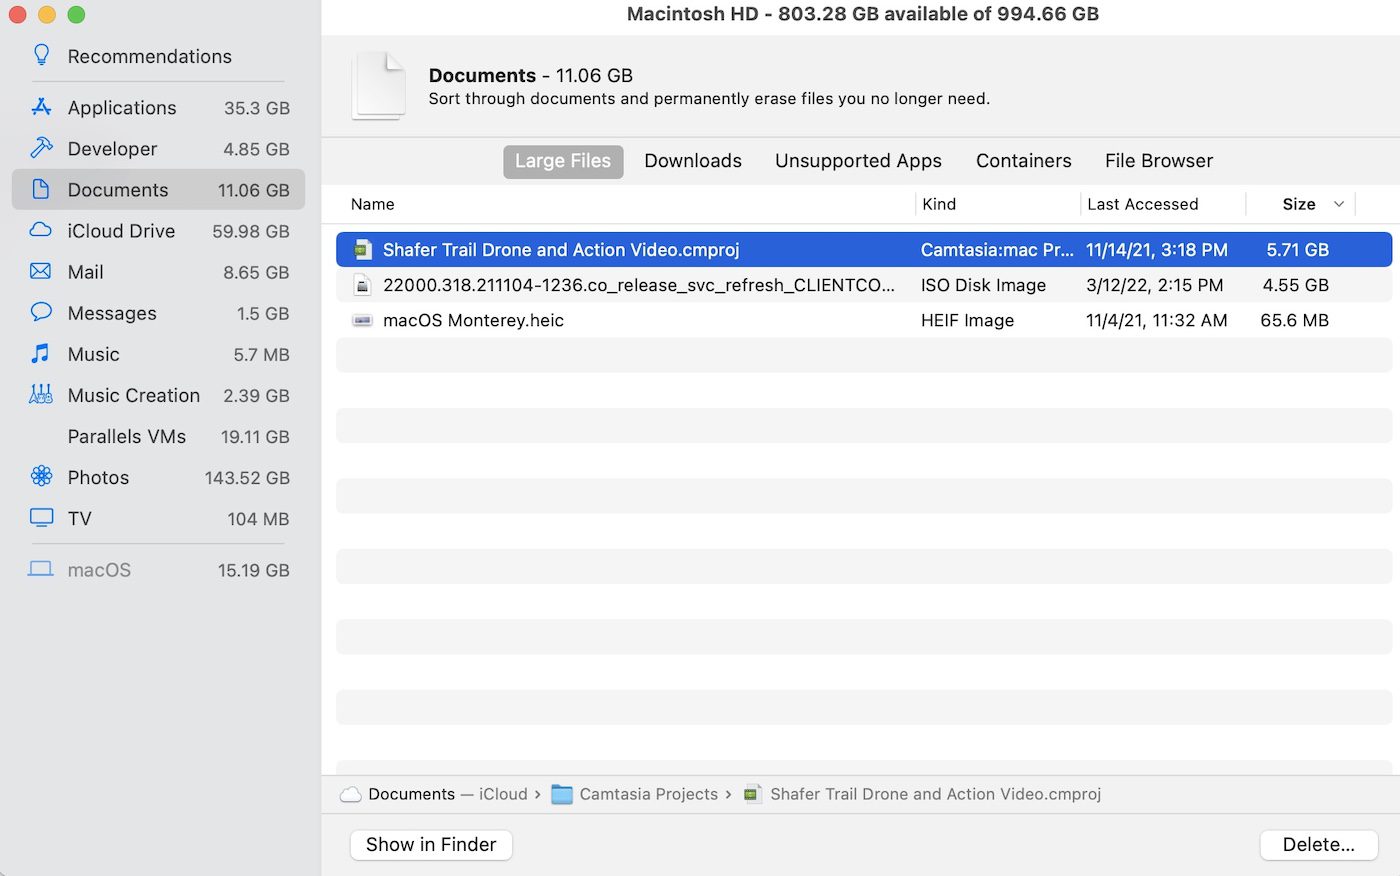
The Review Files button displays files ripe for removal from a Mac. In this case (see image below), it showed me that I had a project file for a video produced last year that used almost 6 GB of storage, while a Windows 11 disk image chewed up another 4.55 GB. Removing both of those files freed up about 11 GB.
There’s a great article here on The Rocket Yard that’s full of tips on how to free up storage space on your Mac.
Which Macs have upgradeable storage?
Not all Macs have upgradeable storage. Older Macs were amenable to upgrades, with easy access to internal drives. Those drives were replaceable with larger capacity models. OWC is a longtime leader in do-it-yourself upgrade kits for these older models. There’s a vast library of videos showing exactly how to upgrade storage and memory in a variety of Macs.
You’ll need to know your Mac’s Model ID to see what is upgradeable. This graphic shows how to find the Model ID:

With the Model ID in hand, select the type of Mac at the top of this page. As an example, we’ll look at four different models:
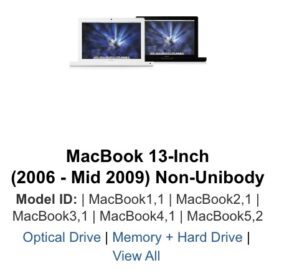
- 2008 MacBook 13-inch, model ID MacBook4,1
- Mid-2011 Mac mini, model ID MacMini5,2
- 2019 iMac 21.5-inch, model ID iMac19,2
- Late 2016 – Mid 2017 MacBook 13-inch Touch Bar, model ID 14,2
Examples
For the 2008 MacBook, a look at the title under the description (below) shows that it’s possible to replace the Optical Drive (SuperDrive), memory, and the hard drive. Clicking the blue links below the original image takes you to the video showing how to do the upgrade. You’ll just need to order the correct upgrade kit from OWC.
How about the 2011 Mac mini?

Here we see (above) that the hard drive is easily replaceable by a user, and a click on the Hard Drive link provides step-by-step video instructions on how to do it.
What about the iMac? It’s relatively new and might not be upgradeable:

We’re in luck! The links show that both SSD and HDD storage options are user-upgradeable. That’s not the case with the mid-2017 MacBook with Touch Bar:
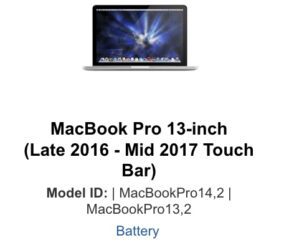
Only the battery is replaceable in this model, as there are no links to SSD, HDD, or Memory. In this case, your choices are:
- Move data to an external drive.
- Consider cloud storage for data.
- Upgrade to a newer Mac model with more base storage.
OWC DIY Upgrade Kits
Lucky enough to have an upgradeable Mac? OWC’s DIY Upgrade Kits are without a doubt the easiest way to increase storage in your Mac.
There’s a welcome bonus in many of the kits: a drive enclosure for turning your existing storage into an external drive for backups! If special tools are required to open the Mac, they’re included with the upgrade kit. Every one of the upgrade kits comes with full instructions and the how-to videos described earlier.
The bottom line
OWC is the industry leader in upgrading Mac storage and memory. We showed you how to determine if your Mac is low on storage, alternatives to upgrading storage on newer non-upgradeable Macs, and where to find OWC upgrade kits and instructions.


Good heavens! Did Steve S. make a slip in his second paragraph? The image he posted of a Mac storage tab says “803.37 GB available of 994.66 GB” but below that he says “803.37 GB used”! Or am I misinterpreting something?
More important, are these numbers complete, anyway? Or are there files which Finder doesn’t find and doesn’t include in the “used” category? For example:
Lately I’ve been getting error messages that my Mac is running out of storage, in particular when using a screen recorder, which quits when this message appears.
Opening my boot partition in Finder, I find the data file sizes don’t add up. I think my screen recorder (which happens to be Screenflick) records whopping big intermediate files in a proprietary format (.sfmovie in this example) many times the size of the editions it can export later in various familiar formats (like .mp4), and these are often worth keeping. When I copied them from Application Support into a roomier partition and deleted the originals in my boot partition, the file sizes there added up again in Finder.
So, how do I know if my Mac needs more storage if Finder doesn’t find all my data files, for example those in proprietary format? Is there a workaround or a substitute for Finder for this? Many thanks, Jack Reed
How to boot different Apple silicon Macs from the very same external disk?