

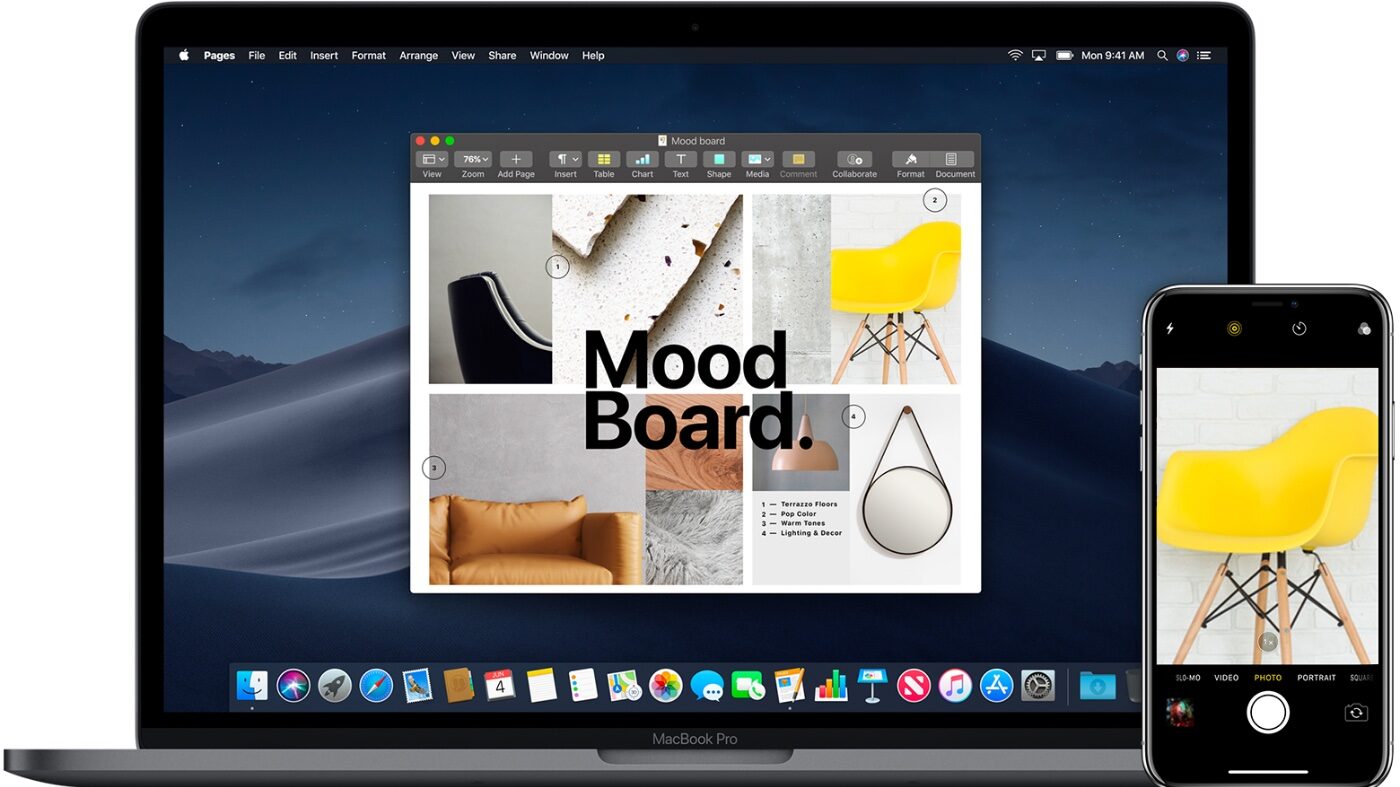
With Continuity Camera in macOS Mojave/Big Sur/Catalina, you can use your iPhone or iPad to directly import photos or document scans into a file on your Mac. It connects your Mac to your iOS or iPad OS device, which needs to be running iOS 12 (or later) or iPadOS 12 (or later).
To use Continuity Camera, you need to be signed into the same Apple ID on both your Mac and iPhone (or iPad). Both need to be connected to the same Wi-Fi network with Bluetooth enabled.
To take a photo
In a supported app (which includes all Apple’s apps and some third-party apps):
- Control-click in the document or window where you want the photo to appear. Or choose the File or Insert menu.
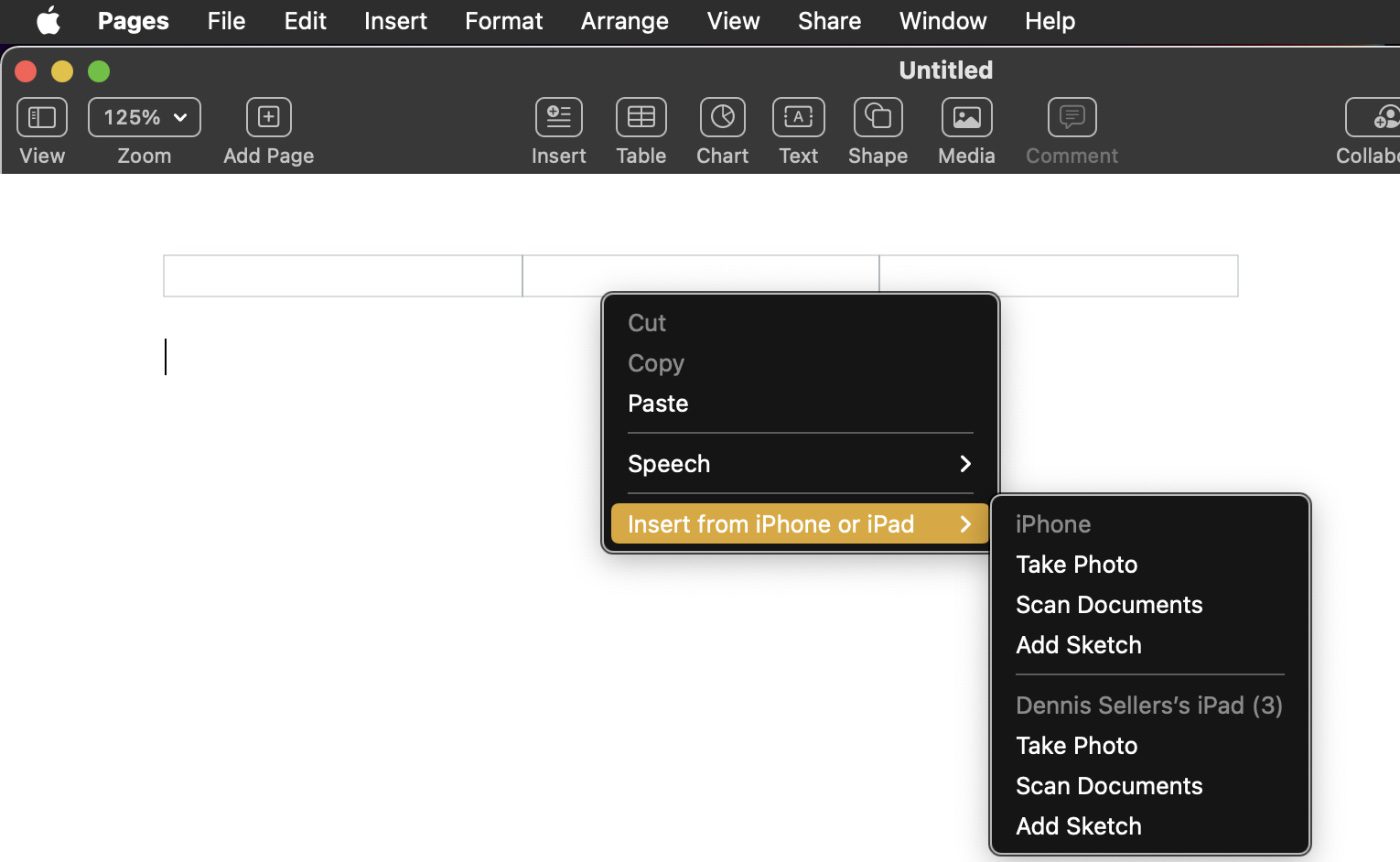
- Choose Take Photo, Add Document, or Add Sketch.
- If you choose Take Photo, this opens the camera app on your iPhone or iPad.
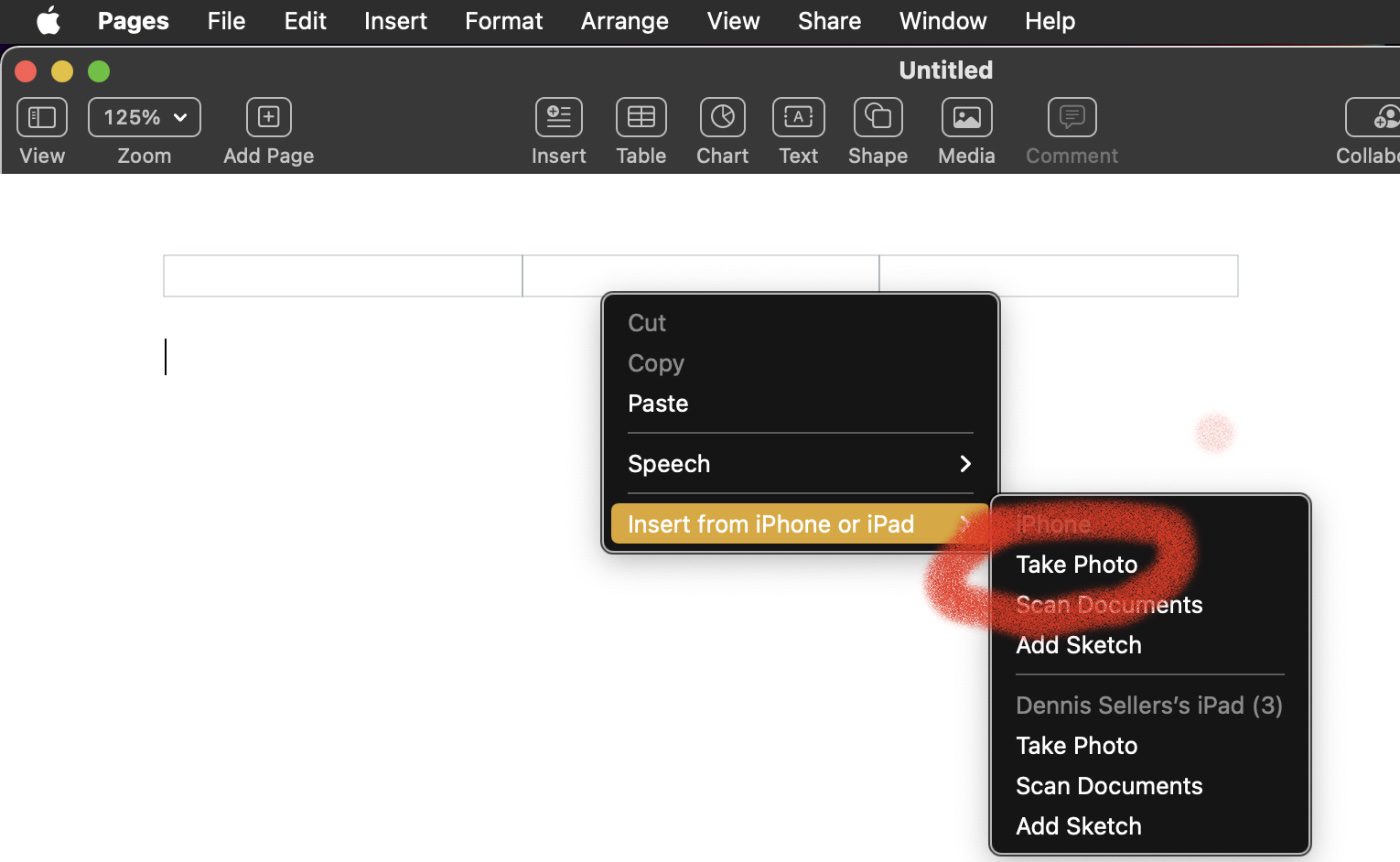
- The pic should appear in your document or window. (Sometimes I’ve had to repeat the process more than once to make this happen as I got a message my iPhone was disconnected.)
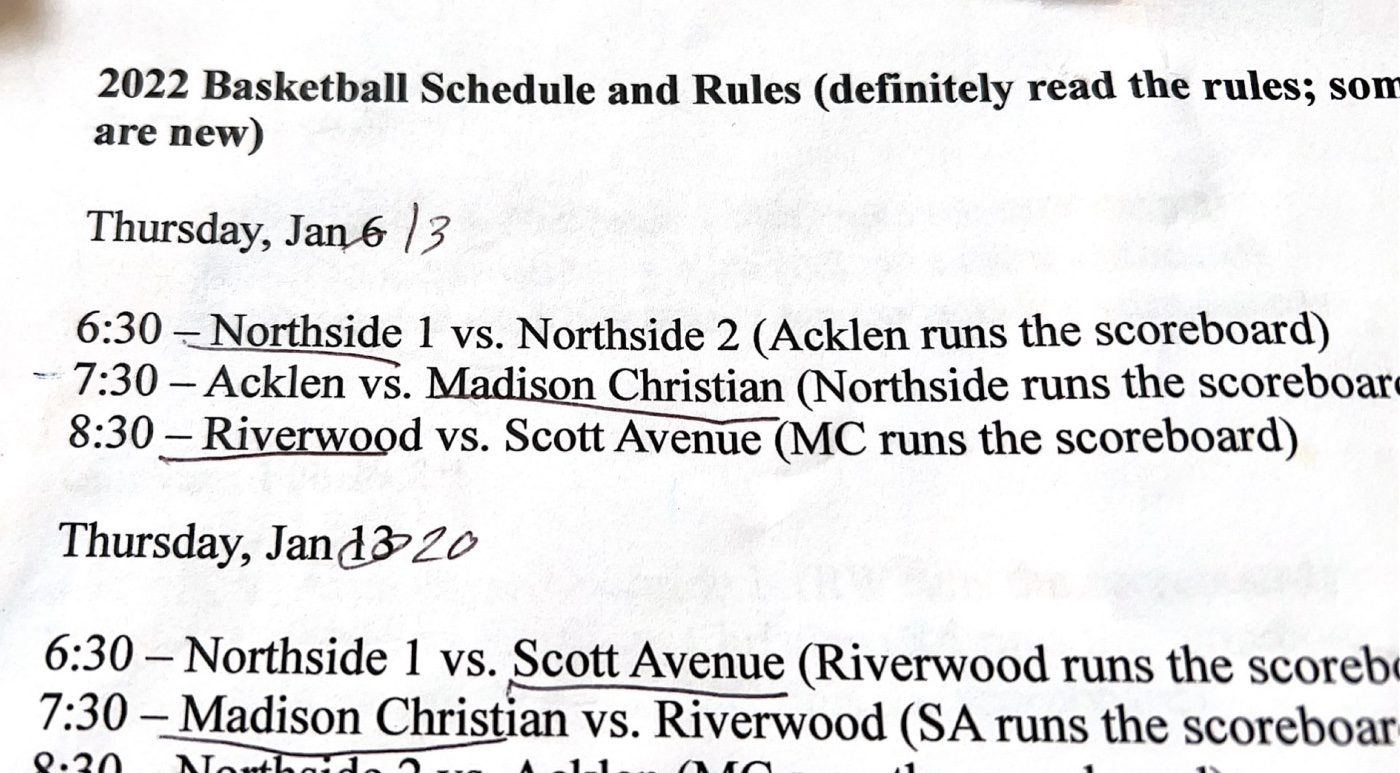
To scan an item
To scan an item, control-click in the document or window where you want the scan to appear. The iPhone or iPad will be used as a scanner, taking a pic and adjusting it to look like a scanned PDF. Here’s how:
- Place your document in view of the camera on your iPhone or iPad, then wait for the scan to finish. If you need to manually capture a scan, tap on one of the Volume buttons, drag the corners to adjust the scan to fit the page, then tap Keep Scan.
- Add additional scans to the document or tap Save when you’re done. Your scans appear in a PDF document in the document or window on your Mac.
To add a sketch
- On your Mac, position the pointer where you want to insert a sketch or markup.
- Control-click in the document or window where you want the sketch to appear.
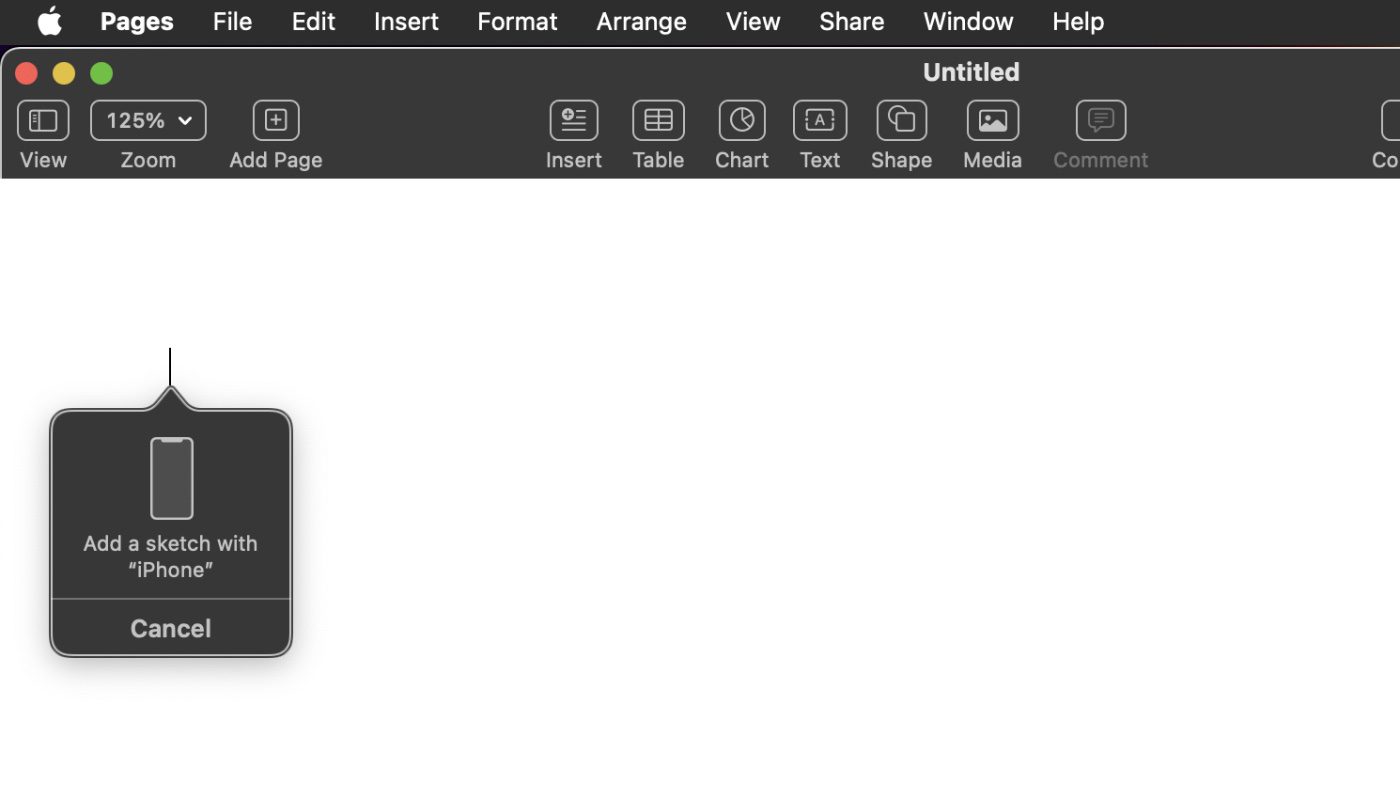
- Choose File > Insert from iPhone or iPad, then choose Add Sketch.
- You can also Control-click the desktop or a folder in a Finder window, choose Import from iPhone or iPad, then choose Add Sketch.
- On your iPhone or iPad, draw a sketch using your finger. On an iPad, you can also use an Apple Pencil.
- When you’re ready, tap Done.
- On your Mac, the sketch appears where you positioned the pointer or, if you started from the desktop or a folder, as a file.
Depending on where the sketch is inserted, you can mark it up, apply filters, change its size, and more!


This tech is nice BUT I do not understand why it needs to connect via your Apple ID and not allow connection directly. Makes it appear like it is going to Cloud for this, which seems unnecessary, even for credentials.
This thought that everything must be connected to the Cloud is baffling.