LumaFusion is a great way to edit video, stills, and music on an iPad or iPhone with a level of precision and quality awfully close to what you’ll find on a desktop computer. Edit photos and videos from the iOS camera roll, a cloud service such as Dropbox or Google Drive, or using a USB drive connected to an iPhone or iPad with support for up to six layers of video and six layers of audio.
Getting started with LumaFusion
To get started, launch the LumaFusion app.
In the lower third of the screen is the projects panel. Press here to create a project. I am going to leave the Framerate, Aspect Ratio, and Colorspace options left to default. This way, the project will change settings to best match the footage I import. This is a good option if you are unsure what framerate the camera is using.
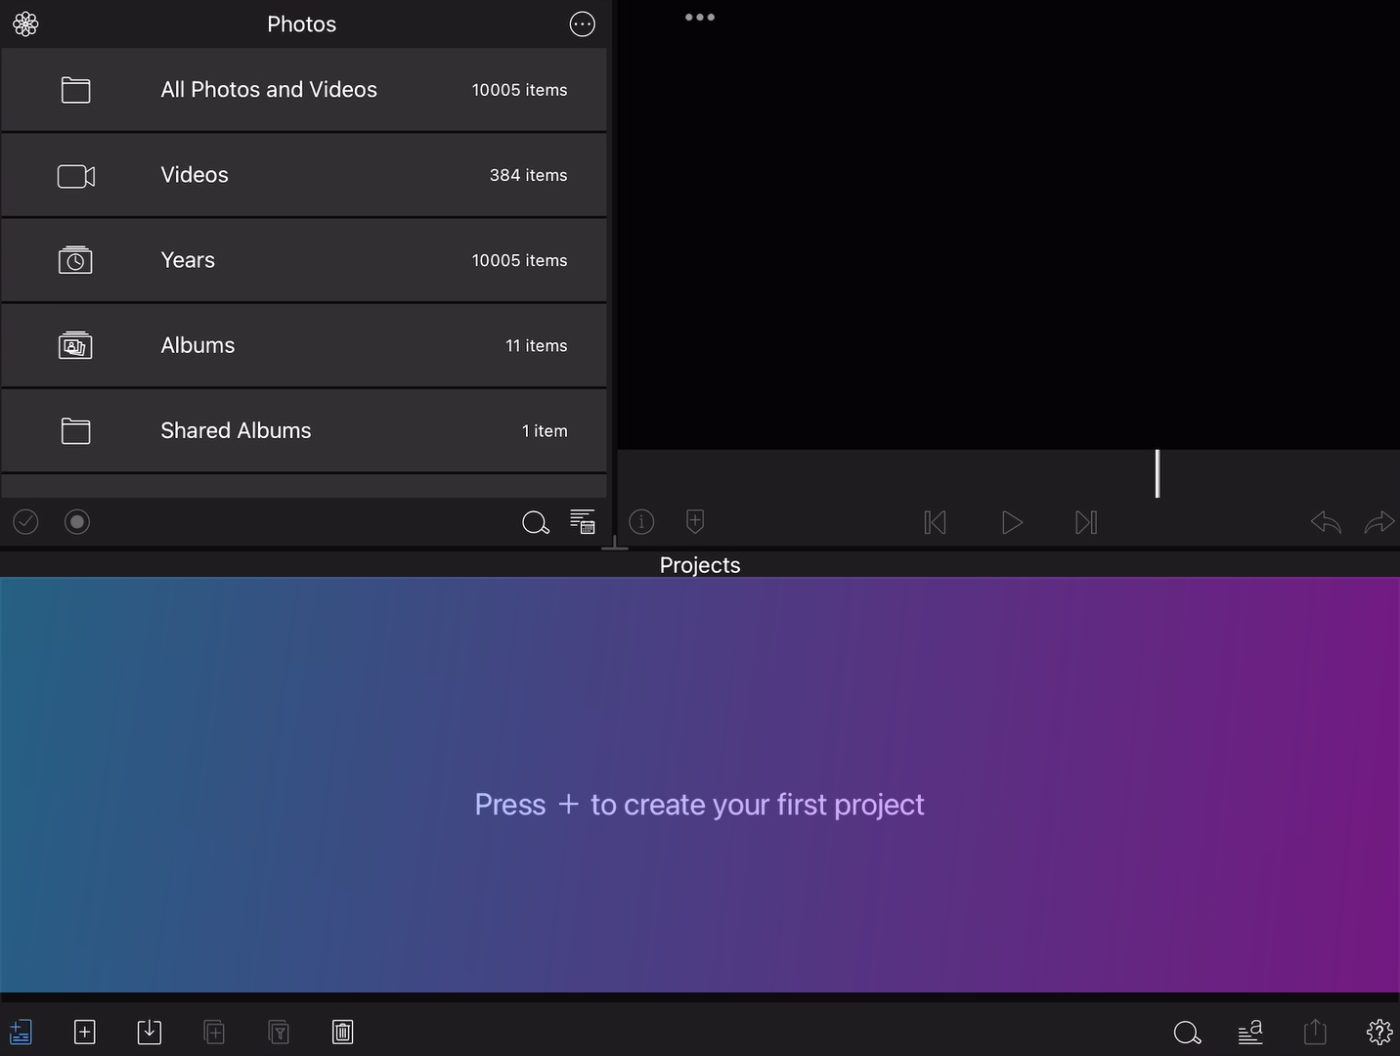
Name your project, in my case “Yosemite Forest”. The project panel is now a timeline viewer.
Importing media
In the top left corner of the screen ,all the contents from my Camera Roll and iCloud Photos storage are available to edit with. With a press of the 3-dot “options” menu, you can link another cloud account such as Dropbox or Google Drive. However, I’m going to edit media that is connected locally to the iPad, so I am going to pick the Files App as a source.
I have the footage I will be editing today stored on a USB flash drive and I am connected to an iPad Mini via the Apple Lightning to USB Camera Adapter kit.
To import clips from storage choose:
- Select
- Select All
- Open
The Yosemite clips are now available to edit in the Media Library panel and I can start to review the clips to decide which ones I want to use.
Making the first edit
For this project, I’m going to review a few clips and decide what I want to include in my movie. Some Editors prefer to throw everything in the timeline and cut down from there but, I recommend watching clips first and deciding what you want to use as it can save time later on.
Starting with the first clip, tap the film strip icon to the right of the thumbnail to load the footage. Then press the play icon to start reviewing the clip. I can see that this clip is 15 seconds in length, which is a bit long.
To shorten the clip, I’m going to move about a third of the way in, and press the mark-in button, which looks like a left bracket. To further adjust the duration, press play to move further into the clip and press mark-out to determine a new ending point. Press the Send to Timeline button to make the edit.
Load another clip, same process. My second clip is also 15 seconds long so I’m moving about a third into the take and again marking an in and an out point. I could press send to timeline or, click and hold the viewer; a banner then appears and you can drag down into the timeline to place the clip precisely where you want it.
Now I have two clips loaded in but it’s getting difficult to see the whole timeline. Multitouch to the rescue. By pinching a finger and thumb on the screen, you can zoom out the view out and see the entire timeline.
Like Final Cut Pro, LumaFusion features a magnetic timeline with the ability to insert, overwrite, link and unlink clips.
For my third shot, I really enjoy the way the light beams crack through the branches—that’s the exact moment I’m looking for. So, I mark an in and out point, and send it to the timeline.
Watching back the edit and… I don’t like the first shot anymore. The sky is blown out and you can’t clearly see the mountain. So, I’m going to find another shot to replace this one with. I’ve found a nice tracking shot, and the red leaves will better match the last shot. Mark an in point and an output.
To replace a shot, click and hold within the viewer, and drag the thumbnail on top of the edit you wish to replace. A dialog appears asking if you want to preserve the timing of the existing clip in the timeline, or, use the duration of the new clip. The clip I’m trying to edit in the timeline is longer than the clip I am replacing it with. I can choose either, but in this case I am going to select “Use new clip duration.”
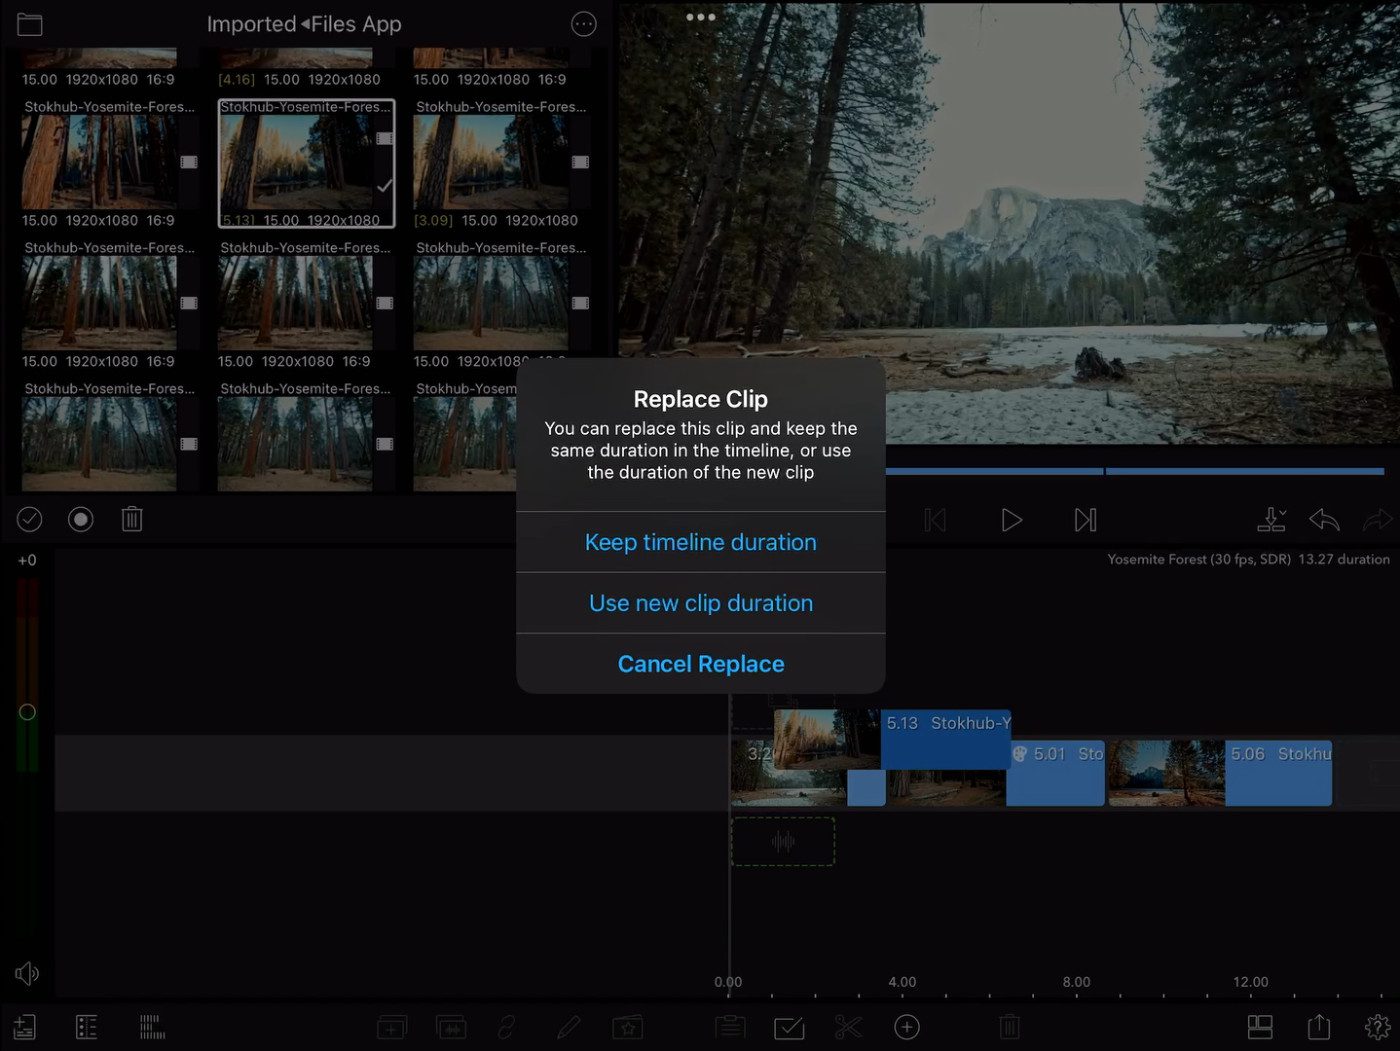
Once you select the clip(s) you want, it is placed in the timeline and the timing of future edits is preserved.
Add a title
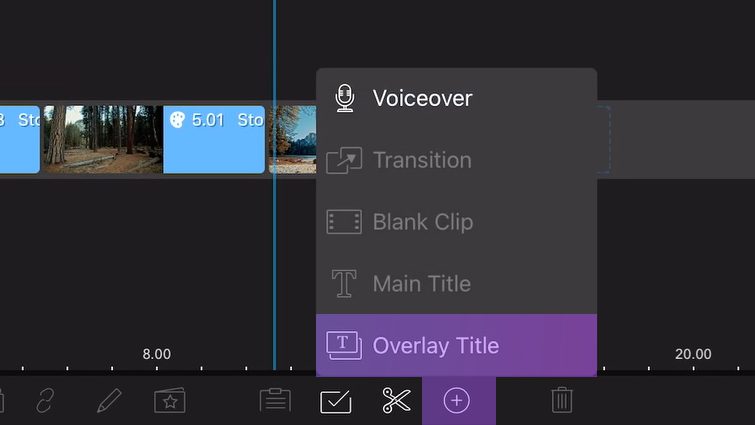
Titles can be added just as quickly as clips. Start by navigating the playhead to where you would like to create a title. I’d like a title on this last shot. Then press the Add Media button: the plus icon along the bottom toolbar. Select Overlay Title.
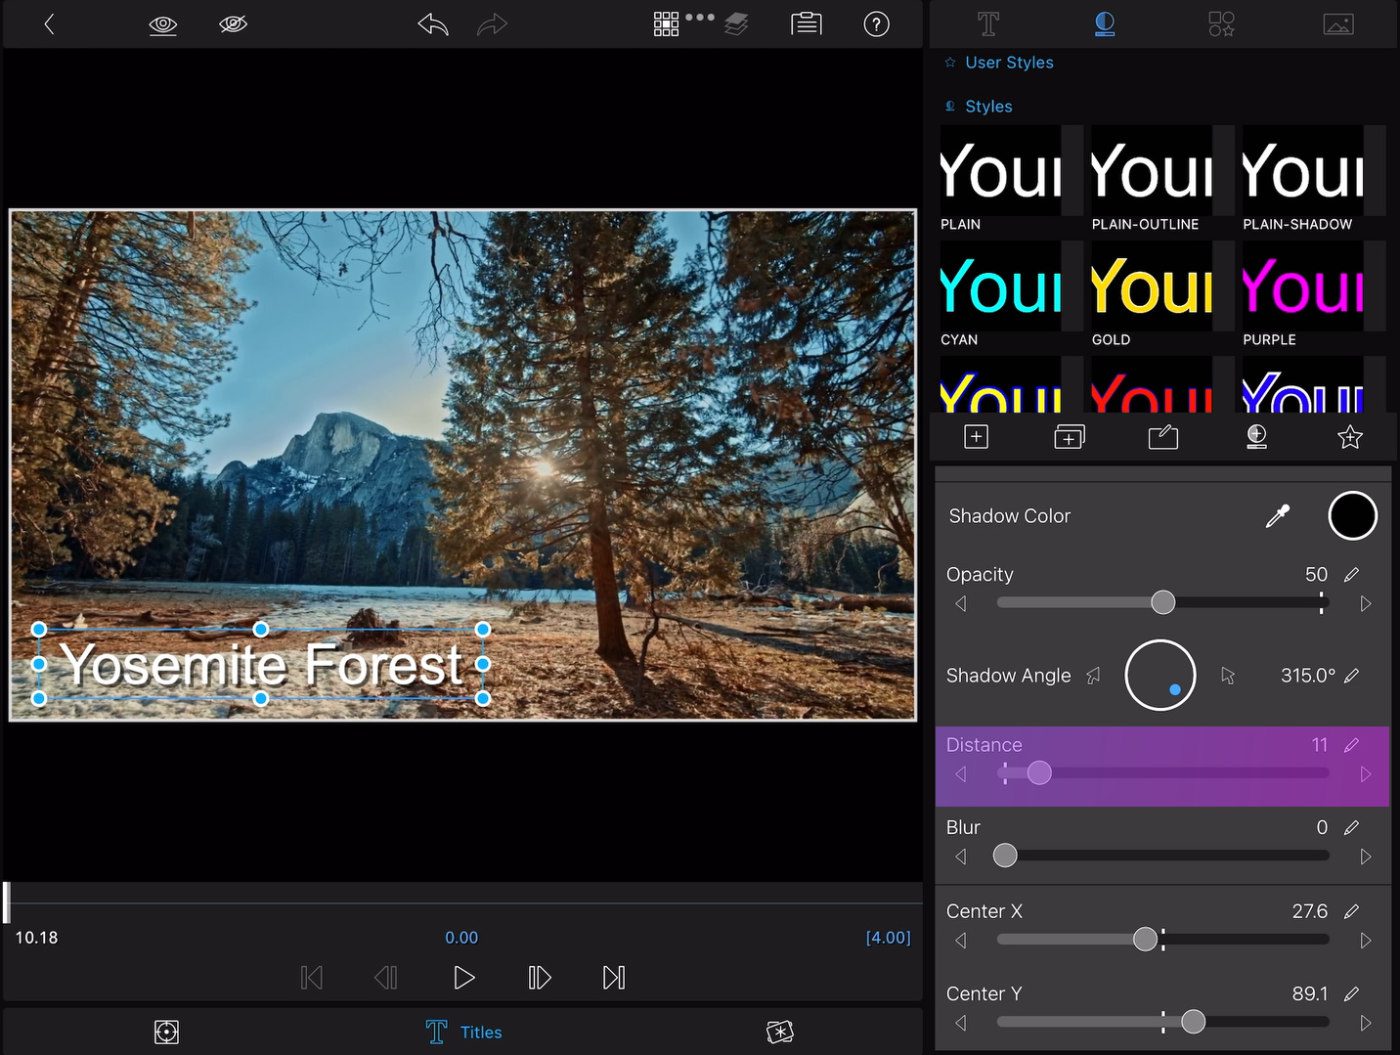
Double tap on the title event in the timeline to open the editing tools. Twirl open the text editor on the right. Double tap again on the title itself in the viewer, to reveal the keyboard and change the text.
The default position of center frame makes the text a little hard to read. Click and drag the text box to freely reposition.
Next, we’ll add a drop shadow to make the text a bit more clear against this detailed background. Scroll down the text inspector and look for shadow properties. To add a drop shadow, click and drag the Distance slider. Add blur and adjust the opacity.
How to export a finished movie in LumaFusion
Now that the edit is complete, it is time to save out the video. Press the share button along the bottom toolbar. Select > Movie
If you want to send your movie to the camera roll, choose Photos. To post directly to YouTube select YouTube. But to save the file to disk (in this case I’m sending it to the USB thumb drive connected to my iPad) choose Share & Air Drop.
The default settings are a good representation of the timeline, and the quality is good for streaming services. Press share from the upper portion of the panel, for the share screen to appear, and then choose Save to Files.
These are just the basics to importing footage and editing in LumaFusion. The app speeds though basic timeline editing tasks, but also has an impressively advanced feature set for a touch-based editor. A few of those features include external monitor support; cut/copy/paste between projects; keyframe audio levels and panning; color correction; green screen; video stabilization; and support for 120 and 240 fps files. It’s available for purchase in the App Store.