

The Mac Photos app in macOS Big Sur adds the ability to edit videos. You can adjust parameters like light and color, add filters, and crop and rotate videos without having to use a third-party app.
If you need to do more advanced video editing, there’s iMovie or, if you’re willing to spring $300, the high-end Final Cut Pro. However, in Big Sur Photos, adjustments, filters, and cropping allow you to rotate, increase exposure, or even apply filters to your videos.
You can also add captions to your videos (they were previously called descriptions) to add context to your films (and, of course, your photos) in the Info pane.
Edit a Video in Photos
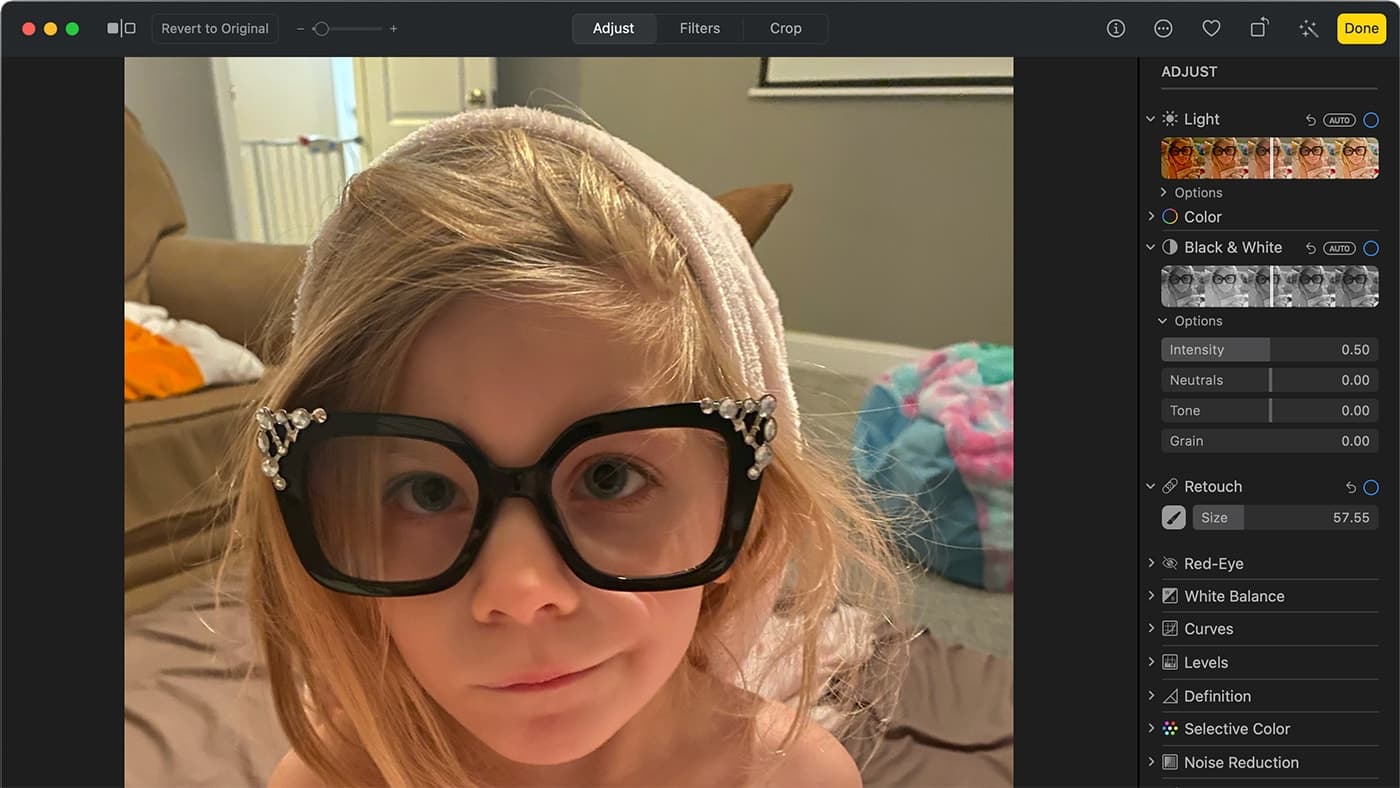
To edit a video, open Photos and select it. Double-click it to make it bigger on the screen, which will make it easier to edit. Click the Edit button at the top right side of the screen. You’ll see various editing options. Keep in mind that, unlike iMovie and Final Cut Pro, you can’t edit individual clips. Any changes you make to a video apply to the entire film.
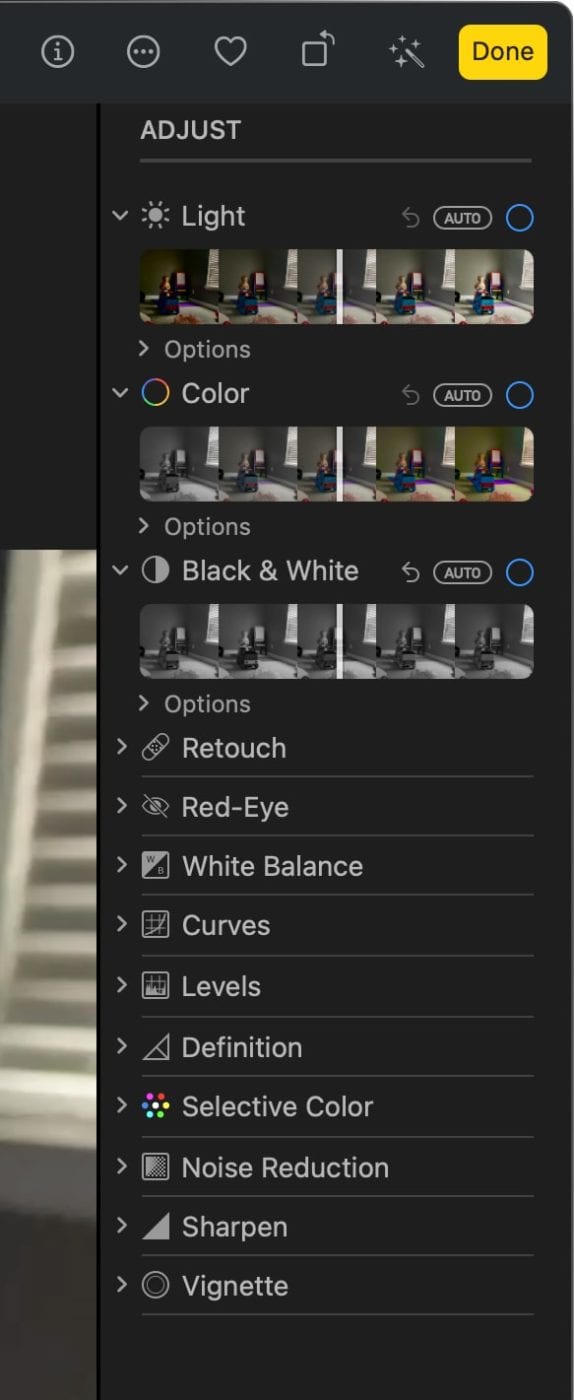
Click the Adjust menu (in the middle of the screen) and you can begin editing. The Light option allows you to darken or lighten a video. The Color and Black & White options allow you to remove all color from a video or really turn up the vibrancy. These three options are adjusted via sliders and can be turned off (and back on) by deselecting/selecting the check mark to the right of the Light, Color, and Black & White options.
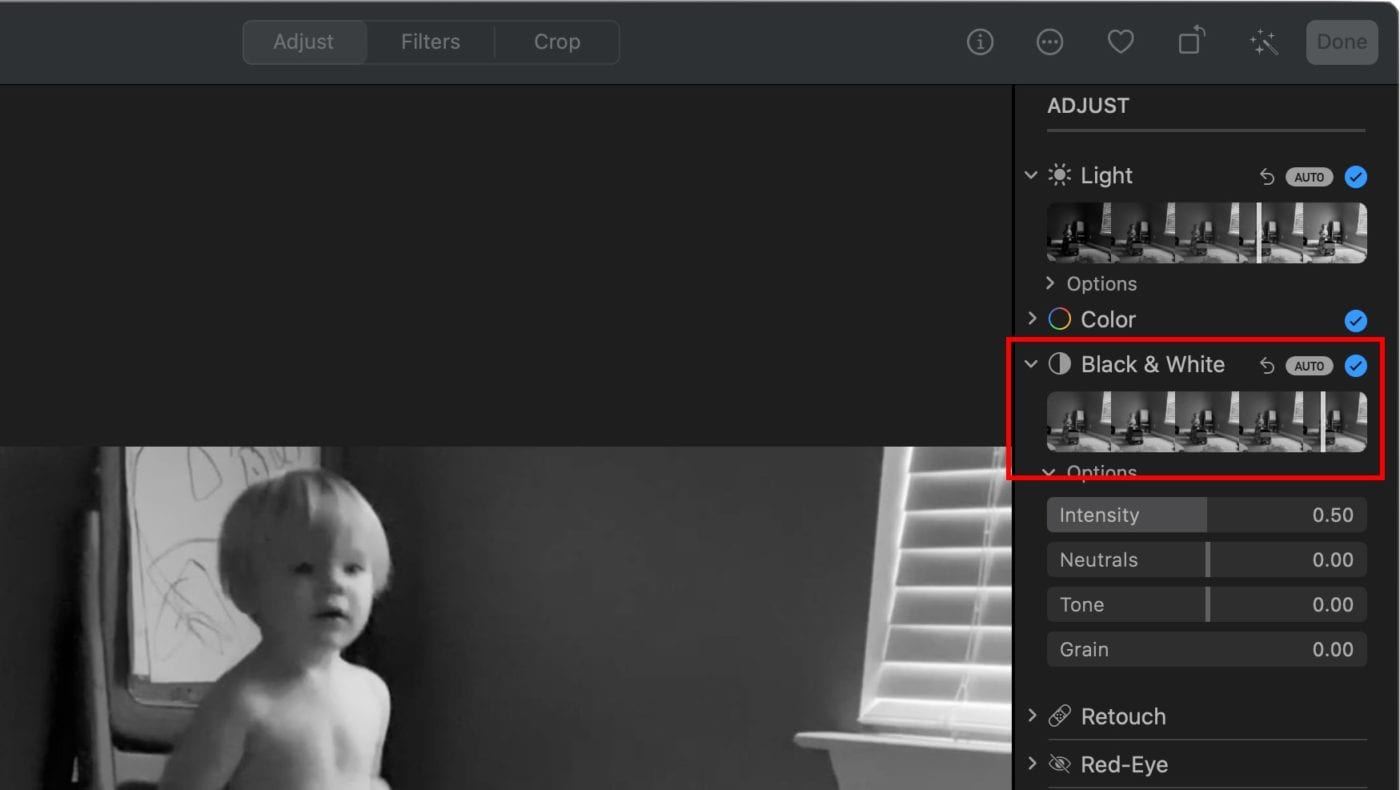
Interestingly, you can have the Color and Black & White options enabled simultaneously. When you do, your video appears in black and white. You can just the intensity, neutrals, tone, and grain of a black and white video by clicking on the Options button underneath the Black & White option.
Additional Edit Options
Other options include Red-Eye, White Balance, Curves, Levels, Definition, Selection Color, Noise Reduction, Sharpen, and Vignette. I won’t go into the details of these editing choices; if you’ve used Photos before, you’ve probably used them to edit photos. If not, open up a photo and a video and experiment. It’s fun.
Ditto the use of filters. To apply filters to a video, click the Filters menu in the middle of the screen. You can choose from Vivid, Vivid Warm, Vivid Cool, Dramatic, Dramatic Warm, Dramatic Cool, Mono, Silvertone, and Noir.
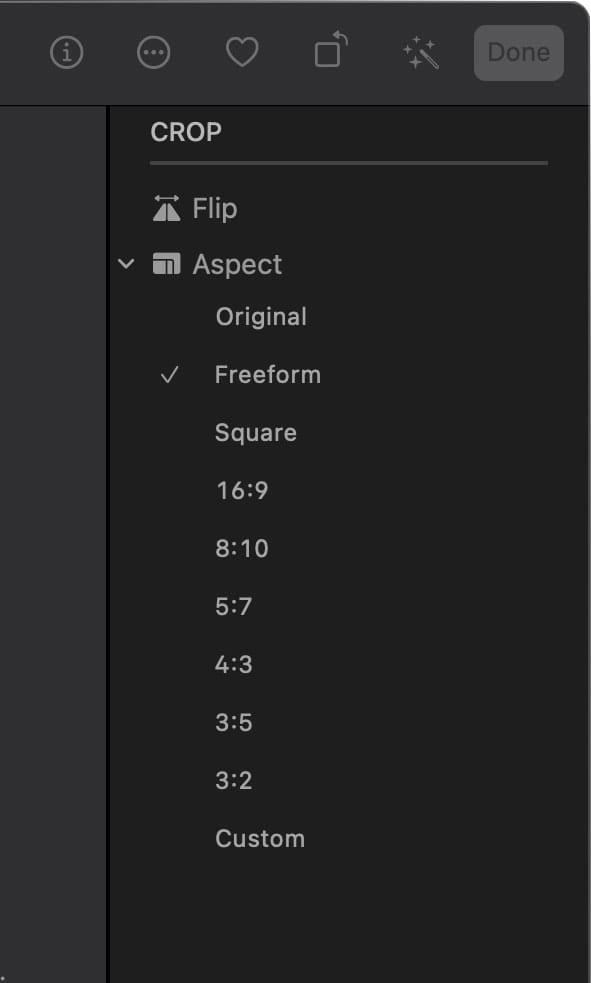
You can flip a video from right to left or vice versa with the Flip option. You can change the aspect of the video to square, 16:9, 8:10, 5:7, 4:3, 3:5, 3:2, or custom depending on what device you wish to share/view the video on. The little wheel looking thingie on the right side of the video screen allows you to angle your video up or down.
Trim
To trim video in Photos for macOS Big Sur, go back to the Adjust menu item. Click the left or right chevrons (which look like pointed arrows)on the ends of the clip. This will show a yellow highlighted section, indicating the length of the trimmed clip within the full-length video.

Click and drag the chevrons left or right to shorten or lengthen the selected area of the clip. Click the Done button to have all edits take effect.


Hmm.
I’m using Big Sur and in my Photos app there is no edit button at the top right, and I still haven’t figured out how to do this.
Thanks! Small typo:
macOS Sur
should read
macOS Big Sur
Thanks for catching that!