macOS Monterey doesn’t add any new window management features, but it improves the ones the operating system already had — and makes them easier to find.
Before macOS Monterey, the menu bar would “hide” when you used a Mac in full screen mode. Now you can enable or disable auto-hide: enable it to make the menu bar present at all times.
To use Macs in full screen mode:
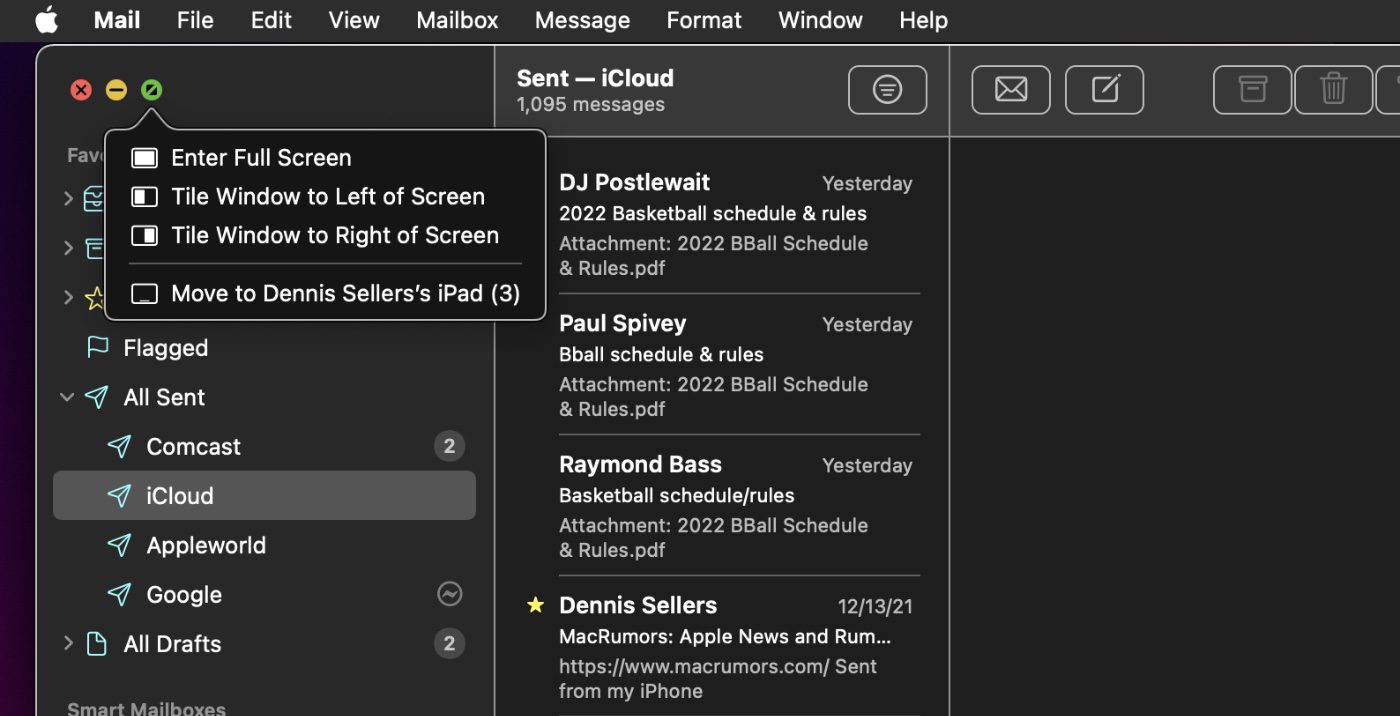
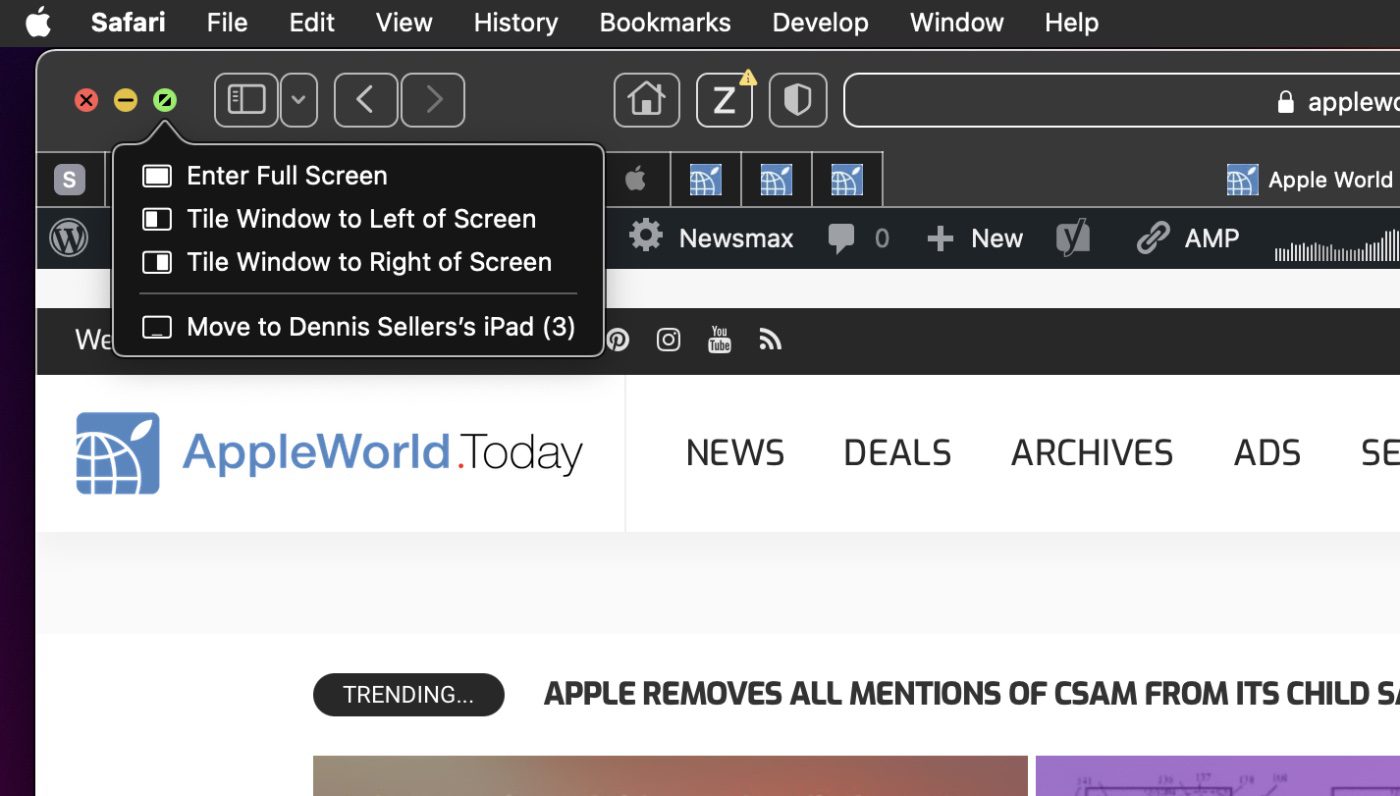
On your Mac, move the pointer to the green button in the top-left corner of the window, then choose Enter Full Screen from the menu that appears — or just click the green button .
Now that you’re in full screen mode, you can:
- Show or hide the menu bar: Move the pointer to or away from the top of the screen. If you deselected the option to hide and show the menu bar in full screen (more on this below), the menu bar is always shown.
- Show or hide the Dock: Move the pointer to or away from the Dock’s location.
- Move between other apps in full screen: Swipe left or right on the trackpad with three or four fingers, depending on how you set your trackpad preferences.
To stop using the app full screen, move the pointer to the green button again, then choose Exit Full Screen from the menu that appears or click the button.
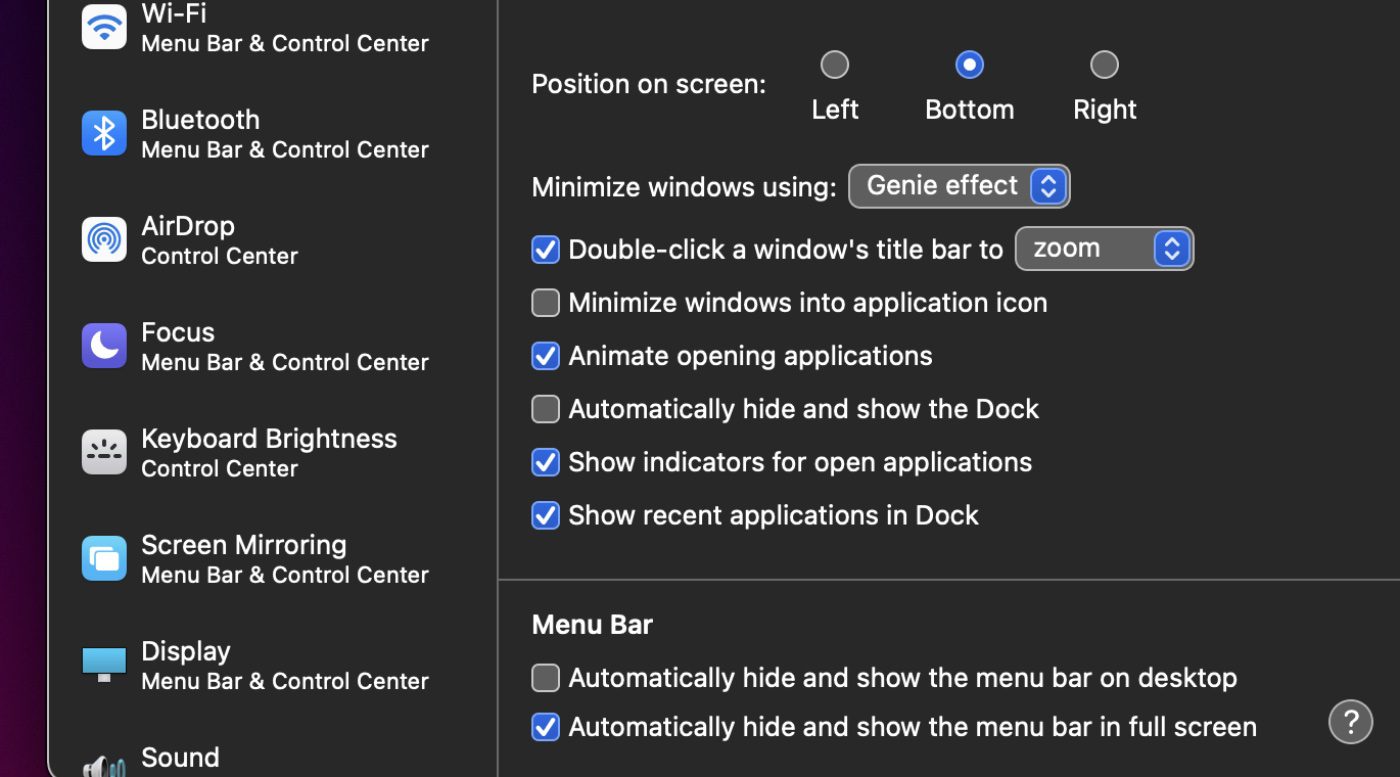
The option to hide and show the menu bar
You can find the option to hide or show the menu bar in System Preferences. Go to System Preferences > Dock & Menu Bar Preferences. Go to the bottom of the pane and select “Automatically hide and show the menu bar in full screen” to make it always appear. Deselect it to make the menu bar NOT appear in full screen mode.
Split View
Many Mac apps support Split View, which lets you work in two apps side by side at the same time. With macOS Monterey, when working in split view, you can now click and hold on the green circle in the menu bar to quickly swap out different apps. Here’s how to use Split View:
° Open some apps and move the pointer to the green button in the top-left corner of the window.
° Choose Tile Window to Left of Screen or Tile Window to Right of Screen from the menu that appears.
- On the other side of the screen, click the second app you want to work with.
The Split View is created in a new desktop space. - In Split View, do any of the following:
Show or hide the menu bar: Move the pointer to or away from the top of the screen. As previously mentioned, if you deselected the option to hide and show the menu bar in full screen, the menu bar is always shown.
Show or hide the Dock: Move the pointer to or away from the Dock’s location.
Show or hide a window’s title and toolbar: Click the window, then move the pointer to or away from the top of the screen.
Make one side bigger: Move the pointer over the separator bar located in the middle, then drag it left or right. To return to the original sizes, double-click the separator bar.
Change sides: Use a window’s title and toolbar to drag the window to the other side.
Use a different app on one side: Click the app window, move the pointer over the green button in the top-left corner, choose Replace Tiled Window, then click the window you want to use instead. If you decide not to replace the current window, click the desktop to return to it.
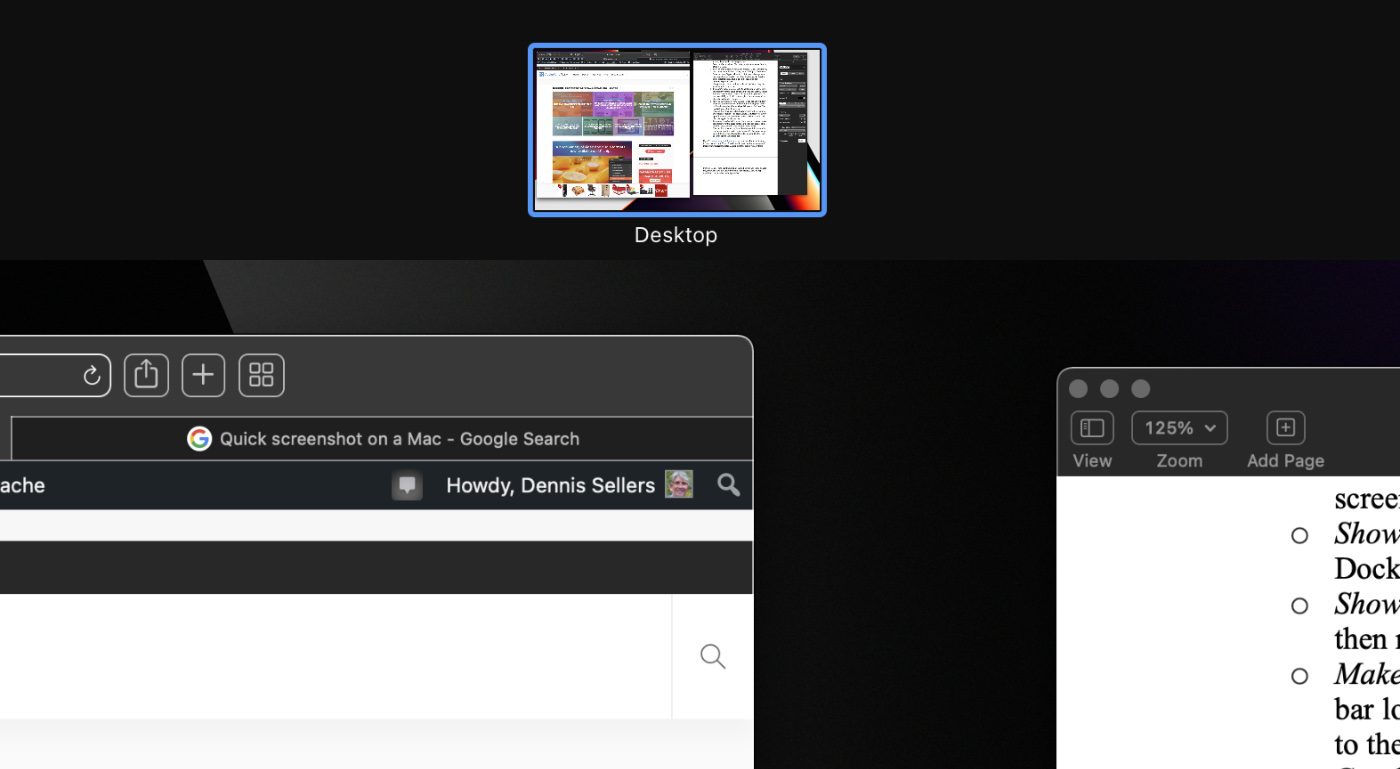
NOTE: Sometimes this wouldn’t work as Apple recommends. In such cases, I had to launch Mission Control and use the Desktop icon that appears at the top of the screen. You can read of the various ways to launch Mission Control here if you need to.
Move an app window to the desktop: Click the app window, move the pointer over the green button in the top-left corner of the window, then choose Move Window to Desktop. The app is displayed on the desktop.
The app that remained in Split View is now full screen in its own space; to return to it, press Control-Up Arrow (or swipe up with three or four fingers) to enter Mission Control, then click the app in the Spaces bar.
Use an app window full screen: Click the app window, move the pointer over the green button in the top-left corner of the window, then choose Make Window Full Screen.
The app that remained in Split View is now full screen in its own space; to return to it, press Control-Up Arrow (or swipe up with three or four fingers) to enter Mission Control, then click the app in the Spaces bar
If you’re using an app in full screen mode, you can choose another app to work with in Split View. Press Control-Up Arrow (or swipe up with three or four fingers) to enter Mission Control, drag a window from Mission Control onto the thumbnail of the full-screen app in the Spaces bar, then click the Split View thumbnail. You can also drag an app thumbnail onto another in the Spaces bar.
One more thing
All these changes make life a little more easy when using your Mac. But there’s one final windows management feature that Apple included in macOS Monterey: Now, if you drag a window from one screen to another, it will automatically resize to fit that second display.