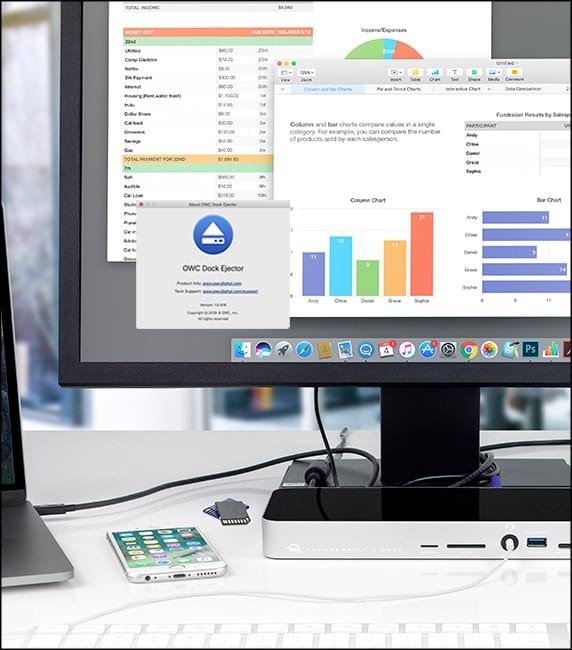
One way to unclutter your Mac desktop is by making those windows that are floating all over your screen snap into place. And it’s easy with Split View.
Split View is available on all Macs running macOS Catalina or later. Here’s how to enable it:
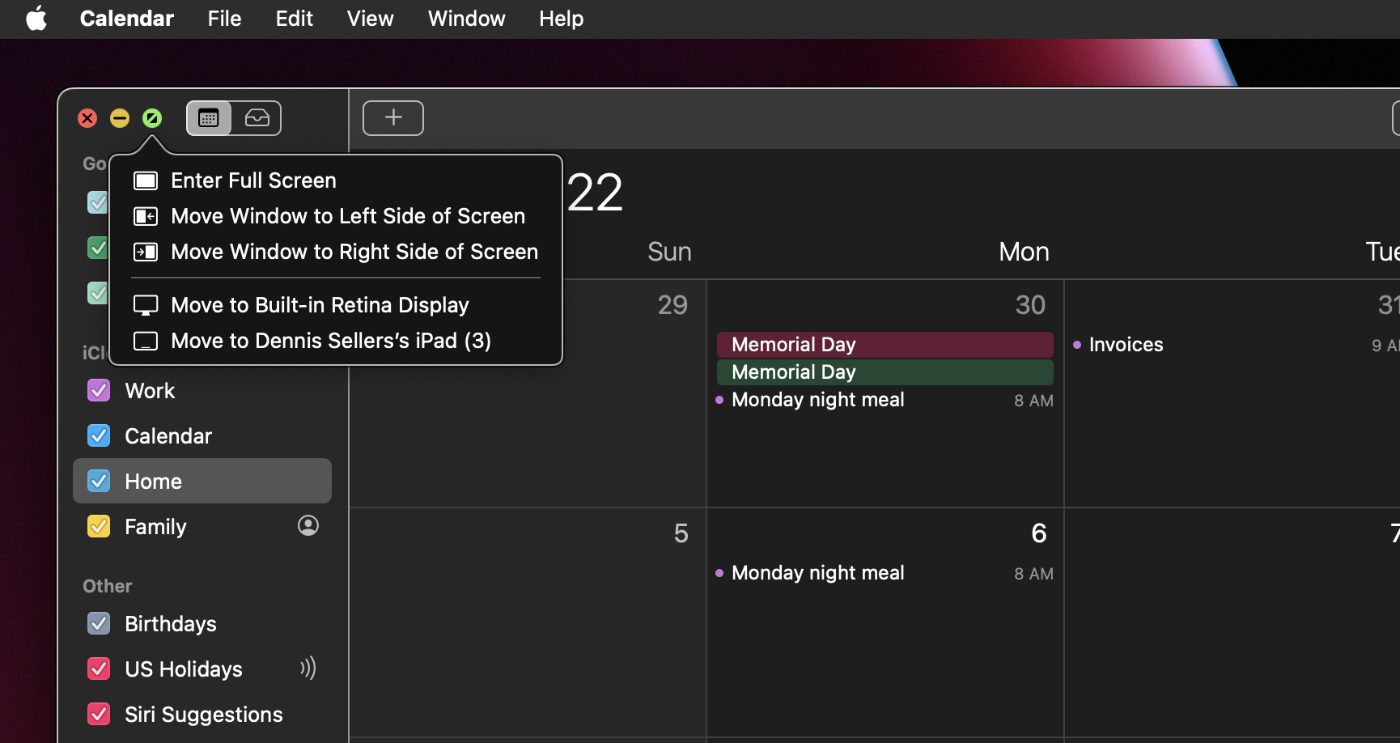
° Place your cursor over the green button located at the top left side of the app window you want to snap into place.
° Click and hold OR hover over the button.
° A pop-up window will allow you to choose these options: enter full screen, move window to the left side of the screen, and move window to the right side of the screen. There may also be other options based on how many displays you have connected to your Mac.

° To snap a window into place, select “move window to the left side of the screen” or “move window to the right side of the screen.”
Repeat the process for any other app windows you want to snap into place.
To “unsnap” a window:
Place your cursor over the green button located at the top left side of the app window you wish to unsnap
° Click and hold OR hover over the button.
The window will return to its previous “unsnapped” state.


Like always, you forget to specify to what version of macOS this applies.
We’ve updated the copy to specify that Split View works on Macs running macOS Catalina or later. Thanks for reading!
Great, thx. I hope this improves for all applicable articles moving forward.