Time Machine is one of the best features of macOS, automating the process of backing up your primary data drive to an external drive. If you’re not using it, you should.
Losing your data can be catastrophic. Besides, it’s easy to use; just plugging in an external drive displays a dialog asking whether or not you’d like to use that drive for Time Machine backups. Let’s look at how to schedule backups using macOS Ventura.
Choosing your external drive
As I said, when you connect an external drive to your Mac, it should ask if you want to use it for Time Machine backups. If it doesn’t:
° Choose Apple menu > System Settings, click General in the sidebar, then click Time Machine on the right.
° In Time Machine settings, choose the external drive you wish to use as your backup destination by clicking the add button (+), then following the onscreen instructions.
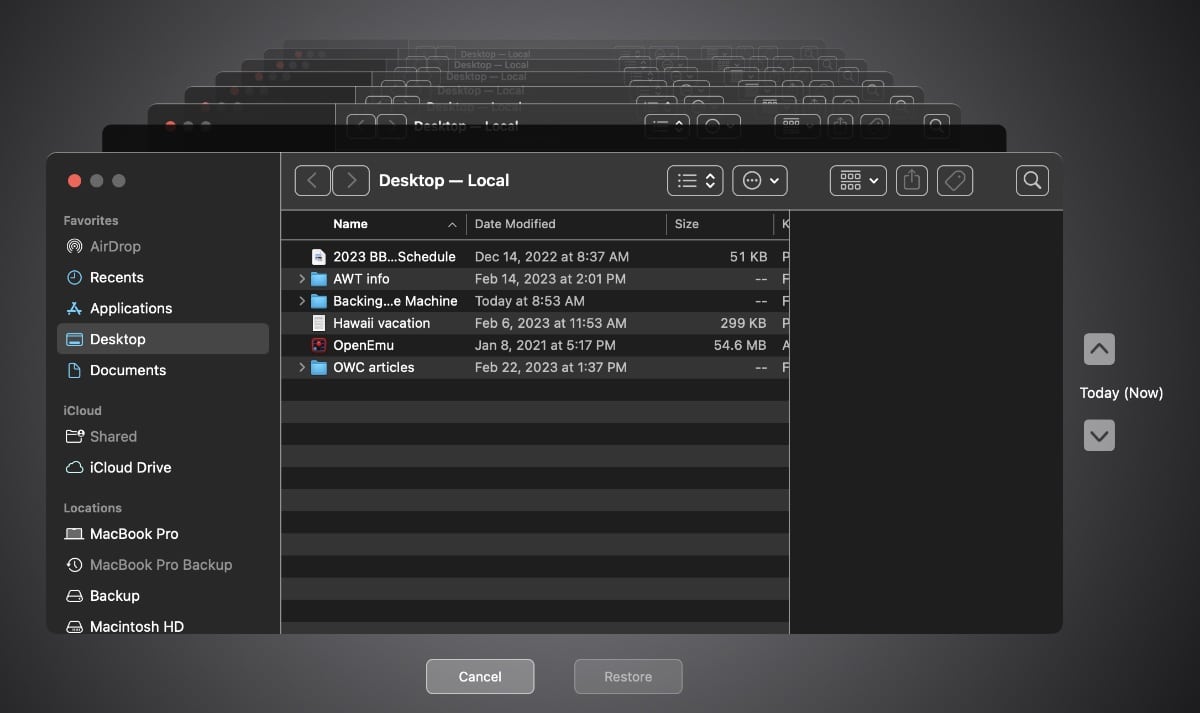
° If the storage device contains Time Machine backups from another Mac (for example, you’ve bought a new Mac), you may be asked to claim the existing backups so that they become part of the backups for this Mac. Or you can choose to start a new backup instead.
To make a backup
After you’ve set up your external drive for Time Machine backups, the app automatically begins making regular backups. However, you can start one manually, which is handy for making your first backup. To start a backup manually, choose Back Up Now from the Time Machine menu in the menu bar.
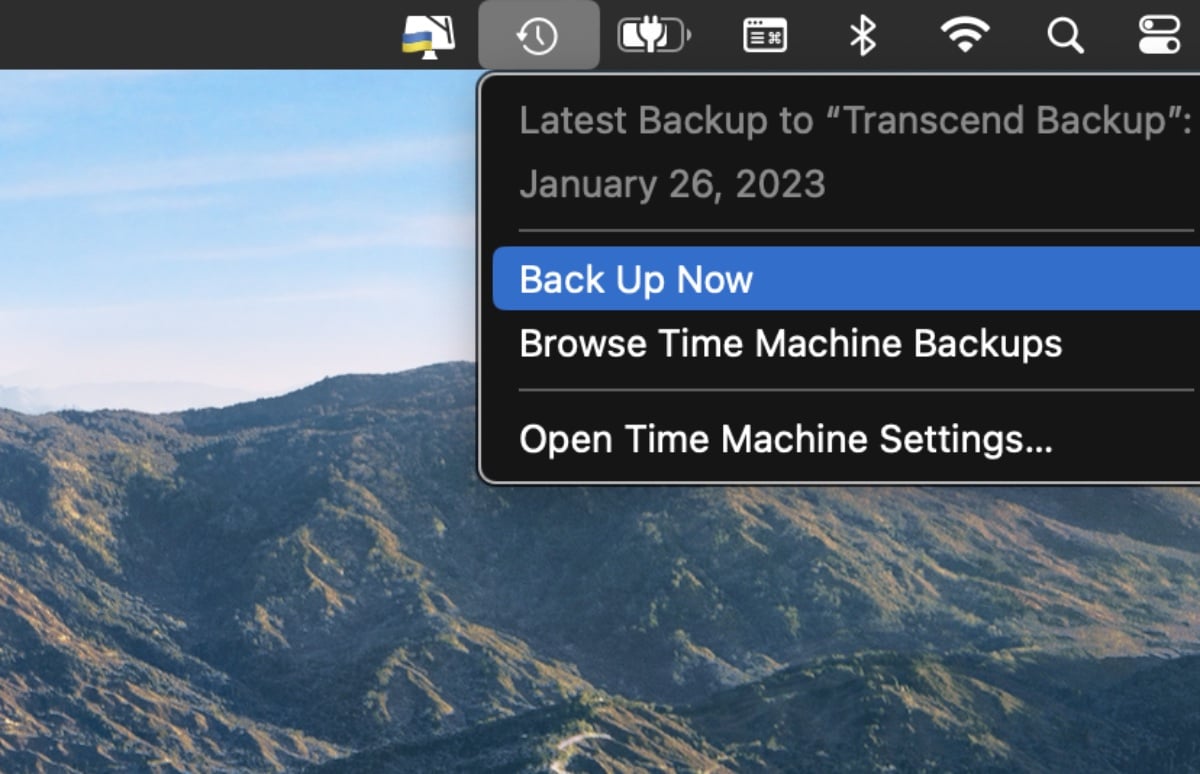
To exclude items from backups, click the Time Machine icon in the menu bar. Open the Time Machine settings, click Options, then click the add (+) button to add an item to be excluded. To stop excluding an item, select the item and click the remove (–) button.
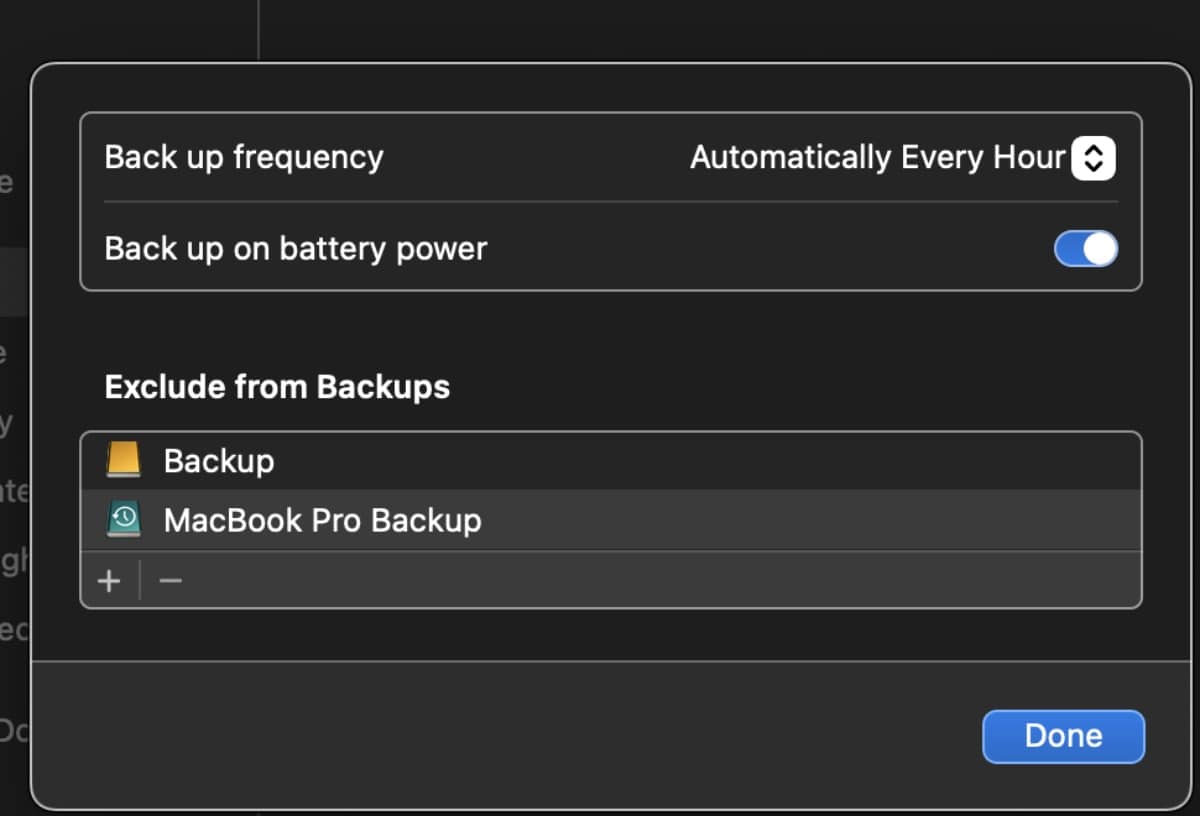
I find it easier to only back up to one external drive (and have a cloud backup option for offline protection). However, if you back up to multiple disks, you can press and hold the Option key, then choose Browse Other Backup Disks from the Time Machine menu.
You can check the backup status by using the Time Machine menu in the menu bar. This allows you to check the status of a backup or skip a one that’s in progress. If there’s no backup in progress, you’ll see the date and time of the latest backup in the menu.
By default, Time Machine makes hourly backups for the past 24 hours, daily backups for the past month, and weekly backups for all previous months. The oldest backups are deleted when your backup disk is full.
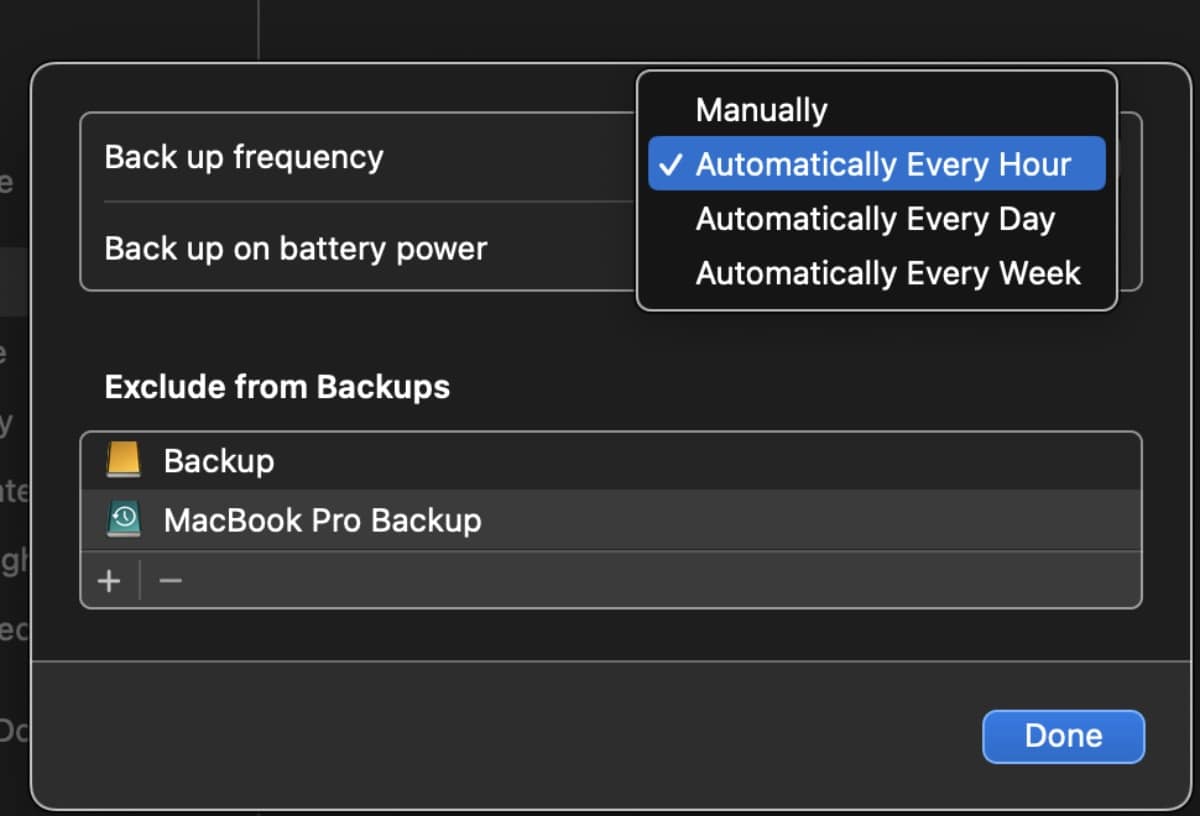
However, with macOS Ventura, you can change the backup frequency. To do so, open Time Machine settings, click Options, then choose a setting from the “Back up frequency” menu.
If you have a lot of files, the initial backup could take a LONG time. Conveniently, you can keep using your Mac while a backup is underway. Time Machine backs up only the files that changed since the previous backup, so future backups will be faster.


