Time Machine is one of the unsung heroes of macOS, automating the process of backing up your primary data drive to an external drive. And if you’re not backing up your important files, you’re asking for trouble.
Connecting a storage device for Time Machine backups
Before you get started, you’ll need to connect an external storage device to your Mac. It has to be one that is only for Time Machine back-ups, not for any additional data. And it needs to at least twice the storage capacity of every disk or volume you’re backing up. If your backup disk doesn’t have enough storage space to contain a complete backup, Time Machine is happy to let you know.
When you connect the storage device to your Mac, you should get a message asking if you want to use it for Time Machine backups. If not, follow these steps in macOS Ventura:
° Choose Apple menu > System Settings.
° Click General in the sidebar.
° Click Time Machine on the right.
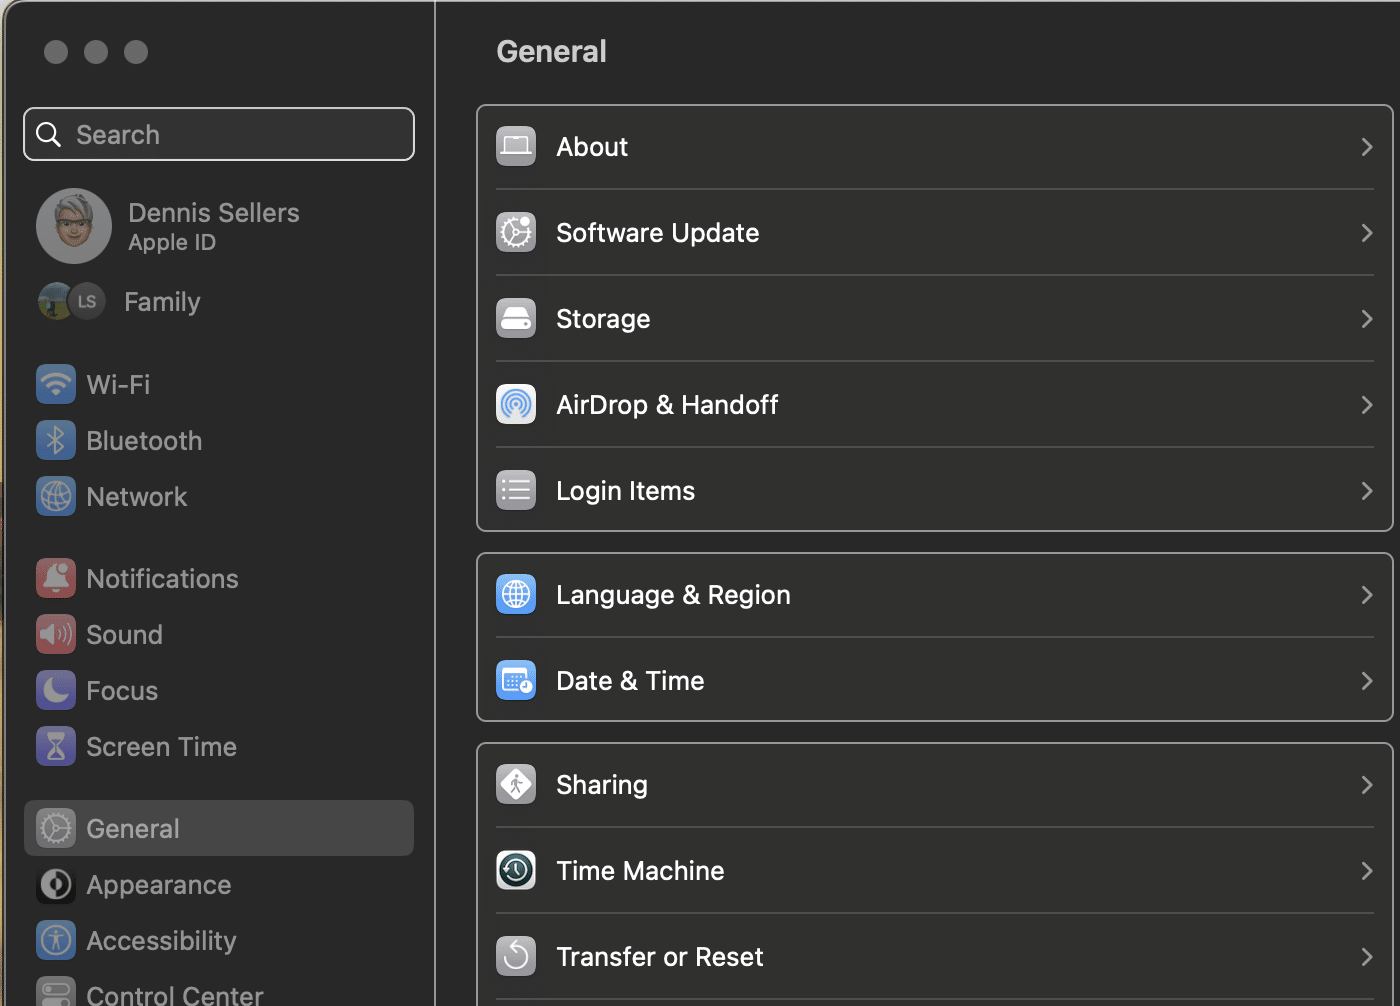
° Click the add button (+), then follow the onscreen instructions to add a storage device.
Note that if the device contains Time Machine backups from another Mac, you’ll be asked to claim the existing backups so that they become part of the backups for this Mac. Or you can choose to start a new backup instead. Personally, I’d recommend the latter.
Connected your backup storage device? Good. Let’s go:
How to Back Up your Mac with Time Machine
You have two back-up options with Time Machine:
° Back up automatically. After you select your storage device in Time Machine settings, Time Machine automatically begins making periodic backups.
° Back up manually. To start a backup manually, without waiting for the next automatic backup, choose Back Up Now from the Time Machine menu in the menu bar.
For your first back-up, I’d go with the manual option to get things started. After this, I’d set you an automatic back-up schedule.
You can use the Time Machine menu in the menu bar to check the status of a backup or skip a backup in progress.
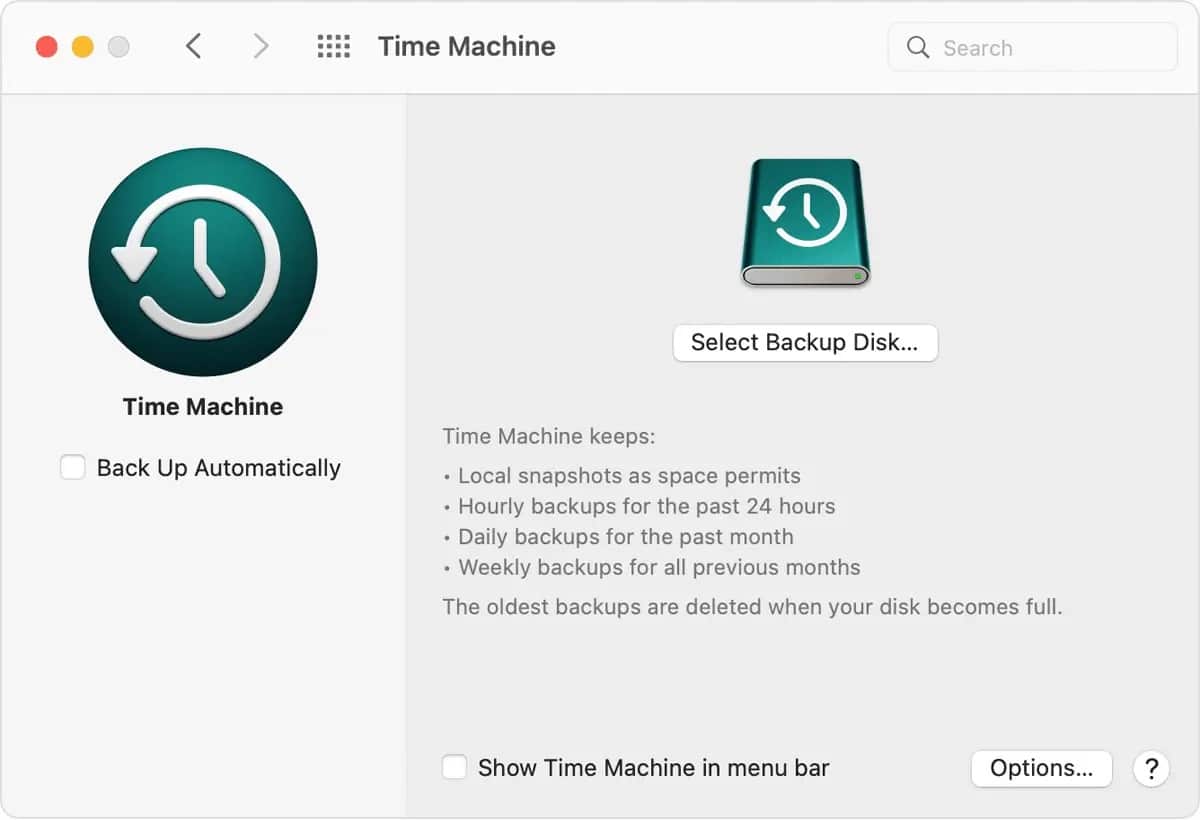
Time Machine makes hourly backups for the past 24 hours, daily backups for the past month, and weekly backups for all previous months. The oldest backups are deleted when your backup disk is full.
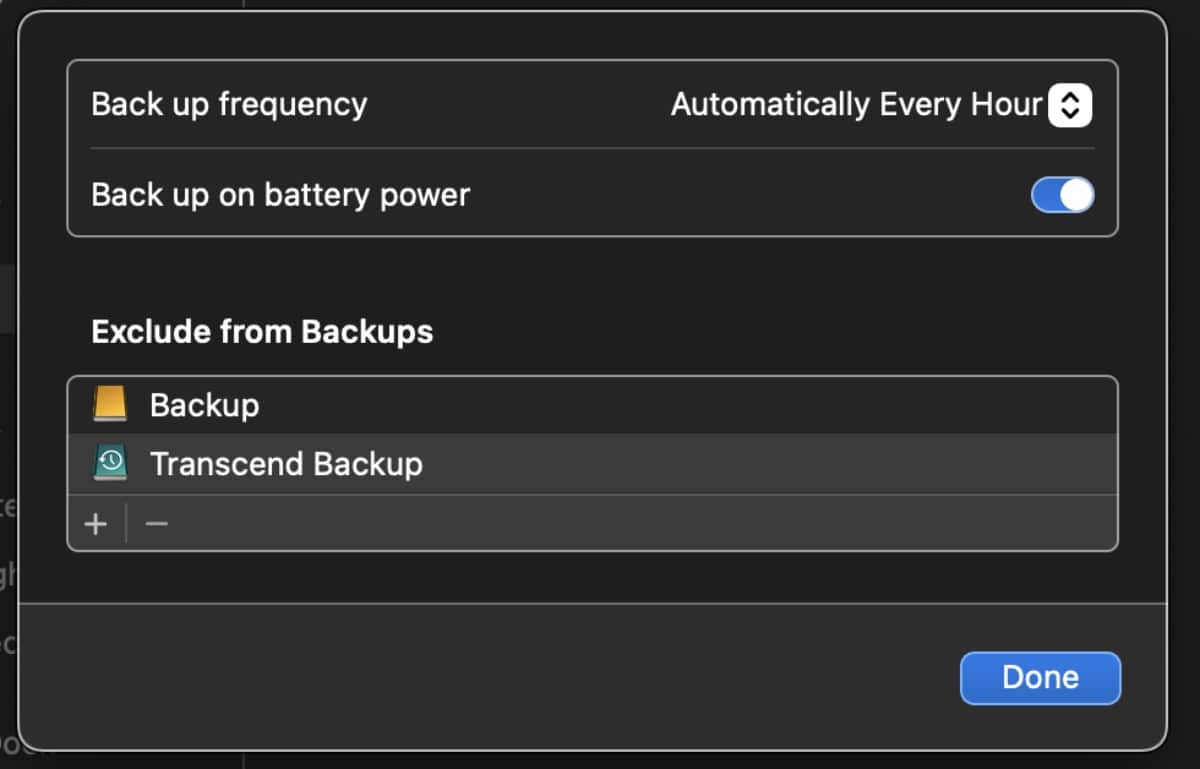
However, with macOS Ventura, you can change the backup frequency: Open Time Machine settings, click Options, then choose a setting from the “Back up frequency” menu.
The first backup might take a long time, but you can continue using your Mac while a backup is underway. Time Machine backs up only the files that changed since the previous backup, so future backups will be faster.
One more thing…
One of the things that’s extremely convenient in the Apple ecosystem is the ability to back up your iPhone and iPad files to iCloud. Among other advantages: this makes moving your data to a new smartphone or tablet very easy. Now it’s time for iCloud back-up for the Mac.
Why hasn’t Apple hasn’t already done this? It’s a no-brainer, and could add a little more profit to their ever-growing list of Apple Services.
Currently, my (and probably your) Mac back-up strategy is using Time Machine for local files and iCloud for offsite back-ups of Documents, Desktop, and Photos. However, as a February 2021 9to5Mac noted: “This strategy doesn’t seem like the best fit for customers in 2019, though. Restoring from a Time Machine backup is fast, but it also relies on a single drive. What if that drive fails or is stolen? Restoring from iCloud means that you still have to reinstall all of your applications manually and set up all of your preferences again.”
I want an iCloud option similar ago that for my iPhone and iPad. Apple offers iCloud storage in different tiers/pricing; I’m willing to pay for the online storage for all Mac files. This would offer double back-up protection: Time Machine and full back-up in iCloud. (Bradley Chambers offers some good ideas on how this would work in the previously mentioned 9to5Mac article.
If you want to make sure that your files are ultra-protected, off-site backup is necessary. Currently, iCloud storage isn’t sufficient to back up an entire Mac (at least not mine). However, as I said, I’d be willing to pay for more iCloud storage as it would be worth the peace of mind it would provide.


Hi Dennis,
Ventura will not allow me to save the whole disk including all system files to Time Machine. This prevents wiping the hard drive and reloading MacOS Ventura from Time Machine should my hard drive get infected.
Is this common to all Ventura users or am I doing something wrong?
I’ve been unable to find a solution on the internet. Obviously if I had a few more brain cells I could probably get around this using Terminal but why should it be this hard?
I’d like to add a few notes: you can have more than one Time Machine backup drive on a Mac. Alternating which drive you use say every other week means your maximum loss would be a week worst case, and iCloud probably has that covered.
Also, there are many other off site backup services other than iCloud. For example, Carbonite can backup your entire drive. There are other similar cloud storage at reasonable prices. Some offer sending you a hard drive (for a fee) to copy your drive to to get started with your cloud backup. They also offer sending you a drive for faster recovery (for a fee). Some services allow you to back up external drives as well. Services iCloud does not offer, and most offer more storage (some unlimited) for less money than iCloud as well. If you are going to talk backup, these other options should be covered.