The macOS Notes app has, for some time, allowed you to pin notes so that they’ll always appear at the top of your listing. With Big Sur, you can expand or collapse the list of pinned notes with a double click.
Pinned notes always appear at the top of the list of notes.
To Pin a Note:

- Launch the Notes app and choose one or more notes
- Choose File > Pin Note
You can also swipe right on the note (in the list of notes) using two fingers on the trackpad (use one finger on a Magic Mouse), then click the Pin button. If you pin a note on one device, it’s likely pinned on all your devices (more on this in a moment).
Note that you can’t pin a note from the Recently Deleted folder, or one that hasn’t been upgraded. By the way, once you have one note in the Pinned section, you can drag notes in and out of the section to pin or unpin them.
By default, the notes you’ve changed most recently are listed first in the notes list or gallery view, but you can sort notes differently. You can also pin your most important notes to the top of the list for easy access. To pin notes, you must be using upgraded iCloud notes or notes stored on your Mac.
Store Notes in iCloud
If you see an Upgrade button next to iCloud in the sidebar of the Notes app, you haven’t upgraded your notes yet. This means that until you upgrade, you can’t apply paragraph styles or checklists, browse the attachments in your notes, see and restore recently deleted notes, lock your notes, or add people to notes.
If you upgrade your notes, you can view and edit them on other devices with macOS 10.11 or later, iOS 9 or later, or iPadOS that are signed in to iCloud using the same Apple ID. Alas, you can’t access upgraded notes on devices with earlier versions of OS X or iOS. Alas, part two: any notes you create or edit on those devices won’t appear on devices with upgraded notes.
On the bright side, when you upgrade, most of the formatting in your notes stays the same. However, any notes with HTML formatting (notes you created by copying and pasting from a website) may look a bit off.
Regarding notes stored on your Mac…
You can store notes on your Mac rather than online (such as your iCloud account). However, if you store notes on your Mac, they aren’t available on any of your other devices.
Notes stored on your Mac appear under On My Mac in the sidebar. If you don’t see On My Mac in the sidebar, you can enable it.
To enable the On My Mac account:
- Choose Notes > Preferences, then select the “Enable the On My Mac account” checkbox.
- Be aware that if you later disable the On My Mac account, notes in your other accounts (such as iCloud) aren’t affected.
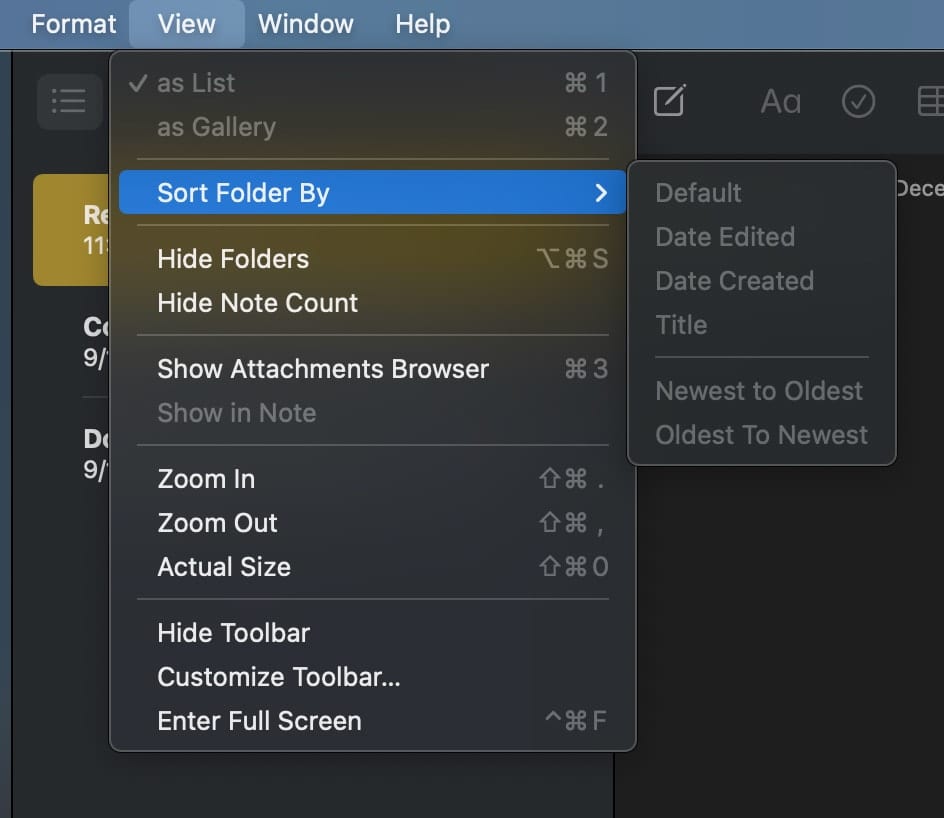
To sort Notes in a folder:
- Select the folder in the sidebar.
- Choose Sort Folder By under the View menu item. The option you choose applies to notes in only this folder.
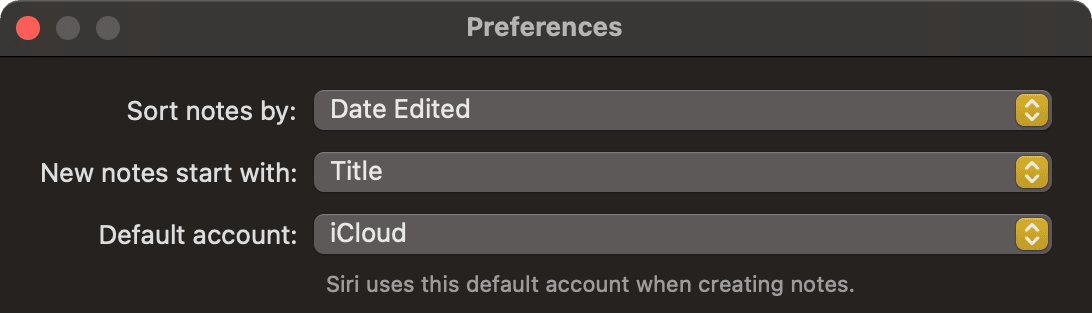
To set a default sort for all notes:
- Choose Notes > Preferences.
- Click the “Sort notes by” pop-up menu, then choose an option. Again, the option you choose applies to notes in all folders.