As a designer, image conversion is an integral part of my day-to-day workflow. While the 800-pound behemoth known as Photoshop can slice and dice images in a multitude of ways, the Adobe incumbent is a bit cumbersome for my day-to-day image conversion needs.
Often times, I simply want to drag a folder and process the dozens of images inside it quickly, whether it’s resizing them, or applying a watermark to each image. Performing these tasks in Photoshop is certainly possible, but it’s clunky to perform the same task manually for each image. And while Photoshop supports automation of these tasks, by way of Photoshop Actions, they can be a bit fiddly to set up.
If you regularly process images, you already know how tedious the task can be. Using Photoshop for image processing alone is beyond overkill (and very expensive, thanks to its subscription model).
Thankfully, Mac users have options.
Retrobatch, from Flying Meat, bills itself as a “flexibile, super charged, batch image processing” app for your Mac. Batch processing is a time-saving method where multiple files can be processed in the same way, automatically.
Retrobatch has a myriad of powerful features. Some of the highlights in version 2.0 include:
- adding, removing, or changing location data and other meta-tagging information
- adding copyright tags, author tags, etc.
- rotate, scale, and crop images by a fixed amount
- convert PSD and other files to HEIC, JPEG, TIFF, PDF, PNG and more
- convert images to or from CMYK, sRGB, Display P3, or Grayscale
- split and separate multilayer images into single images
- adding watermarks and metadata tags
- apply filters, add borders, blur or sharpen images, etc.
Retrobatch 2.0 includes machine learning support for features like super-resolution image scaling and sorting images by a specific item in your photo (like a hotdog, for example). Version 2.0 also supports many automation methods, by way of Applescript or Shortcuts.
Now that we know what Retrobatch says it can do, let’s take a closer look at how the application works.
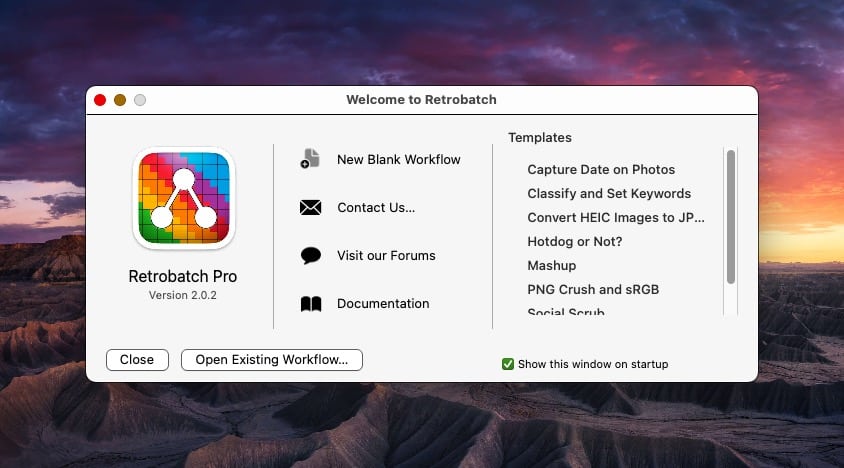
When you first launch Retrobatch, you are presented with a simple interface. At this point, you can create a new Blank Workflow, or choose from one of the several included template workflows.
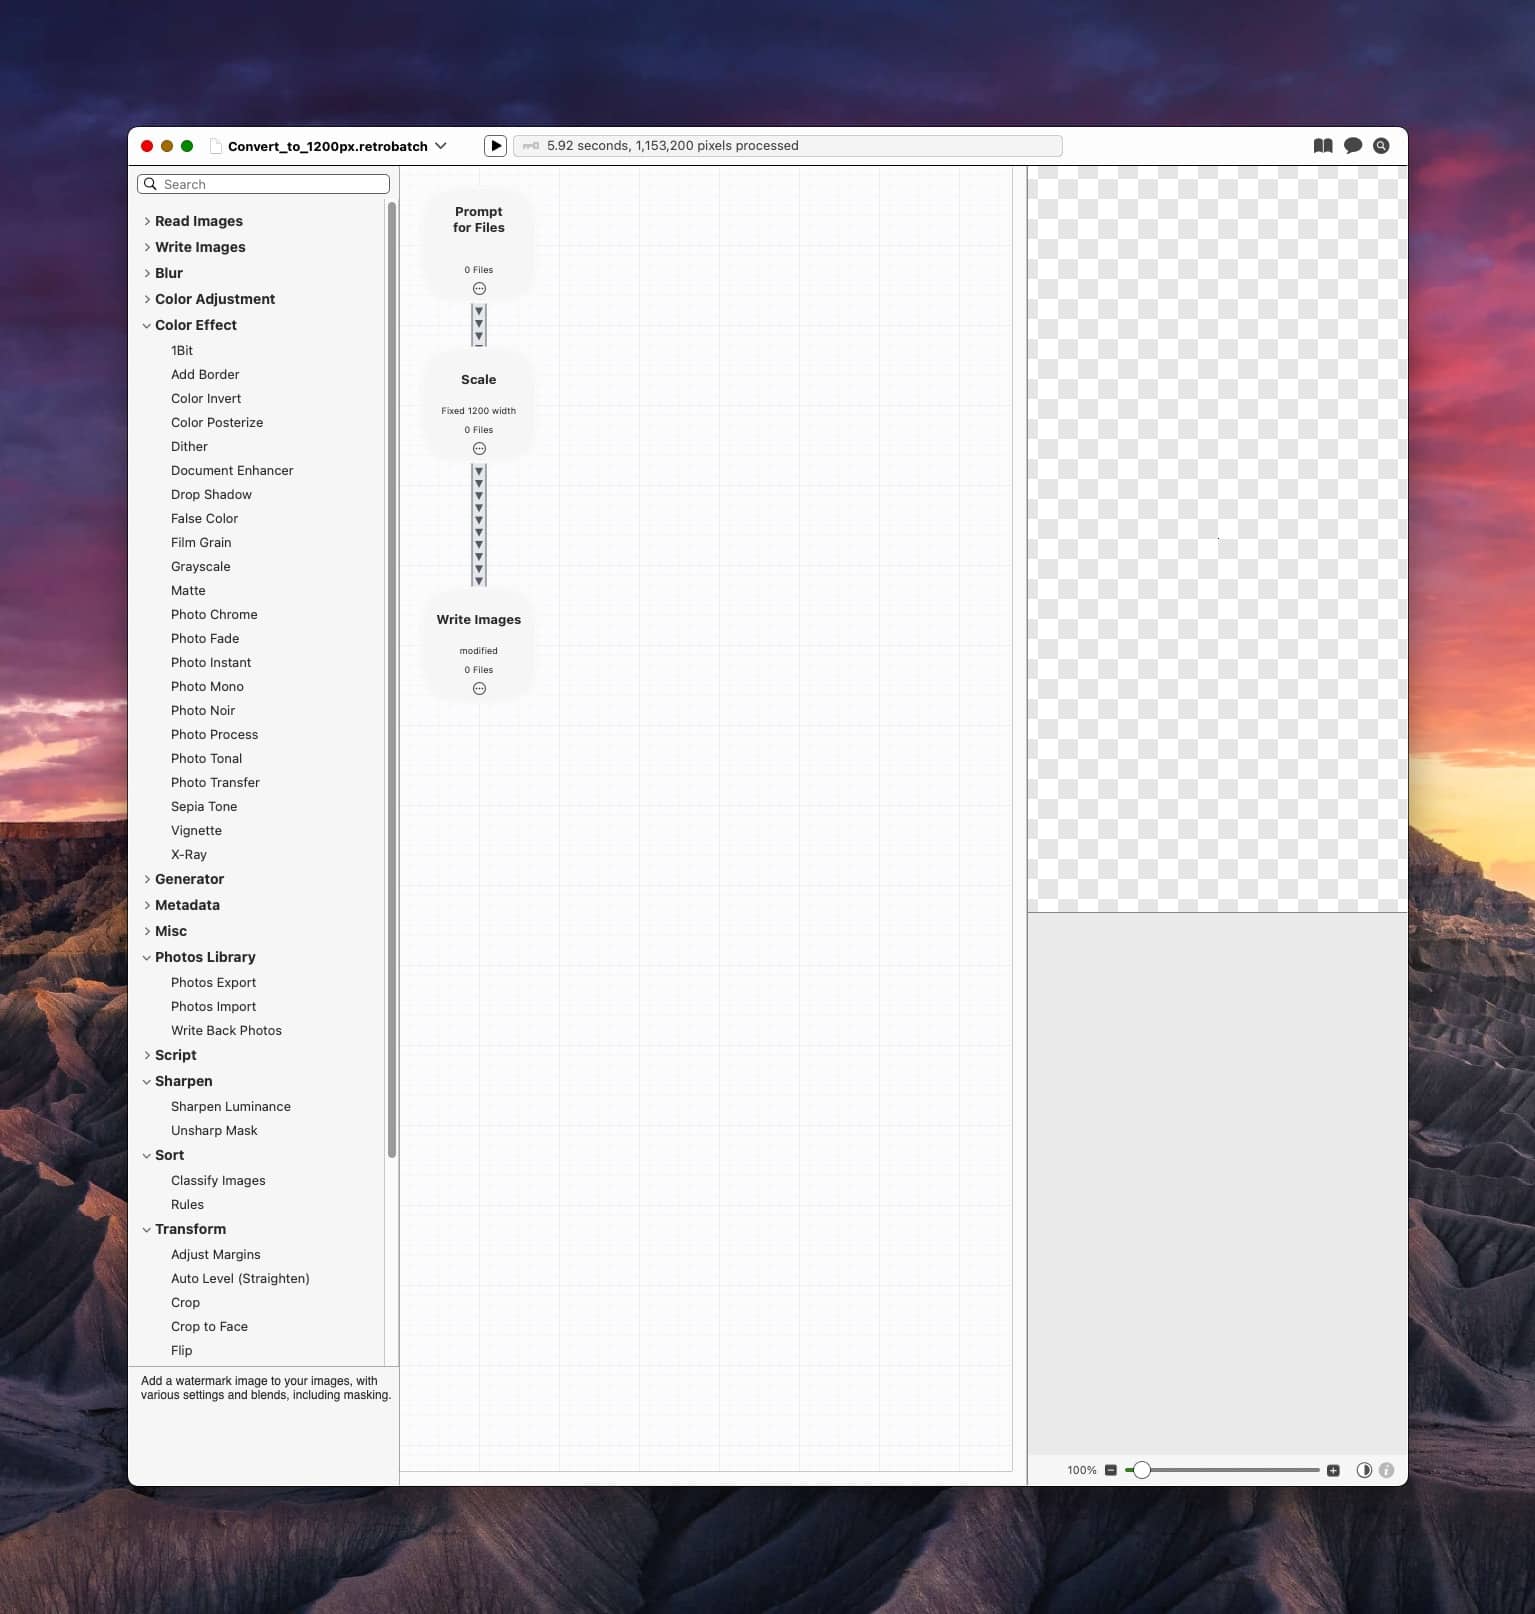
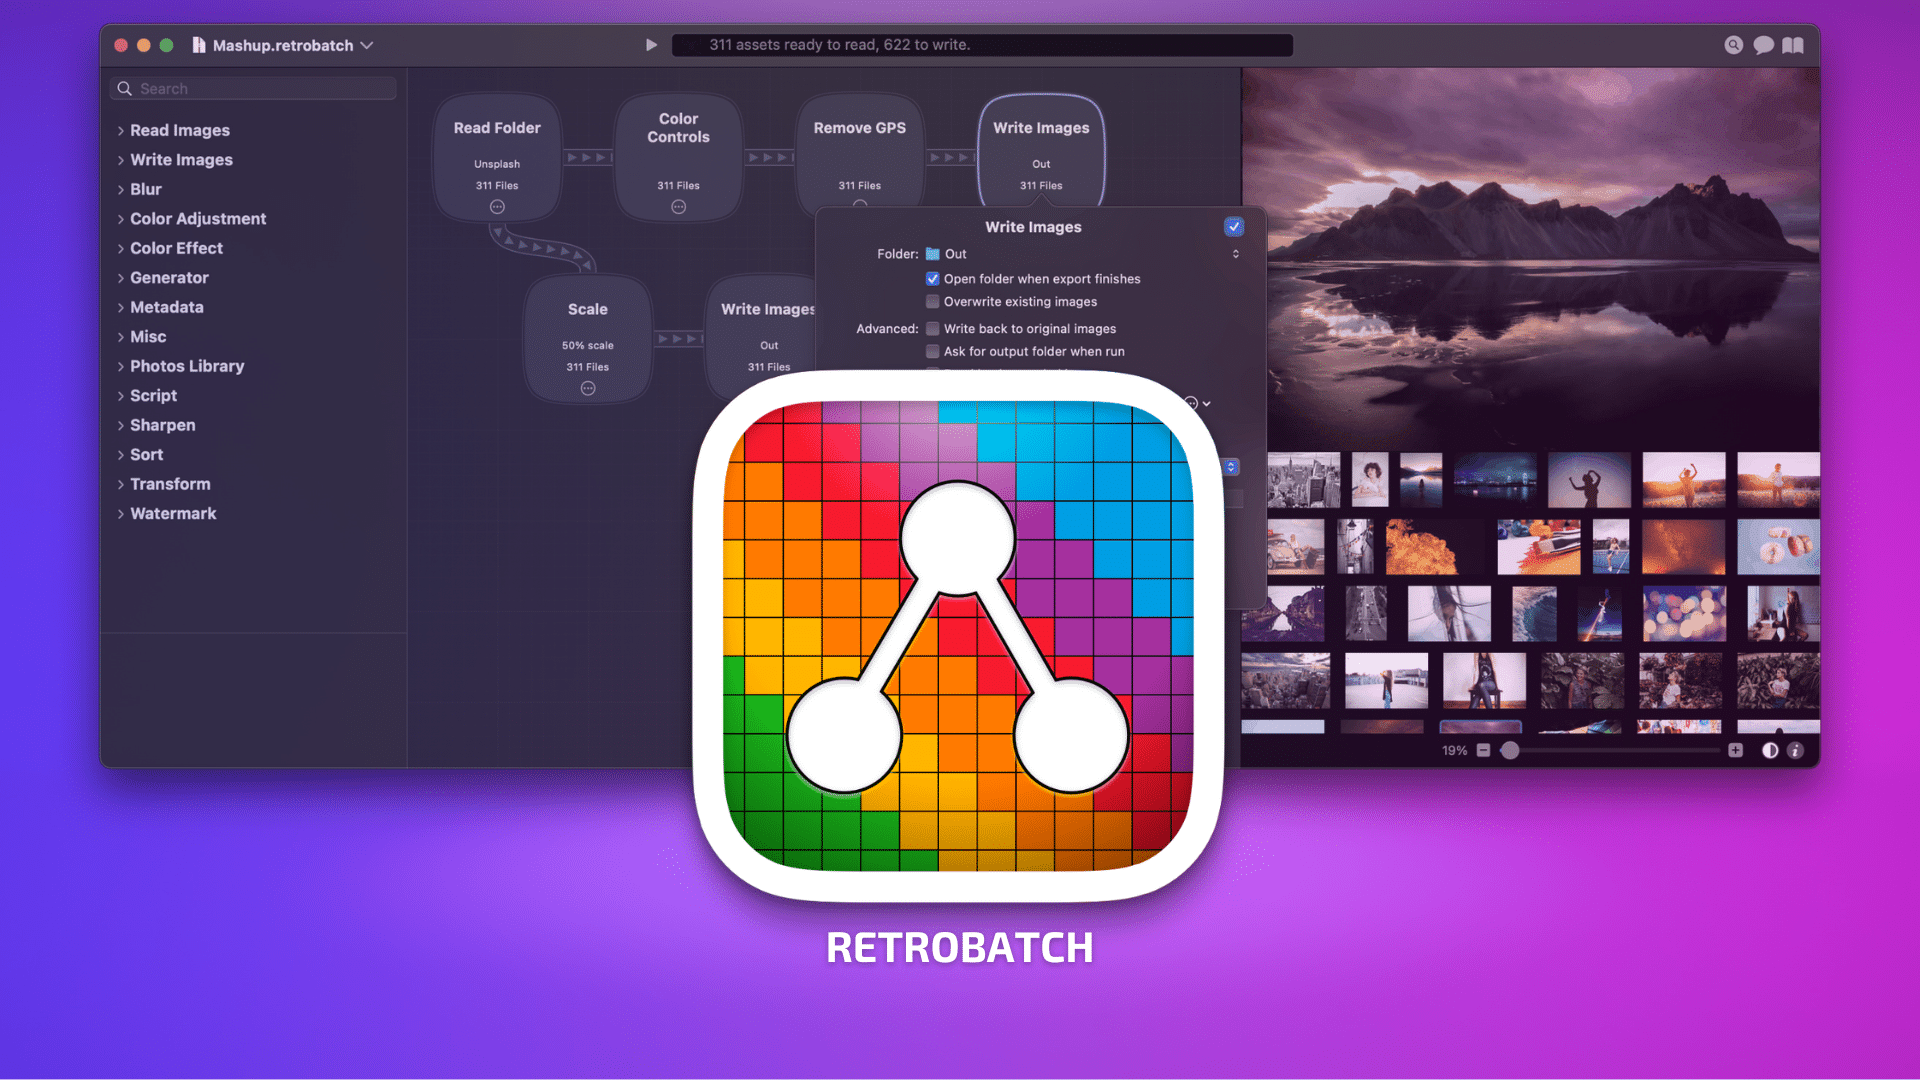
When you create a new workflow, you will be presented with a new window. On the left side bar is a list of categories (Read Images, Blur, Sort, etc.). Within each category is a list of related functions (or nodes). Think of a node as small Lego block. Each node carries a specific function (scale, read a folder, write images, etc.) When you connect nodes together, you create a workflow.
With nearly every workflow, you will have to tell Retrobatch where to pluck your source images from. There are many options to choose from. For example, you can read images from your Mac’s Clipboard, from a Photos library, Prompt for Files or Read from a Folder.
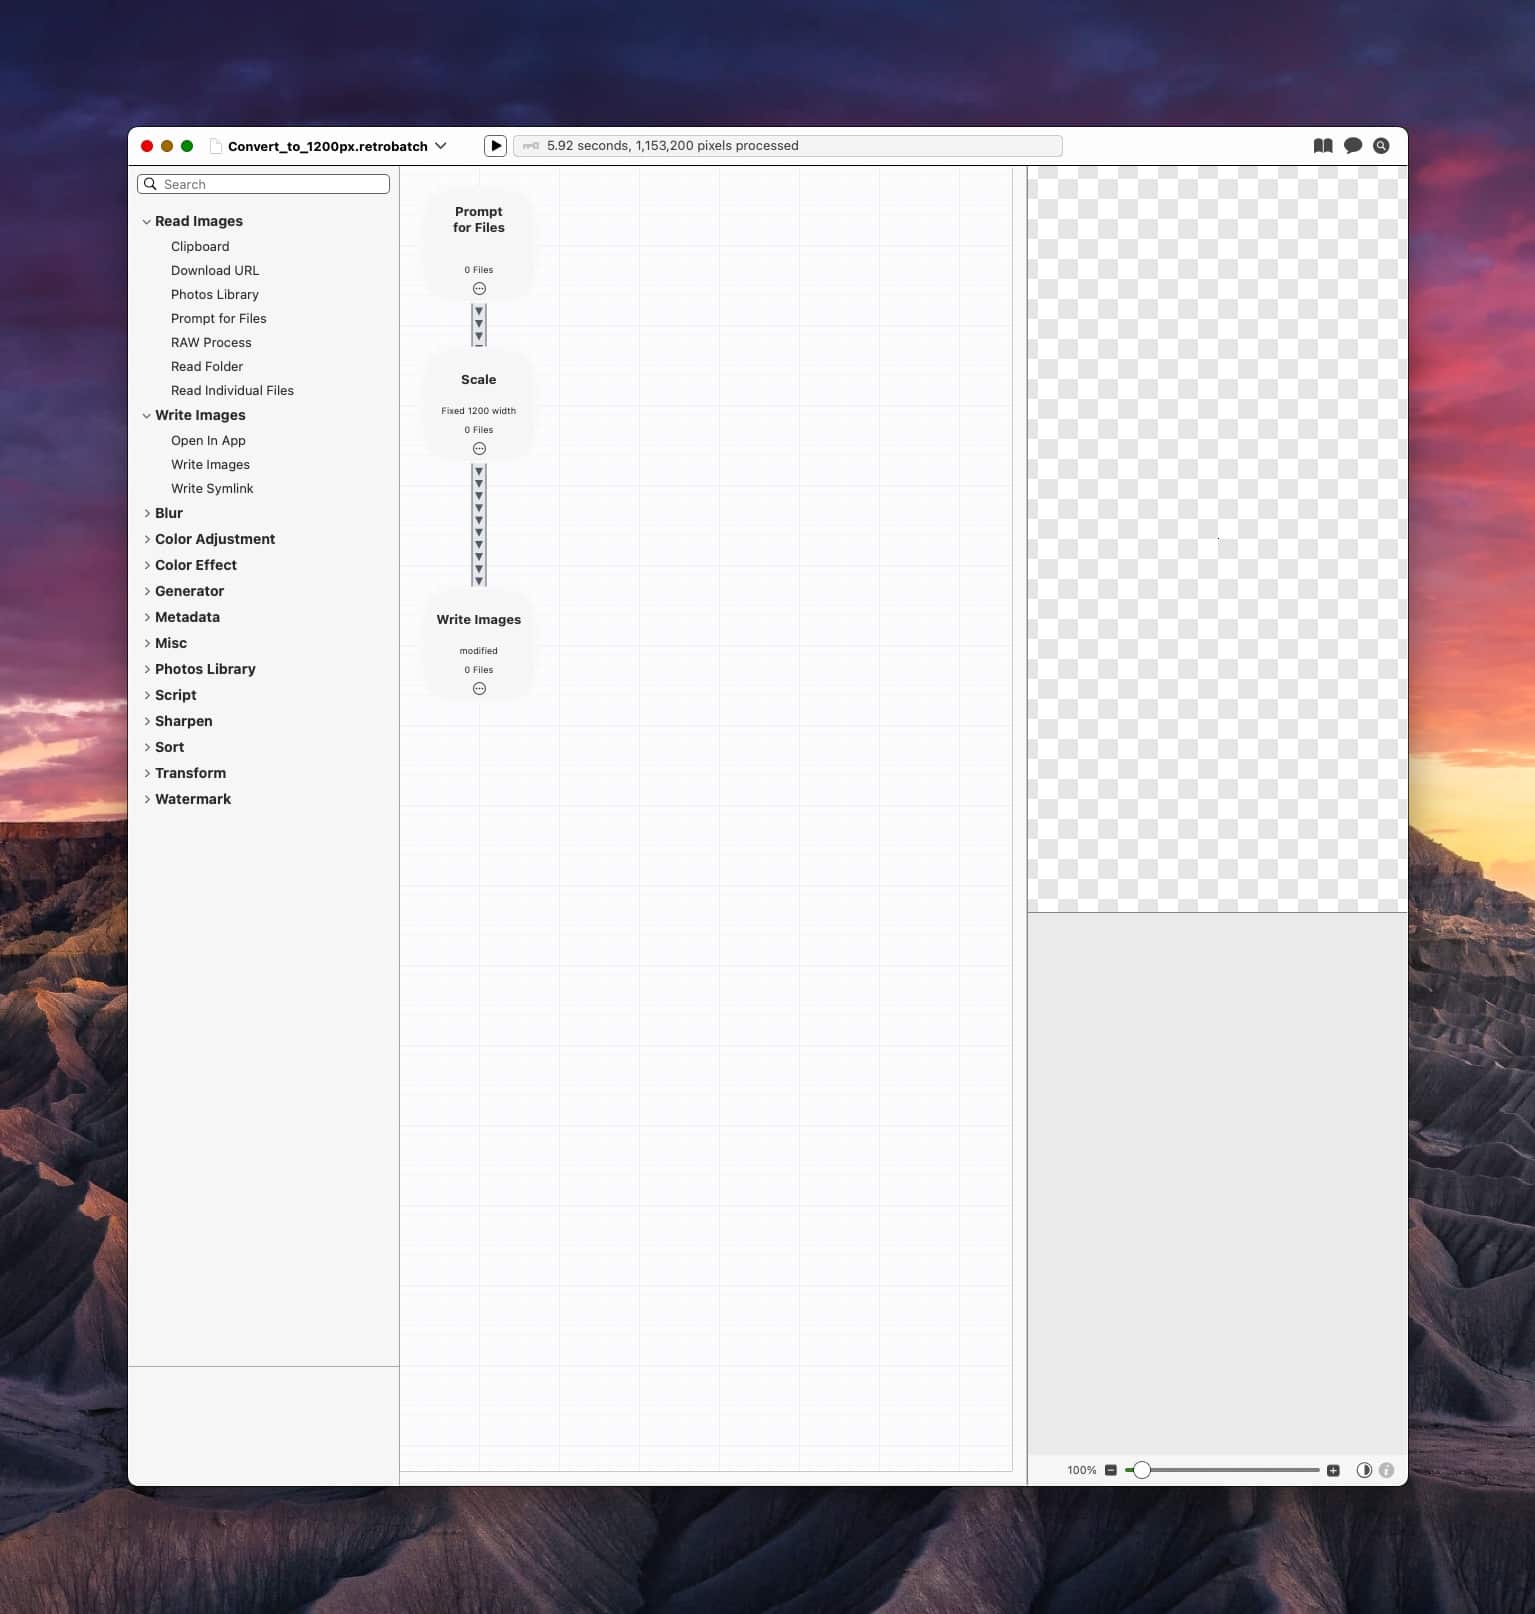
Simply drag the node you want to work with into the middle pane. It will appear as a rounded square with its node name. From here you can double-click the node to select node-specific options.
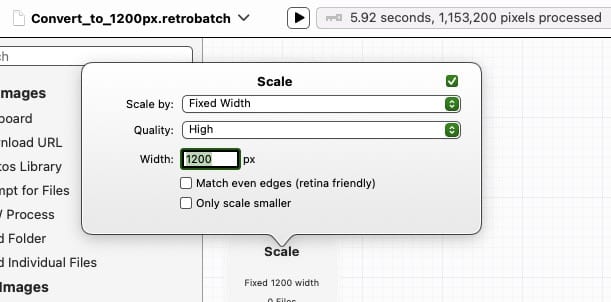
Next, drag another node from a different category. Retrobatch will connect the two nodes with a wire. Within the wire are arrows, which indicate the flow of information from node to node. (You can change the direction of the flow by double-clicking on the wire.)
Your workflow will include, at the very least, three basic elements:
- Selecting the input images
- Processing the aforementioned images
- Writing out the processed images
Workflows can be saved for later use. You can open Retrobatch and run it at any time. If, however, you use a specific workflow on a frequent basis, you can save your workflow as a Droplet for even quicker access. Simply drag your images (or image folder) on top of the Droplet, and Retrobatch will begin processing your workflow.
One of my favorite features in Retrobatch is Super Resolution. With this option selected for a Workflow, you can drag an image and have Retrobatch smart scale the image up to 4 times the size, using machine learning. Processing happens in a twinkling of your Mac’s CPU and the results are visually impressive.
Another impressive feature with Retrobatch 2.0 is its ability to process images that are in your Mac’s clipboard. Retrobatch will watch your clipboard and automatically run a workflow when a new image is copied to it. You can use Folder Actions with Retrobatch to automatically process any images that are added to a specific folder, too.
Retrobatch 2.0 has quite a robust set of functions that are sure to appeal to even the most discerning image manipulator. Some of my favorites include:
- the ability to assign an image to an icon automatically
- a smart sort that will analyze your images using machine learning to figure out subjects that are present in the image
- the ability to combine a selected group of images and automatically put them into a layered PSD file
- a function that will produce an image for every visible window on your Mac, or one image for every screen
If you like automation and scriptability, you’re in luck! Retrobatch supports AppleScript, JavaScript and shell scripts. There’s even support for Apple’s Shortcuts.
I batch process images on a daily basis. Retrobatch includes several powerful functions that make short work when it comes to my image manipulation needs. If you work with dozens to hundreds of images each and every day, you will find significant value with Retrobatch. In my testing, I couldn’t find any fault with the program. That being said, it would be ideal if Retrobatch could synch my Workflows between the two Macs I own. (Perhaps in a future version?)
Small quibble aside, I find Retrobatch 2.0 to be indispensable, and well worth the purchase price. (After my 7 day evaluation period was complete, I purchased the Pro license.)
Retrobatch comes with a free 7-day trial and works with macOS 12 or later, including macOS Sonoma. It works with both Apple Silicon and Intel Macs. Retrobatch comes in both regular and Pro versions. The regular version has a smaller set of nodes, but the ones that most people will use on a daily basis. Flying Meat has a detailed chart that details the differences between both versions.


