A previous post published here on Rocket Yard discussed how to use Time Machine in your backup strategy: Backup Best Practices: How to Use Time Machine Optimally With Other Backups.
But what do you do when the Time Machine volume is full? The reasons can seem mysterious.
Time Machine backup drive full?
A lot of us Time Machine diehards have seen it: “the Time Machine backup drive is full”. A headache, seemingly at just the wrong time. A risk as well, since your newest data is not going to get backed up until freed up space for it exists.

The simplest answer to why your backup drive is full would be that the backup volume is too small. And while that is nominally true, the real reason for a full Time Macine backup is often less obvious, but still easily correctable. A full backup volume occurs for one of three reasons:
- Too small a Time Machine volume: e.g: A mistake in sizing capacity to anticipated needs. Or, maybe a year or two have passed since selecting the volume no you have more stuff that needs to be backed up.
But more often than not, it comes down to:
- Time Machine has numerous (mostly stale and useless) copies of large files that have accumulated over months or years.
- Time Machine is attempting to backup more than it ought to. For example, it might be attempting to backup your backup drives, or backup a scratch volume, etc!
And sometimes the solution is at odds with usage of the files themselves…
A Tip for Adobe Photoshop/Lightroom users
This is a good time to break in and address users of Adobe Photoshop and Lightroom. A common mistake users of these programs users make is allowing them to rewrite DNG files to include metadata. For example, a trivial metadata change for white balance to a 140MB Fujifilm GFX100S RAW file (converted to DNG) would mean another copy of that file, doubling the backup space requirements! Such trivial changes made 10 times would mean 11 copies occupying 1680 MB instead of 140MB. That will add up fast if such changes are made to 1000 RAW files!
Allowing such changes is unwise for multiple reasons, since it not only bloats backups but also destroys file dates on the captures. Fix this bad behavior by setting the following preference:
Camera Raw Preferences => File Handling -> Sidecars = Always use sidecar XMP files.

In a similar vein, allowing Time Machine to backup the Lightroom catalog at any random time is ill-advised, since when open while being backed-up it might be backed-up as a corrupted database. Worse, the catalog changes constantly, so every hour of the day it is going to get backed-up and over weeks and months hundreds of copies may accumulate. Still, if you want to use TM for it, quit Lightroom then choose Backup Now in the TM menu to assure a good copy.
How to deal with a “Time Machine backup drive is full” message
#1 Exclude files that are already backed-up otherwise
The quickest way to free up space is to exclude things from backup. Sometimes this is essential, lest Time Machine make backups of backups—it’s not all that smart about what it does, including refusing to backup some types of volumes (another reason to NOT rely on Time Machine as a primary backup mechanism).
Avoid using Time Machine on large files that do not really need backing up. For example, images and videos rarely change once on the computer. Excluding images and videos from Time Machine backup can free up a huge amount of space on the Time Machine backup volume.
Since external backups containing backups of such files already exist (you do have them, right?), you can safely exclude files that are not going to change and that are backed-up with other backups. Make multiple verified backups of such files prior to excluding them from Time Machine backup.
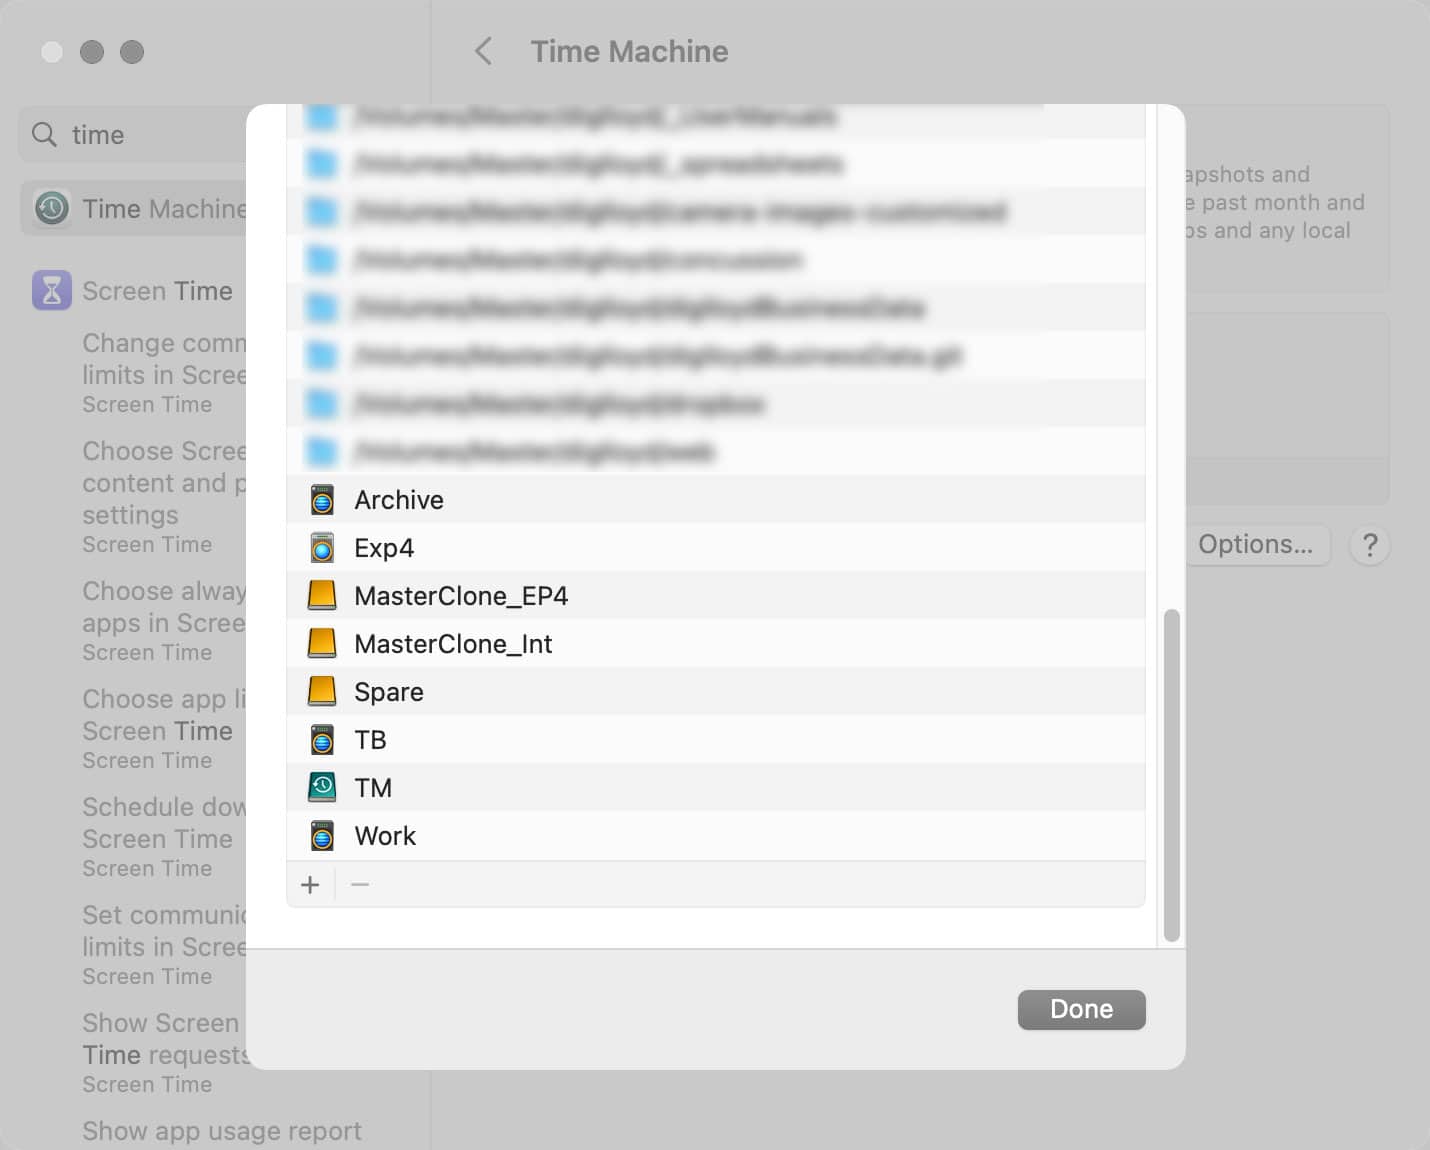
To exclude items from Time Machine backup, go to Settings => General => Time Machine => Options (a confusingly named button that really should read “Exclude…”) From the Finder, drag items into the window to exclude them, as shown. For example, below I have excluded a variety of folders, but also various backup drives and other large drives which are not at all appropriate for Time Machine, if only because of being very large and essentially archival in nature.

#2 Erase the Time Machine volume
Assuming you have several *validated* and *up-to-date* external backups (at least two), erasing the TM volume lets it start over from scratch, eliminating from backup the files that have been deleted along with all prior file revisions.
Time Machine will do a full backup once erased, but after erasing the volume (using Apple Disk Utility), make sure that Time Machine is configured to use the newly erased volume—it should ask but don’t count on that .

Assuming the backup drive is of adequate capacity, all will be freshly backed-up in a few hours.
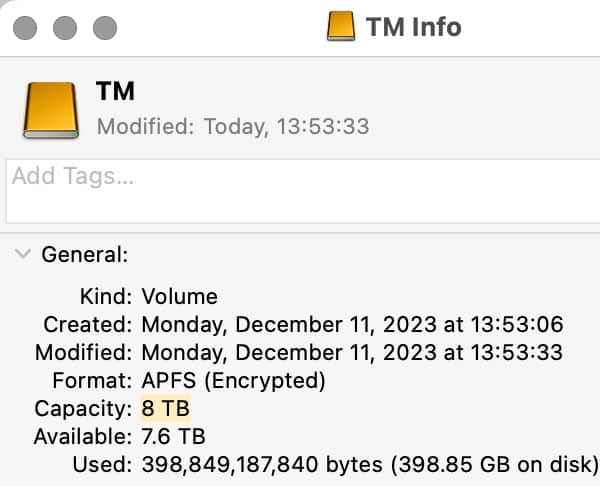
When the backup has finished, verify that there is a reasonable amount of free space on the backup volume for continued operation, by comparing the size of the stuff on the drives being backed-up to the backup volume size and free space.
For example, if the Time Machine backup has 1.7TB of 1.9TB used, it won’t be long until a larger backup drive really will be necessary (but see recommendation #1, above).
#3 Replace the Time Machine volume with higher capacity one
Replace the Time Machine volume with a larger one. This might mean obtaining a higher-capacity drive. What type of drive?
My preference, particularly for a Time Machine backup drive, is an SSD. Good choices include the OWC Elektron and OWC Express 1M2 and similar. All SSDs are fast and so there is no need to buy some super high performance model; just about any SSD will do for backup.
Hard drives are the cheapest in terms of price per gigabyte of storage. But they make noise when on and spinning, so I no longer use them as I want a silent working environment. But if you don’t mind the noise of a spinning hard drive, check out the OWC Mercury Elite Pro or multi-drive units like the OWC Thunderbay 4, which can contain not only one or more backups drives but will be useful as main storage also. See also my handy wishlists for at-a-glance research.
Be sure to refer to the earlier post for how to configure Time Machine when adding/replacing a new drive.
Conclusions
A full Time Machine drive might have plenty of space if appropriate steps are taken, removing the need to replace it with a larger one.
View all posts by Lloyd Chambers… Lloyd’s photo web site is diglloyd.com, computers is MacPerformanceGuide.com, cycling and health are found at WindInMyFace.com, software tools including disk testing and data integrity validation at diglloydTools.com. Patreon page.


In your Tip for Lightroom/Photoshop Users please point out that the settings to use are in Adobe Bridge, not in Lightroom. I spent quite some time trying to find
“Camera Raw Preferences => File Handling -> Sidecars = Always use sidecar XMP files.”
until I thought to try Bridge. There it was.