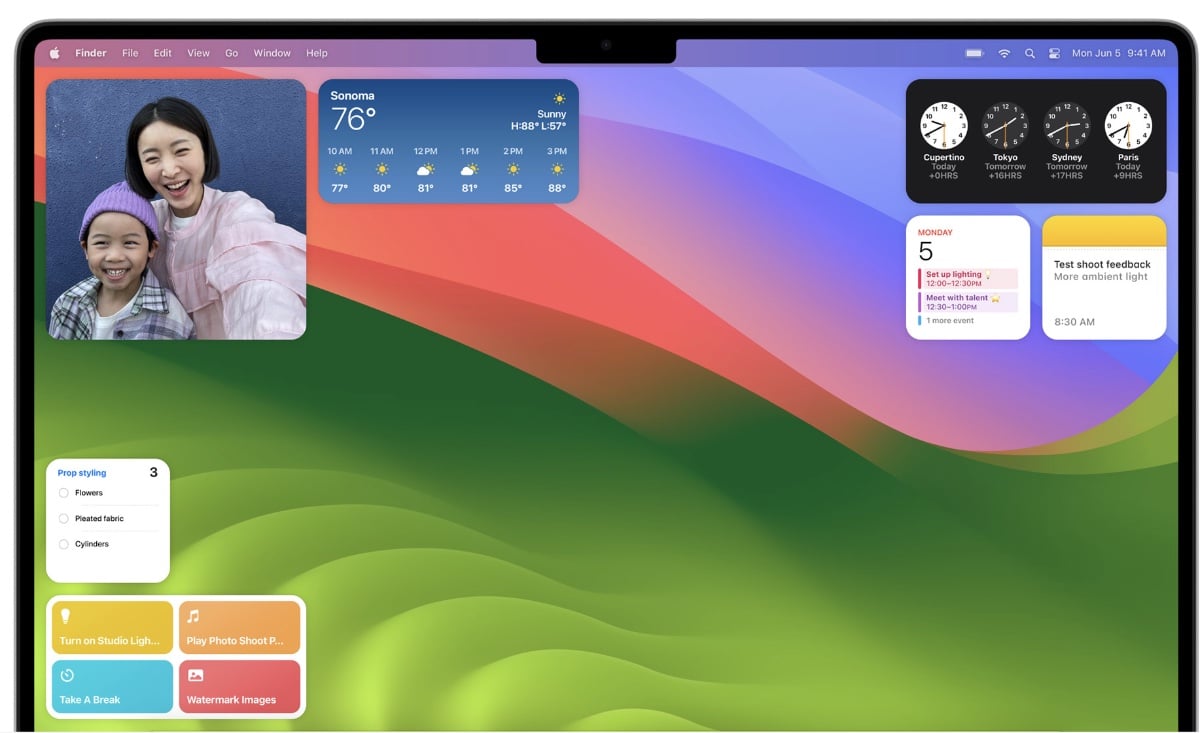
The built-in screenshot utility in macOS Sonoma provides on-screen controls for easy access to every screenshot option and new video recording capabilities.
Press Command + Shift + 5 on your keyboard to bring up the screenshot toolbar.

Here are your options:
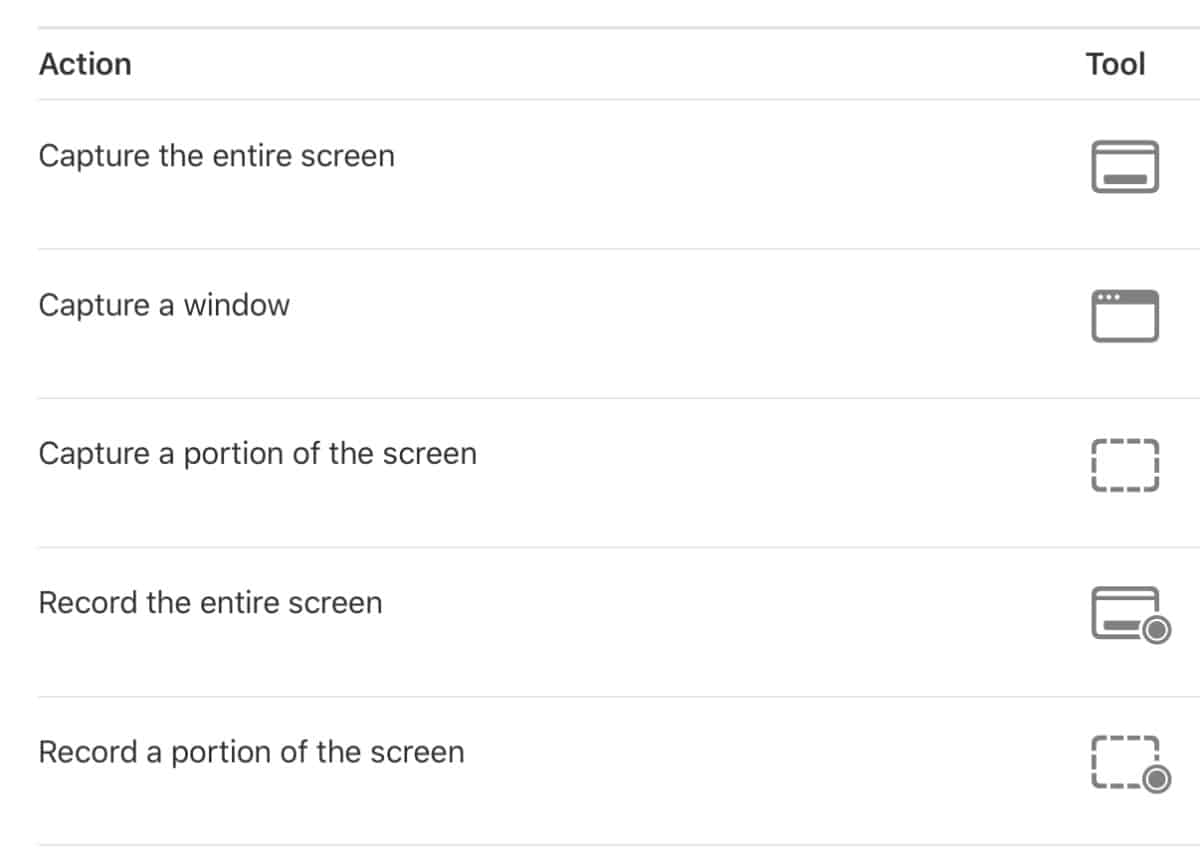
The options depend based on whether you’re taking a screenshot or a screen recording. The Show Floating Thumbnail option helps you work more easily with a completed shot or recording—it floats in the bottom-right corner of the screen for a few seconds so you have time to drag it into a document, mark it up, or share it before it’s saved to the location you specified.
Your recording will begin immediately if you select Record Entire Screen.
If you’re only recording part of a screen, use the mouse crosshairs to select the portion you wish to record. Your recording will begin immediately after make your selection. Press the Stop button in the Menu bar to stop the recording.
Control-click, right-click, or two-finger-click on the recording that appears in the bottom-right corner of your screen.
When the Show Floating Thumbnail option is set, you can do any of the following while the thumbnail is briefly displayed in the bottom-right corner of the screen:
- Swipe right to immediately save the file and make it disappear.
- Drag the thumbnail into a document, an email, a note, or a Finder window.
- Click the thumbnail to open a window where you can mark up the screenshot or trim the recording, or share it.
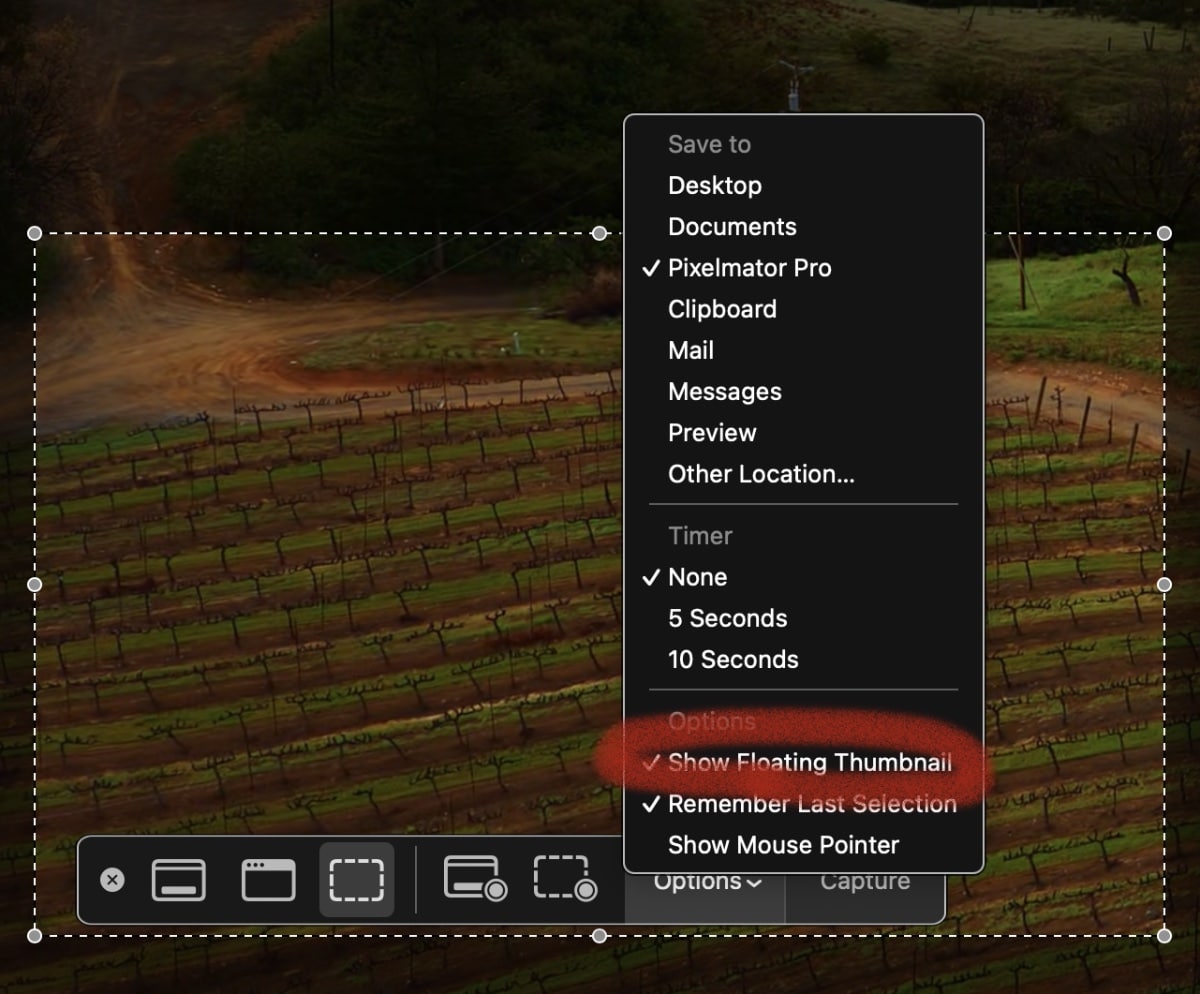
Use the contextual menu to choose where to save the screenshot (Desktop, Documents, Clipboard, Mail, Messages, Preview, etc., send it, show it in the Finder, delete it, or mark it up.
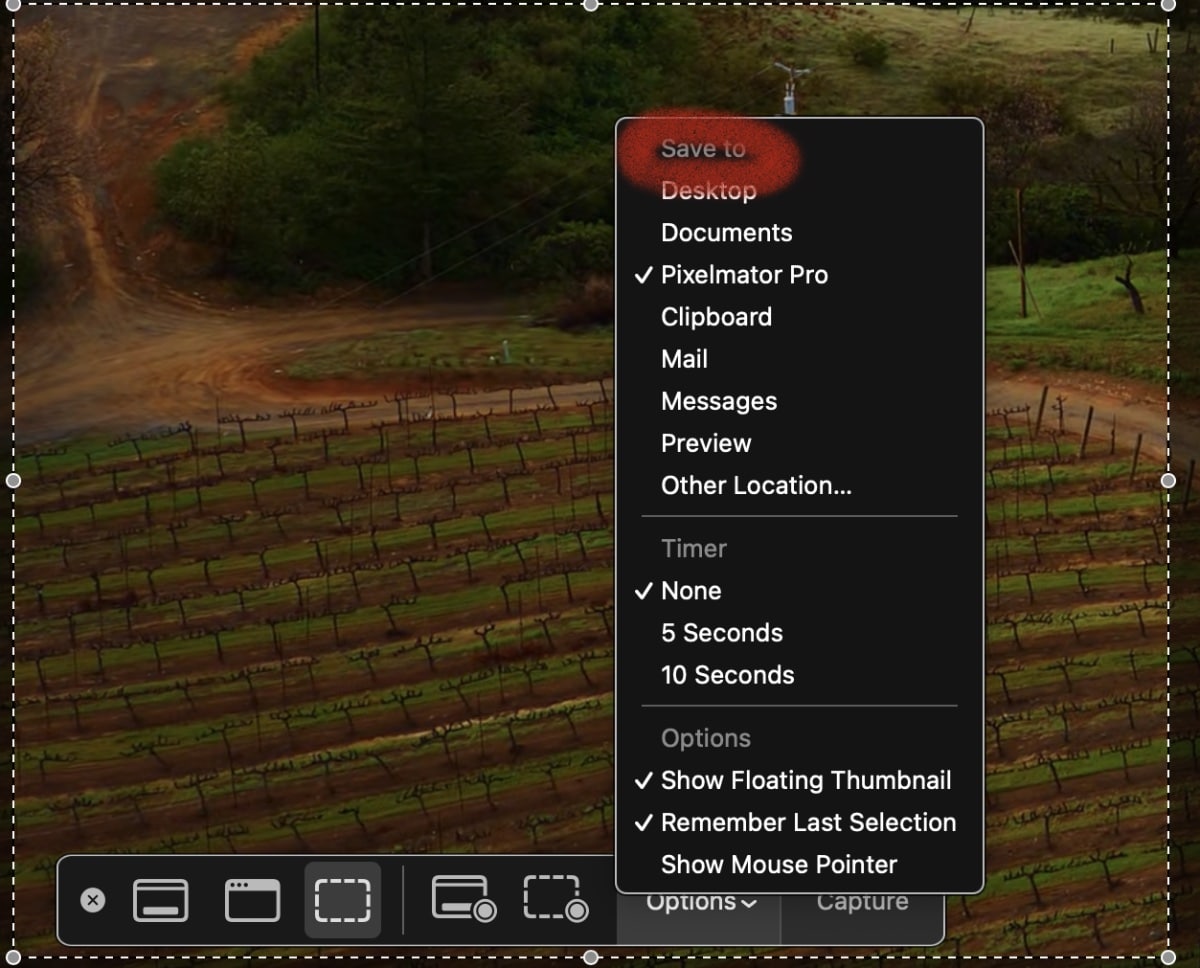





When recording the screen, does it also record the sound?
In other words, is there a way to record the screen and the sound associated with that screen activity?