With each new release of the stc operating system, there are always a few secret features, services, and tips hidden away, just waiting to be uncovered.
macOS Sierra is no different, so the Rocket Yard has gathered a list of tips and tricks that can make you more productive, or at the very least, amuse you and make you wonder why Apple thought this needed to be squirrelled away from the general public. Related article: Apple reportedly will announce new Macs at Oct. 27 event
Window Snapping
OS X El Capitan included a new Split View feature that allowed two apps to share a display, much like the older Full Screen viewing option allowed a single app to take over your entire monitor. The Split View feature allowed two apps to share the entire display.
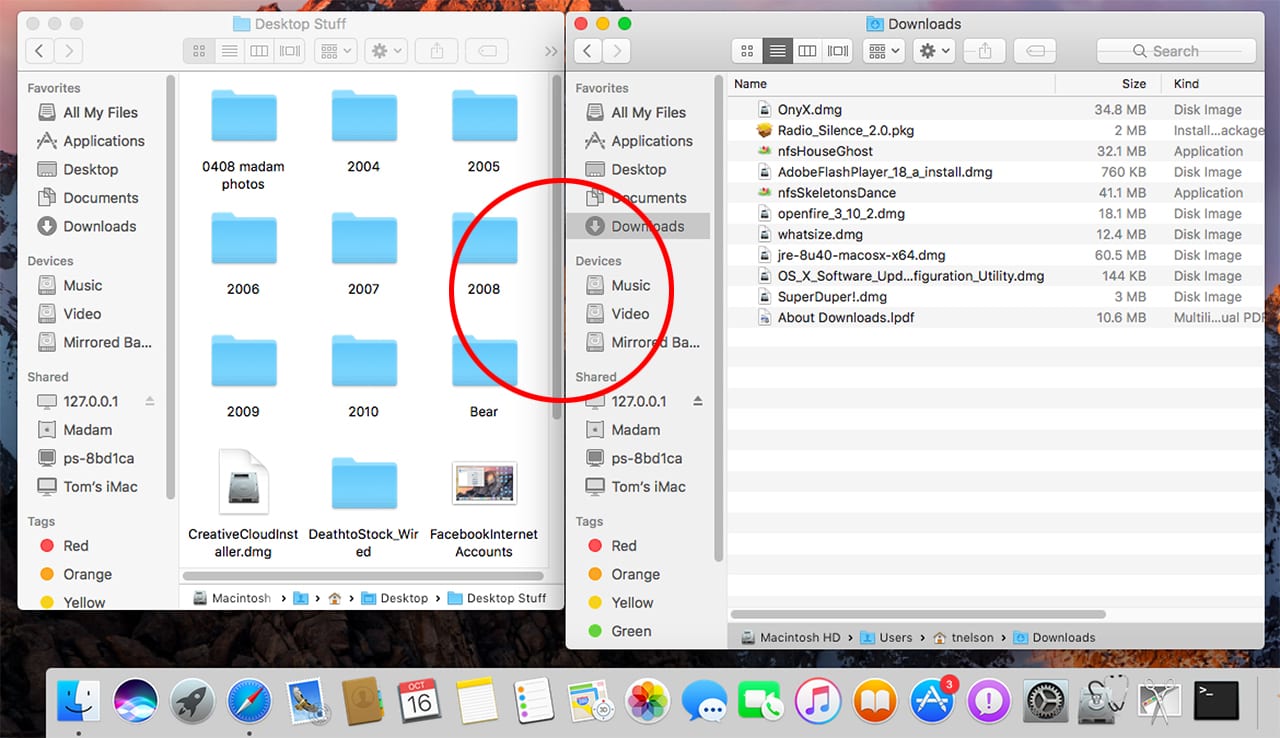
With macOS Sierra, the ability to manage windows received a new feature: Window Snapping. While the older Split View was designed for use with two different apps, Window Snapping is more about aligning one window to another one, just to help you keep your window arrangement looking neat, or to help you easily set up multiple windows for non-overlapping access.
Related article: The Incredible Power of macOS Smart Folders
Window Snapping is subtle and occurs automatically; there are no preferences to set or features to enable. To see how it works, open any two windows; for example a Finder window and a Safari window. Place the windows so you can see both on your display with no overlap. Now drag one of the windows slowly past the edge of the other. When the edges of the windows are just about to touch, you’ll notice resistance in the form of a pause that prevents one window from overlapping the other. Continue dragging and the window begins to move again, overlapping the other window. Window Snapping only works at slow dragging speeds. Move a window faster, and there’s no snapping action.
Window Snapping also works when dragging a window beyond the side or bottom of the display.
Tabs Almost Everywhere
Apple certainly didn’t invent tabs, with many third-party apps incorporating tabs into their interfaces long before Apple decided that Safari or the Finder worked better with a tabbed interface.
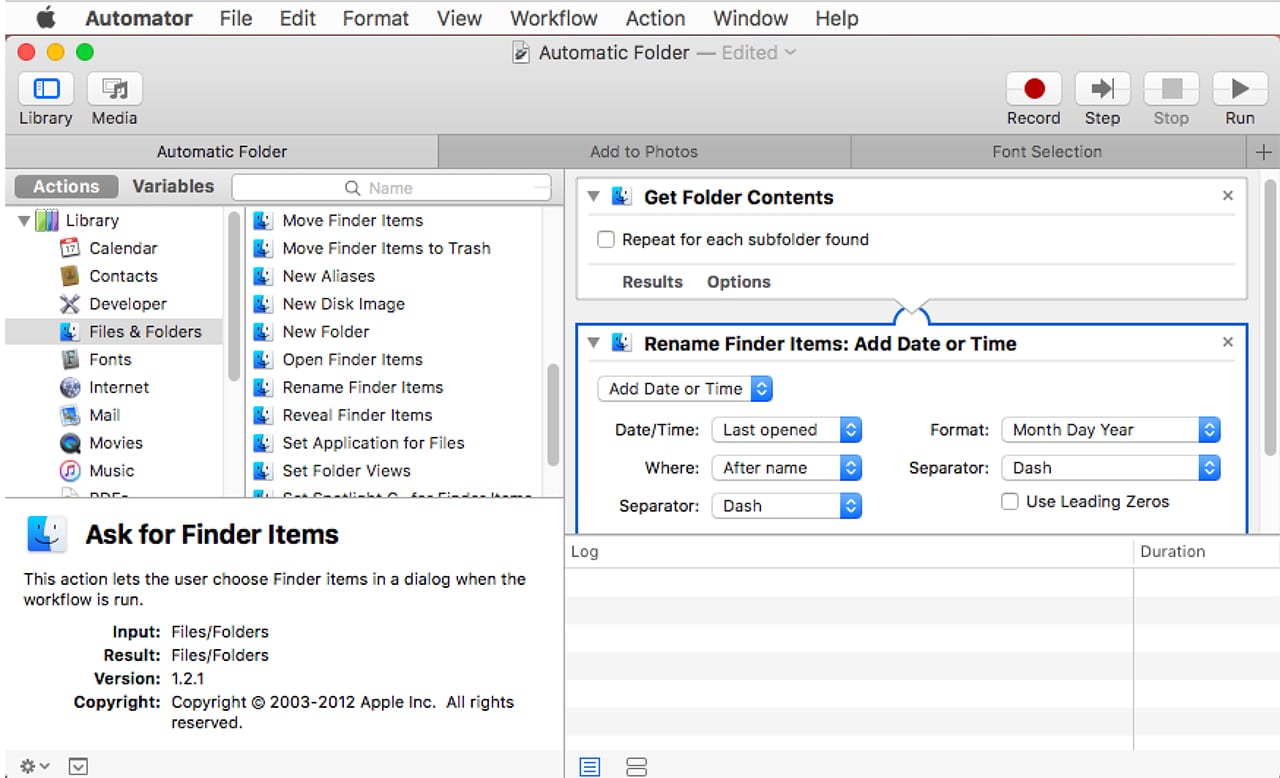
But one thing you can say about Apple: when they find something they like, they go all in. With the introduction of macOS, tabs are now almost everywhere. Any apps that support multiple windows, and use the Mac’s windows APIs, now have tabs.
- You can bring all the windows you have open in your favorite app into the app’s tab bar by selecting ‘Merge All Windows’ from the app’s Window menu.
- If the tab bar isn’t visible, you’ll find the option to ‘Show Tab Bar’ under the app’s View menu.
Tabs will work with most apps, the exception being apps that have created their own window control API and aren’t using the one supplied by Apple. So, if you’re a Microsoft Office user, no tabs for you.
Restore Gatekeeper’s ‘Anywhere’ Option
Apple has tightened up security in macOS Sierra, updating the Security & Privacy preference pane to remove the Gatekeeper option, which allowed you to run apps you acquired from any source.
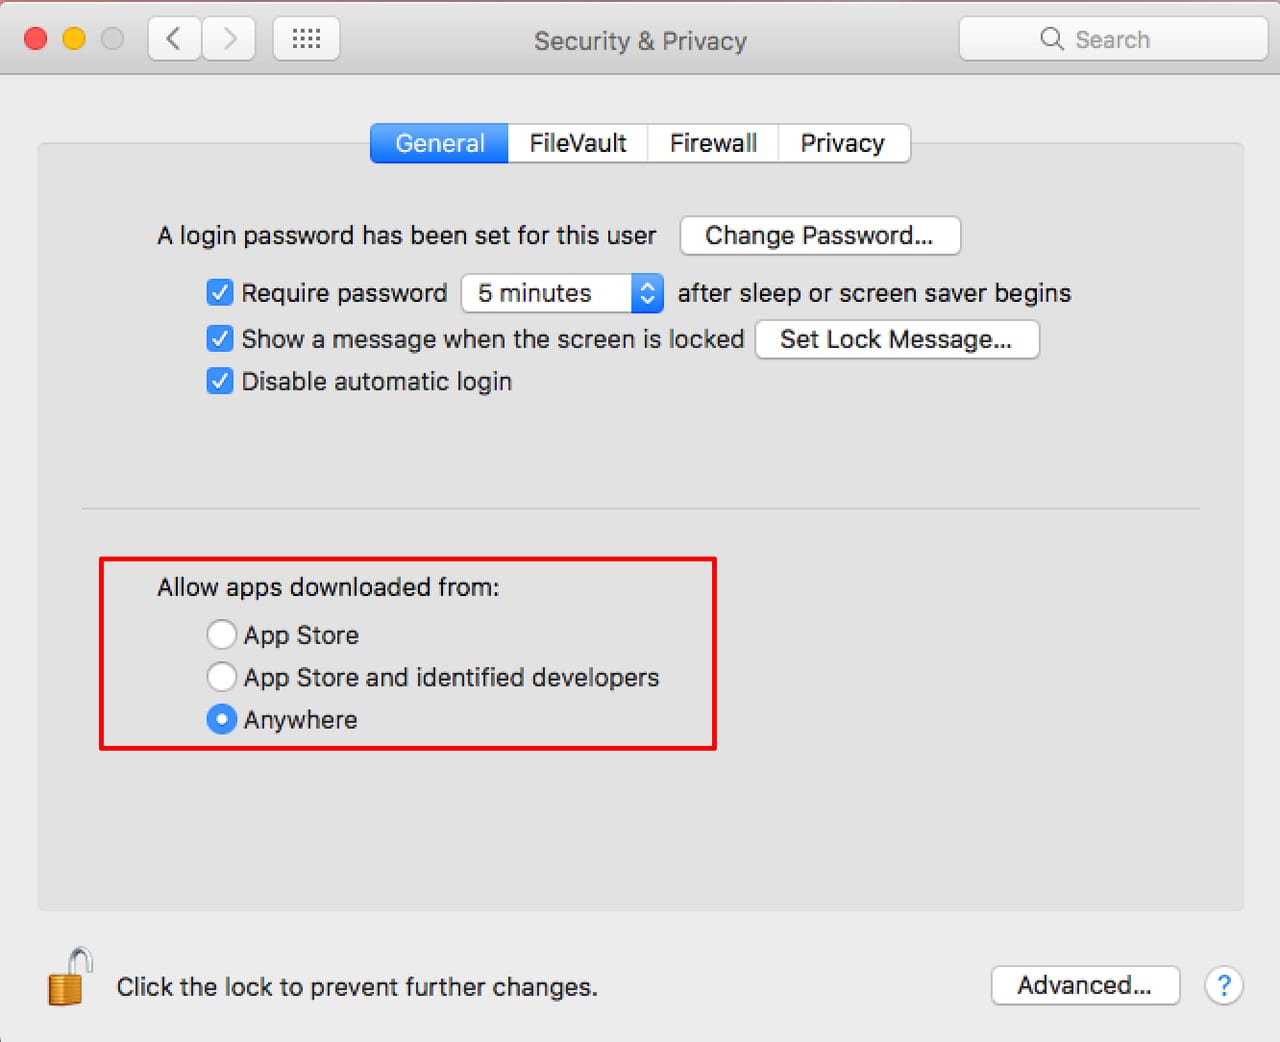
While the reasoning may be understandable, helping to prevent nefarious apps that could include malware from running on your Mac, the end result is a bit draconian, since it can prevent you from running many Mac apps that are available from hobbyists, small-scale developers, or open source projects.
In previous versions of the Mac OS, you could set Gatekeeper to allow apps to run from the:
- App Store
- App Store and identified developers
- Anywhere
The Anywhere option is missing from macOS Sierra, but you can re-enable the option with this simple Terminal trick.
Launch Terminal, located in your /Applications/Utilities folder.
Enter the following command at the Terminal prompt (note: before “master-enable” there should be two short dashes with no space between):
sudo spctl –master-disable
Press enter or return.
You’ll be asked for the administrator password. Enter the password and press enter or return.
To verify that the Anywhere option has been restored:
Open System Preferences and select the Security & Privacy preference pane.
Select the General tab.
You’ll see that the Anywhere option is once again available.
Warning: Selecting the Anywhere option disables the Gatekeeper security system, just as it did in previous versions of the Mac OS. If you’re not 100 percent confident about the safety of the apps you’re downloading and running on your Mac, we strongly recommend not selecting the Anywhere option. Instead, use the ‘App Store’ or ‘App Store and identified developers’ option.
You can restore the default Gatekeeper selection by entering the following at the Terminal prompt (note: before “master-enable” there should be two short dashes with no space between).
sudo spctl –master-enable
Press return or enter, followed by your password.
RAID Support Is Back
Let us preface this by saying RAID support never actually left; it was just removed from Disk Utility when OS X El Capitan was released. The actual underlying RAID system was still available via Terminal and the diskutil commands.
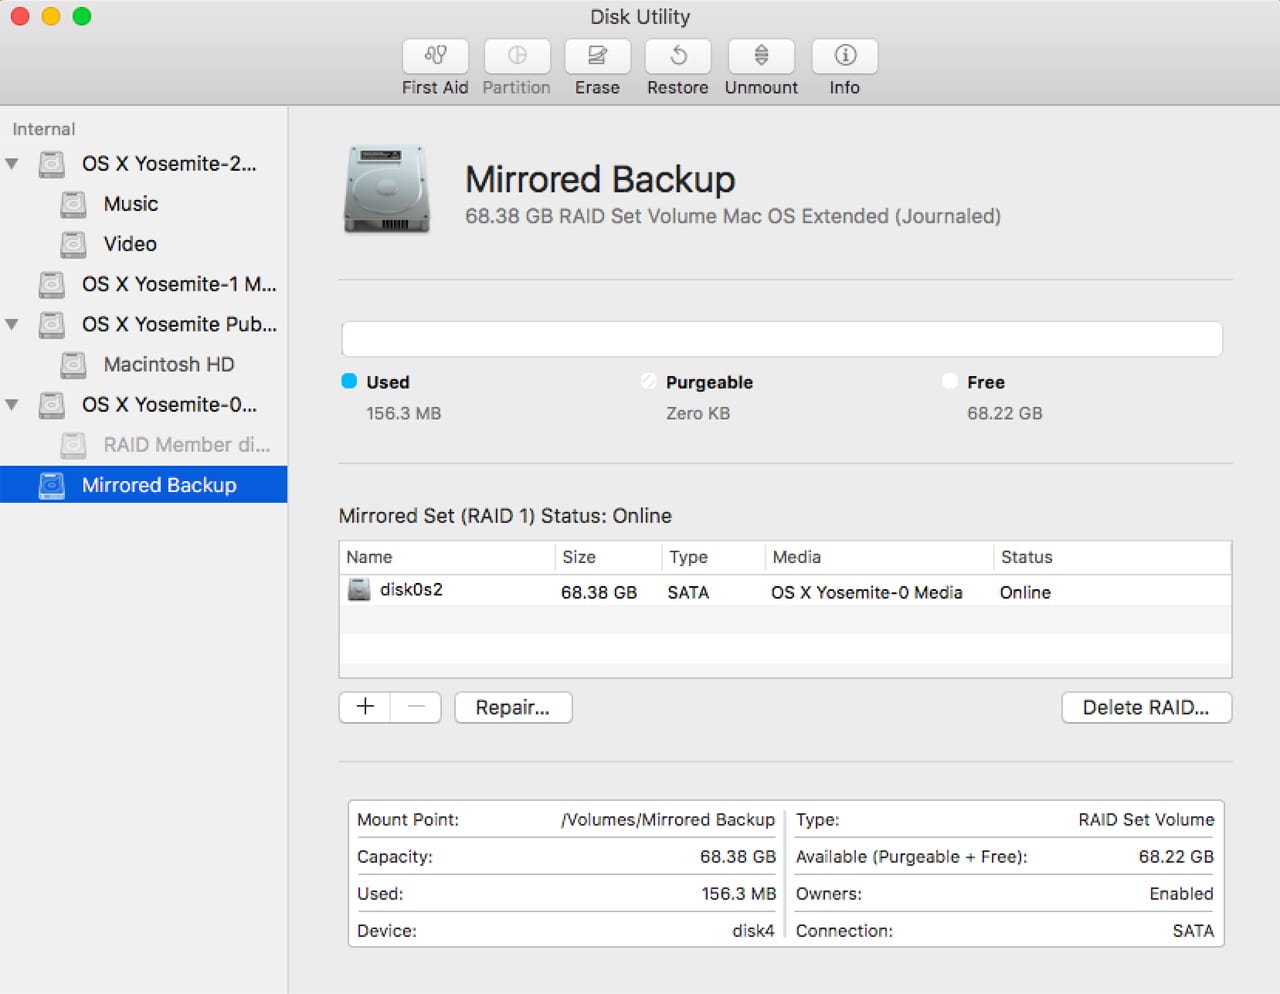
Nevertheless, for most users who had RAID storage systems that were managed by Apple’s built-in RAID system, the removal of the RAID GUI in Disk Utility was one of the bigger issues OS X El Capitan caused many users.
macOS Sierra brings the RAID utility back, although Apple never really broadcast its return. And perhaps that’s OK, since they never mentioned it was going away in OS X El Capitan to begin with.
The RAID Assistant is found in Disk Utility under the File menu. RAID is limited to the same three RAID types that were supported in earlier versions of OS X: Striped (RAID 0), Mirrored (RAID 1), and Concatenated (JBOD).
Little has changed, except for the separation of the RAID assistant to its new place in the File menu. Otherwise, Disk Utility and RAID should be familiar enough for those who used Apple’s software-based RAID in the past.
One disappointment is that the return of RAID to Disk Utility brought with it no new capabilities or improvements. That’s one of the reasons many have moved on to SoftRaid, which is both faster and includes an active health monitoring system for RAID arrays.
Collaborating on Notes
Are you a Notes user? We often think Notes is one of the most underused apps that come preinstalled on the Mac. With macOS Sierra, Apple added collaborative support for Notes. Now you can have input from others in your note taking.
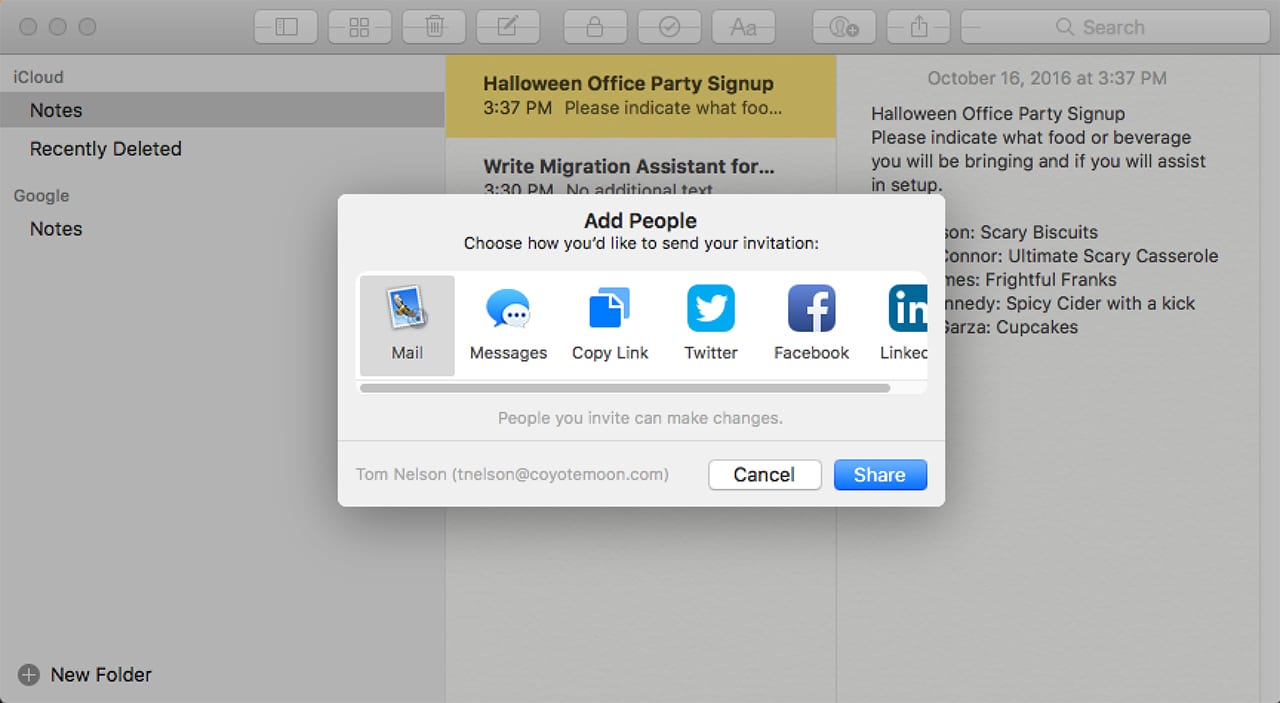
The new collaboration feature doesn’t turn Notes into a high-powered app; it won’t replace other collaborative tools, such as Evernote, OneNote, or Google Docs. But it does make Notes a great candidate for a simple task keeper.
Simply select an existing note or create a new one, and then click the Collaborate button (it’s the one whose Helper text says ‘Add people to this note’).
You can send an invitation to a collaborator using Mail, Messages, Twitter, Facebook, or LinkedIn, or you can simply copy the sharing link.
If the collaborator you invited is using iOS 10 or later, or macOS Sierra or later, they’ll be able to open the note on their computing platform; otherwise, the link will take them to iCloud, where the note will be opened in the iCloud version of Notes.
Collaboration occurs in almost real time, limited mostly by how fast your connection to iCloud is, and how congested Apple’s cloud services are.
For more macOS Sierra tricks and guides, check out the Rocket Yard Tech Tips section.


You can restore the ‘Anywhere’ option to Gatekeeper in
2019? The command for the terminal is actually ‘spctl –master-disable #gatekeeper’, minus the ‘.
“full screens” in prior Mac OS systems was horrible, horrible “feature” – or broken multi -display support. Apple finally fixed this feature (which was fine in 106x) in 109x.
Microsoft does this two with running multiple Word files in a single ‘instance’ or Excel, or even PowerPoint.
Why are software developers the dumbs?
tried the sudo spctl –master-disable twice and it didn’t work for me. Got this response twice.
Usage: spctl –assess [–type type] [-v] path … # assessment
spctl –add [–type type] [–path|–requirement|–anchor|–hash] spec … # add rule(s)
spctl [–enable|–disable|–remove] [–type type] [–path|–requirement|–anchor|–hash|–rule] spec # change rule(s)
spctl –status | –master-enable | –master-disable # system master switch
Probably late to the game but here is the corrected command. There are two “-” (no spaces) before master-disable.
sudo spctl –master-disable
Gatekeeper terminal process did not work
The correct Terminal command for Gatekeeper, at least the one that worked for me, is
sudo spctl –master-disable
sudo spctl –master-disable with two dashes in front of the “master-disable” command
I have not been able to figure out how to paratition a hard drive using Sierra. The option to partition is graded out.
Thanks
Barry
I assume you are not trying to partition the boot drive.
Aaaand I still have to rely on third-party options for windowshade. Yeash.
What is the proper syntax for the Terminal command to re-enable the Anywhere option?
sudo spctl –master-disable is ambiguous to me. The ‘dash’ or whatever it is in front of ‘master-disable’ is causing an error.
Thanks for the tip, but currently I’m unable to follow your instructions.
Disregard…..I found elsewhere that it is supposed to be two dashes. It does not appear that way in the online instructions. It just looks like a long dash.
Typography makes the spctl terminal command syntaxunclear. TWO dashes must precede the word “master” to disable the Gatekeeper lockout.
sudo spctl –master-disable
As others have mentioned the Terminal command should have two dashes in front of the word master-disable. For some reason, the two dashes are being displayed as a single long dash.
Tom N.
Two dashes back-to-back together is called an “em dash” and it is represented by a single long dash. MS Word does this all the time when entering text in a file. This is what the instruction states and is what is presented in the example.
I’ve always been puzzled as to why Apple products have so many “hidden” and “secret” features. Do they want to sell hardware & software or not? Common sense would be to not to have and secrets or hidden features if they would promote sales. Just wondering…
I think many of the “hidden” features are development and troubleshooting features meant for staff and developers, that Apple thinks would be of little or no interest to the typical user.
Other times, we cover a feature that was present in earlier versions of the OS, such as the Gatekeeper example in the article, but is now either missing or tucked away where most users wouldn’t find it.
Tom N.