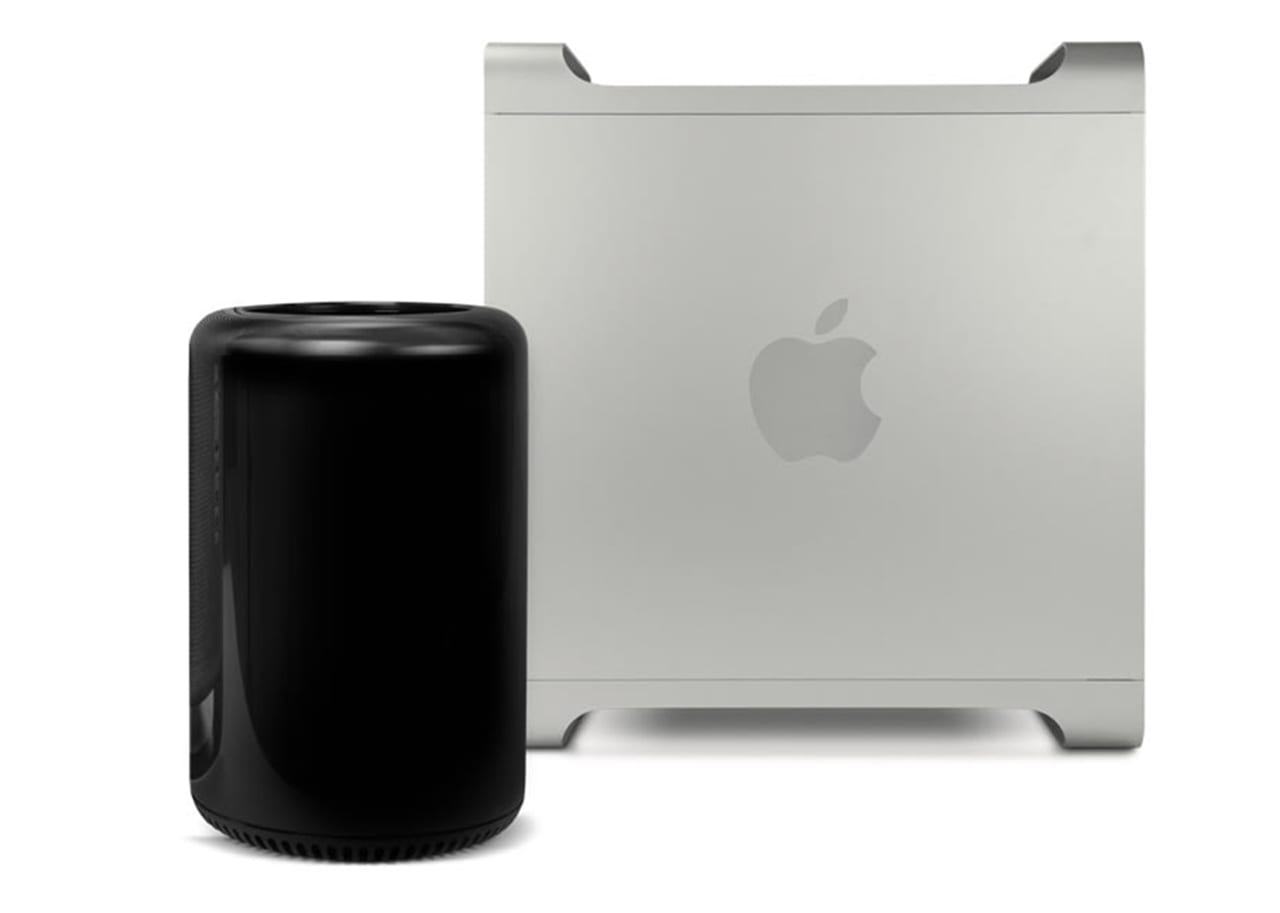
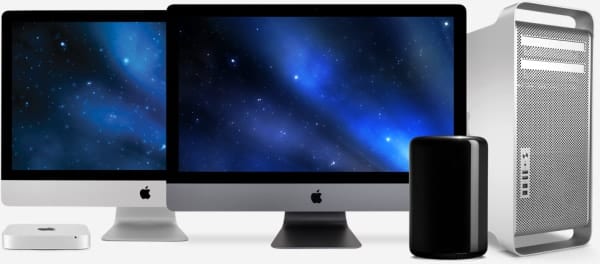
The Mac Pro has long been the choice of both amateur and professional content creators and developers who expect performance and the ability to customize their workstations. Beginning with macOS Mojave, Apple started paring back support for some Mac Pro models, leaving many to wonder if it’s time to consider updating to a new workstation.
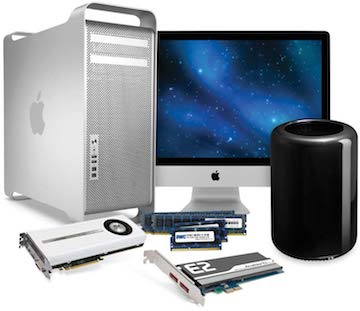
While there may be a bit of a thrill in updating to something new, the truth is, at least in this case, if you’re using a 2010 through 2012 Mac Pro, or the newer 2013 and later models of the Mac Pro, you may find that instead of updating, upgrading may be a better choice. With just a few changes, you can upgrade your Mac Pro and ensure it’s compatible with macOS Mojave; you can also increase its performance to meet your needs.
Memory Upgrades
The 2010 through 2012 versions of the Mac Pro were available in single and dual processor configurations that supported up to 12 processor cores. Each processor supported up to 4 DIMM (Dual-Inline Memory Modules) memory slots, resulting in the Mac Pro having either 4 or 8 memory slots that could be populated with DIMM modules.
The tricky bit about upgrading the 2010 through 2012 Mac Pros is that while there are 4 memory slots per processor, there are only 3 memory channels available to each processor. Memory channels are the means by which the processor or memory controller communicates with the RAM module. With a single processor Mac Pro, memory slots 1 and 2 each use a discrete memory channel, while slots 3 and 4 share the remaining memory channel. The same architecture is used for Mac Pros with dual processors; memory slots 1, 2, 5, and 6 are each connected to their own dedicated memory channel, while slots 3 and 4 share one of the remaining channels, and slots 7 and 8 share the final memory channel.
The way the memory channels are divided up has implications for how you add memory to your Mac Pro. To achieve the best available memory performance you should follow this sequence for installing RAM modules:
In a single processor Mac Pro:
- 2 DIMMs: Install in memory slots 1 and 2
- 3 DIMMs: Install in memory slots 1, 2, and 3
- 4 DIMMs: Install in memory slots 1, 2, 3, and 4
For best results, all DIMMS should be of the same size and speed; this is especially true when using both slots 3 and 4 since they share a memory channel. The slowest module will dictate the speed at which a memory channel operates. Placing a slow module in slot 4 will cause slot 3 to operate at the same speed.

In a dual processor Mac Pro:
- 2 DIMMs: Install in memory slots 1 and 2
- 3 DIMMs: Install in memory slots 1, 2, and 3
- 4 DIMMs: Install in memory slots 1, 2, 5, and 6
- 6 DIMMs: Install in memory slots 1, 2, 3, and 5, 6, 7
- 8 DIMMs: Install in memory slots 1, 2, 3, 4, and 5, 6, 7, 8
Once again, it’s best to use the same size DIMMs in all channels, and especially important to make sure DIMMS in slots 3, 4, and 7, 8 use the same size and speed.
OWC offers memory for the 2010 through 2012 Mac Pro in 2 GB, 4 GB, 8 GB, and 16 GB sizes, allowing you to install up to 64 GB in a single processor Mac Pro and 128 GB in a dual processor model.
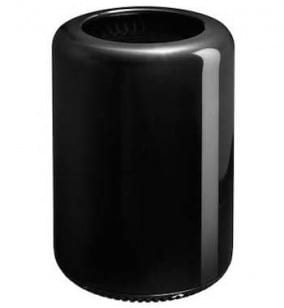
The 2013 cylindrical Mac Pro has a total of four memory slots, two on each side. Apple recommends that memory slots be populated with identical DIMMs in the following configurations:
- 12 GB: 4 GB DIMMs in slots 1, 2, and 3
- 16 GB: 4 GB DIMMs in slots 1, 2, 3, and 4
- 32 GB: 8 GB DIMMs in slots 1, 2, 3, and 4
- 64 GB: 16 GB DIMMs in slots 1, 2, 3, and 4
While the configurations suggested by Apple will provide the best overall memory performance, you’re not limited to these configurations. As an example, you could create a 20 GB system by adding an 8 GB DIMM in the open fourth slot in the standard 12 GB configuration. Or, you could create a 24 GB configuration by removing the 4 GB DIMM in slot 3 of the 12 GB system, and adding two 8 GB DIMMS in the two open slots.
The only real restriction for the 2013 Mac Pro is that UDIMMs (Unregistered Dual Inline Memory Modules) can’t be mixed with RDIMMs (Registered Dual Inline Memory Modules). Generally, the smaller size DIMMS will be of the unregistered variety, while larger ones with be the registered type.
OWC offers memory upgrades for the 2013 Mac Pro using 4 GB UDIMMs, and 8 GB, 16 GB, and 32 GB RDIMMs.
SSD Upgrades
One of the best bangs for your buck is upgrading your startup drive, as well as select data drives from older rotational hard drives, to SSDs. At first glance, the 2010 through 2012 Mac Pros seem to be the perfect candidate for an SSD upgrade, what with having four 3½-inch drive bays available.
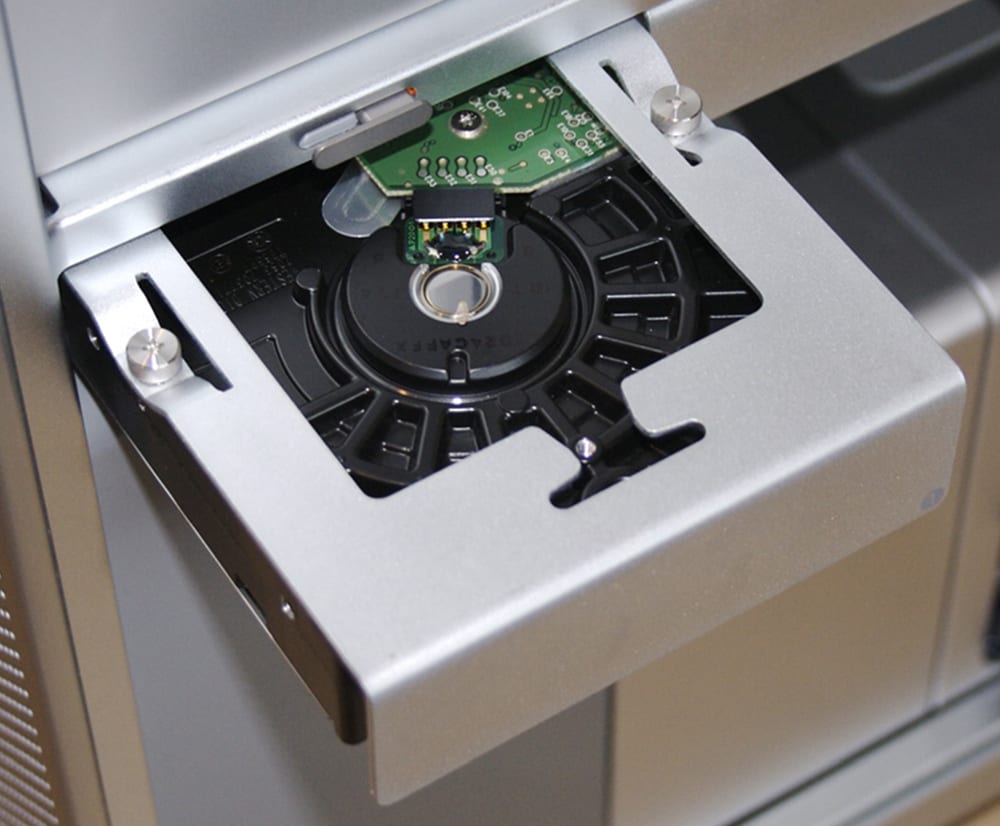
On second glance, though, those drive bays are tied to the motherboard using a SATA 2 interface, restricting data to a theoretical maximum of 3 Gbits/s, which severely restricts the performance of any SSD. But all is not lost; the 2010 through 2012 Mac Pros have a PCIe 2.0 expansion bus that has at least one 16-lane slot open, and two 4-lane slots available. The other 16-lane slot is used by the graphics card.
The 4-lane PCIe 2.0 slot is a good candidate for a PCIe to SATA 3 (6 Gbits/s) card that would allow you to install one or more standard 2½-inch SSDs that could provide around 500 MB/s throughput, a vast improvement over a standard hard drive.
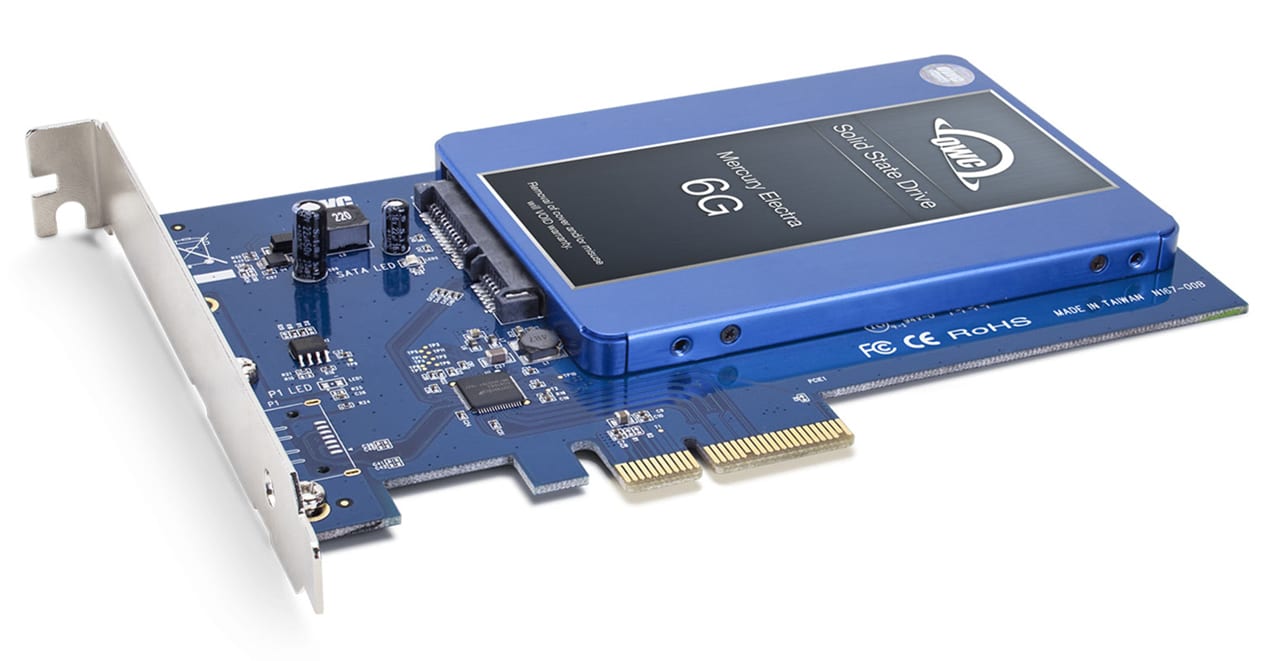
OWC offers a number of Mercury Accelsior S configurations that can meet the needs of those who want to add an SSD to their Mac Pro.
The 2013 Mac Pro came equipped with an SSD for storage from day one, but many of the cylindrical Mac Pros were sold with only a small 256 GB SSD. OWC offers the Aura Pro X2 SSD in sizes up to 2 TB, with read speeds up to 1,565 MB/s, and write speeds up to 1,354 MB/s.
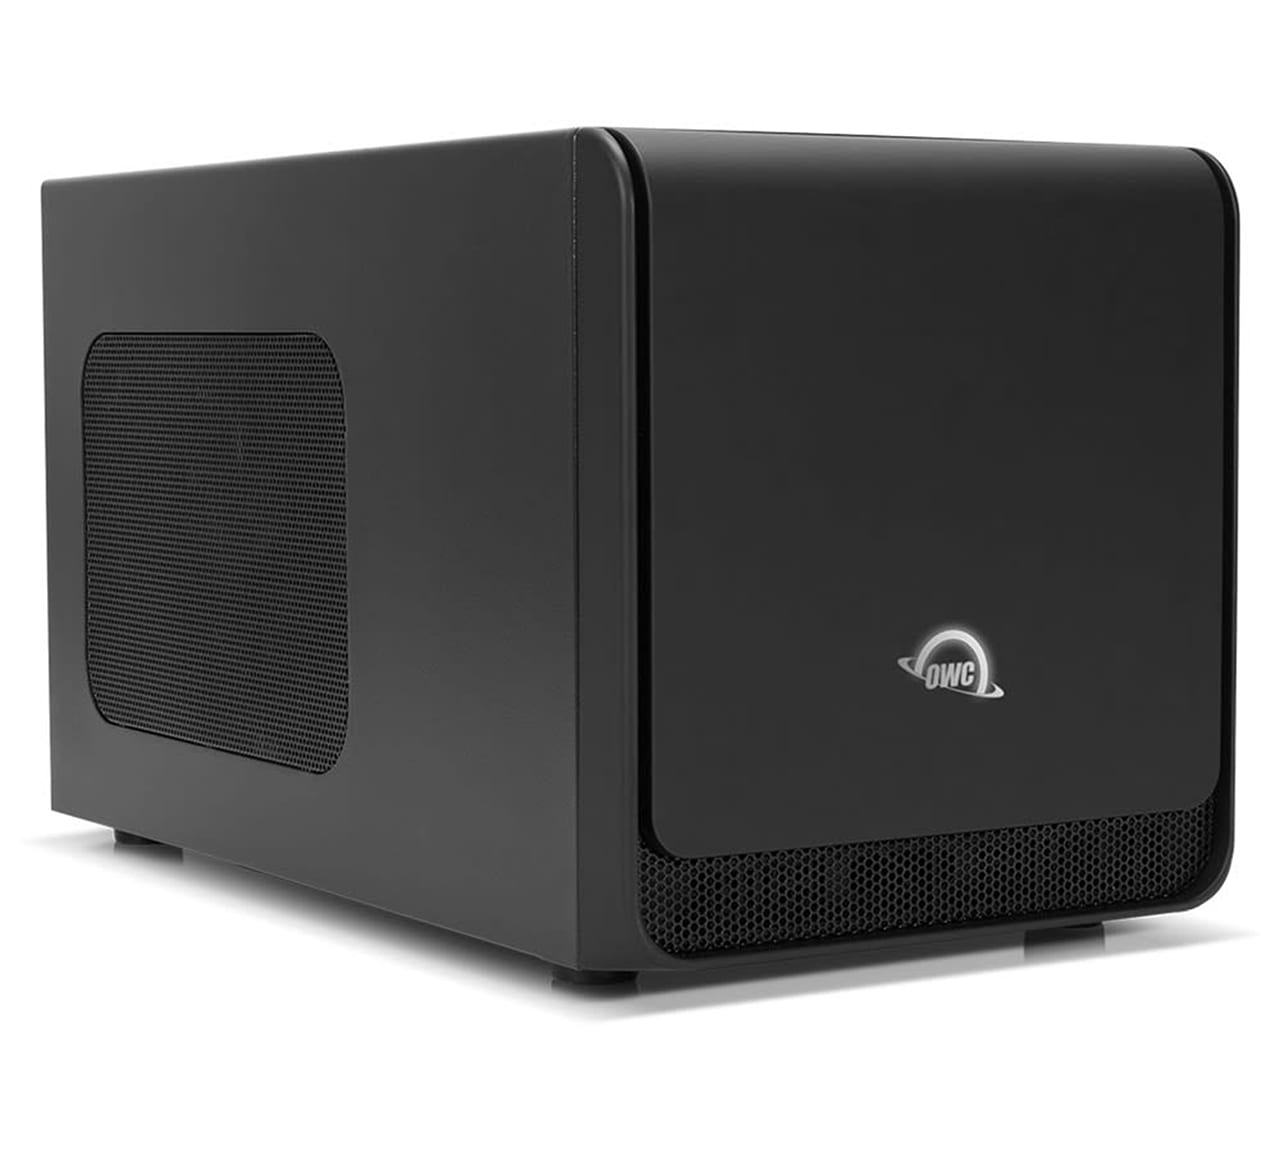
Other upgrade options for the cylindrical Mac Pro can be achieved using its Thunderbolt 2 interface to add high performance external storage, graphics, and expansion options.
Graphics Upgrades
Our last category, graphics, is actually the key upgrade for those who want to ensure their 2010 through 2012 Mac Pros can run macOS Mojave. At a casual glance, the 2010 through 2012 Mac Pros seem not to be supported by macOS Mojave, and that appears to be reinforced by the failure of Mojave to successfully install on the older Mac Pro.
The install failure occurs because Mojave requires a graphics system that supports Metal, Apple’s hardware-accelerated 3D graphics, and computer framework. The older Mac Pro originally shipped with graphics cards that did not include support for Metal, but that can be fixed by replacing the original graphics card with one that does support Metal.
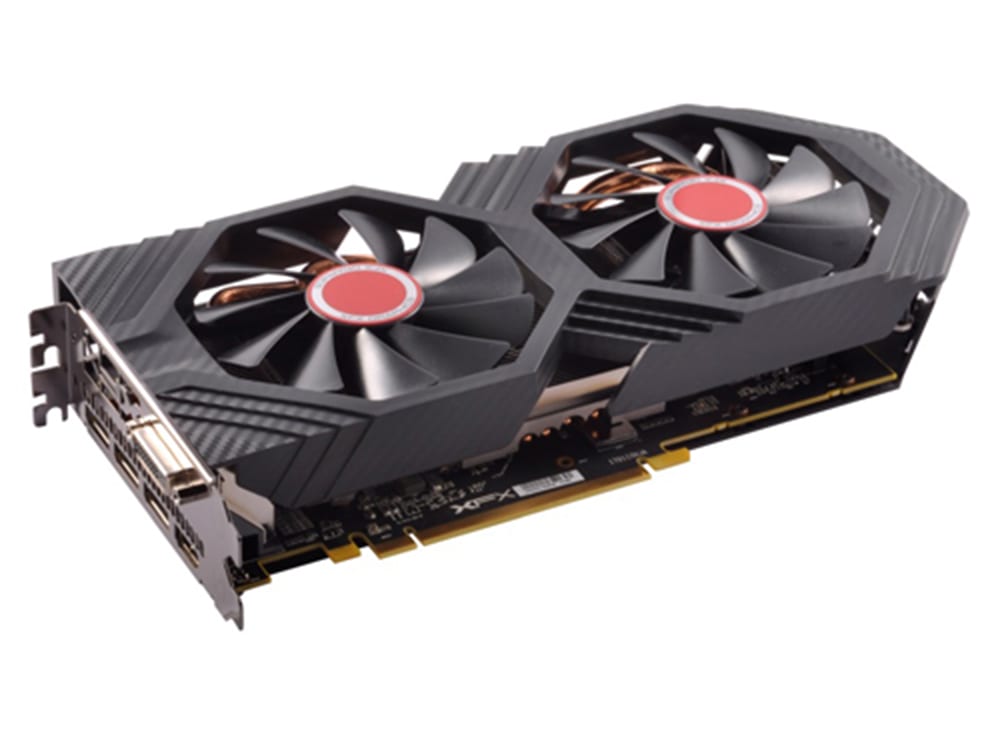
Not only will these new graphics cards allow you to upgrade to Mojave, but they will likely increase OpenCL performance as well.
OWC offers the Radeon RX 580 series of graphics cards that support Metal, and will give your Mac Pro a performance boost and let it run macOS Mojave.
The 2013 versions of the Mac Pro are already Metal capable, so no graphics card upgrade is needed.
Modular Mac Pro
Apple has promised a replacement for the current cylindrical Mac Pro that would include a modular design that would be easier to upgrade and update as new technology become available. With WWDC 2019 coming up (June 3-7, 2019), do you think the Modular Mac Pro will be released, revealed, or not mentioned at this summer’s developers conference at all?
Let us know your thoughts.


I have a MacBook Pro, 6.2-intel Core i5 – 2.53 GHz with Solid State StartUp Disk and have lots of 32bit apps
I want to upgrade to a new MacBook Pro that runs 64bit apps and has solid State Hd and is faster but can not find one
Should I wait for apple to make one.
What would you suggest I do, my mac is starting to act up and apple is not going to support 32bit apps.
Will the replacement graphic cards you reference support a 5K monitor?