

Today I’m going to talk about an accessibility feature in macOS Big Sur and Catalina that can make it very easy to see the text on your screen – especially if it’s in tiny letters that are hard to read. This feature is called Hover Text, and it’s not just for those who are sight-impaired.

How Does Hover Text Work?
Think of Hover Text as an adjustable magnifying glass that lets you zoom in on small text on your Mac display. As you can see in the image above, the feature creates a box that contains a large-text (in this case, 60 point) version of text found on this web page.
It also magnifies text that is being typed. While apps like Pages allow you to increase the text size for visibility, that’s not true in Messages (for example). The text size is always small in that app. Hover Text makes it possible to easily read text in Messages.
Hover Text also magnifies menu items and the names of apps in the Dock. Buttons on web pages or in apps even get the royal treatment. All of the standard menu bar items on the right side of the Mac display (time and date, as in the example below) “blow up” when you want to see them more clearly.

Enabling Hover Text
To enable the feature, launch System Preferences, then click on Accessibility. In the left sidebar, click Zoom. The Zoom pane shows various options. Just check the box next to Enable Hover Text and you’re ready to go (see image below).
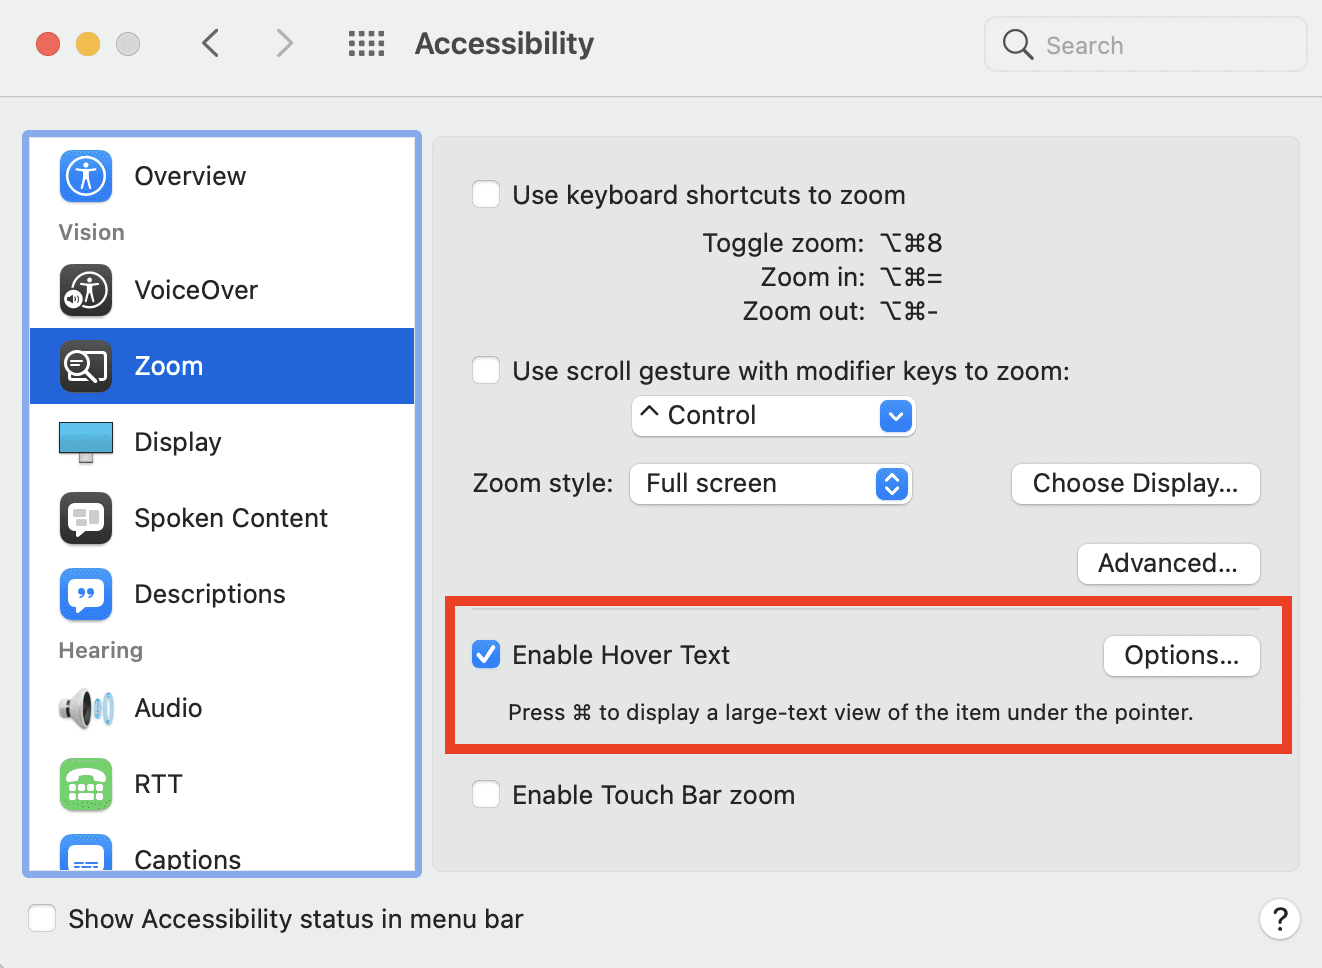
As you see in the red highlighted area above, pressing the Command (⌘) displays a large-text view of the item under the pointer. That’s somewhat misleading – you need to hold the Command key down first, then move the pointer over the text you wish to zoom in on.
Releasing the Command key turns off the magnified image. This works well if you just need to occasionally read some fine print on your screen.
Hover Text Options
What if you want the feature to be enabled all the time? There’s an option for that! Let’s look at the available options for Hover Text.
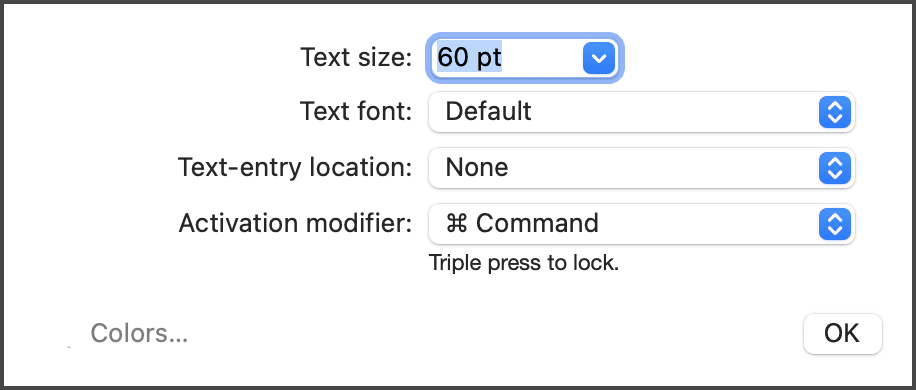
Click the “Options…” button to the right of “Enable Hover Text”, and the settings dialog seen above appears.
The first setting – Text Size – is self-explanatory. The 60-point text size is quite large, but if you need to have it even larger or want it smaller, just change the text size. Text Font allows the user to select from any font installed on the Mac. While “Default” is an easy-to-read Sans Serif typeface, you might want something different. Selecting another text font can sometimes make even the magnified text more difficult to read, so show good judgment in your choice.
Text Entry Location
Text-entry location is very useful when you’re typing something on your Mac. What it does is magnify the text being typed, making it easier to read. There are five defined locations on your Mac display:
- Near current line
- Top left
- Top right
- Bottom left
- Bottom Right
Near current line puts the Hover Text box directly under your typing. The other four settings place the text in these locations on your display. I found “near current line” to be the most useful. You can also set a custom location on your screen. For example, if you always want the text to be in the middle of your screen, select Custom from the text location picker. Start typing, then move the box to your desired location.
Activation Modifier
Activation modifier is the key used to turn Hover Text on and off. By default, it’s set up as the Command key (⌘), but it can be switched to the control (∧) or option (⌥) key.
In all cases, Hover Text is locked when you press the activation modifier key three times. To unlock the feature and have it only appear when you hold down the activation modifier key, press the key three times again.
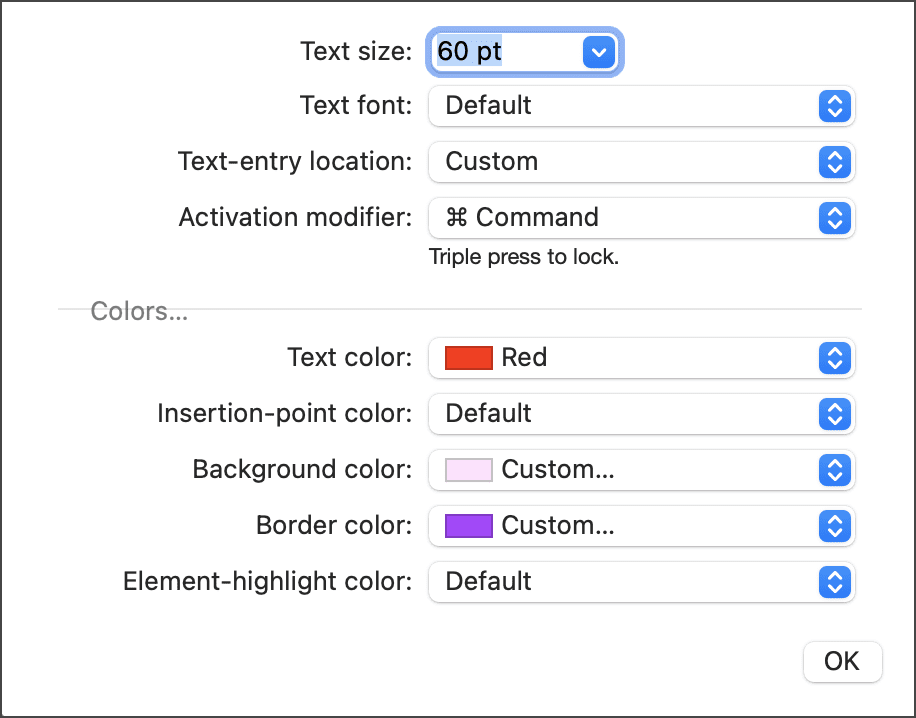
Colors


I never would have found this on my own – super useful. Thanks!
very cool. thanks
Steve, thanks for this tip and others that you provide.
I just got a M1 Mac mini. A few of the problems I’ve encountered are not so much with the M1 (at least I don’t think so), but with software, specifically the AppleTV app. 1) There doesn’t seem to be away of setting a default sound out device. I would like to set the sound to go to my stereo matched pair of HomePods, but the program defaults always to the internal Mac mini speaker. So every time I start a new video I have to AirPlay pick the paired HomePods. 2) When clicking on the AirPlay menu to pick my paired HomePods, the menu appears with the selections shown in black text on a dark gray background, which makes the selections basically unreadable. A friend on his MacBookPro in dark mode sees the dark gray background, but the selections are in white text. Note I am using a TV via HDMI as my monitor. 3) There doesn’t seem to be a way of binge watching a series with the AppleTV app like on most streaming services. Instead, after watching an episode, you come out of the video window to the episode page, then go back to the program page, scroll sideways to find the next episode (no indication of the episodes watched), click on the next episode to go to it’s page, click on play.
I’m I missing something either in the M1 setup or AppleTV setup that is causing the above? Thanks for listening.
Thanks for a useful Tips.
Hrz.