The iPhone 13 series offers some amazing advancements in both the Camera and Photo apps. For example, the iPhone 13 Pro and Pro Max have a macro mode for incredible close-up images. Today we’ll discuss another new feature available on all of the iPhone 13 phones — Photographic Styles.
What are Photographic Styles?
A Photographic Style customizes how the Camera app captures photos. It does this by adding four preset styles in addition to the standard way it shoots pictures. These preset styles are:
- Rich Contrast darkens shadows, saturates colors, and increases contrast for a more dramatic look
- Vibrant brightens and saturates colors for a more brilliant look
- Warm adds yellowish undertones for a warmer look
- Cool makes the undertones bluish for a cooler look
Here are five pictures of the same subject taken with each of the presets:

It may not appear that there are huge differences between these images, but upon closer examination it’s possible to see that each is subtly different. Particularly when taking images outdoors, changing the style can make a big difference in the look of a photo.
Don’t like these presets? You can customize them yourself by adjusting the tone and warmth values. Once you’ve created your own style, it can be applied each time you shoot a photo during a session. The style is reset once you leave the Camera app, but as you’ll find later in this post, you can have one of the basic Photographic Styles applied as the default every time you use the camera.
Setting Photographic Styles
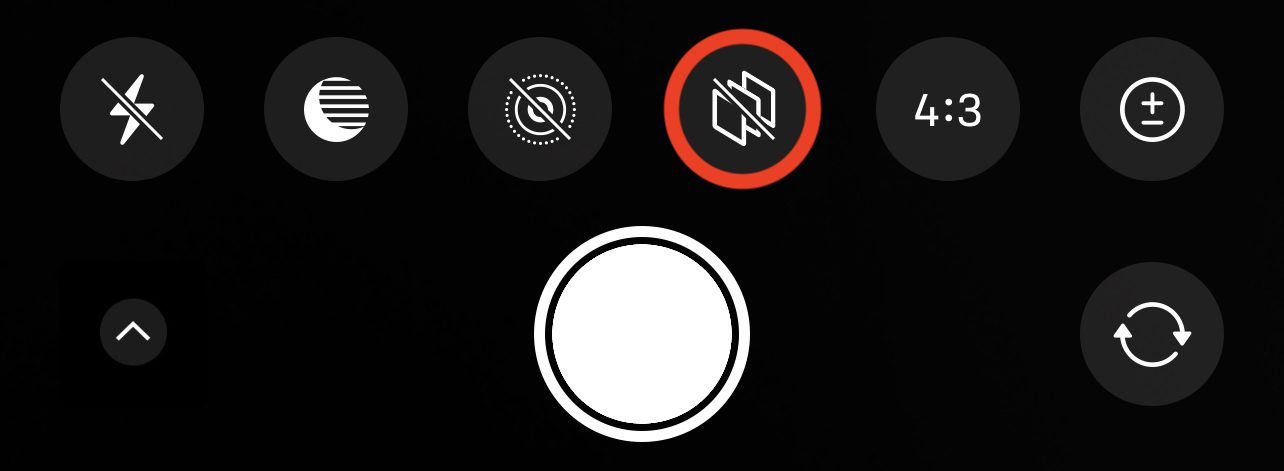
In the Camera app on the iPhone 13, tap the “^” button at the top (or left) side of the display (outlined in red in image below):

Next, find the button that looks like several stacked photos. This is the Photographic Styles button (outlined in red in image below):

The other buttons here are (from left to right) for flash, night mode, live photo, aspect ratio, and exposure. On the bottom are a button to get rid of the row of buttons, the shutter button (center) and a button to switch between front and back cameras.
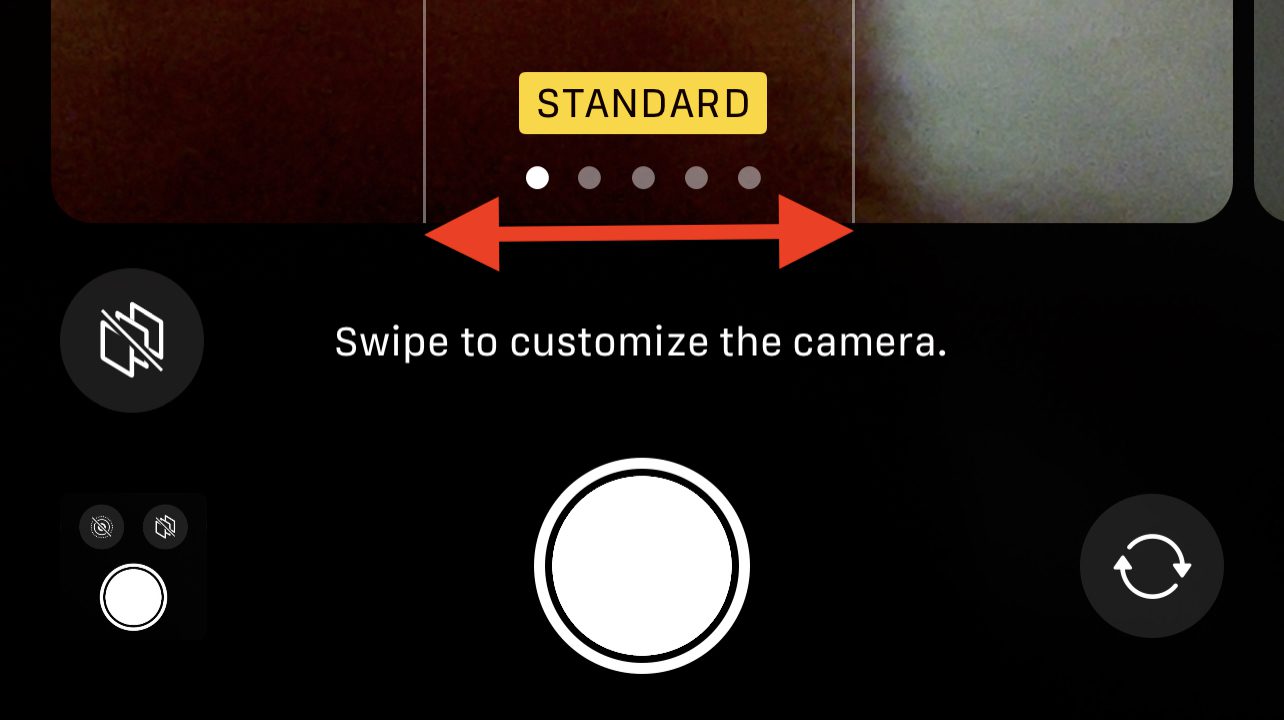
Once the button is tapped, you’re prompted to “Swipe to customize the camera”. Swiping to the left displays Standard, Rich Contrast, Vibrant, Warm and Cool styles in succession.

When you find a style that works for the image you’re shooting, stop swiping and take the photo. That Photographic Style remains active until you move away from the Camera app.
Change Photographic Styles
Perhaps the style you selected needs just a little tweak before you take your photo. When you’re in any of the styles except for Standard, sliders for tone and warmth appear:

Swiping the tone slider left and right changes the saturation of colors, while the warmth slider makes images cooler (blue tint) or warmer (yellowish tint). While swiping the sliders in Rich Contrast you may notice that moving tone can change the overall style to Standard or Vibrant, while changing warmth creates styles called Rich Warm and Rich Cool. Likewise, changing warmth in the Vibrant style creates Vibrant Warm and Vibrant Cool styles.
Practice!
Practicing with the Photographic Styles controls before you need them is a great idea! You’ll know what the controls do to make your image look different before you shoot.
Like a Photographic Style so much that you’d want it applied to every photo you take? You can do that in Settings > Camera > Photo Capture > Photographic Styles.


Nice whit all these styles, but how do i turn of the live function on my iPhone.