

Tagging files and folders in macOS can make them easier to find and organize. They work with all your files and folders, whether you store them on your Mac or keep them in iCloud.
In this post, we’ll look at how they work in macOS Catalina (and most previous versions of the operating system), but these instructions also work in later versions of macOS all the way through Ventura as well.
To tag an open file:
° Right click or Control-click on the file.
° Choose Files > Tags.
° Choose a tag from the list or enter a new one.
To tag a new file when you save it:
° Click File > Save.
° In the Save dialog, click in the Tags field, then enter a new tag, or choose one from the list.
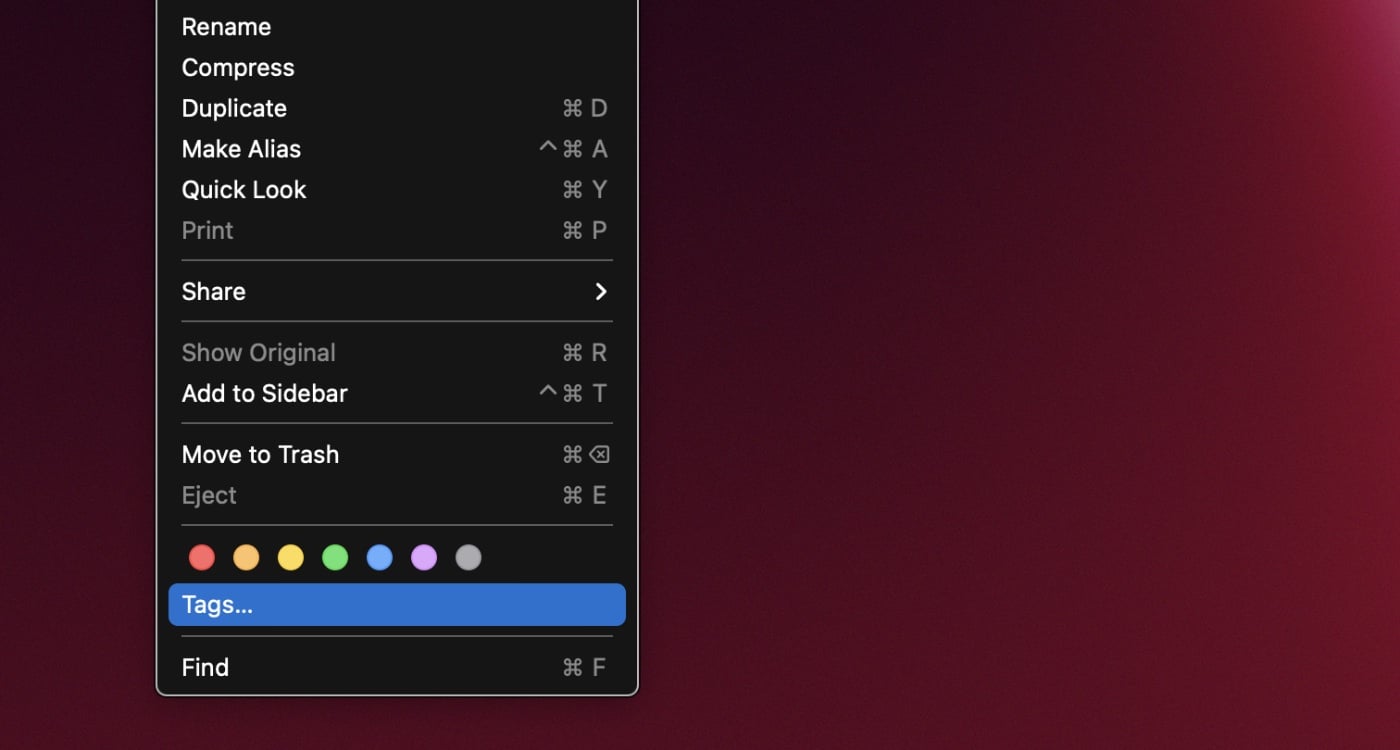
° To tag a file on the desktop or in the Finder:
° Choose the item.
° Open the File menu.
° Choose a color below Tags.

° Or you can click Tags to choose from more tags or enter a new tag.
In a Finder window, you can also select the item, click the Tags button , then enter a new tag, or choose one from the list. (Don’t confuse the Finder with the Desktop. The Finder is the first thing that you see when your Mac finishes starting up. It opens automatically and stays open as you U.S.e other apps. It includes the Finder menu bar at the top of the screen and the Desktop below that. The Desktop is the space where you see file, folder, and application windows.)
To remove tags from an item:
° Control-click the item.
° Click Tags. Select the tags you want to remove, then press Delete.
To remove tags from your Mac, in the Finder:
° Finder > Preferences.
° Click Tags.
° Select the tags you want to remove.
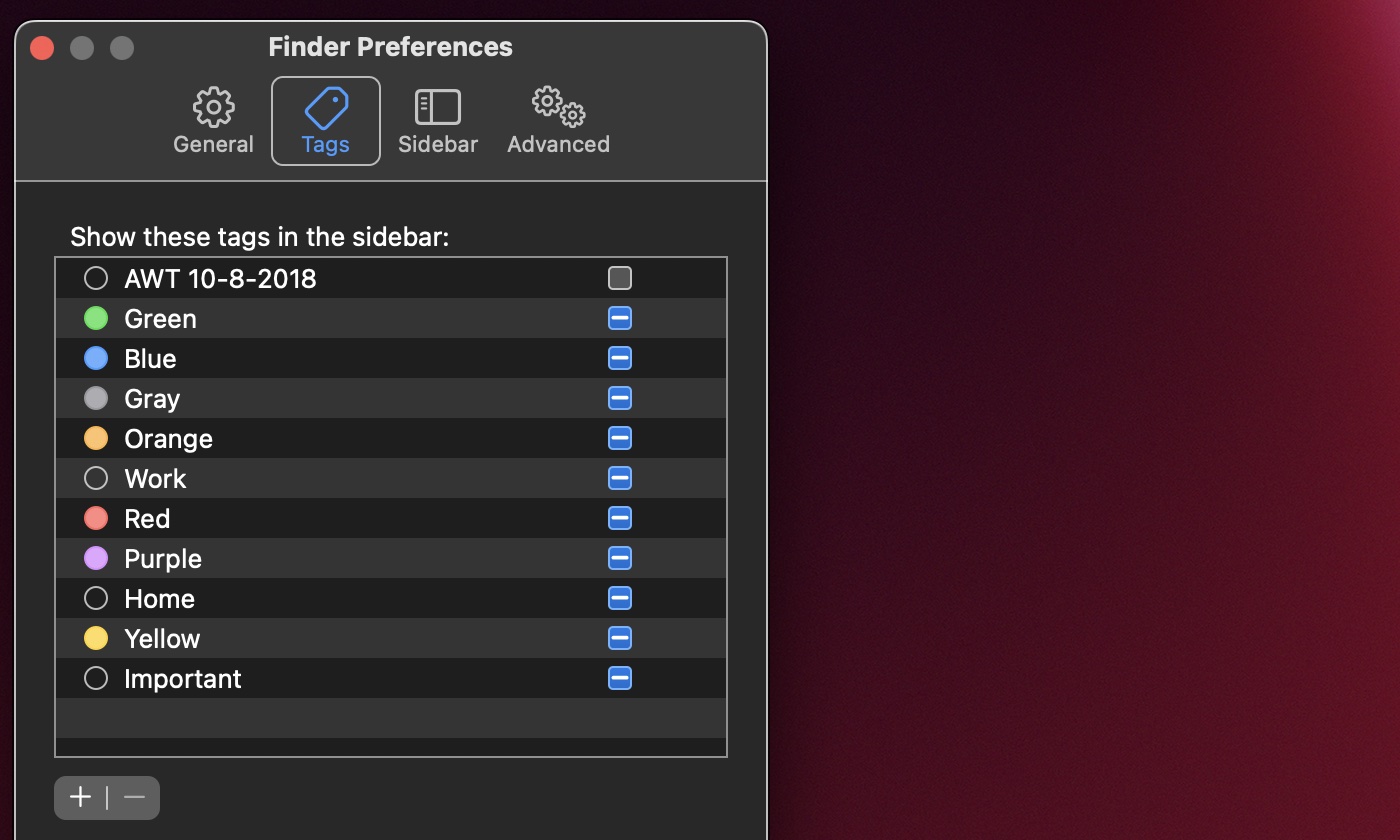
° Click the Remove button.
How to edit tags:
° In the Finder, choose Finder > Preferences.
° Click Tags and do one of the following:
See a tag in the Finder sidebar: Select the blue checkbox to the right of the tag.
Change a tag color: Click the color next to the tag , then choose a new color.
Change a tag name: Click the tag, click the tag’s name, then enter a new name.
Create a new tag: Click the Add button .
Delete a tag: Select the tag, then click the Remove button.
How to find tagged items
To find tagged items, click the Finder icon in the Dock to open a Finder window and do any of the following:

Search for a tag: Enter the tag color or name in the search field, then select the tag from the suggestions.
Select a tag in the sidebar: To see everything with a certain tag, click the tag in the Finder sidebar.
To change the items you see in the sidebar, choose Finder > Preferences, click Tags, then select the tags you want to see.
Arrange items by a tag: Click the Item Arrangement button , then choose Tags.
Sort items by a tag: In any view, choose View > Show View Options, then select the Tags checkbox. In List view and Cover Flow, move the pointer over the Tags column, then click it. Click the column name again to reverse the sort order.


Apple had a nice way of letting us colour our folders. Then Apple introduce tags and removed the option of letting us give colours to our folders. It was a case of Apple being dismissive of its customers’ interests or Apple giving a job to a newbie programmer.
Fortunately a third party app, Folder Colorizer can onto the scene and let us colour our folders again. This is the app you should be promoting. There’s no need to give Apple positive evaluations all the time.