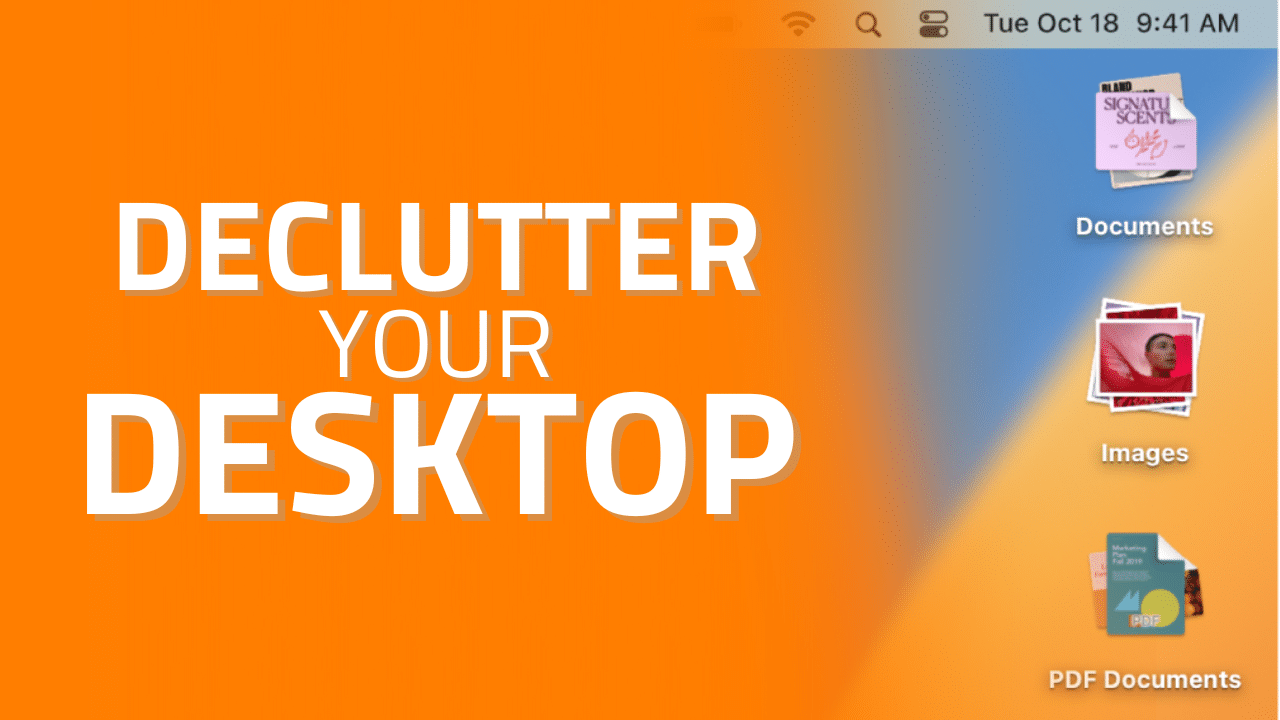
The Stacks feature of macOS Ventura organizes messy desktops by automatically stacking files into neat groups. It collects the files on your desktop and groups them into neat little stacks along the right edge of your Mac’s screen. Toggling Stacks on and off is done with clicks on the desktop.
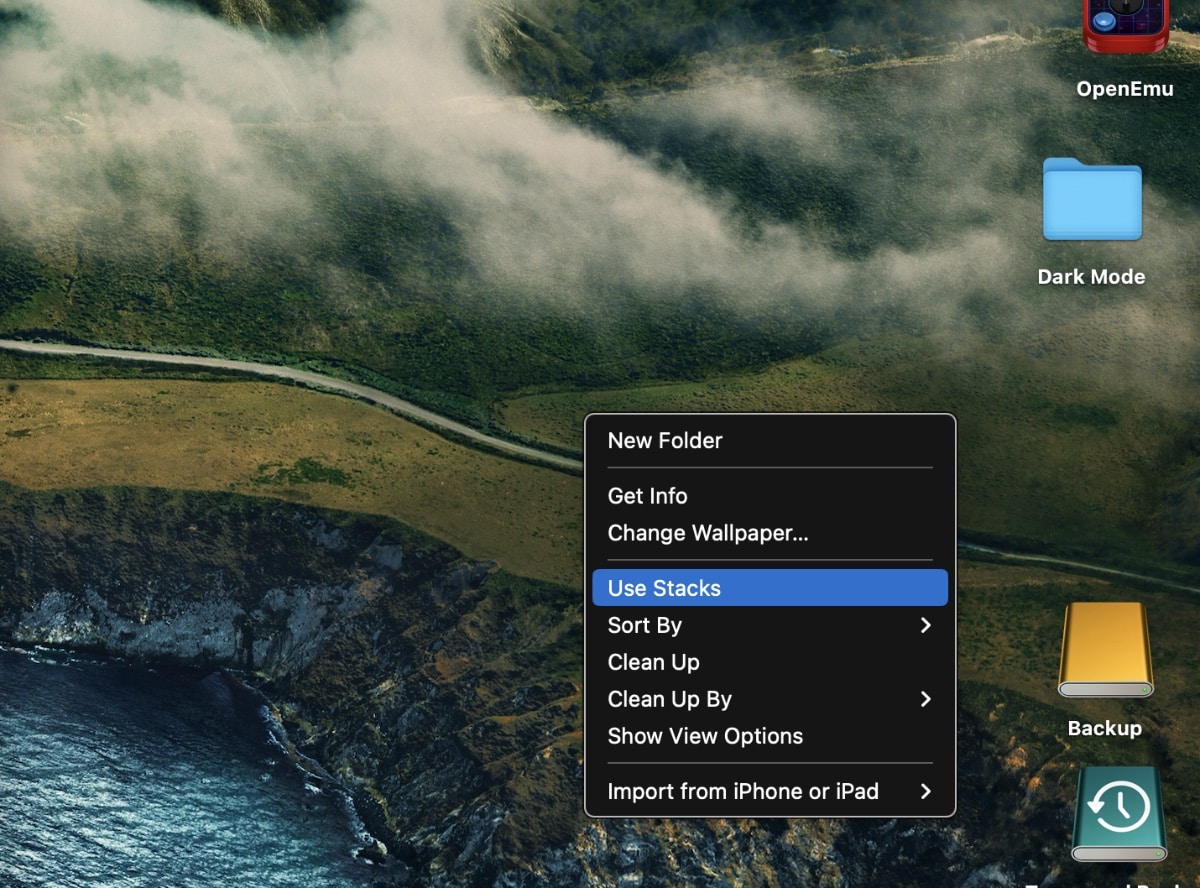
When at the desktop, right click, then choose the “Stacks” option. To right click, you can either hold down the “Ctrl” button while clicking your Mac’s mouse or tap a trackpad with two fingers. (The latter option needs to be activated in the Keyboard and Mouse section of System Preferences. Under the Trackpad tab select “Tap trackpad using two fingers for secondary click.”)

Check the “Use Stacks” option. Click it again to “unstack” your desktop items.
Turning on Stacks will automatically organize your files by file type. By default, Stacks organizes your files by file type (which MacOS calls “Kind.”) This puts your Word docs in one pile, images in another, PDFs in their own stack, etc.
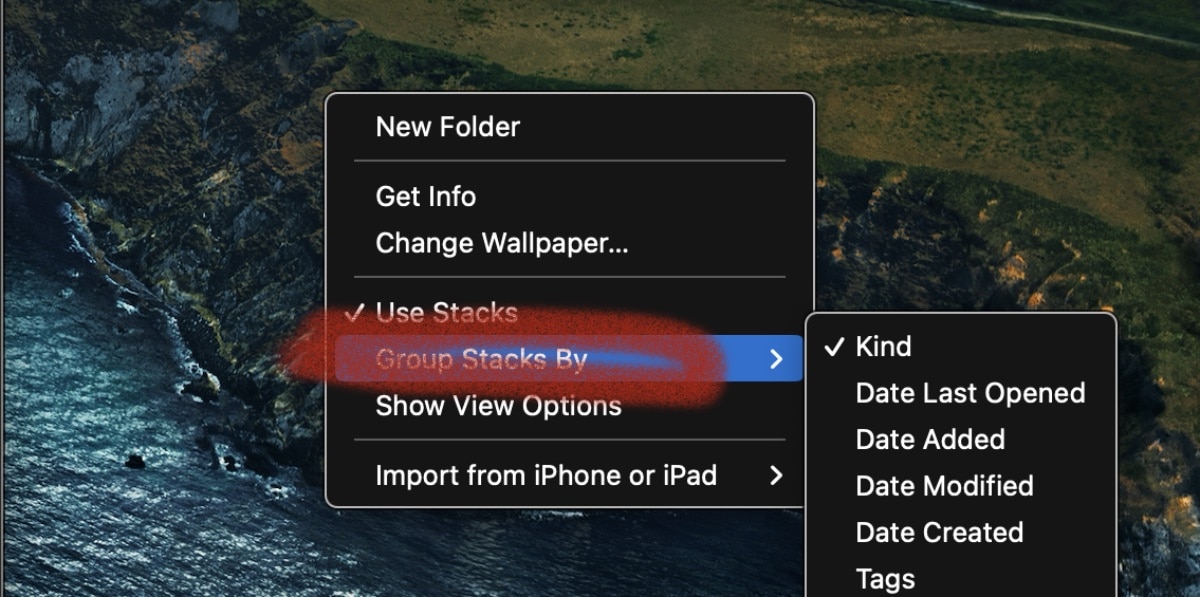
However, you can sort stacks differently if you wish. Right-click on your desktop, mouse over Group Stacks By and you can select Date Last Modified, Date Added, Date Modified, Date Created and Tags.

To browse files in a desktop stack, swipe left or right on the stack using two fingers on the trackpad, or one finger on a Magic Mouse. To expand a stack click it on the desktop. When it’s expanded, double-click any item to open it. To collapse a stack, click its Down Arrow icon.
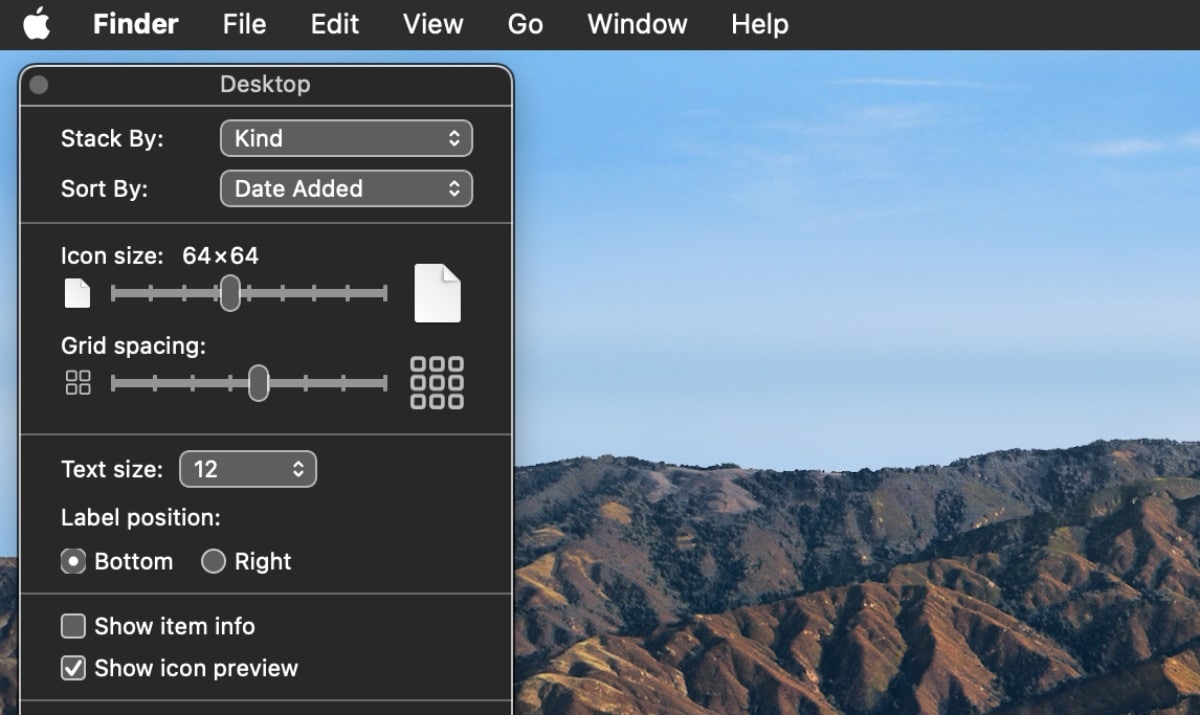
You can also change the appearance of desktop stacks. You can make icons bigger, change the spacing between icons, move icon labels to the side, or show more information (such as how many files are in a stack).
Click the desktop, choose View > Show View Options, then change options. Or Control-click the desktop, choose Show View Options, then change options.


