Quick Look is a quintessential feature of macOS. You can use Quick Look in macOS Ventura to view photos, files, or a folder without opening them. Quick Look is based around convenience, but, as we’ll discover, it’s a very powerful feature. You can use the feature for items in Finder windows, on your Desktop, in emails, in messages, and other places.
(By the way, don’t confuse the Finder with the Desktop. The Finder is the first thing that you see when your Mac finishes starting up. It opens automatically and stays open as you use other apps. It includes the Finder menu bar at the top of the screen and the Desktop below that. The Desktop is the space where you see file, folder, and application windows.)
To use Quick Look, select one or more items, then press the Space bar. To select multiple items, press and hold the Command key, then click the items. Or to choose multiple items that are next to each other, click the first item you want to select, press and hold the Shift key, then click the last item. You can also click near the first item, press and hold the mouse or trackpad, then drag over all of the items.
Now a Quick Look window will open.
What options does Quick Look give you in macOS Ventura?
If you selected more than one item, the first is shown. In the Quick Look window, you can do any of the following:
- Manually enlarge the window by dragging its corners.
- Press Command-Plus (+) to make an image bigger or Command-Minus (–) to make it smaller.
- To rotate an item, click the Rotate Left button or press and hold the Option key, then click the Rotate Right button.
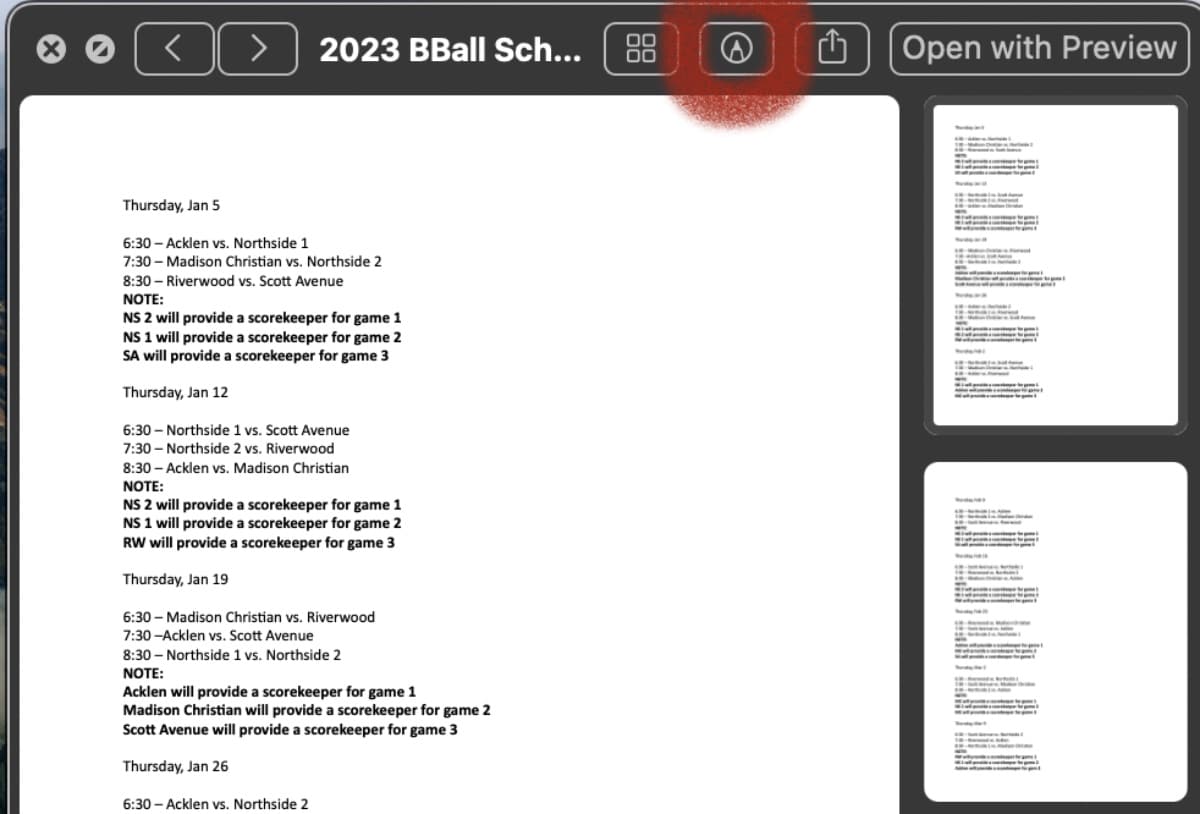
- Click the Markup button (it looks like a pencil tip) to mark up an item. Markup lets you write, sign, and draw on, or crop or rotate, PDF documents and images. If your iPhone or iPad is nearby, you can use Continuity Markup to mark up the file on your device and instantly see the changes on your Mac.
Click the Full Screen button on the left to see the item in full screen. To return to the previous size, click the Exit Full Screen button.
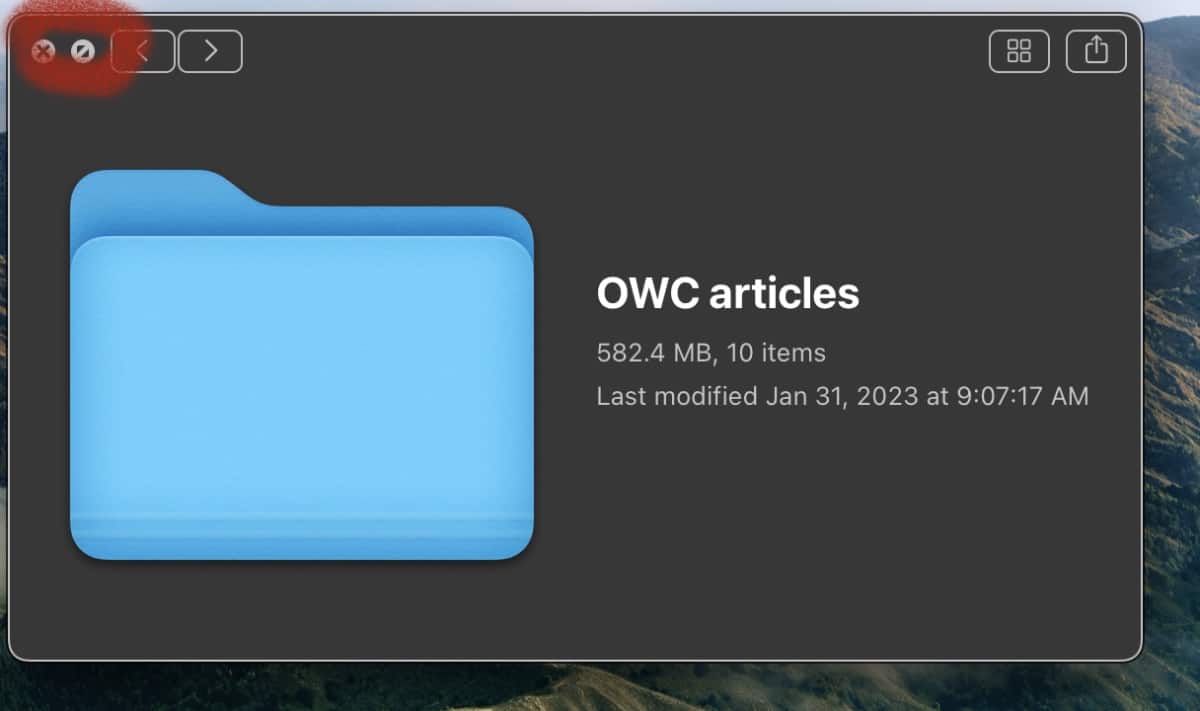
By clicking the arrows on the left, or by pressing the Left and Right arrow keys on your keyboard, you can see the next or previous item. In full screen, you can click Play to view the items as a slideshow.
Click the Sheet View button on the left (or press Command-Return) to see the items in an index sheet view.
From a Quick Look window, you can also choose to open the file you’re currently viewing within another app. Let’s say you have viewed a PDF, done some light markup, and now want to perform some further edits in Preview. From the Quick Look window, click Open with [App] to open an item in a particular app.
![Open with [App]](https://eshop.macsales.com/blog/wp-content/uploads/2023/06/Open-with-App.jpg)
To share a file, you can click the Share button on the right of the Quick Look window to share it.
When you’re done, close the Quick Look window by pressing the Space bar, force clicking again, or clicking the Close button.
Options for photos and videos
Quick Look is a great way to preview photos and videos without having to open them in an application like Preview or an editing application like Photoshop. But Quick Look isn’t just for previews. It also offers some basic editing features.
Within Quick Look, you can play the video portion of a Live Photo. When you open a Live Photo in the Quick Look window, the video portion of the photo plays automatically. To view it again, click Live Photo in the bottom-left corner of the photo.
Quick Look also allows you to trim an audio or video item. To do so, Quick Look a video file, then click the Trim button. From there, drag the yellow handles in the trimming bar, then click Done. You have the choice to replace the original file or create a new one.
