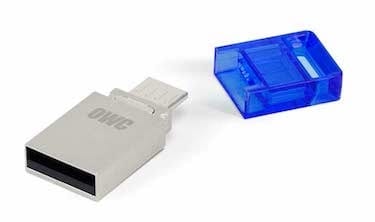
 Do you have a few USB flash drives lying around? Chances are you have at least a couple, or maybe even a small drawer full of them. In my case, I have about a half dozen, with no specific use assigned to them. That means I have a source of flash drives for trying out a few unusual uses for these handy take anywhere storage devices.
There are lots of uses for flash drives, including using them as an easy way to copy files between computers, as intermediate storage for photos, music, and videos, and what may be a primary use this time of year, sending tax return data to and from your tax preparer.
But those are more mundane uses. In this article, we’re going to take a look at four more interesting uses for flash drives you’re currently not using.
RAID 0 Security Array
A USB flash drive can make a surprisingly versatile and reasonably fast Striped RAID array (RAID 0). All that’s needed is a powered USB hub with enough ports to accommodate the flash drives you’re going to connect. The speed you can get out of a USB flash RAID 0 array is based on three factors: the number of flash drives you use, the speed of the flash drives, and the speed of the USB interfaces.
Assuming you’re using USB 3.1 gen 1 ports, hubs, and flash drives, the maximum theoretical speed is 5 Gbps, which you’re not likely to ever actually see, but it does set an upper limit. In actual use, the flash-based RAID array is going to be limited chiefly by the write and read speeds of the USB flash drives. Some of the fastest flash drives available can have write speeds a bit better than 150 MB/s, and read speeds coming close to 200 MB/s. However, most USB 3.1 flash drives have much more modest write and read speeds, with sub 25 MB/s write speeds and sub 100 MB/s read speeds being a bit more typical.
Even with the slower flash drives, if you put enough of them together, you can get pretty surprising write and read performance out of them in a RAID configuration.
To build the USB flash drive RAID array, plug as many flash drives as you have on hand into a USB hub. It’s best if the flash drives are the same size, speed and manufacturer, but it’s not a requirement.
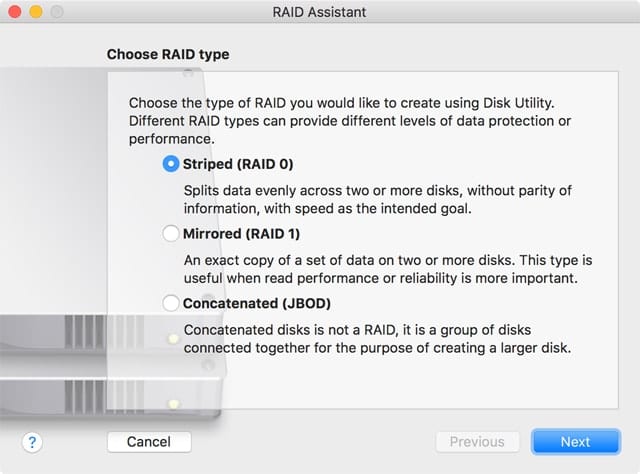
You can use the RAID Assistant built in to all versions of the Mac OS (except OS X El Capitan), or you can use SoftRAID or SoftRAID Lite to create the RAID 0 array.

You can use your USB flash-based RAID array for just about anything you would use a normal external RAID for, but these two uses may be of interest:
As an old-fashioned secure data storage system: Data stored on the flash array is effectively divided between the flash drives that make up the array. Split those drives apart and store them separately and the data on them can’t be reconstructed. Bring all of the flash drives back together and you can access the information they contain. For even more security, you can encrypt the array using the FileVault encryption options built into your Mac.
As a fast array for scratch space for graphics, audio, or video apps: Be a bit careful here, because if you’re using low-cost flash drives, the write speed may be a bit low for this type of use. On the other hand, the read speed is probably quite good.
As with any RAID 0 storage system, there’s a danger of data loss should one of the drives fail or is lost, so be sure to use a backup system if you plan to use this RAID array beyond just trying out the idea.
Two-Factor Login Key
A USB flash drive can be used as part of a two-factor authentication system. Using a third-party app such as RohOs lets you use any USB flash drive as a hardware token in a two-factor login system.
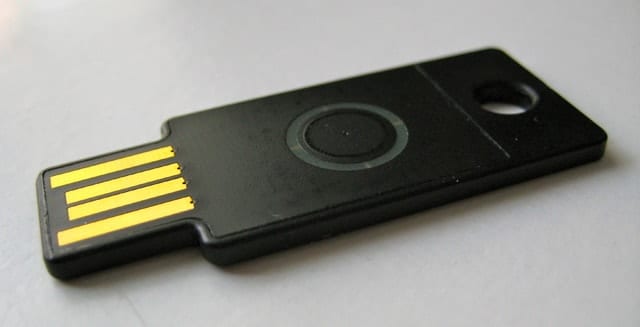
You can also use specifically designed flash drives that have built-in support for U2F (Universal 2nd Factor), an open authentication standard originally developed by Yubico and Google. U2F-enabled USB flash drives can be used as hardware passkeys for Google, Dropbox, GitHub, and Facebook. With a bit of tweaking, U2F flash drives, such as those from YubiKey, can be also be used for secure login to your Mac.
Details for creating two-factor login keys for your Mac are a bit beyond the scope of this article, but you can find details at RohOs for using a normal USB flash drive, and at Yubico for U2F-enabled flash drives.
Create a Bootable Copy of the Mac OS Along With Your Favorite Apps
Provided your flash drive is large enough (16GB is a good minimum, 32GB is better, and 64GB gives you lots of room), you can install a bootable copy of the Mac OS, along with any apps you wish, onto a USB flash drive.
I actually do this for every version of the Mac operating system I install. On the bootable flash drive I install the Mac OS system, a copy of the Mac OS installer, apps I routinely use, and a number of troubleshooting utilities. What I end up with is a portable copy of my work environment, including troubleshooting tools that I can use should any of my Macs have issues. I can also use the flash drive to upgrade a Mac OS since I include the installer for the Mac OS version on the drive. It’s also possible to take the USB flash drive with me and use it on other Macs I may encounter in my travels, letting me feel much more at home when I’m on the road.
If you do this for every new major version of the Mac OS, you’ll have an archive you can make use of should you ever need to restore a Mac to an older version of the OS.
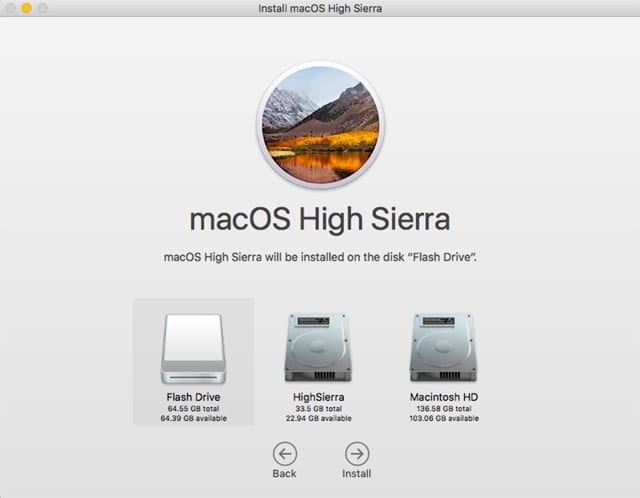
To create the bootable flash drive, you can use the Mac OS installer and choose the flash drive as the install destination; this will produce a clean install of the OS. You can also create a bootable clone of your Mac, though you’ll likely run into issues with the flash drive not being large enough to accommodate all of the information on your startup drive.
If you go the route of a clean install, here is a list of some of the apps you may wish to include:
The OS installer, which you can download from the Mac App Store.
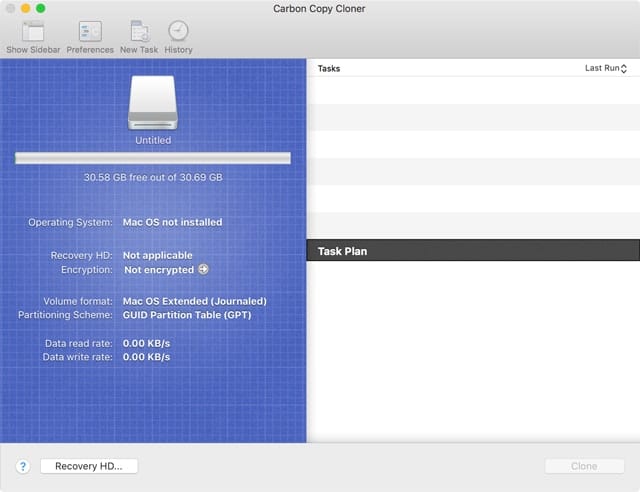
Backup utilities, such as Carbon Copy Cloner.
Drive utilities, such as Drive Genius, DiskWarrior, or TechTool Pro.
Drive recovery apps, such as Data Rescue.
A password manager, such as 1Password.
A Mac customization app, such as TinkerTool or Onyx.
Any office apps you may need, such as a word processor and spreadsheet.
Any cloud storage apps you may use, such as DropBox, Google Drive, or Microsoft OneDrive.
And of course, any additional apps you will need.
Remember, the clean install of the OS will include all of the usual Apple-supplied apps, including Safari, Mail, and Disk Utility. Try not to go overboard with adding apps; you’ll need plenty of free space as well.
Create a macOS Recovery Partition on a USB Flash Drive
A flash drive is an ideal candidate for installation of a Recovery partition. This will let you carry around a complete macOS (or OS X) Recovery HD partition in your pocket. You can use the Recovery partition to reinstall the Mac OS, restore data from a Time Machine backup, use Disk Utility, access the Terminal app, and use Safari to get help online.
In order to create the Recovery partition you’ll need to use Disk Utility to create a new partition on the flash drive. You should make the partition around 1GB in size, formatted as Mac OS Extended (Journaled), and using a GUID partition scheme. You can find details about how to create a new partition in the Rocket Yard guide: How to Use macOS Sierra Disk Utility to Partition, Erase Drives.
Once you have the flash drive partitioned, you can create the recovery partition in one of two ways:
If you’re using OS X El Capitan or earlier, you can download the Recovery Disk Assistant from the Apple website. Once downloaded, open the disk image and launch the Recovery Disk Assistant, then follow the onscreen instructions.
If you’re using a later version of the Mac OS, I recommend using Carbon Copy Cloner to create the Recovery partition. The steps vary slightly based on the version of Carbon Copy Cloner you’re using. For Carbon Copy Cloner 4.x, use the instructions found here. For Carbon Copy Cloner 5.x, use these instructions.
Install a Live Linux Distribution on a Flash Drive
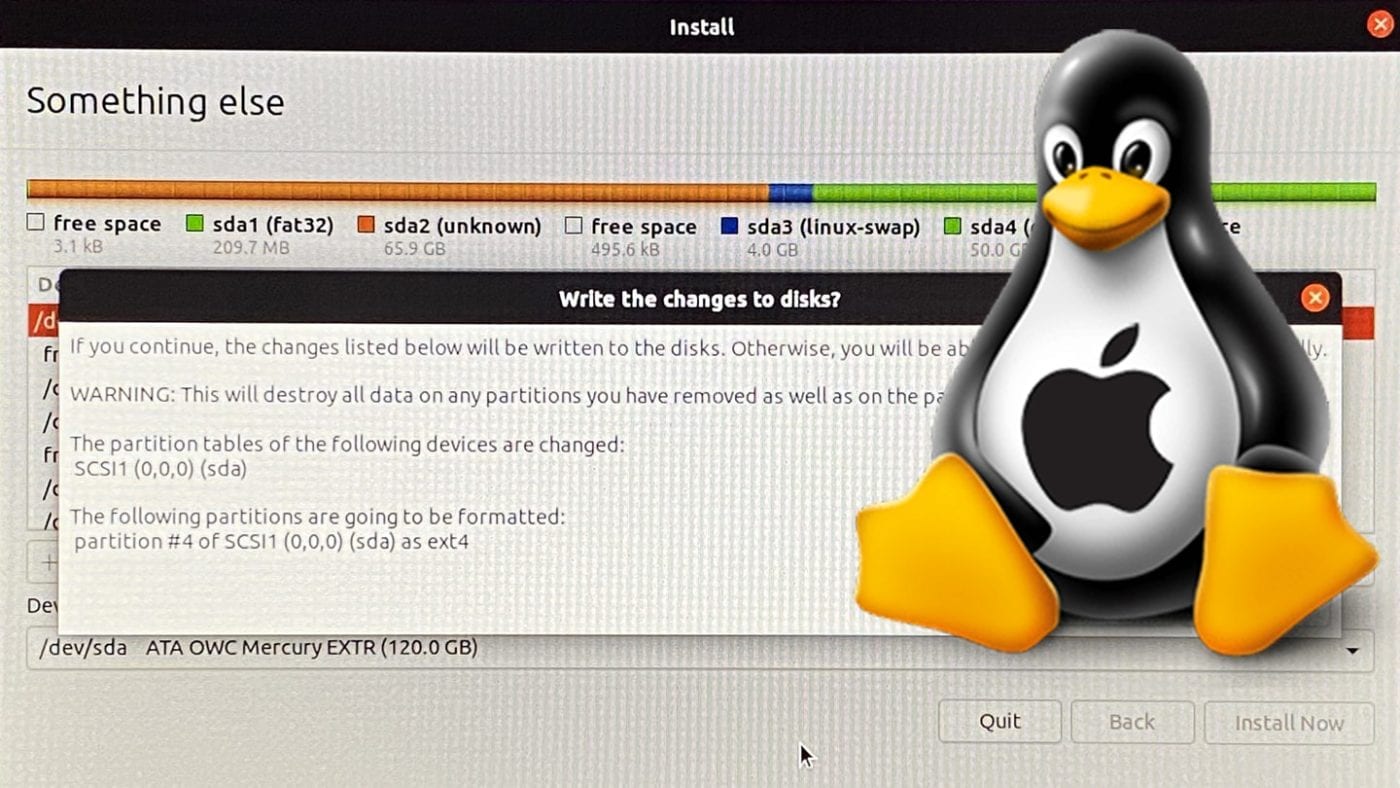
Our last suggestion for using a flash drive you have lying around is to create a bootable version of Ubuntu on the flash drive, allowing you to try out this popular version of Linux on your Mac without having to make radical changes to it (your Mac, that is).
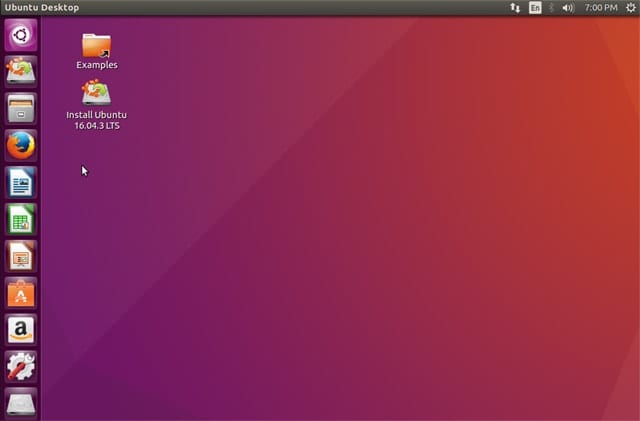
The process is a bit involved, but there’s a detailed walkthrough available in the Ubuntu website’s tutorial section. You can find instructions at Create a Bootable USB Stick on macOS.
Have your own interesting uses for spare flash drives? Let us know about them in the comments section.


My iMac is running 10.13.6 and I would like to use this tip to create a bootable OS copy on a 16 GB flash drive. But I can’t find a download source for High Sierra 10.13.6. Where can I find this download?
On the latest version of MacBook Pro with T2 chip and Touch Bar you have a few extra steps to allow boot from external device. This requires you to boot in recovery mode and check allow boot from external drive
The ‘Create a Bootable USB Stick on macOS’ link opens a blank page using Safari 11.0.2.
Thanks for the article. I’ve learned a few new things, but I have been using the same idea with separate operating systems on flash drives or larger external drives.
Do you have a source for all the ISOs from each OS though. I have about half of them since Snow Leopard.
I plugged one into my Airport Extreme just to give a simple “staging” area or swap space among devices in the house. I did use 128GB stick so I’m able to keep a good number of movies on it for random viewing, but I started with just an 8GB – just enough for swapping some files without emailing.