

Although it’s tempting to look at one of the new Apple Silicon Macs for various purposes, older Macs still have a lot of life left in them. In previous articles, I’ve set up a 2014 Mac mini as a Plex media server, then later installed the Linux operating system on the same Mac mini for the purpose of using it as a small business or home server. In this article, I’ll show you how to set up a commonly-used set of tools known as LAMP to start adding some utility to our server. The final step? We’ll install WordPress.
What is LAMP?
Let’s shine a light on LAMP! The acronym stands for Linux Apache MySQL PHP. Linux is the server operating system installed in the last article, Apache is a widely-used open-source HTTP (web) server application, MySQL is an open-source relational database system, and PHP is a general-purpose scripting language to tie all of these tools together.
LAMP is a software stack – a bundle of software that works as a foundation for other applications to run on. LAMP is used as the underpinning for the popular WordPress content management system used here at The Rocket Yard. PHPMyAdmin uses LAMP to create a powerful database front-end for MySQL. There are email servers available that use LAMP, such as SquirrelMail.
Private versus Public Servers
At this point in this Linux server series, I’m going to assume that we are setting up a private server. In other words, this server is only available to people on our local network. This isn’t particularly useful, since a “real” server for a business should be accessible to the public. But for purposes like setting up a test website or an in-house Wiki, a private server is fine.
Installing LAMP
To load the components of LAMP onto the Linux server, we need to open a terminal window. In Ubuntu Linux, that’s done with the shortcut CTRL-ALT-T. On a Mac keyboard, that will be CTRL-OPTION-T.
A Word of Caution
Before we get started, I want to emphasize that you’ll be typing a lot of commands. Always make sure that you double-check your typing before pressing Return. Making an error can result in a need to uninstall and reinstall the components!
Apache HTTP Server: The A in LAMP
At the terminal prompt, type the following:sudo apt install apache2
then press Return
You’re asked to enter your administrator password. Do so, then press Return. You’ll also be asked if you wish to continue. Type “y” for Yes, then press Return.
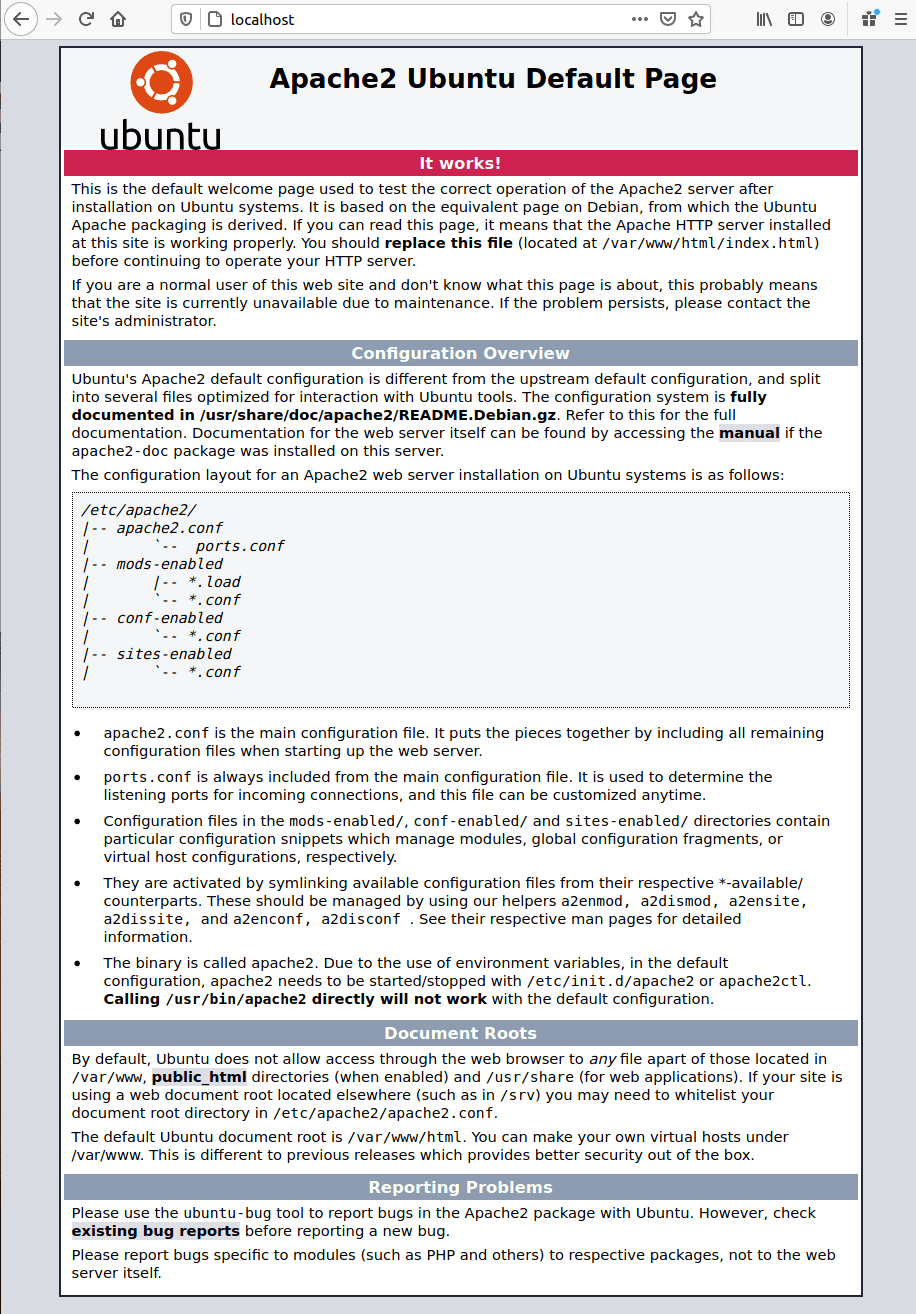
To see if Apache is running, open a web browser in Ubuntu, then typehttp://localhost/
in the address/search bar and press Return. You should see this default page appear:
Install MySQL Server: The M in LAMP
The next component of LAMP to install is MySQL Server. At the terminal prompt, type the following:sudo apt install mysql-server
and press Return. As with the installation of Apache, you’re asked for your admin password and if you want to continue the installation. Answer as before. A successful installation ends with text like this in terminal:

Install PHP: The P in LAMP
The final component of LAMP is PHP, a powerful scripting language. In the Ubuntu terminal type the following:sudo apt install php-pear php-fpm php-dev php-zip php-curl php-xmlrpc php-gd php-mysql php-mbstring php-xml libapache2-mod-php
That’s a lot to type, so make sure you have done it correctly or just cut and paste the code above. Press Return at the end of the command. Oddly enough, terminal didn’t request the admin password when I did this, but did ask if I wanted to continue the installation. With a Y, the installation proceeded.
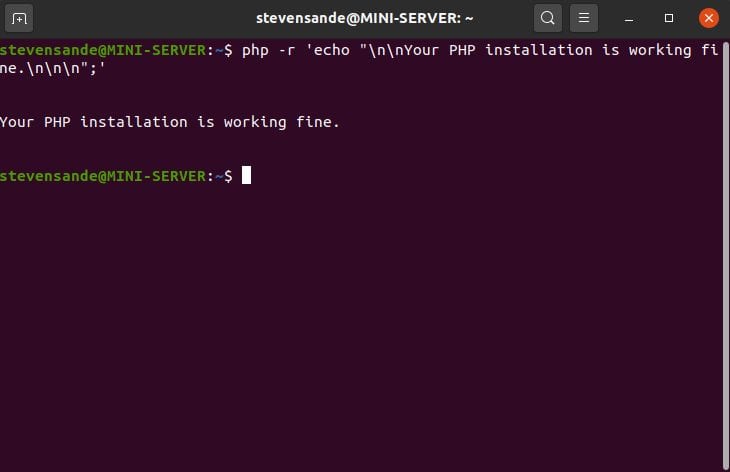
Testing PHP is simple. Just type this command at the terminal prompt:
php -r 'echo "nnYour PHP installation is working fine.nnn";'
Press Return, and if PHP is running properly, the response should be something like this:
Setting Up WordPress with LAMP
As an example of setting up a server application on our LAMP-equipped Linux server, I’ll show you how to install the very popular WordPress content management system. Not sure what a content management system is? It’s also known as blogging software, basically what allows bloggers to post text and images online.
WordPress is used on internal blogs and to run huge commercial websites, so it’s a great example of an application that can run on a Linux server. If it’s not still running, launch terminal on the server and type these commands at the prompt, pressing Return at the end of each:
sudo apt update
sudo apt install wordpress php
You’ll be asked to enter your administrator password after the first command, and asked if you wish to continue (answer “Y”) after the second command. At the completion of a rather long installation process, the terminal prompt reappears.
Configure Apache for WordPress
In this next section, we’ll create an Apache Webserver site for WordPress. To do that, we need to create a configuration file and store it in a specific spot. For this, we’ll use the text editor that ships with Ubuntu.
We haven’t launched the Text Editor (AKA gedit), so you may not know where it’s hiding. Click the Show Applications button (it looks like a square grid of nine little squares), and type Text Editor into the search field that appears at the top of the screen.
When Text Editor appears, click it to launch the application. I found it helpful to right-click the icon in the “dock” and select Add to Favorites so that the editor is always a click away.
Alias /blog /usr/share/wordpress
<Directory /usr/share/wordpress>
    Options FollowSymLinks
    AllowOverride Limit Options FileInfo
    DirectoryIndex index.php
    Order allow,deny
    Allow from all
</Directory>
<Directory /usr/share/wordpress/wp-content>
    Options FollowSymLinks
    Order allow,deny
    Allow from all
</Directory>
It’s easiest just to copy and paste this into the editor. Now to save the document, we need to make sure that it’s located in a specific directory. Click the button just to the right of the Save button and select Save As… from the menu. This brings up a list of the folders (Desktop, Documents, Downloads, etc…) for your account, but we need to save this file into an Apache2 folder.
Saving the Configuration File
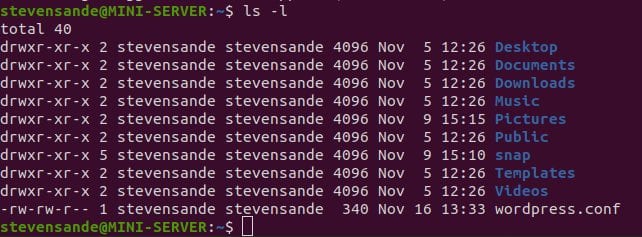
We’ll start by just saving the file to our home directory. Click the Save button, type in the file name wordpress.conf, then press Return. We can verify that the file has been saved to our home directory by typing the command ls -l at the prompt in terminal. You’ll see something like this (your username will replace mine):
Moving the Configuration File
That file isn’t in the correct location. It needs to be in directory path /etc/apache2/sites-available. The terminal window is still open, so type the following command at the prompt and press Return:
sudo mv wordpress.conf /etc/apache2/sites-available
Enter your administrative password, press Return, and the file is moved to the proper directory. To prove to yourself that the file is in the proper place, enter the following command to change directories:
cd /etc/apache2/sites-available
then list the files in the directory:
ls -l
You’ll see the file listed along with two other configuration files. Head back to your home directory by typing cd at the terminal prompt and pressing Return.
Enable the WordPress Site
Now we need to enter four more quick terminal commands to enable the site:
sudo a2ensite wordpress
sudo a2enmod rewrite
sudo service apache2 reload
systemctl restart apache2
As usual, remember to press Return after each command and enter your administrator password as required.
Configure the Database
One of the features that makes WordPress so powerful is that it stores content, user information, and media in a MySQL database. It then uses PHP scripts to create a web page on the fly. For example, when you open The Rocket Yard in your browser, you’re actually setting off a chain of events that pulls information from a MySQL database, then processes it in PHP to send code to your browser.
Remember using the text editor before to create a file? That’s what we need to do here. Launch the text editor and enter the following lines (replace yourpasswordhere with a password you wish to have WordPress use with MySQL):
<?php
define('DB_NAME', 'wordpress');
define('DB_USER', 'wordpress');
define('DB_PASSWORD', 'yourpasswordhere');
define('DB_HOST', 'localhost');
define('WP_CONTENT_DIR', '/usr/share/wordpress/wp-content');
?>
Save this document as config-localhost.php. Next, move it from your home directory to the /etc/wordpress directory.
sudo mv config-localhost.php /etc/wordpress
Next, we need to create another file. Name this one wordpress.sql, containing the following lines (replace yourpasswordhere with the password you entered in the config-localhost.php file):
CREATE DATABASE wordpress;
CREATE USER 'wordpress'@'localhost'
IDENTIFIED BY 'yourpasswordhere';
GRANT SELECT,INSERT,UPDATE,DELETE,CREATE,DROP,ALTER
ON wordpress.*
TO wordpress@localhost;
FLUSH PRIVILEGES;
We’ll now execute this file with the following command in the terminal:
cat wordpress.sql | sudo mysql --defaults-extra-file=/etc/mysql/debian.cnfAt this point, you can start the actual WordPress installation! To see the installer, we’ll type
http://localhost/blog/wp-admin/install.php into our browser and press Return. The following screen appears:
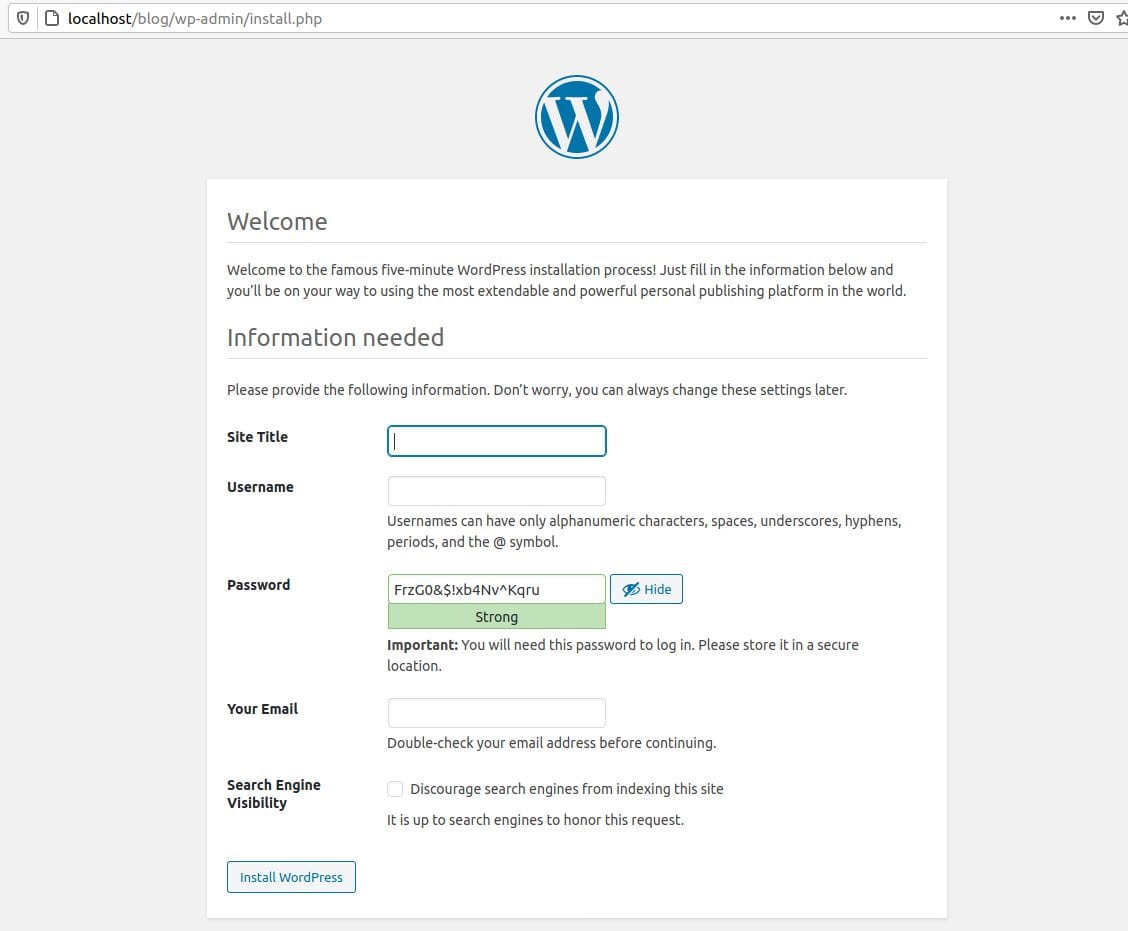
For my example, I’ll make the Site Title Starship, the Username Captain, use a password of 2020-aWFuL-YeaR, and enter my email address into the email field. With this information entered, I click Install WordPress. After about 30 seconds, WordPress responds with:

Now we can log into our WordPress blog and begin setting up pages and posts from the dashboard:
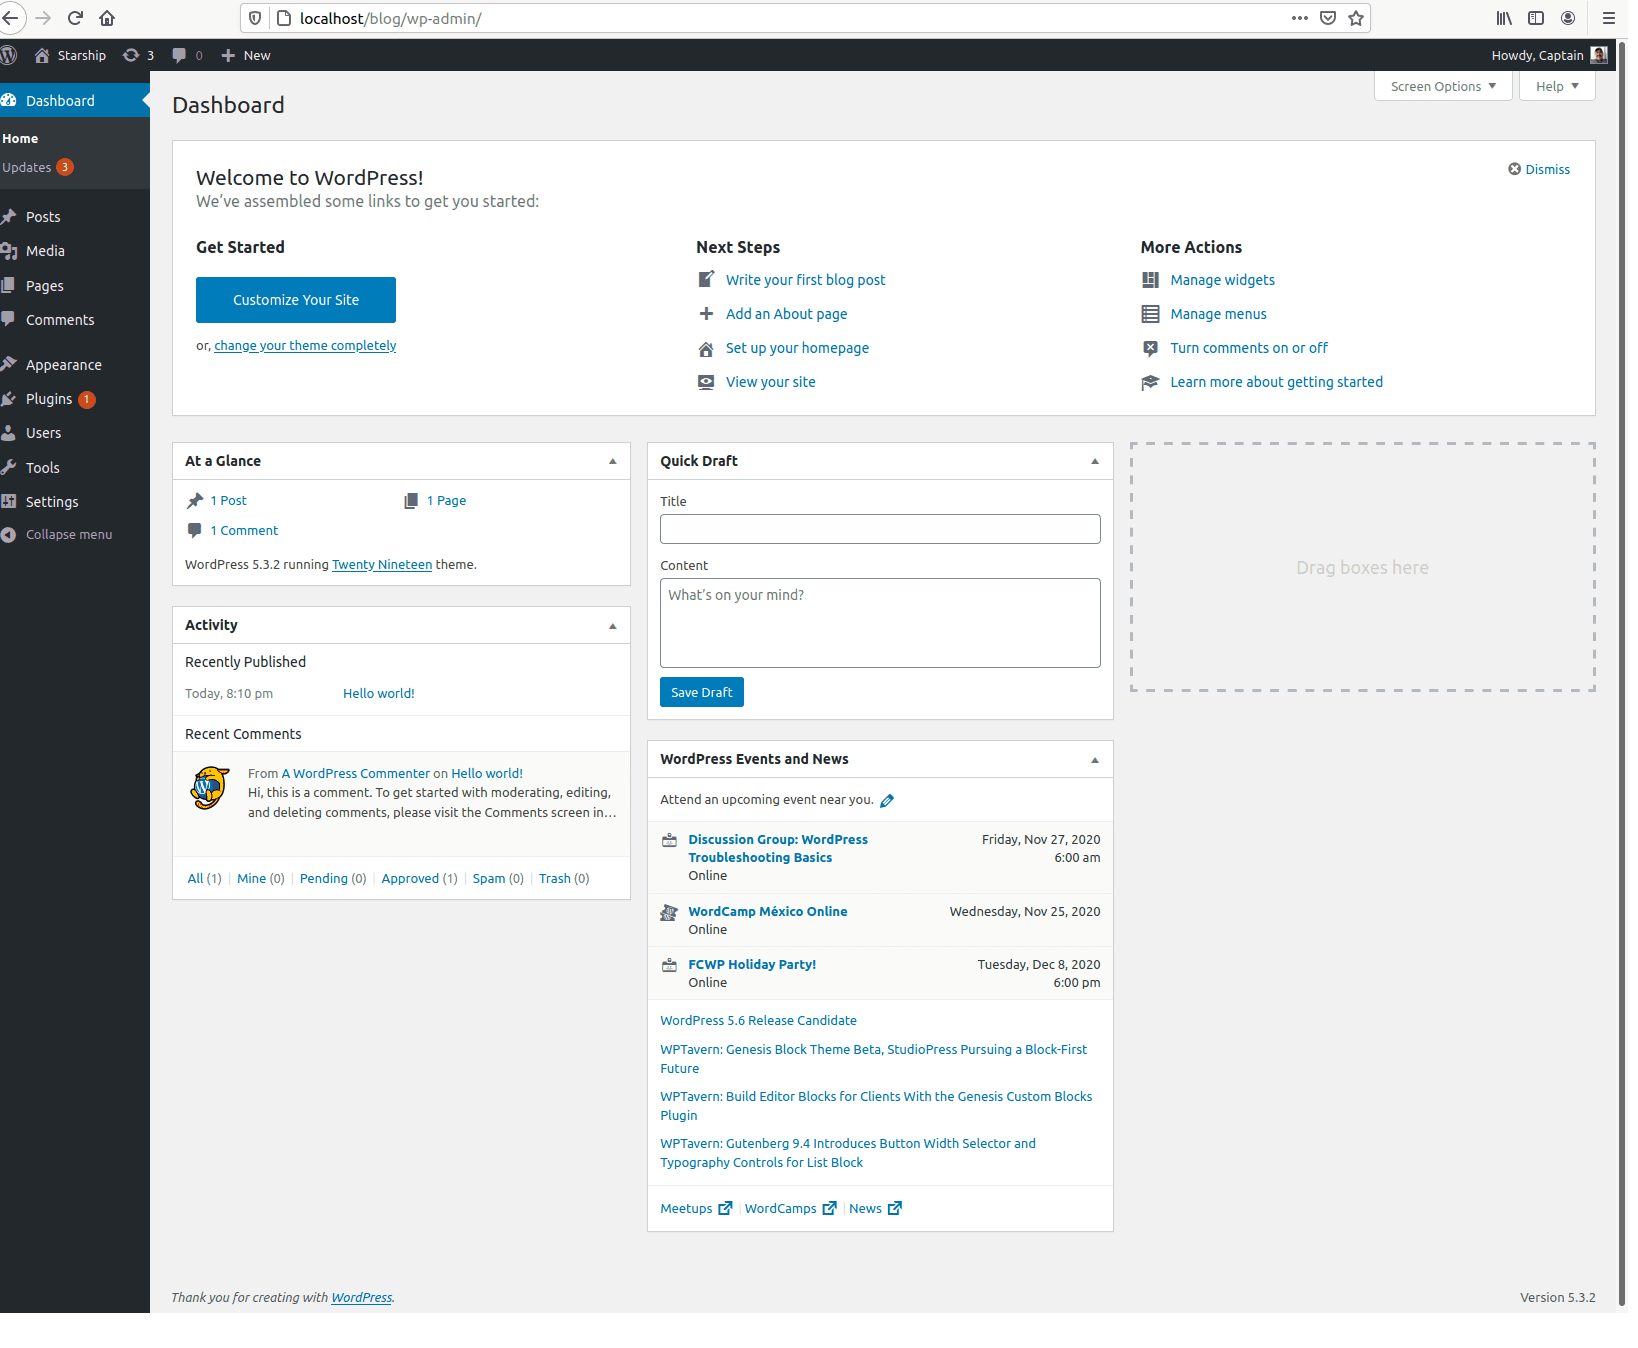
Note that this may not seem very useful since the only place the WordPress installation can be viewed is on the actual server! However, website designers often create a local instance of WordPress exactly like this to create a site, then export the necessary configuration files to a “real” server.
Server IP Address on our Linux Server
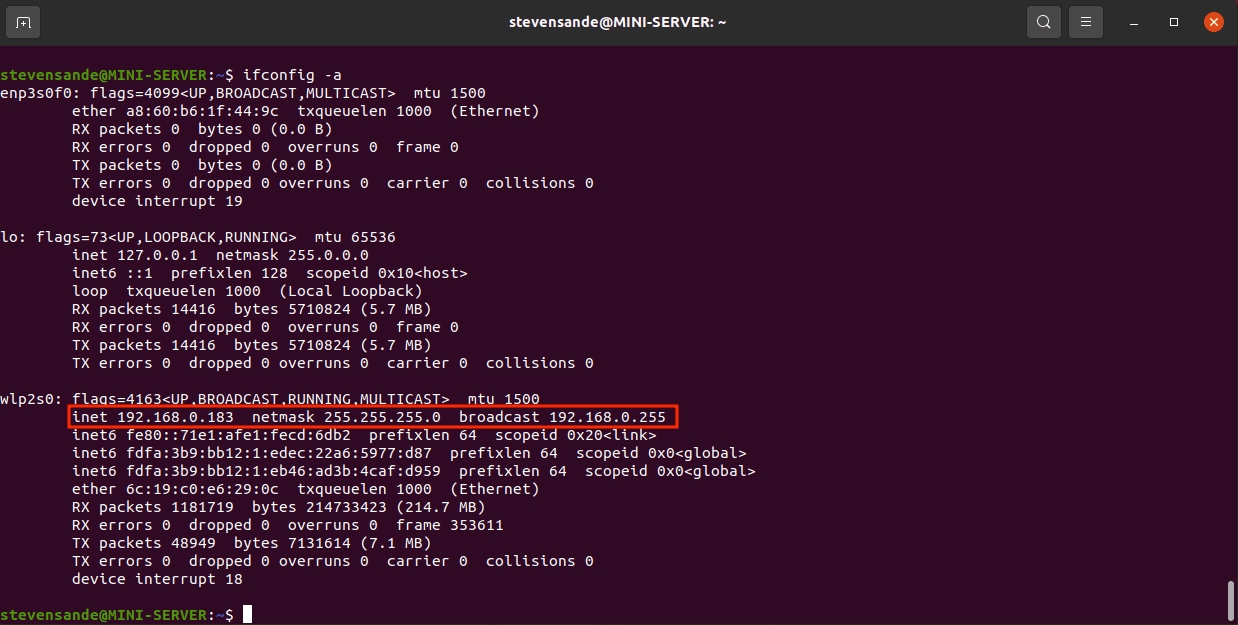
In order to start accessing our Linux server from other machines — like our Macs in the small office — we’ll first need to know the Internet Protocol (IP) address of the server. At the terminal prompt, enter the command
ifconfig -a
Hidden in this alphabet soup is the information for all of the various network adapters — Ethernet, Loopback, and Wireless. Our test server uses Wi-Fi for connectivity, so that’s where we see the IP address information (highlighted in red):
To test that it’s accessible on our local network, we can ping the server from a Mac. Launch Terminal on the Mac, then enter the command
ping -c 10 192.168.0.183
This sends 10 packets from the Mac to the server, which then responds (or doesn’t):

We know our server IP address, and we know that we can reach it from a Mac. In our next post in this series, we’ll start using the server from other computers in our small office.


With the last command line issue before going to the WP installation in the browser, I received, “ERROR 1410 (42000) at line 4: You are not allowed to create a user with GRANT”. Ideas?
How about a simple guide to hosting multi-domain websites with this configuration? (i.e. getting a single box to respond to http://www.example1.com and http://www.example2.com)