

Since 2011, one day has been marked to annually reflect on the importance of data backup and recovery. Today, March 31st is World Backup Day and we’re making a point of reminding you to back up your data and teach you the easiest and most effective ways to do so.
In today’s digital world, data is more important than ever. Almost everything is uploaded online. Your designs and art projects. That research paper you finally finished writing. The customer data you’ve been compiling for your business. And those precious digital memories of your family. All of this data (and more) is stored on your phone or computer, which could potentially get stolen or damaged one day, no matter how careful you are. While you could always get new devices, a lot of important files cannot be easily replaced!
With the right systems and drives, data backup can be set up in a matter of minutes, and even automated to save you time, money, and stress. Keep reading to learn how to quickly backup your Apple devices!
Backup your Mac with Time Machine
It is important to engage in backup best practices to keep your data safe and ready for transfer. Even if you’re not planning on upgrading soon, it is still very important to ensure that your data is properly backed up.
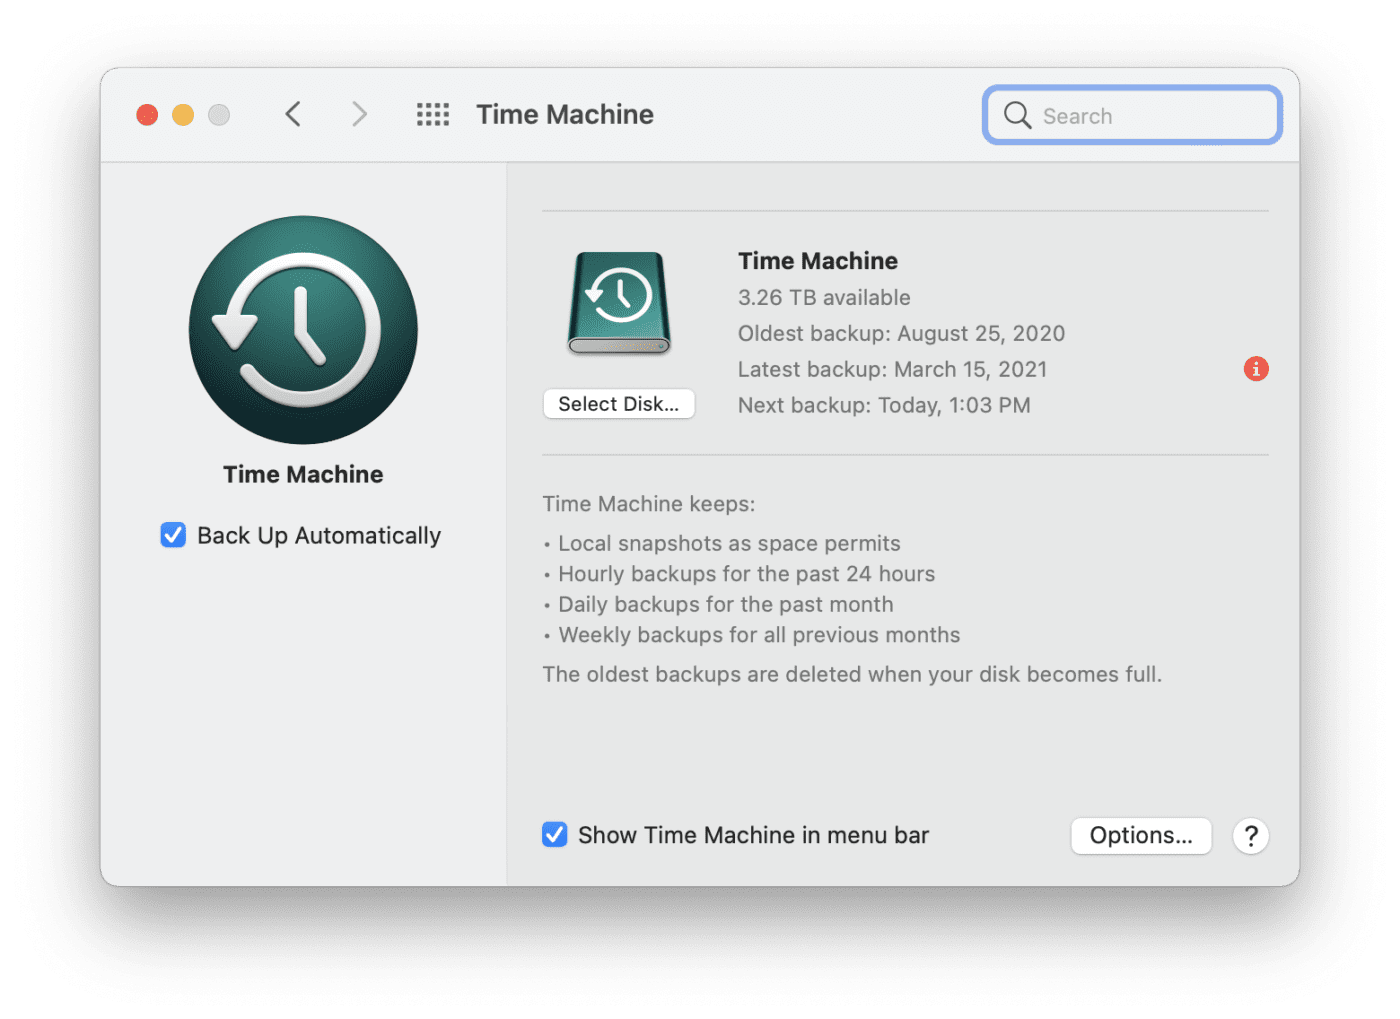
Luckily for Apple users, Macs come with a built-in backup feature called Time Machine. This feature helps you make periodic backups of all your personal (and business) data and allows you to recover deleted files. It is quite easy to use and only requires an external storage device with enough space for your data.
Sync Time Machine to an external drive
When choosing a storage drive, be sure to get one that is at least twice the size of the internal storage space on your Mac. If you don’t know your Mac’s storage capacity, simply go to the Apple menu and select About This Mac then click on the Storage button or tab to view your Flash Storage size and your used and available disk space.
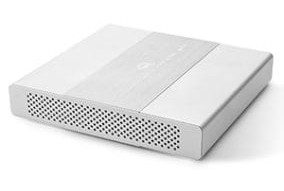
Mercury Elite Pro mini
One great portable storage powerhouse you should consider is the Mercury Elite Pro mini, which has full USB-C compatibility. It has a storage capacity of up to 4TB and a transfer speed of 540MB/S. The device also features a noiseless operation, and it is lightweight and compact, making it the perfect travel buddy.
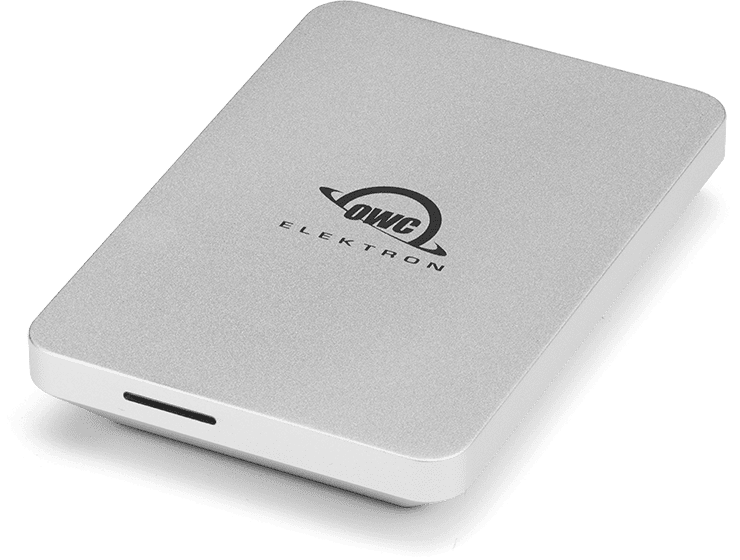
Envoy Pro Elektron
If you’re always on the go, a portable SSD like the Envoy Pro Elektron might just be the right device for your Mac backup. With no drivers needed, it has a seamless plug-and-play action, and it is universally compatible thanks to its USB-C cable with a Type-A adapter. Running on advanced NVMe technology, the Envoy Pro Electron delivers much faster performance than other portable drives. It has a transfer speed of up to 1011MB/S and it features an LED that shows its activity status. It fits perfectly in your pocket, and it is crushproof and waterproof.
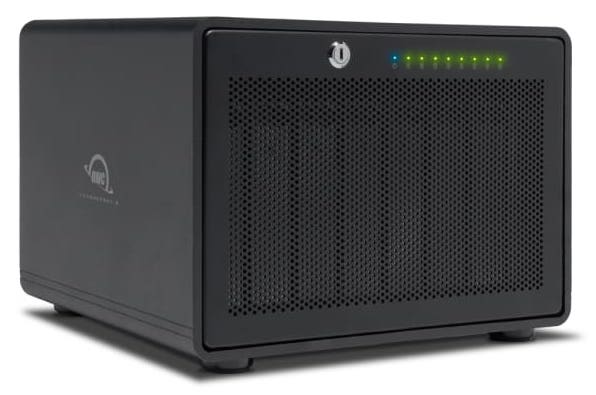
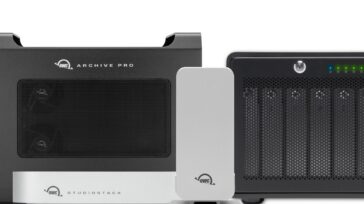
Thunderbay 8
One of the best storage devices for your Mac is OWC’s Thunderbay 8. This is the perfect storage solution for small businesses and people in the creative industry. You get to save up to 144TB of videos, pictures, and other data and enjoy a transfer speed of up to 2,586MB/S. If you’re working on a huge project and require more space, this device allows for daisy-chain expansion so you can buy and link more units together to build a secure data center.
Once you’re satisfied with your external hard drive, you can set up the Time Machine by following these steps:
- Plug your drive into your Mac port.
- Click on Time Machine in your menu bar. If you don’t see it, go to Apple Menu > System Preferences > Time Machine.
- Click on Select Backup Disk and choose the external hard drive you want to use.
- You may need to format the drive to make it compatible with Time Machine.
- Click on Use Disk to start backing up your data periodically.
- If you want to backup immediately, select Backup Now from the Time Machine menu.
That’s all you need to do! Once set up, Time Machine will make hourly, daily, and weekly backups until your drive is full. This is why you need a drive with a larger storage space than your Mac.
Powerful Cloud backup solutions for your Mac
Using Time Machine to back up your data to an external drive is not the only way to protect your data. There are also cloud-based backup applications you can use alone or in tandem with a hard drive for added security.
Acronis Cyber Protect Home Office
This versatile cloud-based application Acronis Cyber Protect Home Office allows you to backup your entire Mac to an external drive (free with select OWC drives). Or simply back up to the Acronis Cloud on a premium subscription. Or a combination of both!
SoftRAID Drive Management
Additionally, an OWC SoftRAID utility for your macOS can minimize the risk of disk failures, improve disk optimization, and tighten data security. It will even notify you via email if you are a risk of disk failure, giving you time to replace hardware. If you have multiple external drives, this product is essential for peace of mind.
Backup your iPhone and iPad
Like your Mac, Apple also provides a storage solution for your iPhones and iPads—iCloud allows you to make a copy of your files in case your device is stolen or suddenly crashes. As long as you have an iCloud account, you can log in on another Apple device to access and recover your backed-up information.
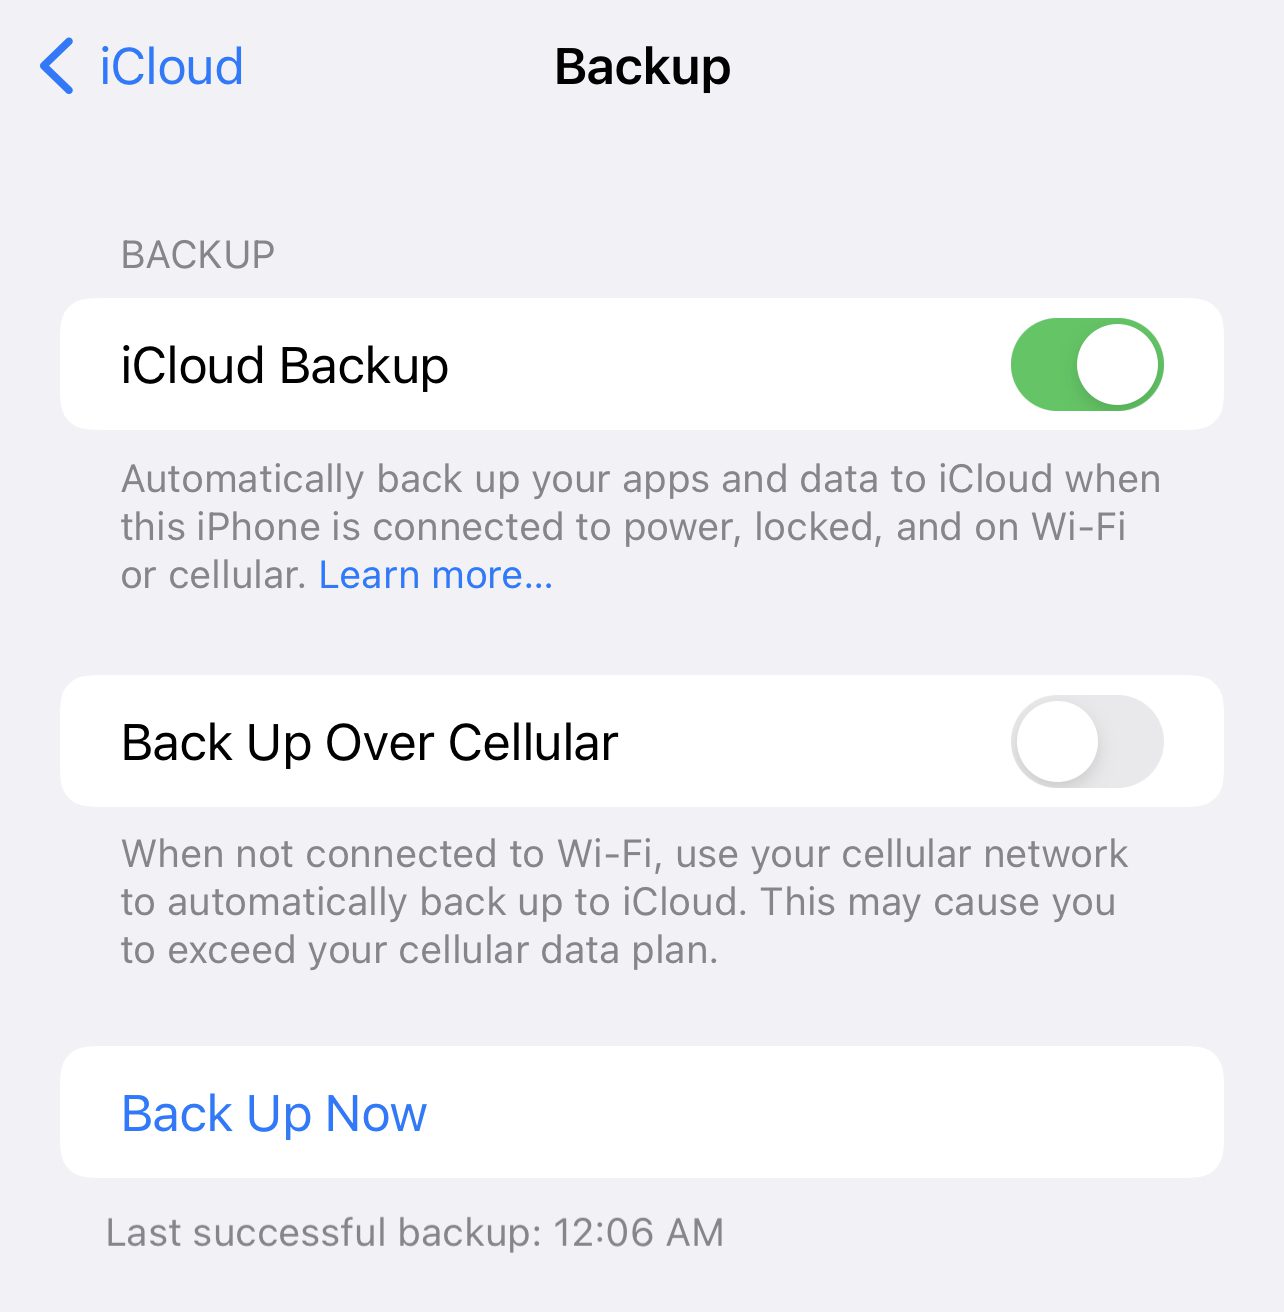
Setting up iCloud backup
- Make sure you’re connected to a secure Wi-Fi network.
- Sign in to your iCloud account (if you don’t have one, create one and use a secure and memorable password.)
- Go to Settings on your device.
- Tap your name or Apple ID.
- Scroll down and tap iCloud.
- You’ll see iCloud Backup (if it is off, tap to turn it on.)
- If you’ve never backed up your data or if it’s been a while, tap Back Up Now to start making a copy of your information. It might take a while, depending on the amount of data you have.
As long as your phone is plugged in and connected to a Wi-Fi network, iCloud will automatically backup your data every 24 hours. To check the time and size of the last backup, go to your iCloud settings and tap Manage Storage. Apple gives you 5GBs of free storage on iCloud so be sure to monitor your usage. You may need to buy more iCloud storage if you have a lot of files or files that take up a lot of space like videos.
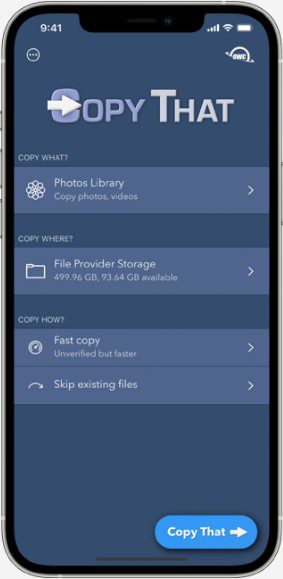
Copy That App
OWC’s Copy That makes it super convenient to backup all of your important media files (photos and videos) from your iPhone and iPad devices.
Supported by a USB-C specification, you can seamlessly plug into your iPad device and start the backup process with just a click. Its highly responsive media transfer application allows you to backup your media files not only to OWC external devices but any external device including network shares. With your iPhone, simply get an Apple Lightning to USB 3 camera adapter and start the backup process.
That’s all there is to it
Thanks to the built-in storage, backing up your Apple devices is easy and inexpensive. So, don’t wait until it’s too late! Take a couple of minutes today to backup your devices—trust us, you’ll sleep better knowing you have at least one safe copy of your data.


I know you sell backup systems but objectively how does back up to Google Disc compare to iCloud?