Maybe you use your Mac for demanding 4K video editing sessions or for complex graphic design projects. Maybe you only use it for simple web browsing, social media and word processing. In either case, you’ll no doubt want your Mac running as fast as it possibly can.
Fortunately, there are several simple ways that the Rocket Yard will outline to keep your Mac running its best both with and without a toolkit.
NO TOOLS NECESSARY
 1) Clean up your hard drive: All spinning-disk drives, no matter their size, suffer from the same physical limitations. Because data is written from the outside edge to the inside edge, as the drive fills up, the available space becomes less and less efficient. The outer 30 to 50 percent of the physical space on the drive has the highest storage density, and is the highest performing section of the drive. The bottom line is that once your hard drive is past 50 percent full, you’ll start to see dramatic performance reductions as the drive continues to fill up. The best remedy – keep your hard drive under 50 percent full by deleting unused files. For more on clearing storage on your Mac’s drive, read this Rocket Yard Guide.
![]() 2) Only upgrade your OS when necessary: While an OS upgrade might be critical for security updates, or if you need access to software only available on the most current version, major OS upgrades can cause your Mac to slow down – especially if yours is an older model. Each new major OS revision adds more features, but at the same time adds more lines of code for your machine to process. These new revisions are built for machines that have newer, faster processors, modern internal i/o, and often require more RAM, and higher-performance video cards. While you should always take your current OS to it’s final version, you should carefully consider the costs and benefits of a major OS upgrade before taking the leap.
2) Only upgrade your OS when necessary: While an OS upgrade might be critical for security updates, or if you need access to software only available on the most current version, major OS upgrades can cause your Mac to slow down – especially if yours is an older model. Each new major OS revision adds more features, but at the same time adds more lines of code for your machine to process. These new revisions are built for machines that have newer, faster processors, modern internal i/o, and often require more RAM, and higher-performance video cards. While you should always take your current OS to it’s final version, you should carefully consider the costs and benefits of a major OS upgrade before taking the leap.
![]() 3) Streamline your startup: If your Mac exhibits slow boot sequences and slow operation, the culprit may be your startup process launching and running too many programs ‘behind the scenes’ at boot. Often when you install software, you agree to it launching on startup, but once the apps launch, they aren’t always conspicuous, and may only show up in the menu bar. If your Mac is running slow, especially if it takes a long time for the OS to boot, it’s a good idea to look at the startup items. Navigate to System Preferences > Users & Groups > Login Items. Here you can make sure only critical items launch at startup, instead of unused programs that take up valuable RAM running in the background.
3) Streamline your startup: If your Mac exhibits slow boot sequences and slow operation, the culprit may be your startup process launching and running too many programs ‘behind the scenes’ at boot. Often when you install software, you agree to it launching on startup, but once the apps launch, they aren’t always conspicuous, and may only show up in the menu bar. If your Mac is running slow, especially if it takes a long time for the OS to boot, it’s a good idea to look at the startup items. Navigate to System Preferences > Users & Groups > Login Items. Here you can make sure only critical items launch at startup, instead of unused programs that take up valuable RAM running in the background.
DIY SPEED-BOOSTING UPGRADES
1) Add more memory: Upgrading memory is by far the best and most affordable pathway to a total system performance boost for your Mac. With limited memory, your Mac relies heavily on the internal drive as a cache to make up for the lack of resources. Even with a fast SSD, the internal drive is much slower than memory, and you’ll see the dreaded spinning beach ball while your under-resourced system struggles to catch up. Related: Get the right amount of memory for your new Mac.
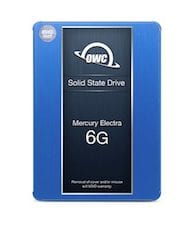
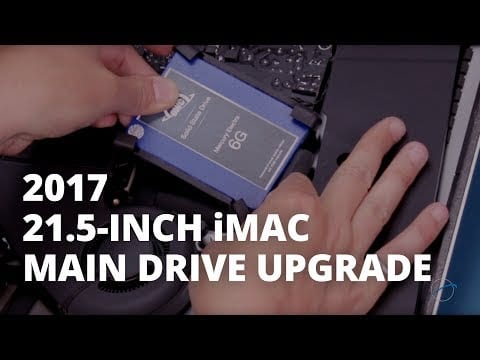
 2) Upgrade to a Solid State Drive: With no moving parts, SSDs are more rugged, run cooler and quieter, and consume far less power than platter-based hard drives.
With an OWC SSD, everything on your Mac happens at lightning speed. Your Mac boots in seconds, not minutes. Apps launch in an instant, and data operations such as loading and saving happen much faster. The performance difference is simply astounding – OWC SSDs, available up to 4TB, deliver real-world performance up to 100x faster than hard drives.
If your budget won’t stretch to an SSD upgrade, you can still get a great speed boost with a new SSHD. Combining a spinning-disk hard drive and solid state cache technologies, SSHDs offer similar power consumption and reliability advantages to SSDs as well as a significant speed boost at a great value price.
3) More internal drive capacity: No matter how much memory you have, or how fast your drive, without enough free space, your Mac won’t run at its full speed potential. Modern operating systems like OS X use this free space for caching to maximize efficiency and performance. And once free space drops below 50 percent total capacity, the system begins to show the painful signs of slowing down.
A general rule of thumb for calculating the required free space is to have no less than 15GB + 1.5 x (the amount of memory installed). For example, if your machine has 8GB of memory and a 120GB HDD, 27GB is the ideal amount of free space you should leave on that drive.
If your internal drive is close to full, it’s time to upgrade to a higher capacity, higher performance drive. Especially considering that modern drives are so much faster, more efficient, and cheaper per gigabyte than ever before.
Your destination for Mac upgrades
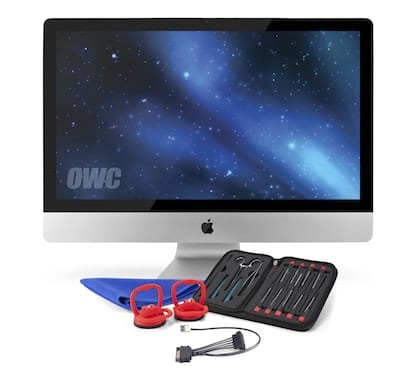
Visit MacSales.com to find the best SSD, HDD and memory upgrades to get the best performance from your Mac. We even have a popular line of step-by-step installation videos to make your DIY upgrades as pain-free as possible.
Further reading:


HI,
I have a Early 2008 eight core Mac Pro, the “OctoMac”. I bought this Mac in 2008 when it was introduced. I have recently updated it with 16 GB of OWC memory and replaced all of the spinning disks with SSDs. The boot disk is a OWC G3 480 GB SSD. OWC had some Intel G3 300 GB disks on sale a while back and two of those complete the internal storage. I also have two OWC G3 480s in Mercury On-The-Go Pro enclosures. I am running El Capitan as the OS.
The machine now feels now like a new Mac to me.
Thank You OWC!
Frank Binkowski
A very helpful article. I have done most of these things, but some I missed. This will help a lot!
2. Only upgrade your OS when necessary.
a) I first read this as don’t apply patches. Clarification might be good if you republish this.
b) So what should a user do after the second major release?