

I’m a big procrastinator when it comes to any cleaning task. My rationale is simple: it’s difficult to dredge up the motivation to start. The resistance is fierce. But once I’ve finally committed to the process, the end result imbues a sense of pride and accomplishment that makes it all worthwhile.
Maybe you can relate.
Cleaning a Mac is no different.
My five-year-old M1 Pro MacBook Pro was in dire need of a deep cleaning. All the symptoms were there: gradually eroding performance, odd behavior during large file copies, and (of course) numerous encounters with the spinning “beachball of death.” Something about this Mac just felt…off.
Running Disk Utility in Recovery Mode confirmed my suspicion. It found serious file system errors on the boot drive — errors that Disk Utility couldn’t repair.
Of course, I already knew about those file system errors more than a year ago. But because this was the Mac I relied on for work, there was never a convenient time to properly address the issue. (I’m a procrastinator, remember?)
It was easy to let the problem linger. After all, I’d already ordered myself a new M5 Pro MacBook Pro. With this new machine, I made the intentional decision to configure everything from scratch. I had no desire to have my new Mac inherit any “baggage” from the old one. Once the new Mac was fully configured for work, it was finally time to turn my attention to fixing the old one.
The first thing on my checklist was making sure my backups were solid. I make backups every day, but I never assume they’re good just because the process completed successfully. Periodically, I spot-check a random sampling of files, opening them to verify that everything is intact and accessible. It only takes a few minutes, but it’s a habit that has saved me more than once.
Next, I untethered my iCloud account from the M1 Pro. This is a critical step that Apple recommends to avoid triggering the Mac’s Activation Lock.
This was the point of no return.
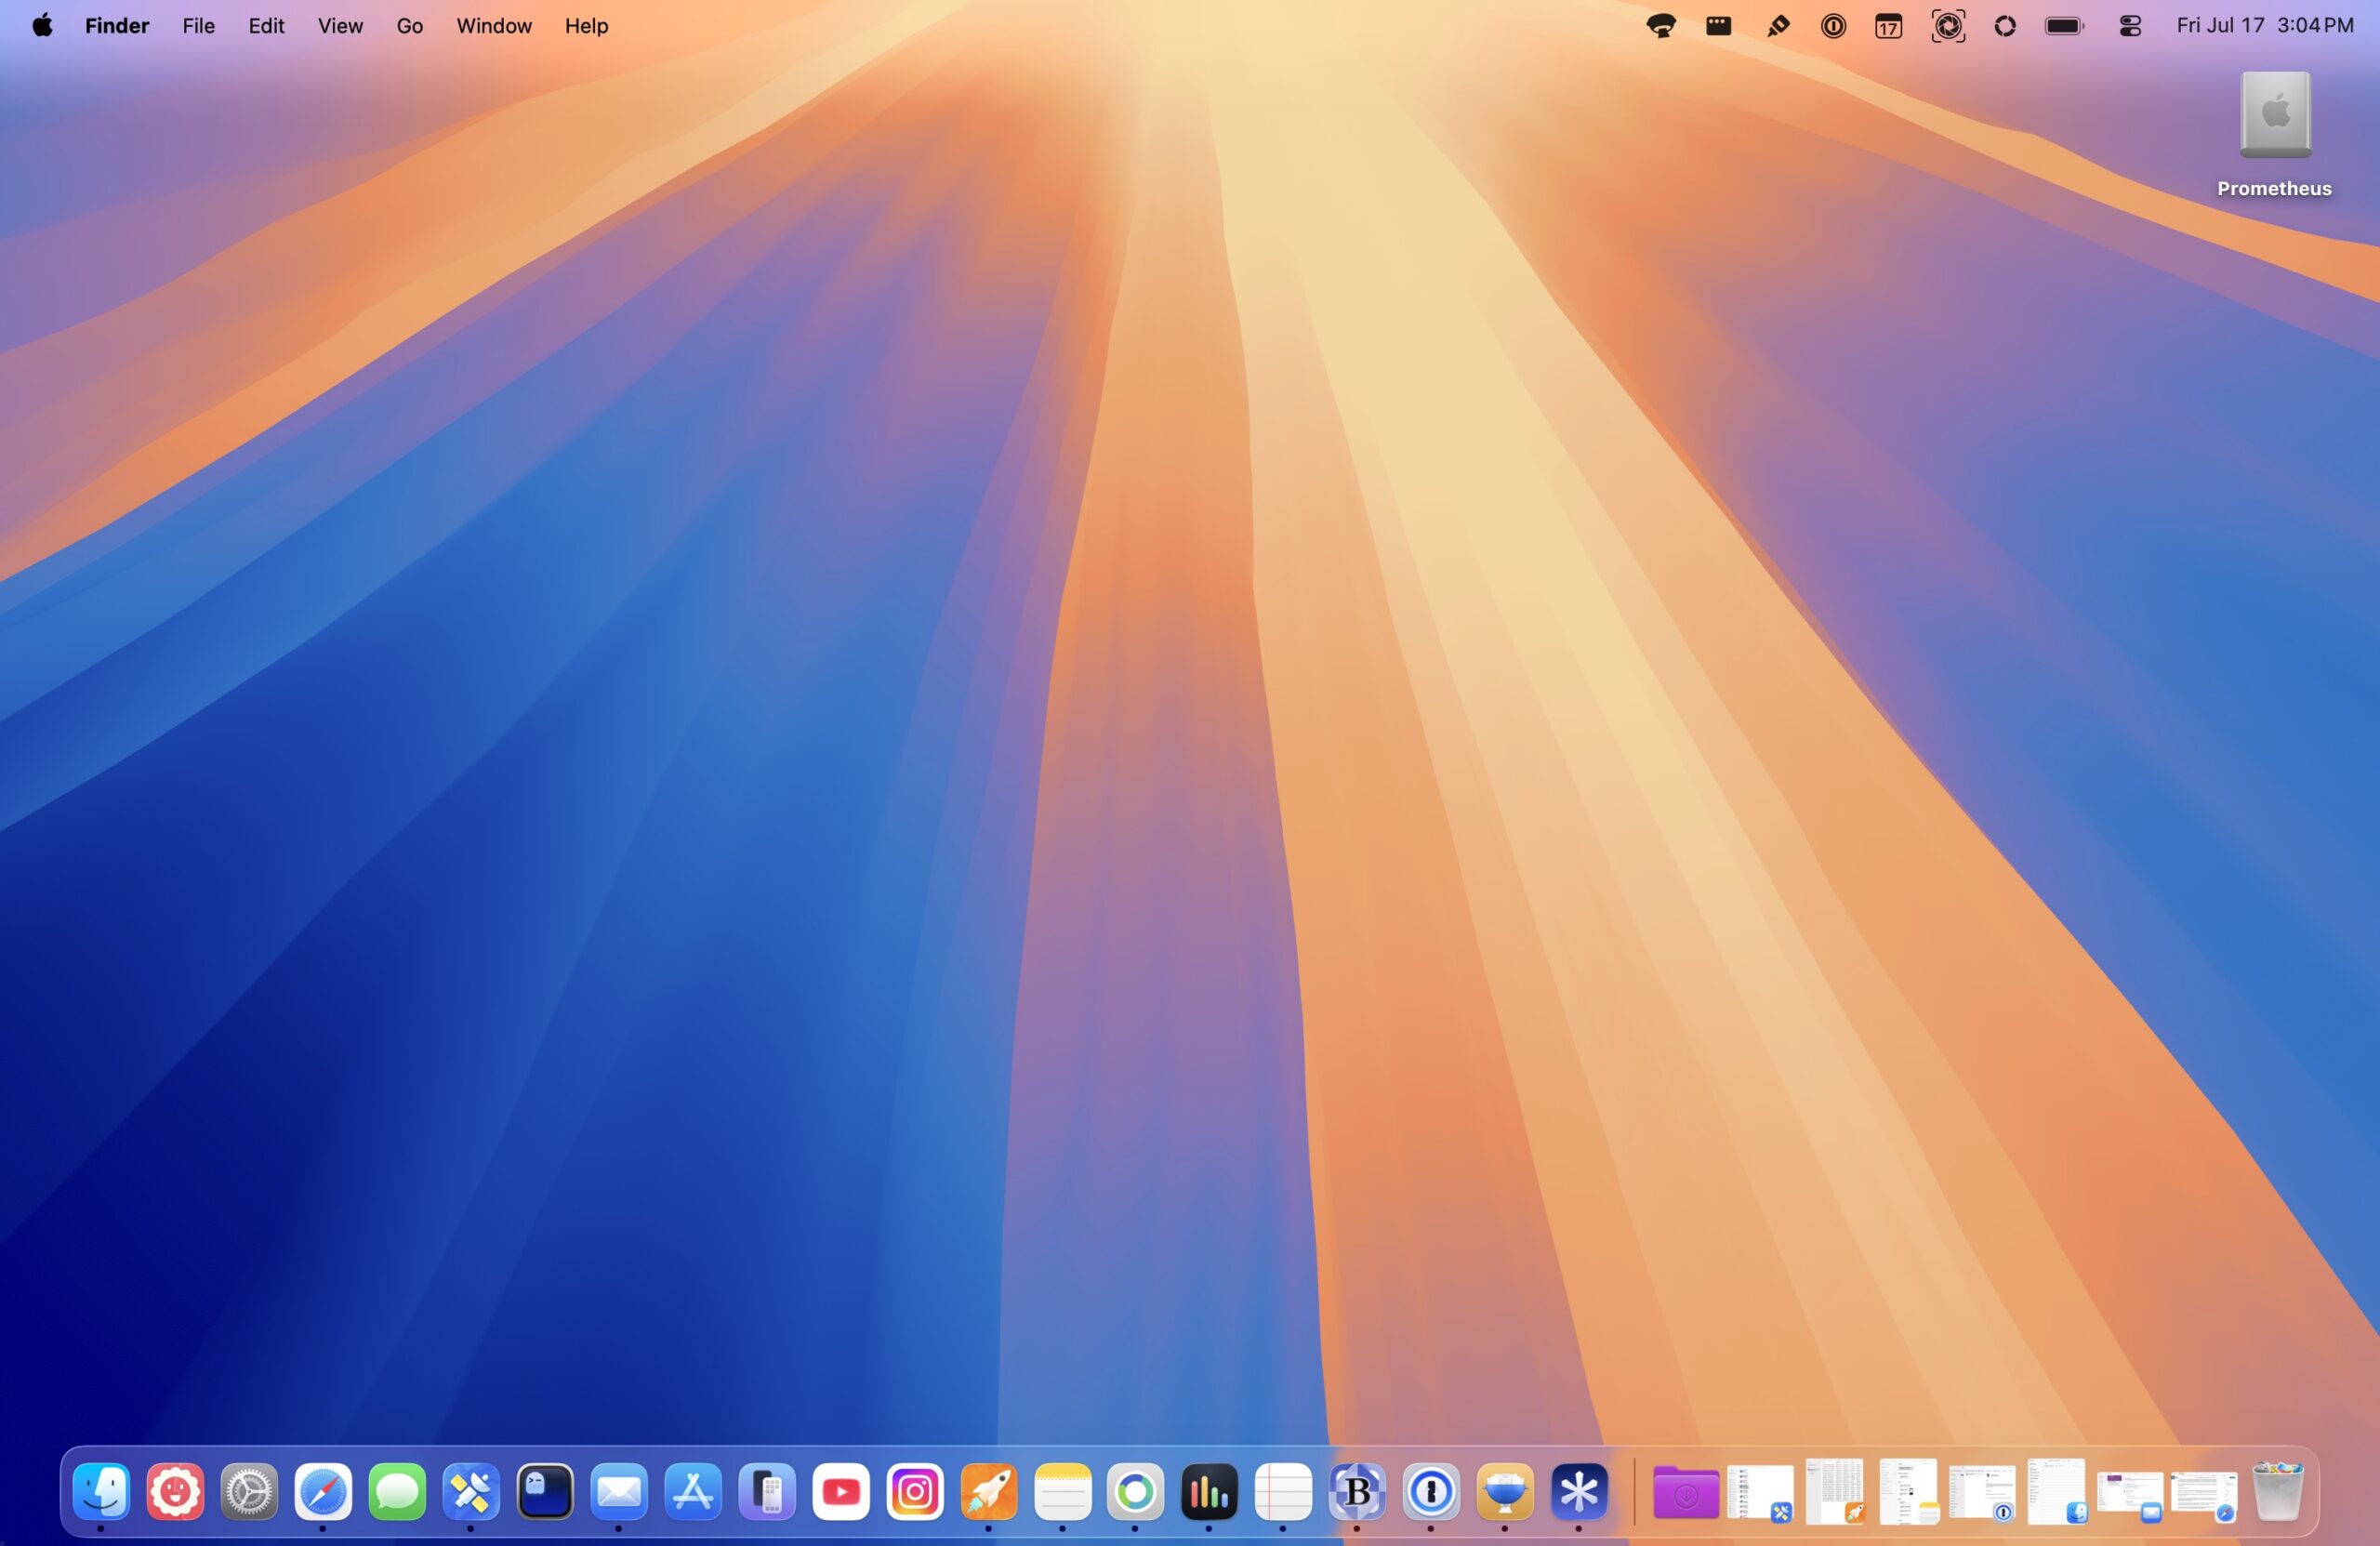
I booted the M1 Pro into Recovery by holding down the power button during startup. From there, I used Disk Utility to erase the internal drive. As an extra precaution, once the format was complete, I ran First Aid to verify that no errors remained.
With the slate wiped clean, it was time to install a fresh copy of macOS Tahoe. The installation was uneventful; it took about 45 minutes to complete.
Using the Mac after the clean install immediately highlighted several improvements. Chief among them: the machine is fast. Applications launch quickly, macOS animations are smooth once again, and the system feels remarkably responsive. There’s definitely more “spring” in this M1 Pro’s step.
The clean install was long overdue, but I have no regrets now that it’s complete. Years of unnecessary cruft and digital detritus have been swept away, and the Mac runs noticeably smoother— and cooler— than before.
If your Mac is more than four years old and you’ve been experiencing strange behavior or declining performance, it may be time to consider a clean install of macOS. It worked wonders for rejuvenating my M1 Pro.
Now if only I could apply that same motivation to cleaning my garage…